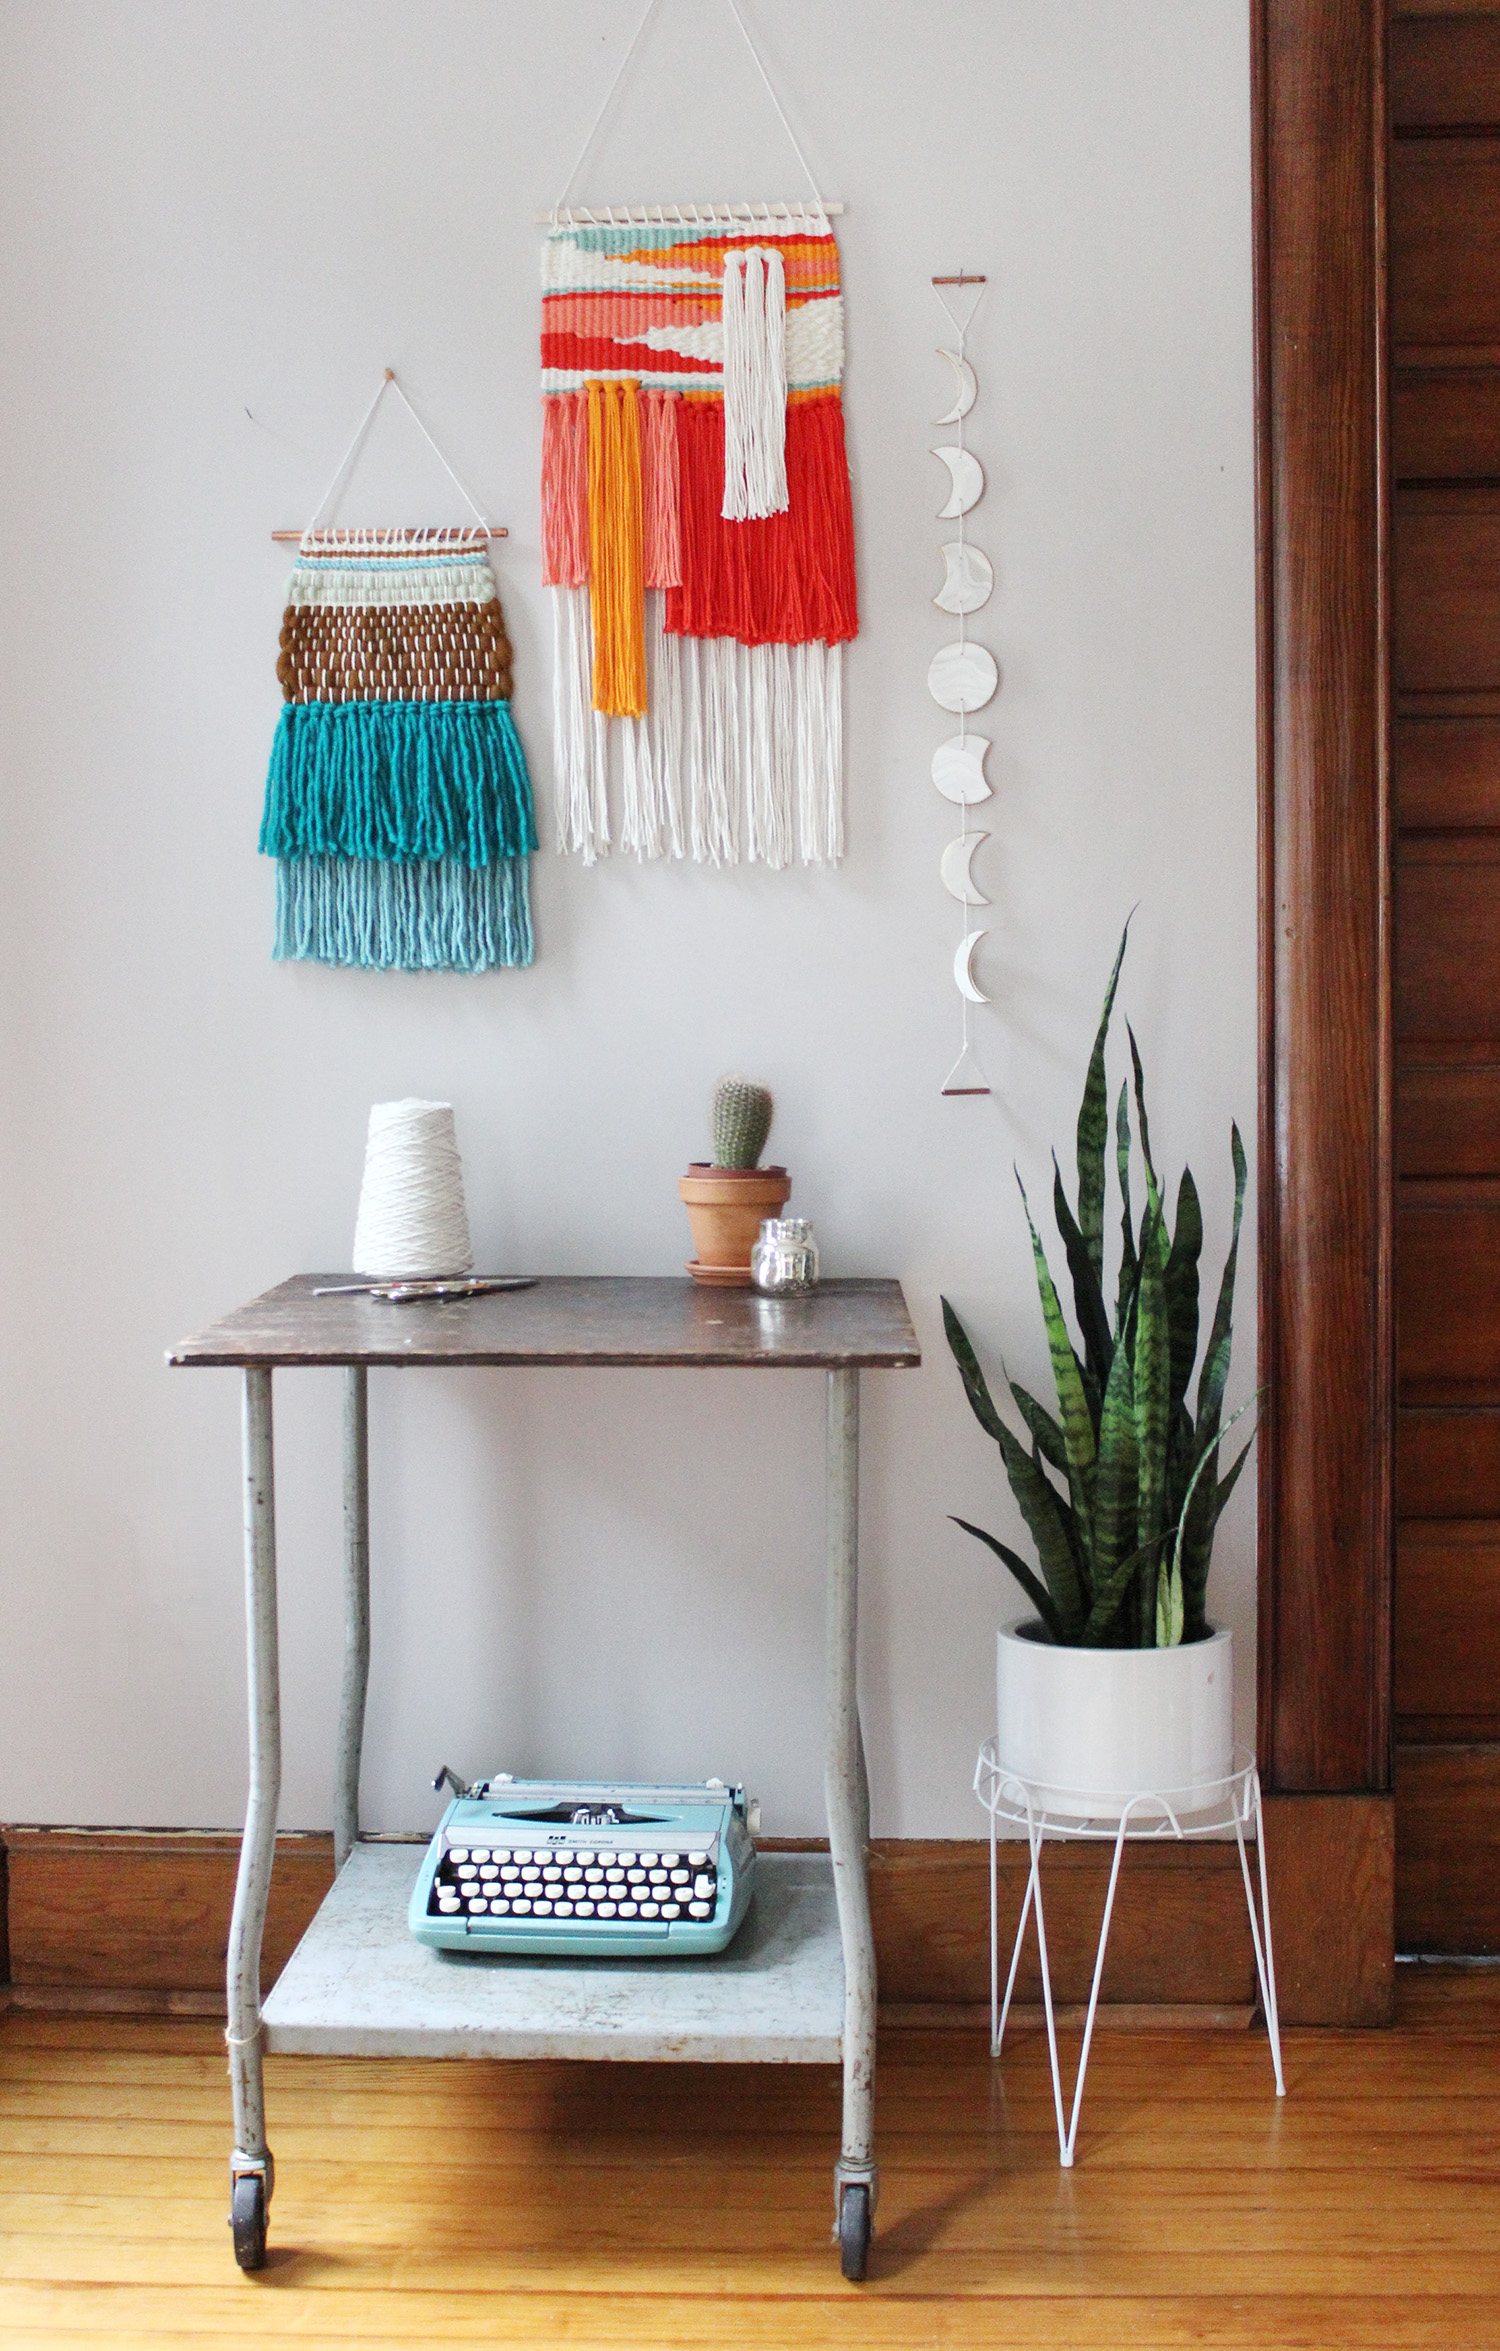
 There’s something pretty mysterious and powerful about the moon. It affects the tides, helps us mark the passing of time, and has inspired all kinds of poetry. It’s also pretty gorgeous no matter how full it is. Sometimes you need a reason to make and celebrate something, and other times you just like how it looks and that’s good enough. Enter the phases of the moon garland. It’s made from oven bake clay and is an easy afternoon project to add a little more hippy vibe to your space.
 Supplies:
-3 small packages of oven bake clay in one or two shades. I used a white and a light grey with a touch of sparkle to it for a marbled moon effect.
-parchment paper
–rolling pin
-jar lid or circular cookie cutter
-cotton twine
-skewer for poking holes
–metallic paint and paintbrush
-access to an oven
-6″ copper pipe (optional)
-pipe cutter (optional)
Note: When using oven bake clay, be aware that you should keep parchment paper in between any surfaces that you also use for food items such as cookie sheets, rolling pins, etc. Do not use cookie cutters on cookies after having used on oven bake clay. Safety first!
Roll your clay between two sheets of parchment paper with your rolling pin for a smooth surface that is between 1/4″ and 1/3″ thick. I marbled my clay with two different colors for a subtle moon effect. For tips on getting a marbled look, check out Laura’s tutorial here.
Using your jar lid, cut out seven moon shapes.
Leave one alone and then lay the rest out in pairs. For the first set nearest the full moon, use your jar lid to cut into it just about 1/4 of the way. You can always cut off the same side on both sets and flip it later because you want them to be opposites for an accurate waxing and waning effect.
For the next set, cut into it almost 1/2 way. Then for the last set, cut into it about 2/3 of the way. You can save your excess clay for any mess up moons that you might need to remake.
Turn on your oven according to manufacturer’s instructions. Use your skewer to poke holes through each moon as shown. You don’t want to poke too close to any edges, so start with your thinnest moons first and do your best to keep your two holes aligned so they’ll hang straight. Be sure your holes goes all the way through.
Place them in the oven according to manufacturer’s instructions on top of parchment paper and a cookie sheet. Once they’re done baking, let them cool and then paint the edges gold. Let them dry before moving to the next step.
Cut your twine and thread it through your clay moons. Be gentle as you go so you don’t have to rebake any more moons! Be aware of the position they are facing as you thread them for an accurate waxing and waning effect. To keep them from sliding around on your twine, tie a knot on the back side of one hole per moon.
I wanted to add a little copper pipe to my moon garland so I cut some 1/4″ piping with my pipe cutter and threaded each end through before tying a knot.
Then I trimmed the twine at my knot before finding a place to hang it.
It could easily be used as a science project for any kids learning about the moon or as fun decor for a space-themed room.
Three cheers for the moon and all of its importance! Also, can we give a hand to all the things you can make out of oven bake clay? –Rachel
Credits//Author and Photography: Rachel Denbow. Photos edited with A Beautiful Mess actions.
Absolutely stunning! Thank you on a detailed impressive guide!
Are there tutorials for the other (colorful yarn) wall hangings shown?
Here’s some of Rachel’s weaving tutorials: https://abeautifulmess.com/category/weaving 🙂
I LOVE it
Fabulous idea. Thanks for sharing.
HI i think you should add a g+1 button to your blog. because i really adore your blog and your crafts. thank you for you show everybody those useful things.
Woah, those came out really great. I think I’ll make one!
This is so cute! I really like the copper piping, it’s such a pretty touch. x
Ella – http://www.inkdreaming.com
OOoh, i did this a while ago on my blog, but with paper and a lot of glitter! Your version seems more durable, though 😉
It turned out nicely, well done!
Best,
Biene
Http://lettersandbeads.de
This looks so great! Thanks for sharing! Do you think air dry clay could be used for this too? Sculpey is pretty expensive where I am (sad face).
That looks so pretty ! I love your typewriter as well !!
So cool! It turned out lovely and is great for both the little ones and the big kids 😛
Erin | http://www.beingerin.com/
LOVE this!! Once again you guys keep outdoing yourselves.
http://www.siamgempalaceblog.com
This is something my oldest son would love. He is really into anything that has to do with outer space.
Where do you find the copper pipe? I love that detail and can’t think of whether I’ve seen it anywhere.
So cute. Love the white and gold combination you have chosen. I will make this soon.
This is the first vertical version of this that I’ve seen. Very Cute!
I like the focus of the post, but I really LOVE your plant, pot and stand combo. Do you know where you got the stand? Or pot for that matter. 🙂
This is so pretty! I feel like you could make really pretty jewelry using a similar technique.
So cool! I was thinking about making something similar for a while.
I loved it! Inspired me so much!
http://www.loveandeverythingblog.com
Love the moons, and I actually have most of the supplies in home/garage! Look forward to trying my hand at this!