 A couple weekends ago Trey and I undertook what was for us a pretty epic home renovation project. We had decided to tile our kitchen backsplash ourselves. I thought it would be fun to share how it went, some resources and a few tips from our experience.


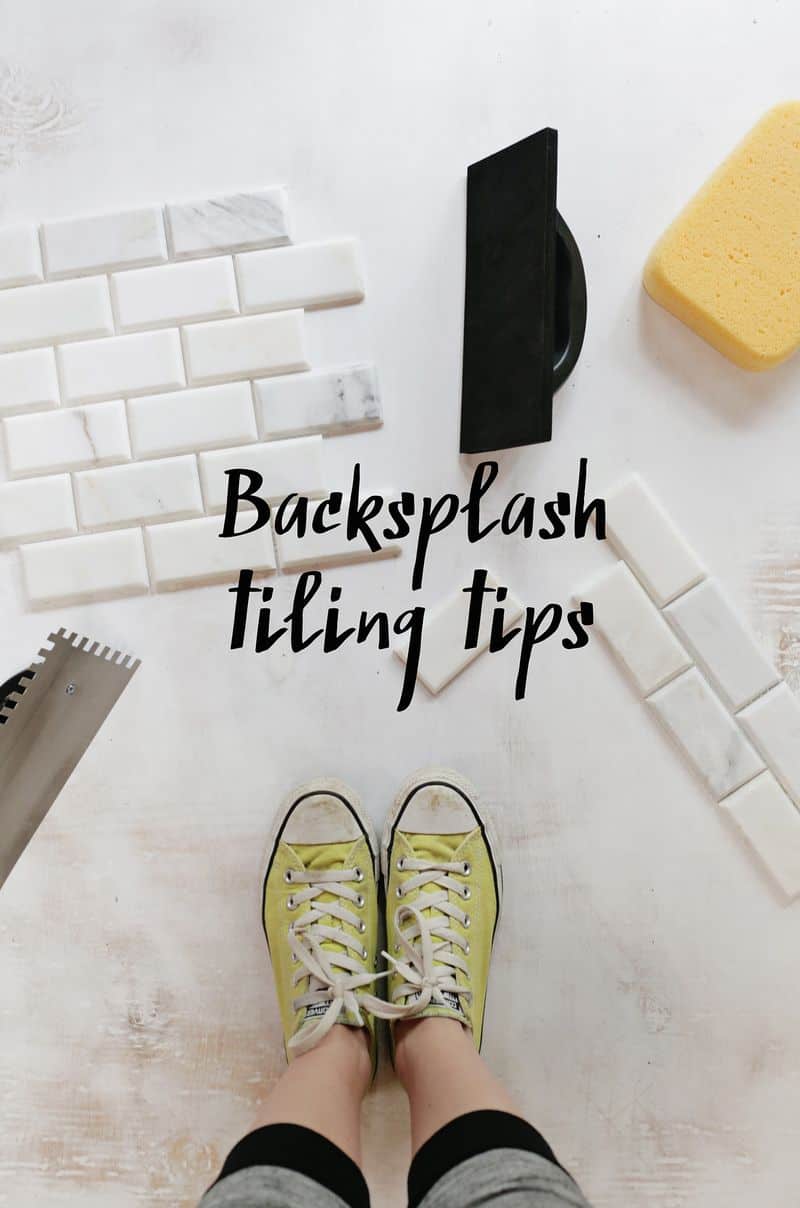
 We had been thinking we’d use white subway tile because it’s classic and relatively inexpensive. However, we fell in love with these marbled beveled edge tiles as we were shopping for supplies (they’re from Home Depot in case you’re curious). They were certainly more expensive than subway tile, but since we’ve been keeping most of our home renovations relatively inexpensive so far (which I realize is pretty subjective), we decided to splurge and get the pretty tile we wanted.
In case you didn’t see what my kitchen looked like before we moved in, here it is:
 Before we moved in, we had the counter tops replaced (with solid surface) and the cabinets painted white.

 So this was the state of the kitchen backsplash area once we moved in. There had been a brown granite backsplash that matched the counter tops that was removed at the same time, leaving behind some damaged walls. The wall behind the sink area needed new drywall because it was so damaged.
Before we got started, we watched a few videos and read up on installing tile since it was so new to us. We reviewed Josh’s beginner’s guide to laying tile from our Habitat project house last year. (Josh—we miss you buddy!)
I also thought these videos/tutorials were really comprehensive and helpful as well: Home Depot / Lowes / Young House Love
Once we felt like we understood what supplies and tools we needed, we measured our wall space and found we had right around 38.5 square feet to cover. We ended up buying 40 square feet of tile just so we could mess up a few since we had never used a wet saw before, and we also have extra we can store and use if we ever need to replace some (or at least, that was our thinking).
 After gathering all our supplies, we started off by prepping the walls (cleaning and priming the discolored wall).
Then, we made a plan for tiling in sections and drew light pencil marks on the wall just to have a game plan for when we started. Third, we prepped the area by taping off cabinets and covering everything in drop cloths.
A few tips:
-The tile we ended up loving came on mesh backing. This made it a lot easier to plan and also at times easier to cut with the wet saw (that we rented). If you’re tiling a backsplash for the very first time, you might consider looking into tile that comes on mesh just to make it easier on yourself.
-We also decided to try out premixed mortar and grout (more on that in a second). This made the process faster because we didn’t have to measure or mix anything.
You just open up the bucket and get going. I don’t know how it might compare, since this was my first time tiling, but I did love how this helped speed up the process a little bit (it is a three-day project anyway once you account for all the drying times).
 Next it was time to lay the tile. This was easily my favorite part! I really liked smearing the mortar on the walls and also setting the tiles in place. Since Trey and I worked on this together, I mostly did the mortar and he cut and pressed on the tiles.
This helped us move faster, although it still took us most of a Saturday to lay all the tile. Also, we bought spacers but ended up not using them.
Again, since our tile came on mesh, it sort of spaced itself. Plus with the beveled edges, we pretty much just wanted the tiles to be as close as possible (like they were on the mesh). So, we ended up not using our spacers. I think generally speaking, spacers are really important, but due to our particular project, they just didn’t come into play for us.
Another, I guess, special step for our project was that the sealer we bought (made for natural stone like marble) recommended that you seal the tile after laying it but before adding the grout.
Then, you seal it again after the grout is fully dry. This was supposed to help with grout haze, so we tried that and I think it worked. But I guess I’m not 100% sure since I didn’t try it without this step.
Tip: Buy gloves that fit you well. Sounds obvious, I know. But I didn’t do this. I just picked up whatever gloves they had on the shelf at the store and they were way too big for me. This made it more difficult to work with the mortar. Rookie mistake, I’m sure!

 The next day I worked on the grout. Here’s what I learned really fast: I don’t really like working with grout. The process of rubbing it all over the tiles is fine. But we picked tiles that were beveled, so this meant cleaning the grooves out more.
And since we chose marble tile, everything I read suggested that I needed to avoid grout haze as much as possible because most cleaners don’t work well with natural stone.
I found the whole process pretty frustrating because I felt like I just couldn’t get the grooves or tiles as neat and clean as I wanted. I’m still happy with how it turned out, but grout is not my favorite part. 🙂
Next time I tile (which will probably be a while, but still), I will for SURE be looking into using a grout bag during this step of the process. I can’t say how it might compare, but I didn’t realize that was an option until we had already completed our project.
My guess / hope is that using a grout bag might make the grouting process a little less messy which could be really helpful if you’re working with natural stone and are worried about grout haze. Also the beveled edges on our tile made digging out the extra grout a real chore. So, again, I suspect a grout bag could really help with this as well.
We had to wait about 24 hours before we could seal the marble and grout. Then we added caulk to the seams and edges where appropriate. Caulk was surprisingly difficult too and I’ve used a caulk gun before! I’m still not 100% happy with our caulk job so I’m considering redoing it. The good news is that it isn’t all that hard or expensive to redo caulk—thankfully.
 So, what’s my conclusion? Is tiling your own kitchen backsplash worth it? Well, it depends. If the difference between you being able to afford the project or not is doing the labor yourself instead of using a contractor, then I would say it’s totally worth it.
It’s certainly something that can be accomplished by an amateur, but this was probably the hardest and most physically demanding project I’ve ever done, and I can’t say I’m jumping to tile again anytime soon.
But, is it worth it? I guess it’s up to you, but I’m super happy with the look of our kitchen backsplash and I sort of like that we’ll always know that we did it ourselves. But that’s just me.
 The project still isn’t 100% complete. I have a few areas around the tiling that need touching up with paint (including the door trim and this strip of outlets that hangs above the counter).
I’m also dreaming of some kind of DIY counter top for the cabinets just adjacent to our kitchen (see above where the copper backsplash peeks out).
So, we’ve still got a little of this and that to do in this part of the house before it feels “done”. But as most of my fellow homeowners know, it’s never really “done” anyway.
Thanks for letting me share! Hope I didn’t scare any of you off from giving it a go if you’re interested. If you do go for it, be sure to check out some more comprehensive tutorials as this is really more of an overview with some tips. 🙂 xo. Emma
Emma, can you please tell me the color of your backsplash from Home Depot. I love it! Been looking for something like this.
Thank you!
What color grout did you use?
Wow amazing! Thanks for sharing,
www.selftimersblog.com
It looks great! Never thought that your kitchen could look so bright! Well done 🙂
http://www.carolinespassion.wordpress.com
Im going to remodel my kitchen soon, and Im absolutely in love with the tile you’ve chosen for yours!
Looks great!
Emma (and Elsie too), I really appreciate how honest you guys are with your projects. You aren’t afraid to say, “I would have done this differently” or “this was really hard” or “this may not have been worth it.” I thinks that’s SO important when it comes to managing peoples’ expectations. I feel like so many DIY-ers might have been sobbing their way through a horrendous project but then just post sparkly pictures online with excited/energetic how-to steps. Some bloggers would be more inclined to avoid saying “this was so frustrating that I basically just wanted to curl up on the couch and cry about it.” Not saying that’s how drastically you felt (this time, haha), but it’s so refreshing to know that sometimes things are hard and not glamorous! I really value your candor and because of this, I really trust your DIY project posts. My husband and I are closing on our first house in a few weeks (we hope!) and much of these things are on our horizon! Thanks for being such lovely REAL people 🙂
It’s hysterical!
The tiles look great. Much nicer than the plain subway tiles a lot of renovators use. I think it is a refreshing change to have the tiles go down to the floor beside the door. It makes that area look like you put the kitchen against an existing tile wall if you know what I mean. Thx for the post.
My father just just helped my husband and I put up the back splash in our kitchen. Ugh what a project! It was much harder than I thought it would be. Wish I would have seen your post before hand 😉
It really looks gorgeous. I didn’t read the comments so maybe someone said this, but when you caulk, once you have the bead down, use a wet finger and rub along the caulk line. This smooths it out so nicely and it gets pressed into the crack well, and really lasts.
Wow, that looks amazing! It fits so good to the counters, and I love the folksy look of it!
https://www.makeandmess.com/
Thanks for showing the steps for your tile backsplash and what worked/didn’t work for your diy!
I was hoping Elsie’s renovations would’ve been more diy friendly, or at least she actually put effort into it herself, but it just seems like this super over budget project, in addition to actually buying the house itself, that’s coming across more like showing off. 🙁 Not cool. Completely unrelatable.
Why did you get rid of the granite?
Can I ask what material you used for the countertops?
Such a gorgeous kitchen and the transformation looks incredible!! Love the white:)x
LoveAleex.blogspot.co.uk
That looks wonderful! I love it. 🙂
I’m really loving all the progress photos from the different houses (Emma’s & Elsie’s)… “scary hallway” made me laugh! I still love Before & After photos for the dramatic differences, but it’s great to know that even people who have used a caulk gun before have an in-between stage. 😉 Also, that flower vase. Whoa. First, my eyebrows shot up and I was scandalized. Then I appreciated the subtlety and charm. Nice find.
Wow amazing! Thanks for sharing,
www.selftimersblog.com
This looks BEAUTIFUL! I love white kitchens, and I love the tiles you chose! I think I’ll with a similar things whenever I redo my bathroom!
What a great idea! My boyfriend and I are at the point of (maybe) buying a house and this is great idea when I really don’t like tiles of the kitchen or something. Thanks for the tip!