") There are few things that say “Celebrate!” to me more than fresh flowers. I know they are more common at weddings but for our Friendsgiving celebration we thought it would be fun to try our hand at creating fresh flower crowns for all the ladies (and little ladies) to wear! Here is a super simple DIY for making your own flower crown.
There are few things that say “Celebrate!” to me more than fresh flowers. I know they are more common at weddings but for our Friendsgiving celebration we thought it would be fun to try our hand at creating fresh flower crowns for all the ladies (and little ladies) to wear! Here is a super simple DIY for making your own flower crown.
 Supplies Needed: Floral tape, floral wire, fresh flowers and scissors.
1. Cut your flowers so the stems are 1 1/2 inches long.
2. Measure the circumference of your head and cut your wire twice the length needed. Create your wire loop to the size of your head and use the extra length to wrap around the loop again for stability.
3. Place one of your center flowers on your wire loop and use the floral tape to attach the stem to the wire.
4. Place another flower behind your first flower and tape that stem to the wire as well. Continue this process until you have that side completed.
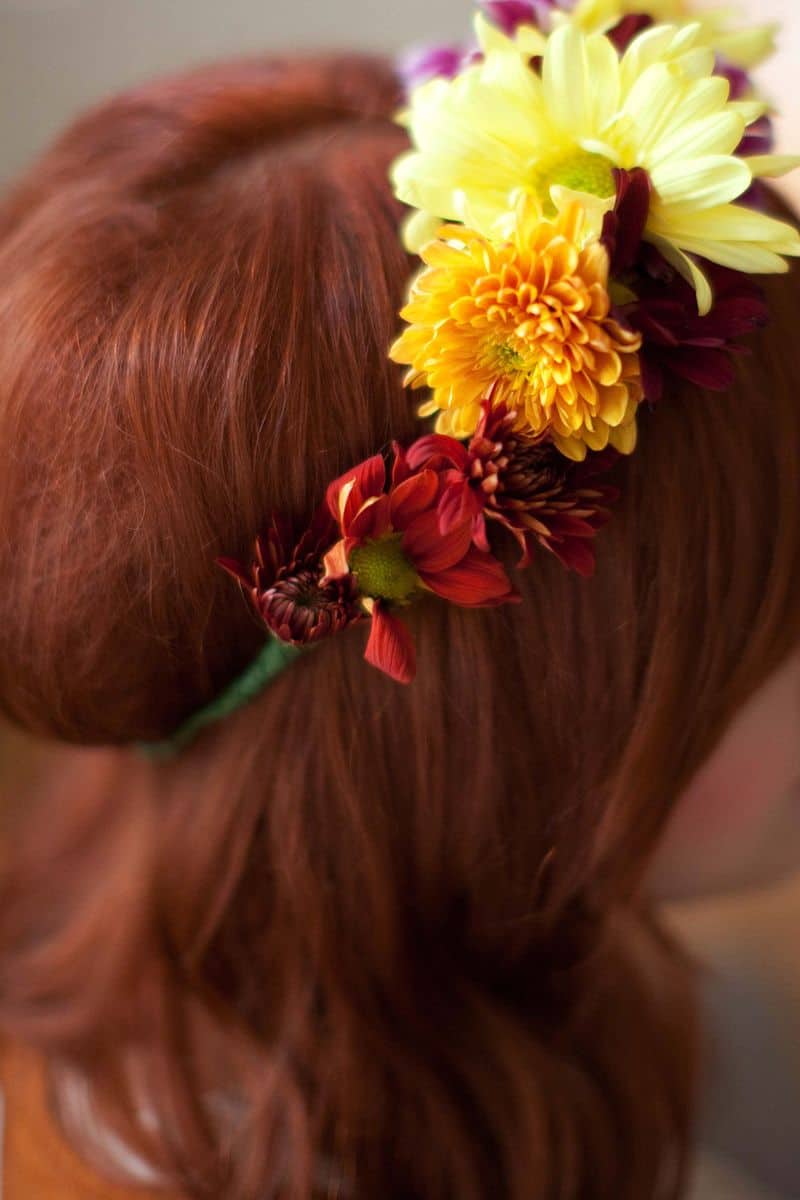
Repeat the process for the other side by placing a flower next to your center flower (the heads of the flowers should be facing each other) and working your way down that side of the wire. Cover the exposed wire in the back with the floral tape, and you’re done!
 We made our flower crowns the night before and stored them in the fridge in plastic freezer bags overnight.
")
")

 The crowns were a hit at our party! You don’t have to worry about sizes (even for kiddos!) because after you put the crown on your head, you can press the wire together in the back (or give it a little twist) to tighten it to size.
Personally, I loved what the flower crowns added to the atmosphere and photos. They were totally worth the effort. And if you love making flower crowns you might want to read this- Six Ways to Style Flower Crowns xo. Elsie
Love this post? Sign up for our newsletter for more ideas!

Get creative ideas for recipes, crafts, decor, and more in your inbox!
 Get the How-To

Supplies
- Floral tape
- floral wire
- fresh flowers
- scissors
Instructions
- Cut your flowers so the stems are 1 1/2 inches long.
- Measure the circumference of your head and cut your wire twice the length needed. Create your wire loop to the size of your head and use the extra length to wrap around the loop again for stability.
- Place one of your center flowers on your wire loop and use the floral tape to attach the stem to the wire.
- Place another flower behind your first flower and tape that stem to the wire as well. Continue this process until you have that side completed. Repeat the process for the other side by placing a flower next to your center flower (the heads of the flowers should be facing each other) and working your way down that side of the wire. Cover the exposed wire in the back with the floral tape, and you’re done.
These are delightful! Flower crowns are one of my favorite things right now. 🙂
Really cute 🙂
Very nice, thanks
I’m definitely making these for our Thanksgiving! The ladies in my family will love it. Thanks for all the ideas!
Hey, would just like to tell you that I shared this post on my blog ^^
drawingspacewithinaline.blogspot.pt/
Keep up the good work 😀
Best regards,
Helena.
I love this idea! How special. If I can squeeze it in I totally want to make flower crowns for our thanksgiving celebration this year! 🙂 I know it will add such a special touch to the day. Thank you for the inspiration!!! So creative.
OMG those are so adorable! I always think im too heavy handed and that I will break a flower off somewhere! Awesome job, i love them!
oh, they are so lovely.
i definitely will be making my own soon.
You ladies are so clever! Well done at making me envious of your whole party. Might try this for our Christmas KK party. Norah @ www.retrovintagelovefurniture.blogspot.com.au
I love this!! I just want to wear it around in everyday life!!!! Is that weird!? haha.
They are very very pretty!
I am having family over for a big dinner tomorrow. I’m going to make these. They are perfect.
Vintagehoneybee.blogspot.com
I love your blog girls and I’m hoping that you’ll follow me, too at www.nystreeters.com
I love making flower crowns after a friend of mine showed me how to this past summer. I love the colours used for this one! Love it!
Lulu xx
http://luluslittlewonderland.blogspot.com
When I dried my crown from my wedding, the stems shrank and fell out of the floral tape. You could always rewrap it after it was dried, though.
Wow a crown for a beautiful natural Queen Bee!
see more about Queen Bee Gala Dalí!
http://lasagnolove.blogspot.de/2013/11/queen-bee-of-week-gala-dali_14.html
Love from Germany
B&B
i’ve been dying to make one of my own and these are beautiful! thanks for the tips!
xxoo,
nikki
www.dreaminneon.blogspot.com
Love the colors! So pretty. And this tutorial looks a lot simpler than other floral crown tutorials I’ve seen recently!
These are perfect! I love how great they look, and even with the inexpensive filler flowers. The color scheme is sooo gooood.
These look fab! Only downside for me would be that fresh flowers die very quickly and cost quite a bit in Madrid.