")
") For the past month my poor sewing machine has been just sitting on the ground in my office. I’ve set it up at the dining room table twice in this time to make a few fabric napkins and hem some of my curtains. Although this worked fine, I really wanted to make a more permanent home for my little sewing machine. I’m not someone who sews ALL the time, but I have been getting into it more and more this past year, and one of my goals for 2016 is to sew a quilt—something I’ve never done before.
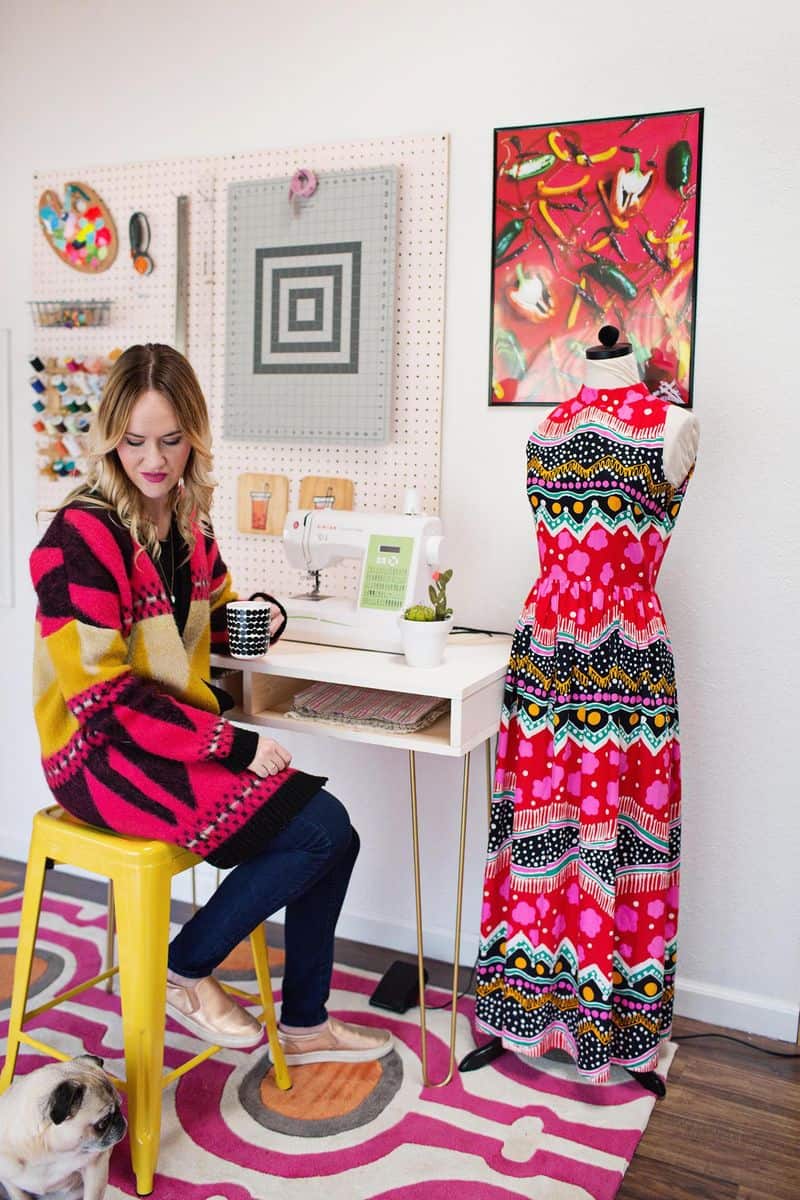
For the past month my poor sewing machine has been just sitting on the ground in my office. I’ve set it up at the dining room table twice in this time to make a few fabric napkins and hem some of my curtains. Although this worked fine, I really wanted to make a more permanent home for my little sewing machine. I’m not someone who sews ALL the time, but I have been getting into it more and more this past year, and one of my goals for 2016 is to sew a quilt—something I’ve never done before.
")
")
")
") So I just felt that a little sewing desk was something that I needed in my life. And one afternoon last week I finally made it happen.
So I just felt that a little sewing desk was something that I needed in my life. And one afternoon last week I finally made it happen.
 Supplies:
-two 36×20 inch boards (1 inch thick)
-three 3×20 inch boards (1 inch thick)*
-wood glue
-clamps
–four hair pin legs (28 inches tall)
-spray paint
-electric drill + wood screws
-fine sandpaper
-paint + paint brush
*As you can see, my larger boards that make up the top and bottom of the desk were already cut to the size I wanted. The three 3×20 inch boards were one long piece that I cut into my desired lengths myself, but you could also have them cut for you at the hardware store if you don’t own a power saw of any kind.
 Step One: Assemble the desk top. I used wood glue and clamps to put my desk together. Check your brand of wood glue for dry time directions.
(Please ignore my messy garage. I’m gonna get around to organizing that eventually, I swear!)
 Step Two: Clean and paint your legs. The hairpin legs I used were from my old wood pallet dining room table. When we retired that table, I removed the legs so I could use them on something else later. I didn’t really have anything in mind at the time, but hairpin legs aren’t cheap. So I knew I didn’t want to toss them. Honestly I prefer three prong hairpin legs to these two prong versions. But since I already had them, I figured I’d put them to good use anyway.
After being stored in our garage for well over a year, they had some pretty large rust spots in a few places. So I scrubbed them with a paste made from baking soda and water before I spray painted them gold for this project. If you buy your legs new, you likely won’t have to clean or paint them, but mine were getting reused. So I did.
Step Three: Attach the legs to the table top. Here’s where you will need to use a drill and wood screws. Make sure to use screws that are long enough to hold your legs securely in place, but not so long that they will stick out of your desk top.
 Step Four: Sand and paint your desk top. You may also want to seal with a semi or high gloss polyurethane. I left mine raw for now, but I may seal it later if it gets scuffy looking too quickly.
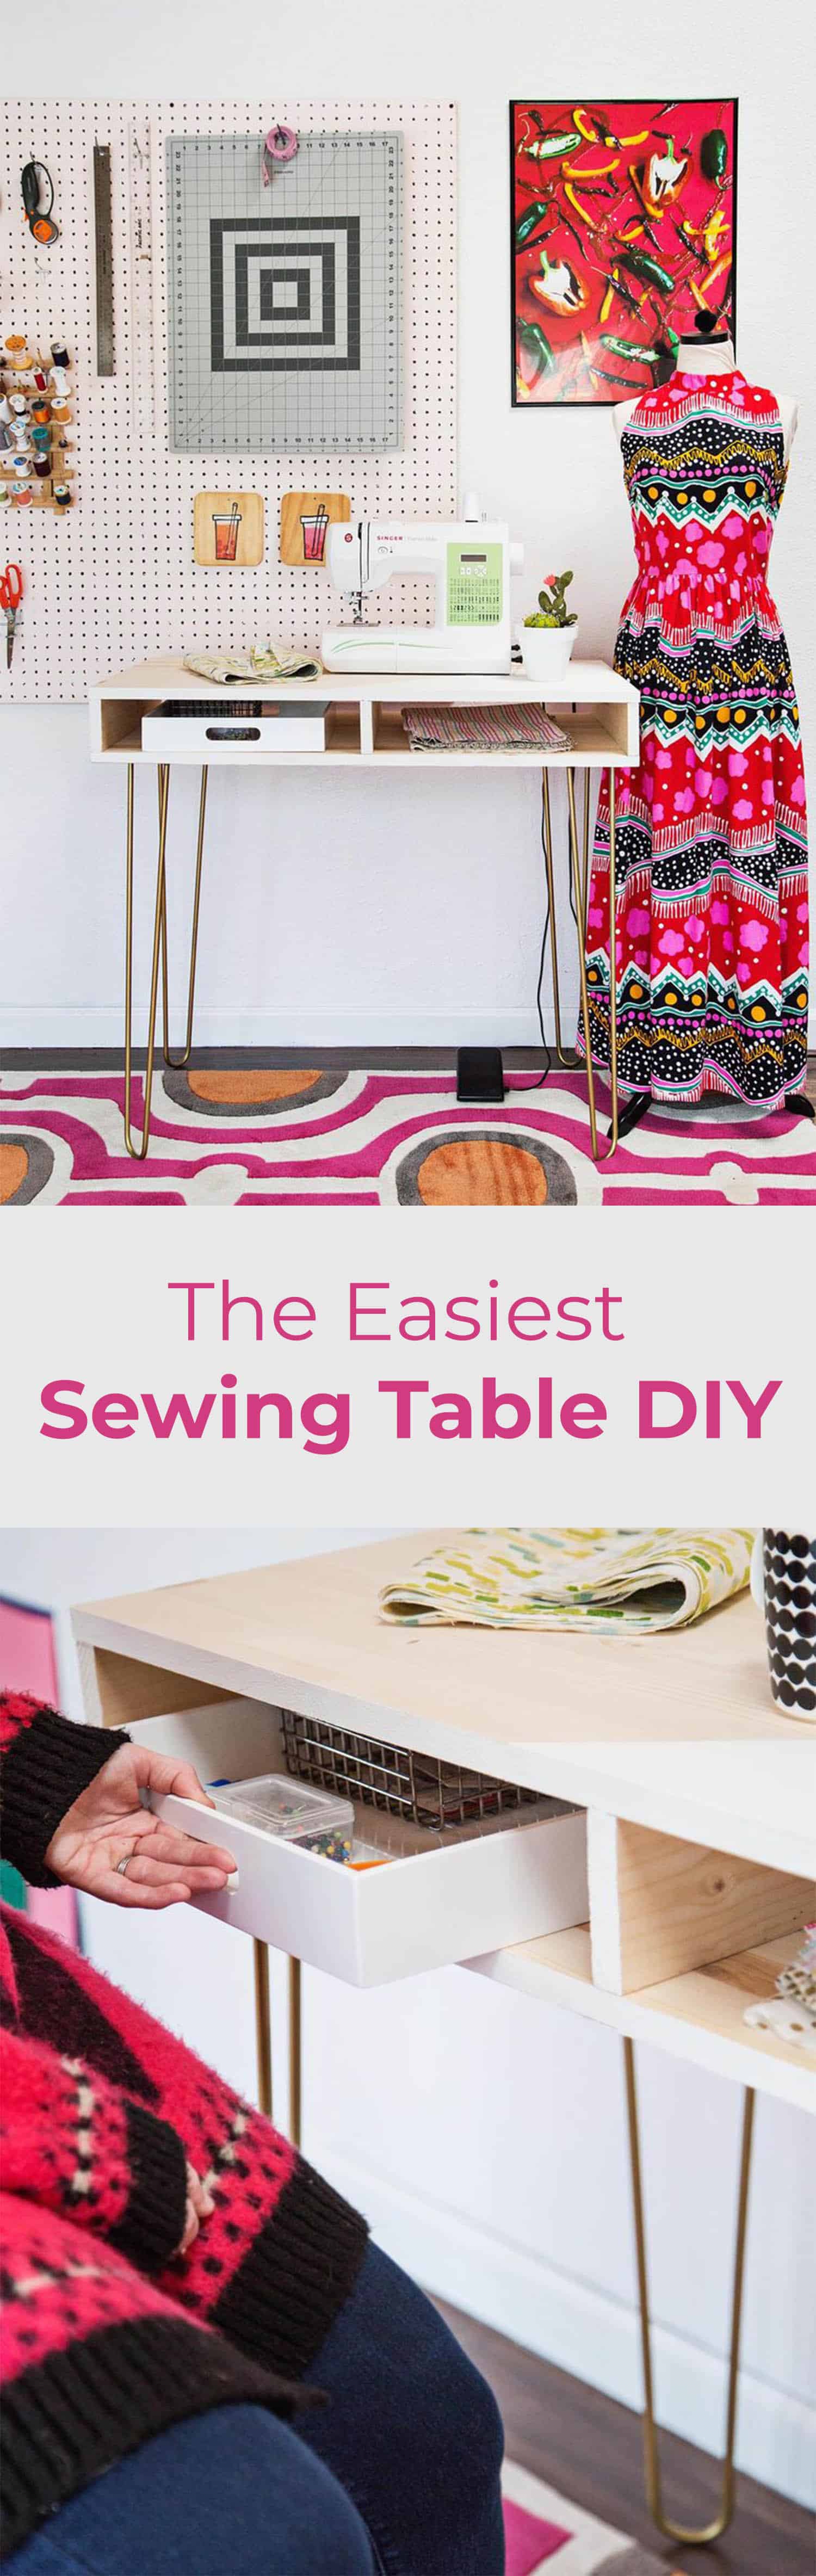
I added a 12×12 inch white lucite tray to one side of my desk for some easy, pull out storage. I already had this tray at my house, but originally it’s from West Elm (in case you’re curious).
")
")
") This desk was seriously SO easy to make. It basically took me a few hours, including dry time for the wood glue and the paint. Very simple and I’m so happy with the results! Plus, since I already had the legs and the tray, the entire project only cost me about $34. Score! Thanks for letting me share. xo. Emma
This desk was seriously SO easy to make. It basically took me a few hours, including dry time for the wood glue and the paint. Very simple and I’m so happy with the results! Plus, since I already had the legs and the tray, the entire project only cost me about $34. Score! Thanks for letting me share. xo. Emma
Credits // Author: Emma Chapman, Photography: Janae Hardy and Emma Chapman.
It’s vintage, I just like to display pretty dresses in this spot (especially if I don’t plan to wear it for a while like this one since it’s more dressy for a special occasion).
-Emma
Lowe’s
-Emma
Target.
-Emma
I am having a hard time finding wood, where did you get yours from?!
Incredible DIY! Love this DIY so much. In a word just awesome. Thanks for sharing it with us. I really wanna try this.
Thank you!
Hey! I really love your blog guys!!!! I’m a huge argentinian graphic designer, now living in miami, fan!!!!
ha!
i wanted to know the name of those yellow benches, can you please tell me how are they called?
Thanks a lot!!!
Happy holidays!
What a great little space!! I’ve just recently finished organizing my own office and it feels so great!
Love this idea!
But my home is too small… I have my sewing machine in a wardrobe and put it in my kitchen table when i am going to use it.
I will love to have space for this!
Love this! And I also really love the dress that is in these photos!
Any chance of a tutorial on how to make it (and where the fabric is from because it is so beautiful and vibrant!)
Where is the stool from?
Emma, I so jealous (like totally well jell), you’re wearing the cardi that Sharon Horgan wears in Catastrophe that’s had everyone in the UK going crazy (I’m crazy about her whole wardrobe actually!!). I don’t know if you’ll get to watch Catastrophe in the US but if you get the opportunity then watch it, you’ll be spitting your tea out with laughter. Google Catastrophe Sharon Horgan Wardrobe and you’ll see your gorge cardi in all her Sharon glory :))))) btw if you ever wanna sell it 😉 xxx
Emma, I always love your posts. I love this little desk too. As I plan a dream home with my someone special I love finding cute little projects like this to do together. xo
Wow!!! So adorable and inspiring!!!
Me too!!! Xx
I love you Emma and your (Super Cute) desk! Xx
Such a great space! I have to be honest though, when I first saw that you had styled a cactus next to your sewing machine I was thinking, “wow, whoever styled this photo shoot has no idea what sewing involves!” Ha! Now I realize it’s your pin cushion! So cute.
This sewing desk is gorgeous! I love it!
Paige
http://thehappyflammily.com
Very cute but for me it’s much too small. The design is great, however, I’d go for some dimensions that allowed for me to spread out a little…nearly twice the size if your workroom space allows.
Wow, this is super cool. I can’t believe you made this!