") One of my favorite things to DIY are light-up marquee signs. We’ve certainly done our fair share of glowing signs here on ABM (from Christmas marquees and light up boxes to emoji and happy hour signs), but I’ve never had the chance to do a more traditional looking marquee with the thin raised metal edge. The best thing about making your own marquee from scratch (rather than starting with letters already cut out) is that you can make your word size and font completely custom. I love having options! I tried a few different methods to get that classic look but was having trouble finding a material that would bend without a lot of effort. Thankfully I found a tip from this DIY post to use metal flashing for the sides instead, and I was saved! Unfortunately, I’ve recently switched over to a new photo organization system, and I lost a few of my step photos in the process (D’OH!). So I’ll do my best to explain and point out what I did on the finished sign.
One of my favorite things to DIY are light-up marquee signs. We’ve certainly done our fair share of glowing signs here on ABM (from Christmas marquees and light up boxes to emoji and happy hour signs), but I’ve never had the chance to do a more traditional looking marquee with the thin raised metal edge. The best thing about making your own marquee from scratch (rather than starting with letters already cut out) is that you can make your word size and font completely custom. I love having options! I tried a few different methods to get that classic look but was having trouble finding a material that would bend without a lot of effort. Thankfully I found a tip from this DIY post to use metal flashing for the sides instead, and I was saved! Unfortunately, I’ve recently switched over to a new photo organization system, and I lost a few of my step photos in the process (D’OH!). So I’ll do my best to explain and point out what I did on the finished sign.
") Supplies:
Supplies:
-3/4″ wooden board big enough to trace your desired size onto
-jigsaw
-drill
–hole saw drill bit large enough to fit your string lights
–6″ wide roof flashing (I used two rolls)
-metal cutting shears
-staple gun
-gold and white paint
-globe string lights
-extension cord
-epoxy glue that works for wood and metal
-leather working gloves (optional)
") First I decided what phrase and font I wanted to use and traced the phrase onto a wooden board at the appropriate size. I used a transparency sheet and a projector to do so, but you could also freehand draw it or print the phrase on an inexpensive blueprint print and trace it from that onto the wood.
First I decided what phrase and font I wanted to use and traced the phrase onto a wooden board at the appropriate size. I used a transparency sheet and a projector to do so, but you could also freehand draw it or print the phrase on an inexpensive blueprint print and trace it from that onto the wood.
")
") Once it was traced, I used my jigsaw to cut out the wooden phrase. To get into spaces like the middle of the”O”, I would drill a hole big enough for the jigsaw blade to fit into so I could start from that hole and cut around.
Once it was traced, I used my jigsaw to cut out the wooden phrase. To get into spaces like the middle of the”O”, I would drill a hole big enough for the jigsaw blade to fit into so I could start from that hole and cut around.
") After the wood was cut, I marked off where I wanted the holes to be drilled for the lights and used a hole saw bit at each spot. I like to have my lights picked out before I drill holes so I know just how big the hole should be.
After the wood was cut, I marked off where I wanted the holes to be drilled for the lights and used a hole saw bit at each spot. I like to have my lights picked out before I drill holes so I know just how big the hole should be.
") Once all your holes are drilled, use the metal shears to cut your 6″ wide roof flashing down the center so you have two long 3″ strips. It’s possible that the strip can be a little sharp (especially on the side you cut), so you may want to use leather working gloves when handling the strips. I decided to forgo the gloves and only got a few small scratches, but it was easier to manipulate the metal without gloves.
Once all your holes are drilled, use the metal shears to cut your 6″ wide roof flashing down the center so you have two long 3″ strips. It’s possible that the strip can be a little sharp (especially on the side you cut), so you may want to use leather working gloves when handling the strips. I decided to forgo the gloves and only got a few small scratches, but it was easier to manipulate the metal without gloves.
Now comes the tedious part. Starting wherever you like on the outside of your wooden phrase, measure how far you need to go before the metal needs to turn in or out to follow the path of the letters. Make a mark and bend the metal the appropriate way. Then measure where the next bend should be and so on and so forth. While you can try to make each strip as long as possible, I would usually cut the strip off whenever the wood would move to the next letter or come together in a narrow spot and start again with a new piece. It seemed easier to work with shorter pieces and the two cut ends actually come together pretty well and look rather seamless once complete. The hardest part is making the little pieces that go inside of the “B” and “R”—that took a few tries! I marked the inside of each piece with a little description of where the piece belonged (like “top of first O”) so I would know where they went later.
") Once all the pieces were bent and cut, I held each piece in place and used a staple gun to attach the metal to the wooden side (it’s helpful to have a second person help you with this part). I also made marks on the inside of each metal piece that were 1.5″ from the top edge of the metal and lined up that mark with the wood sign so all pieces were attached at a uniform spot around the sign.
Once all the pieces were bent and cut, I held each piece in place and used a staple gun to attach the metal to the wooden side (it’s helpful to have a second person help you with this part). I also made marks on the inside of each metal piece that were 1.5″ from the top edge of the metal and lined up that mark with the wood sign so all pieces were attached at a uniform spot around the sign.
") I found I could attach most of the metal with the staple gun, but there were a few crevices (like between the legs of the “N” or middle of the “O”) where I couldn’t angle in the staple gun and had to use glue instead to attach them. I would attach the glue between the metal and the wood and then stick tin foil between the crevices to hold the metal against the wood until it dried. Once dry, I removed the tin foil, added two long loops of picture wire to the back of the sign for hanging purposes, and I was ready to paint the sign!
I found I could attach most of the metal with the staple gun, but there were a few crevices (like between the legs of the “N” or middle of the “O”) where I couldn’t angle in the staple gun and had to use glue instead to attach them. I would attach the glue between the metal and the wood and then stick tin foil between the crevices to hold the metal against the wood until it dried. Once dry, I removed the tin foil, added two long loops of picture wire to the back of the sign for hanging purposes, and I was ready to paint the sign!
") I sprayed the outside and inside metal edge with gold spray paint and then used a brush to paint the inside wood base of the sign white for contrast.
I sprayed the outside and inside metal edge with gold spray paint and then used a brush to paint the inside wood base of the sign white for contrast.
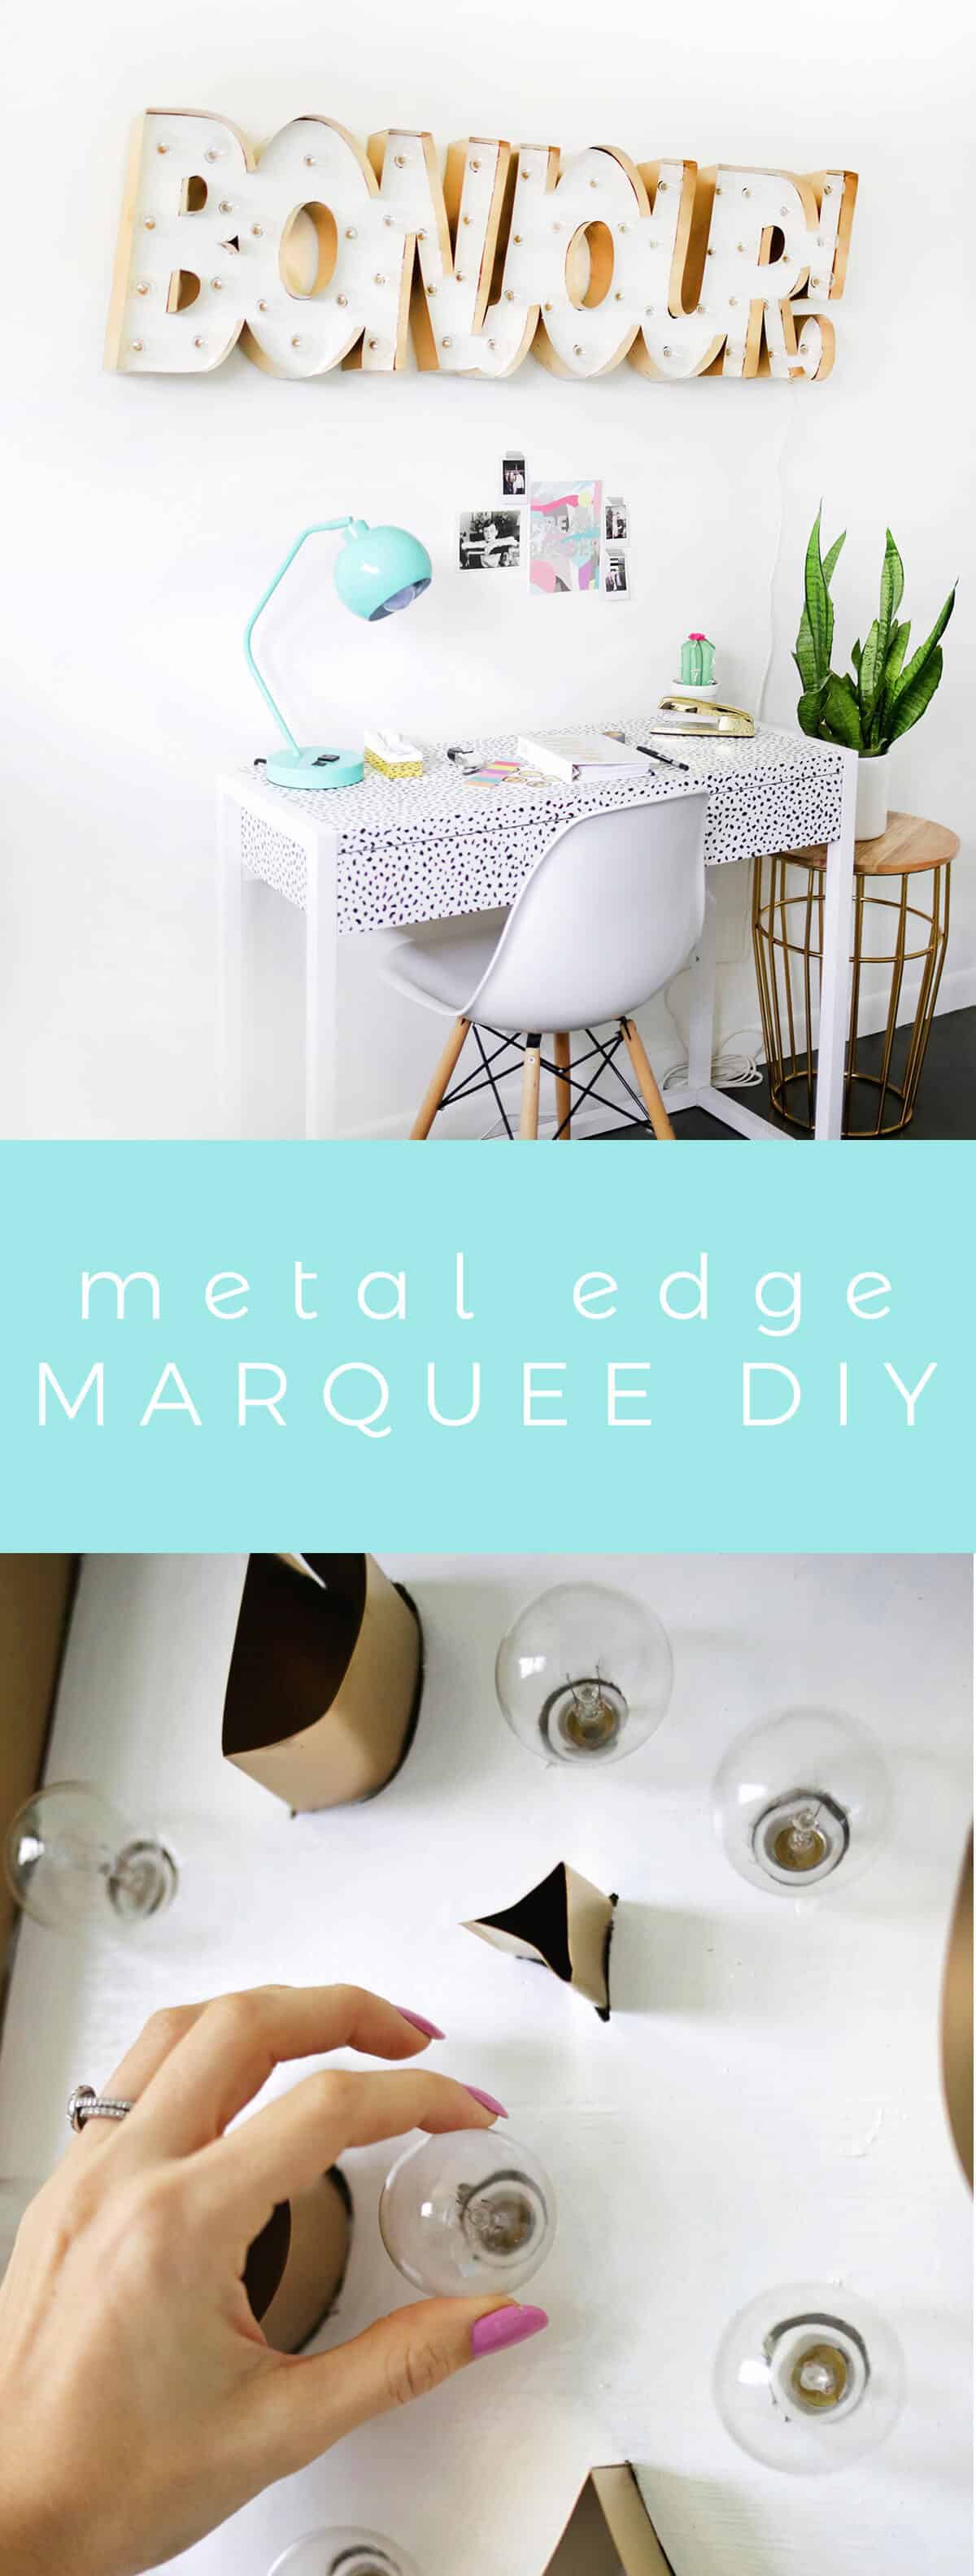
") Once the paint was dry, I wove my bulb light wires across the back of my frame and installed the bulbs from the front. It’s helpful to use a few small zip ties to keep all those wires a bit more organized on the back side so they don’t stick out and become visible. I plugged my bulb lights into an extension cord so that would be what actually hung down from the light and I was ready to hang my new marquee!
Once the paint was dry, I wove my bulb light wires across the back of my frame and installed the bulbs from the front. It’s helpful to use a few small zip ties to keep all those wires a bit more organized on the back side so they don’t stick out and become visible. I plugged my bulb lights into an extension cord so that would be what actually hung down from the light and I was ready to hang my new marquee!
")
")
")
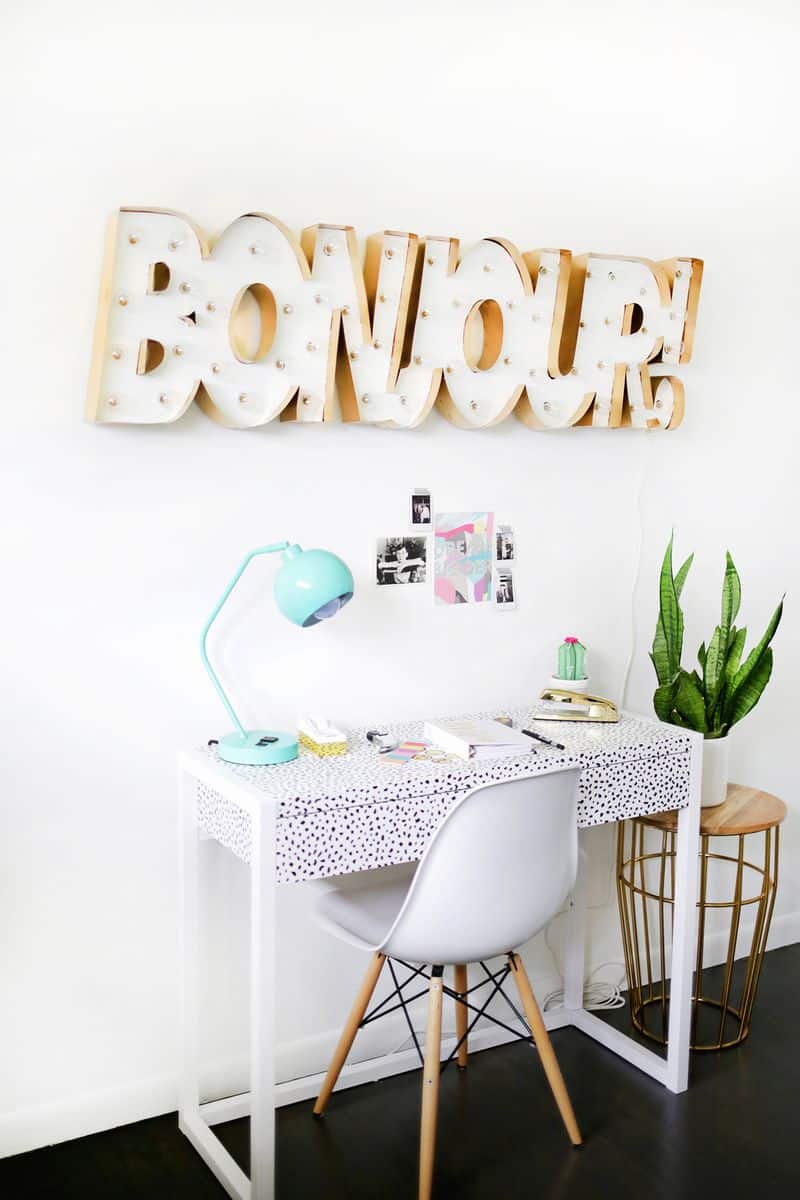
") As you can imagine, this was definitely not the fastest project I’ve ever completed, but it was so worth the extra time it took. The gold and white look so sharp together, and the font gives it a modern feel as well (it’s one of the italicized Function Pro bold fonts). Marquees are still one of my favorite things to make, so I’m glad to have another technique that creates a new look under my belt! xo. Laura
As you can imagine, this was definitely not the fastest project I’ve ever completed, but it was so worth the extra time it took. The gold and white look so sharp together, and the font gives it a modern feel as well (it’s one of the italicized Function Pro bold fonts). Marquees are still one of my favorite things to make, so I’m glad to have another technique that creates a new look under my belt! xo. Laura
Credits // Author and Photography: Laura Gummerman. Photos edited with A Beautiful Mess actions.
This is such a cool project!
Wow, Laura, I have been wanting to make one like this since forever! Thanks for sharing!
But I have to say that the elecrical part still looks a bit of a mystery for me. I am afraid to burn my place down hehehehe
I will definitely be trying this out!! Thank you so much for the tips!! This so much better than buying pre made letters. LOVE LOVE LOVE
Laura, you’re a DIY goddess!
WOW ! It looks amazing. Thanks for the tutorial I was wondering how to make these. I want to make one in my favourite word KJEMPEFLOTT which is Norwegian for amazing, but I think it maybe a bit long so perhaps I should stick to a simple WOW!
I used a string of lights like the one linked in the supply list, you can buy bigger bulbs that that if you want to 🙂
Laura
It’s a target desk with chasing paper removable wallpaper 🙂
Laura
It’s a target desk with chasing paper removable wallpaper and an urban outfitters lamp 🙂
laura
WOW. Would love it if you could check out my new post on how to plan happiness in 2016!
Kisses xo | From Aliona With Love
I never knew it was so simple. They go for hundreds sometimes in the stores!
Love love love! Thank goodness my husband is super handy! I can totally have him make me something like this 🙂
xo dré
www.flightoffeather.com
What a gorgeous marquee! It makes me wish I had access to power tools again so I could make one! This could easily be made for graduation parties, holiday celebrations, or like you did and just hung up on the wall for day-to-day decor. I absolutely love it! What kind of light bulbs did you use? Did you create the wiring yourself, or was it pre-made? Either way, it’s awesome! Thank you for sharing your DIY with us!
Julie~FurnishMyWay
Ah! Really unbelievable! So pretty!
Wow – great job! It looks really great when it’s lit up! I also love that you used a projector and transperency sheet for this. I’ve been looking for one for ages (not really for ages – off and on over the years when I happen to remember wanting one), but if I were to find one, I’m not sure I’d know where to store it! http://www.enchantinglyemily.com
I love Laura and her ideas!!!!!!!!!
That polka spot desk is melting my heart! where’d you find it? And the DIY looks killer- nice work!
Ms. Laura ~ you always have the cutest ideas.
This is incredible! It’s fun, yet sophisticated, and the execution looks flawless. Better than what you could buy in a store. Thanks for the tutorial.
such an amazing idea
I looove it so much 😀 and it actually looks pretty easy to do 😉 very cool
Amazing DIY! Thanks for sharing! I’m definitely going to make a glowing sign for my studio. 😀
xx Elena http://www.talonsetbonbons.com