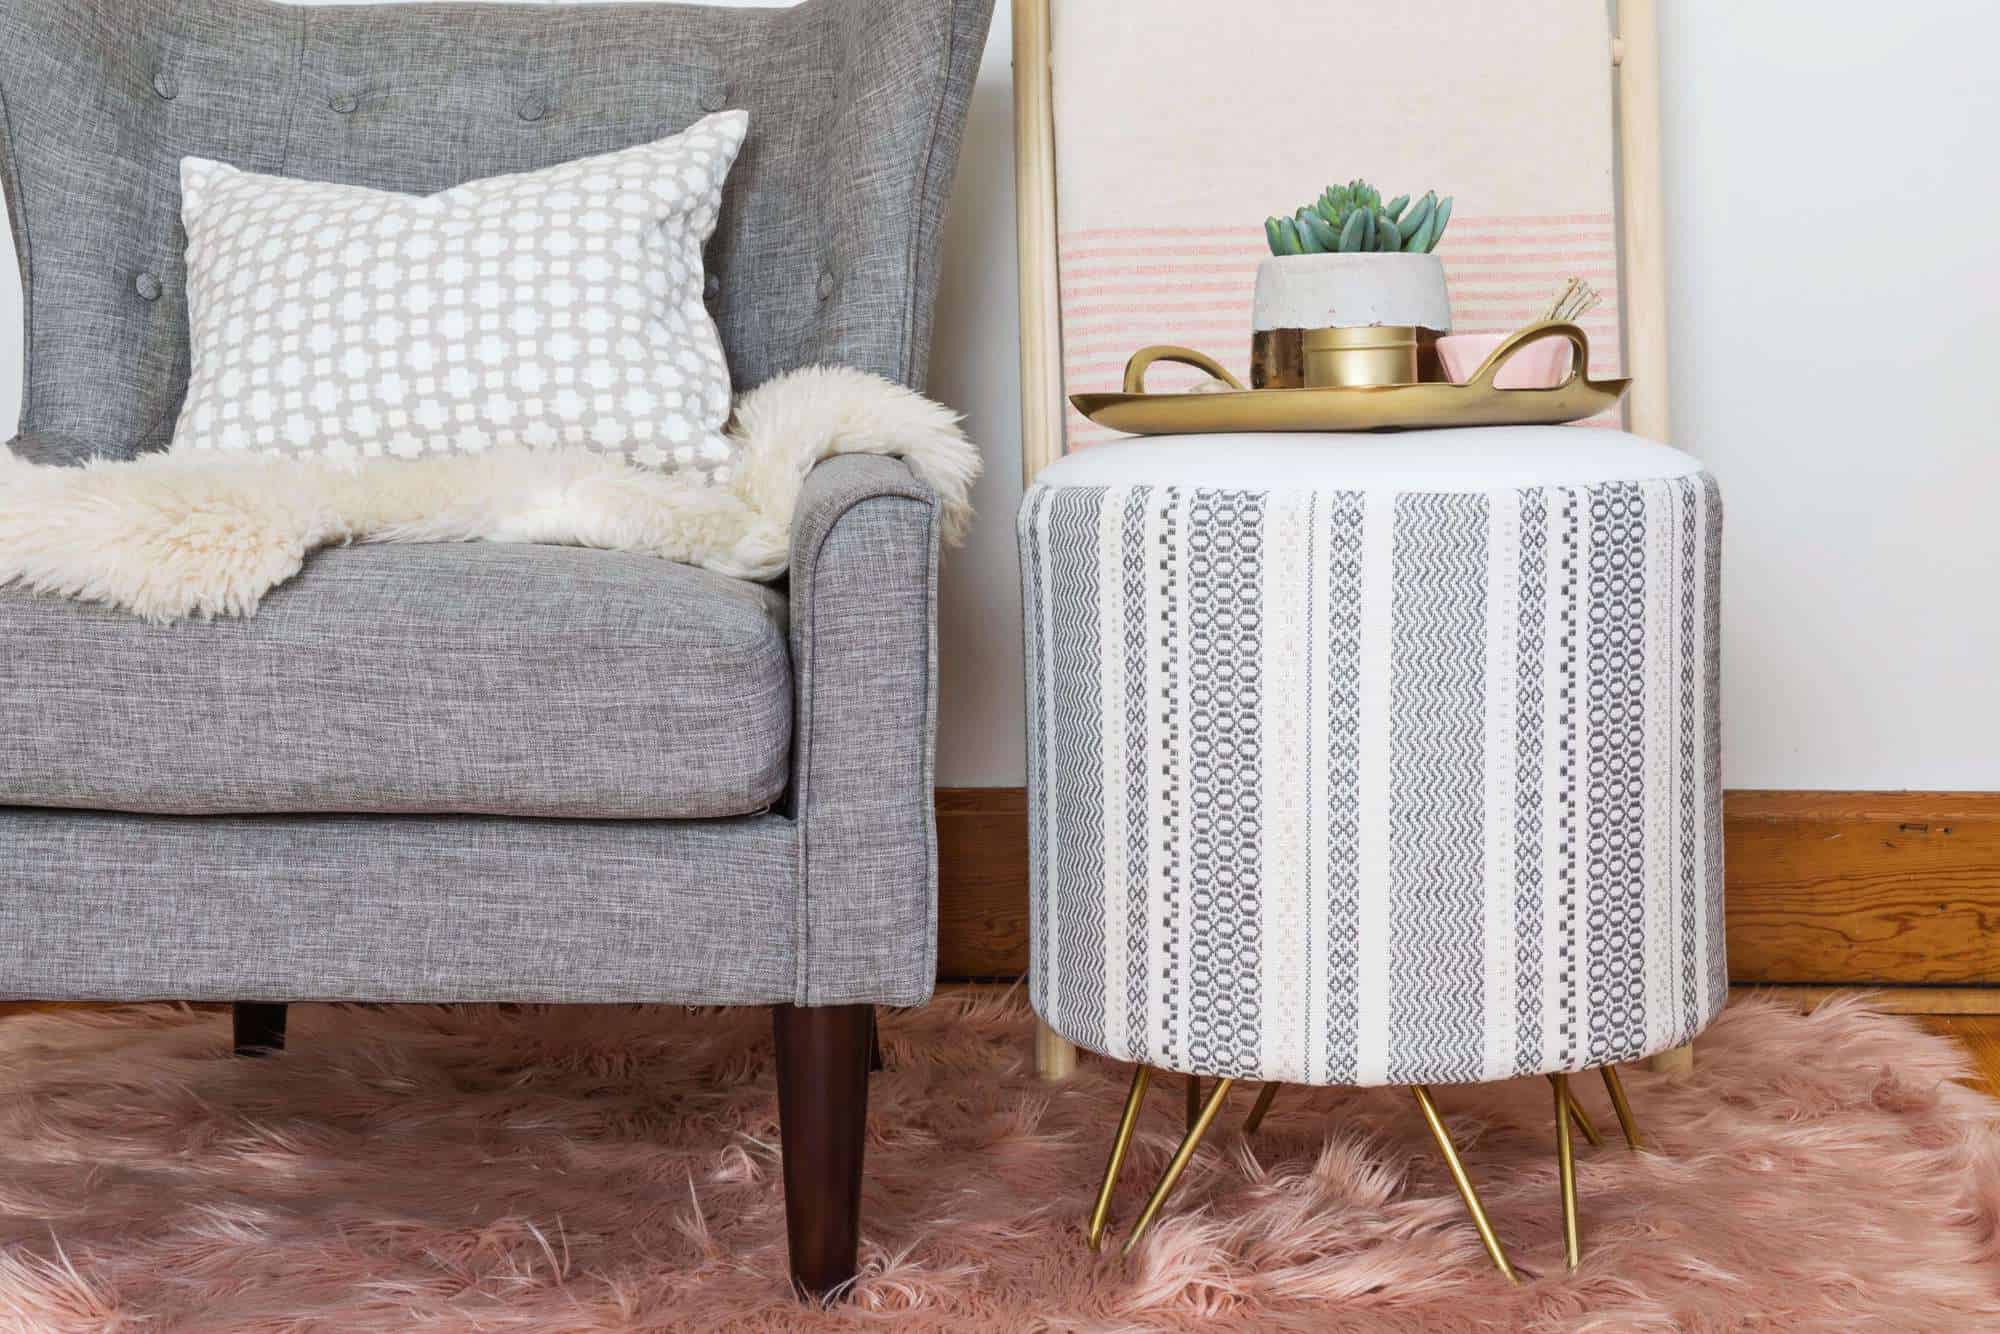
 I’ve been looking for a side table for a specific chair in our home for weeks, but wasn’t finding anything I loved. Then I saw something on Instagram that gave me an idea and immediately started figuring out where I could find supplies to make it happen. I ended up with a beautiful finished piece that has the softness I wanted as well as an interesting but neutral pattern that could work in more than one spot in our home. The finishing touch is those gold legs, though, don’t you think? Sorry kids, this is a no-sippy-cup zone!
It’s the perfect place to rest your tea or light a candle and cozy up to finish a book. It can also double as extra seating when you have guests over! Ditch the legs and you’ve got an ottoman! I mean, this is a piece of furniture that will earn its keep in your home. You’re welcome.
 Supplies
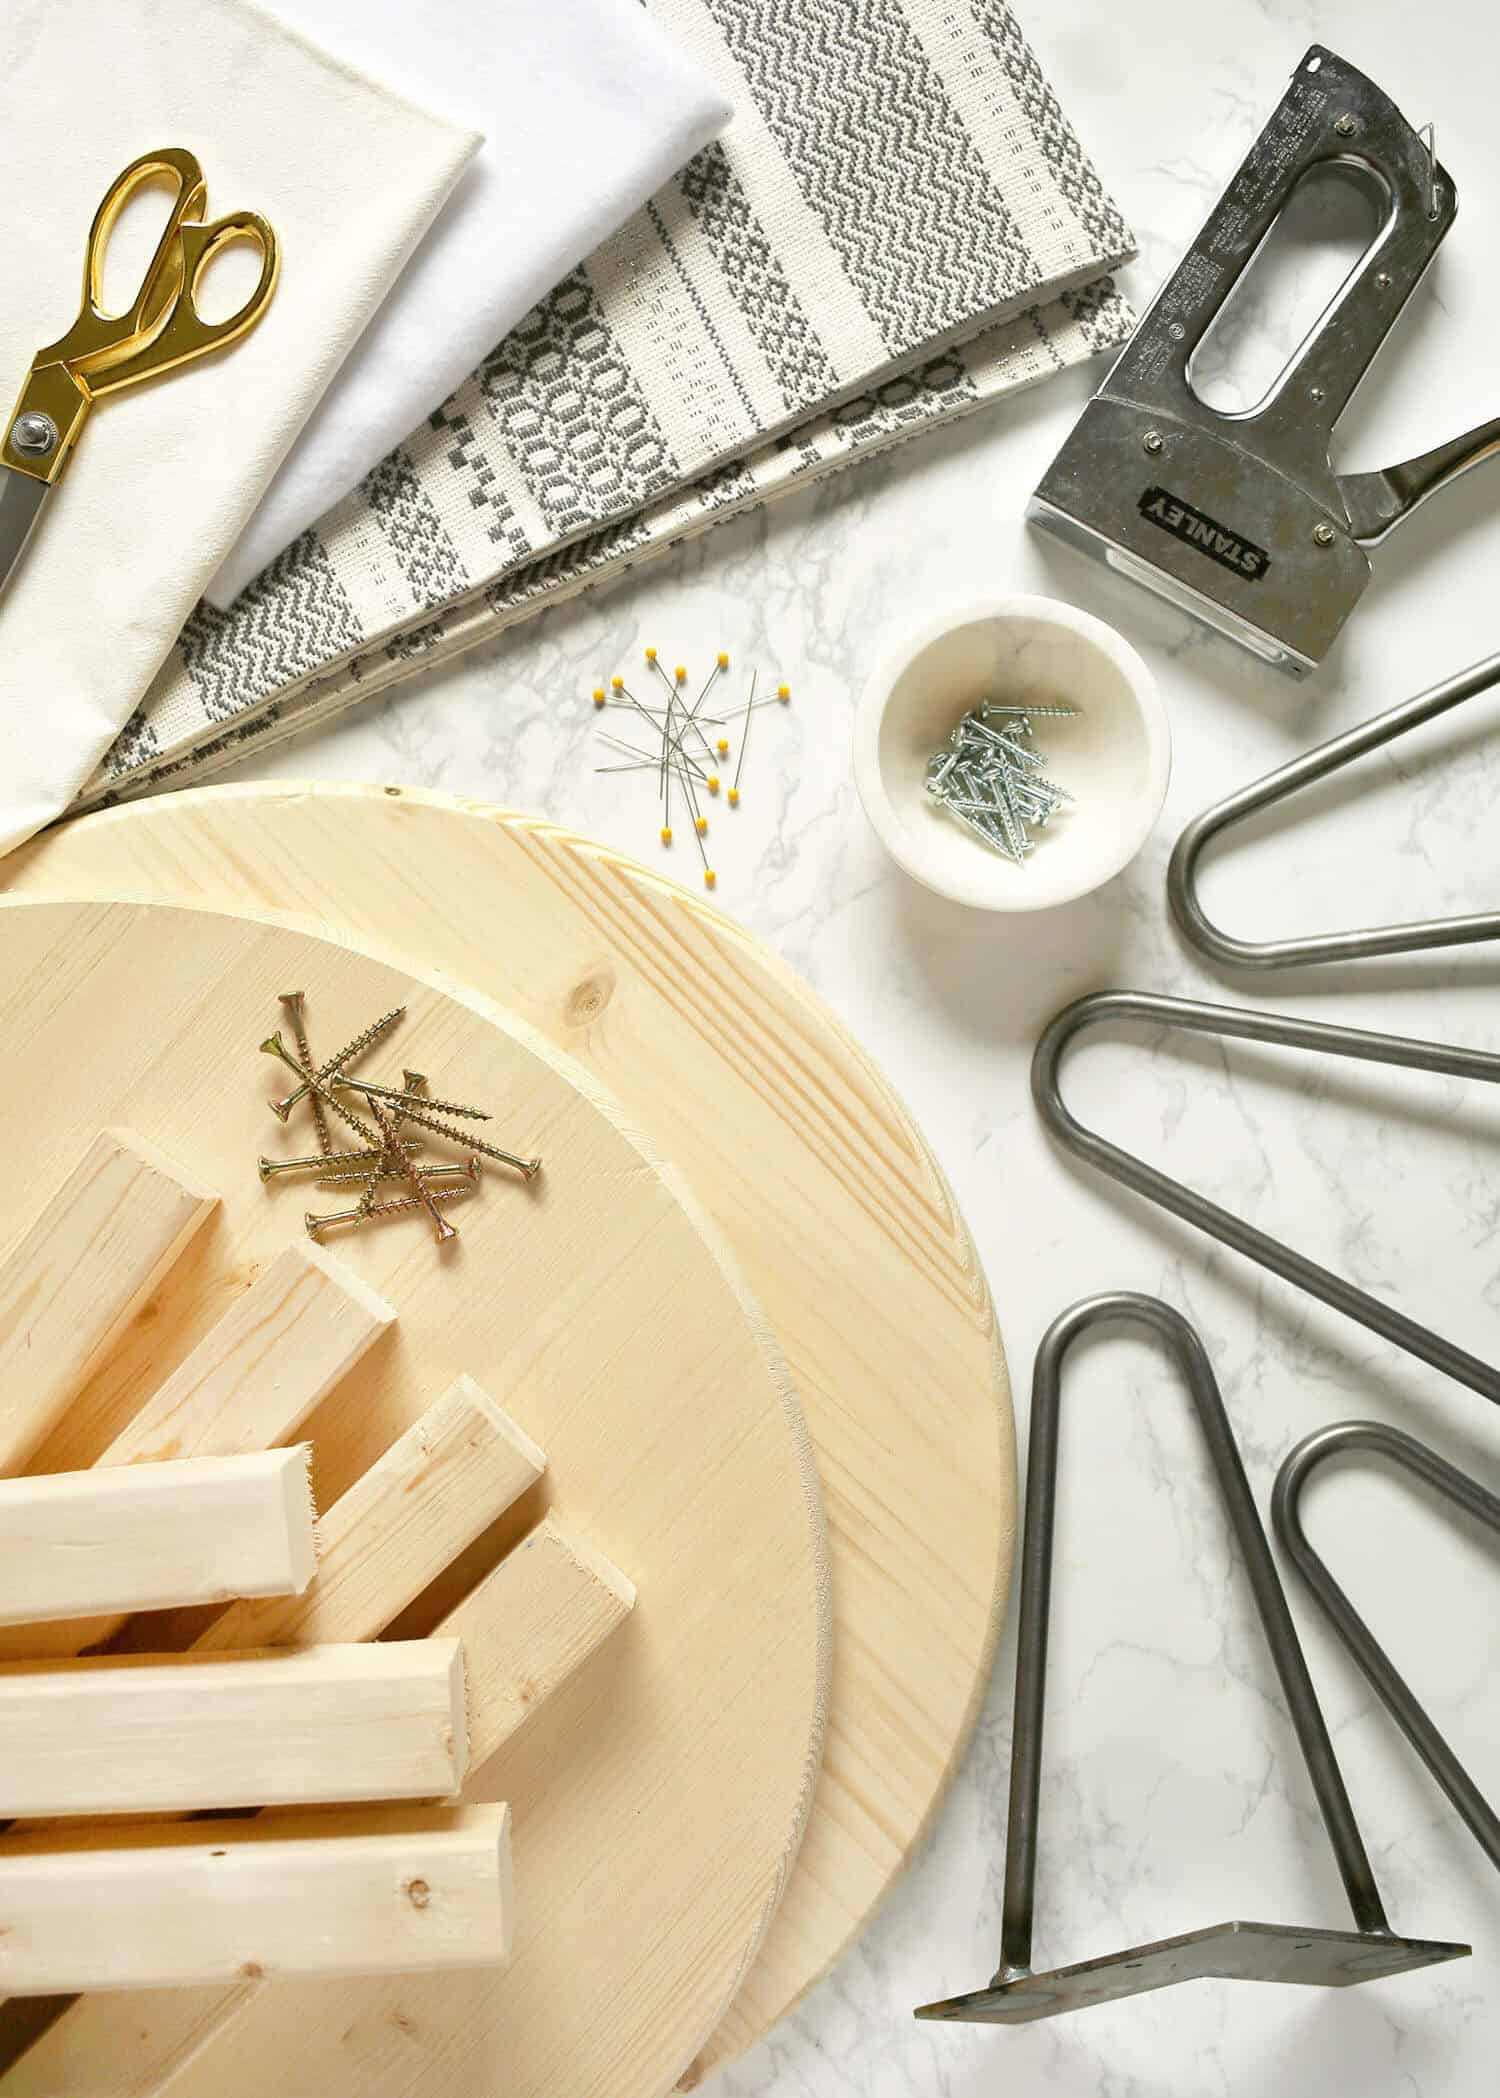
-two 17″ pre-cut rounds
-eight pieces of wood that measure 2″x 2″x10″
–sixteen 8 by 2″ wood screws
-power drill
–four 6″ hairpin legs (purchase gold or just spray paint the raw steel legs). Screws included if purchased here.
–one 2″x22″x22″ cut of foam
–45″x60″ high loft quilt batting
–14″x72″ table runner (or similar length of upholstery weight fabric)
-1.75 yards of canvas (or similar size of upholstery weight fabric)
-straight pins
-sewing machine
-scissors
–staple gun
–1/2″ leg length staples
-wood glue (optional)
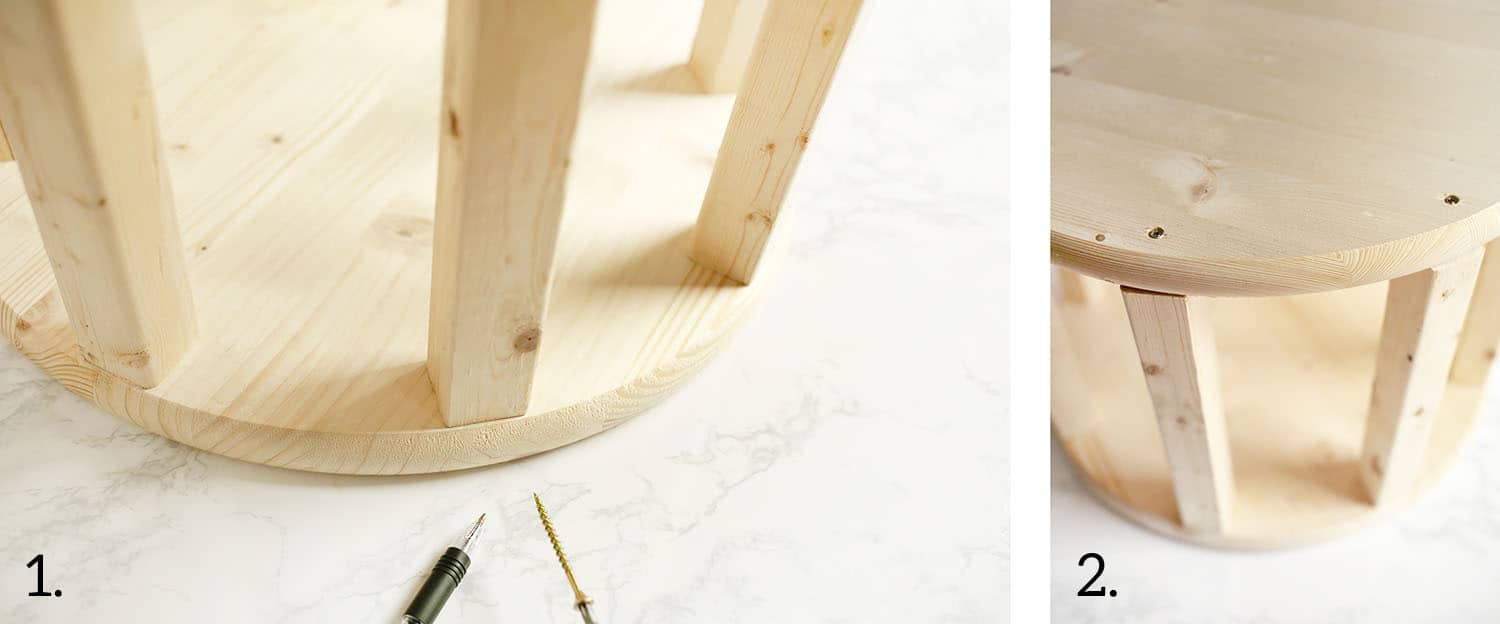 Step One: Build out the frame of your ottoman by evenly spacing your eight cuts of 2″x2″x10″ wood around the edge of one 17″ round. You want the edge of your 2″x2″x10″ pieces flush against the side of your round as shown. Screw them to the round cut with one wood screw each.
Step Two: Place the second 17″ round on top of the other end of your 2″x2″x10″ pieces and screw them in one at a time. Make sure each piece is flush as you screw it together.
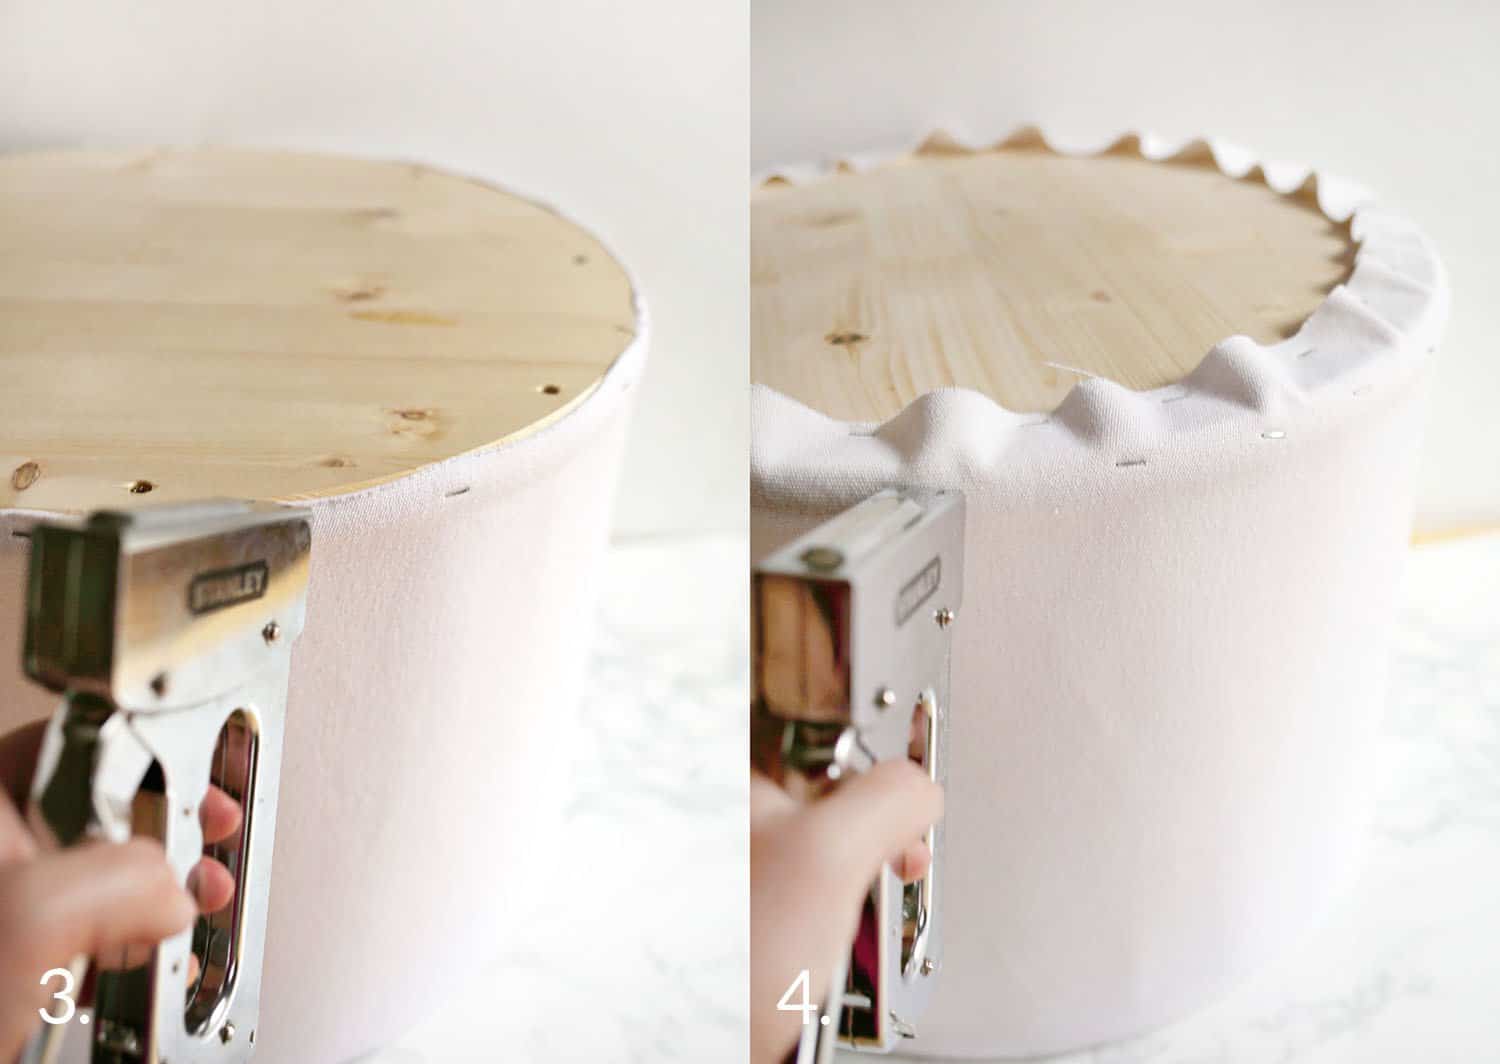 Step Three: Cut a 15″ x 60″ length of canvas. Place it so that one long edge is flush with the top of the top round. Staple every three inches while you pull the fabric taut against the wooden frame. Continue until you’ve come all the way around and overlapped your fabric by 1/2″. This is now the top of your ottoman.
Step Four: Flip your frame. Pull the other long edge of your fabric up and over the edge of the bottom of your bottom round. Staple on opposite sides as you move around the frame. Your fabric should be pulled taut as you go. Add more staples along the edge of your round as needed. Staple down your bubbles as well. I kind of went crazy with the staples at this point. Ha!
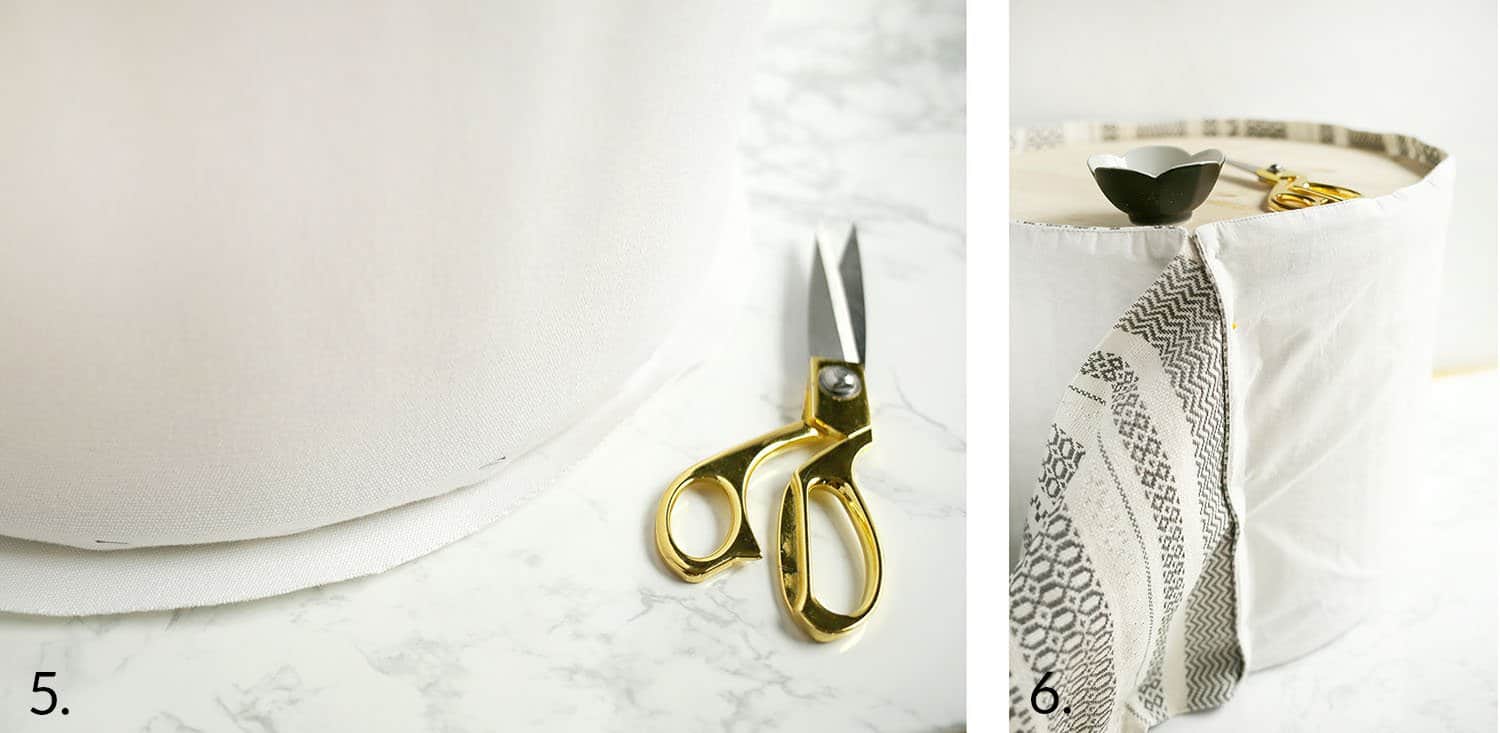 Step Five: Place your frame on top of your white canvas and use it as a guide to cut out a 19″ circle. This will be the top piece of fabric to cover your side table. Set aside.
Step Six: Wrap your table runner around the side table with the right side of the fabric facing inward. Pinch the short end up against where it meets the other end and add straight pins. It should fit snugly against the frame of the ottoman. Trim off the excess fabric from your table runner. Gently pull it off of your frame.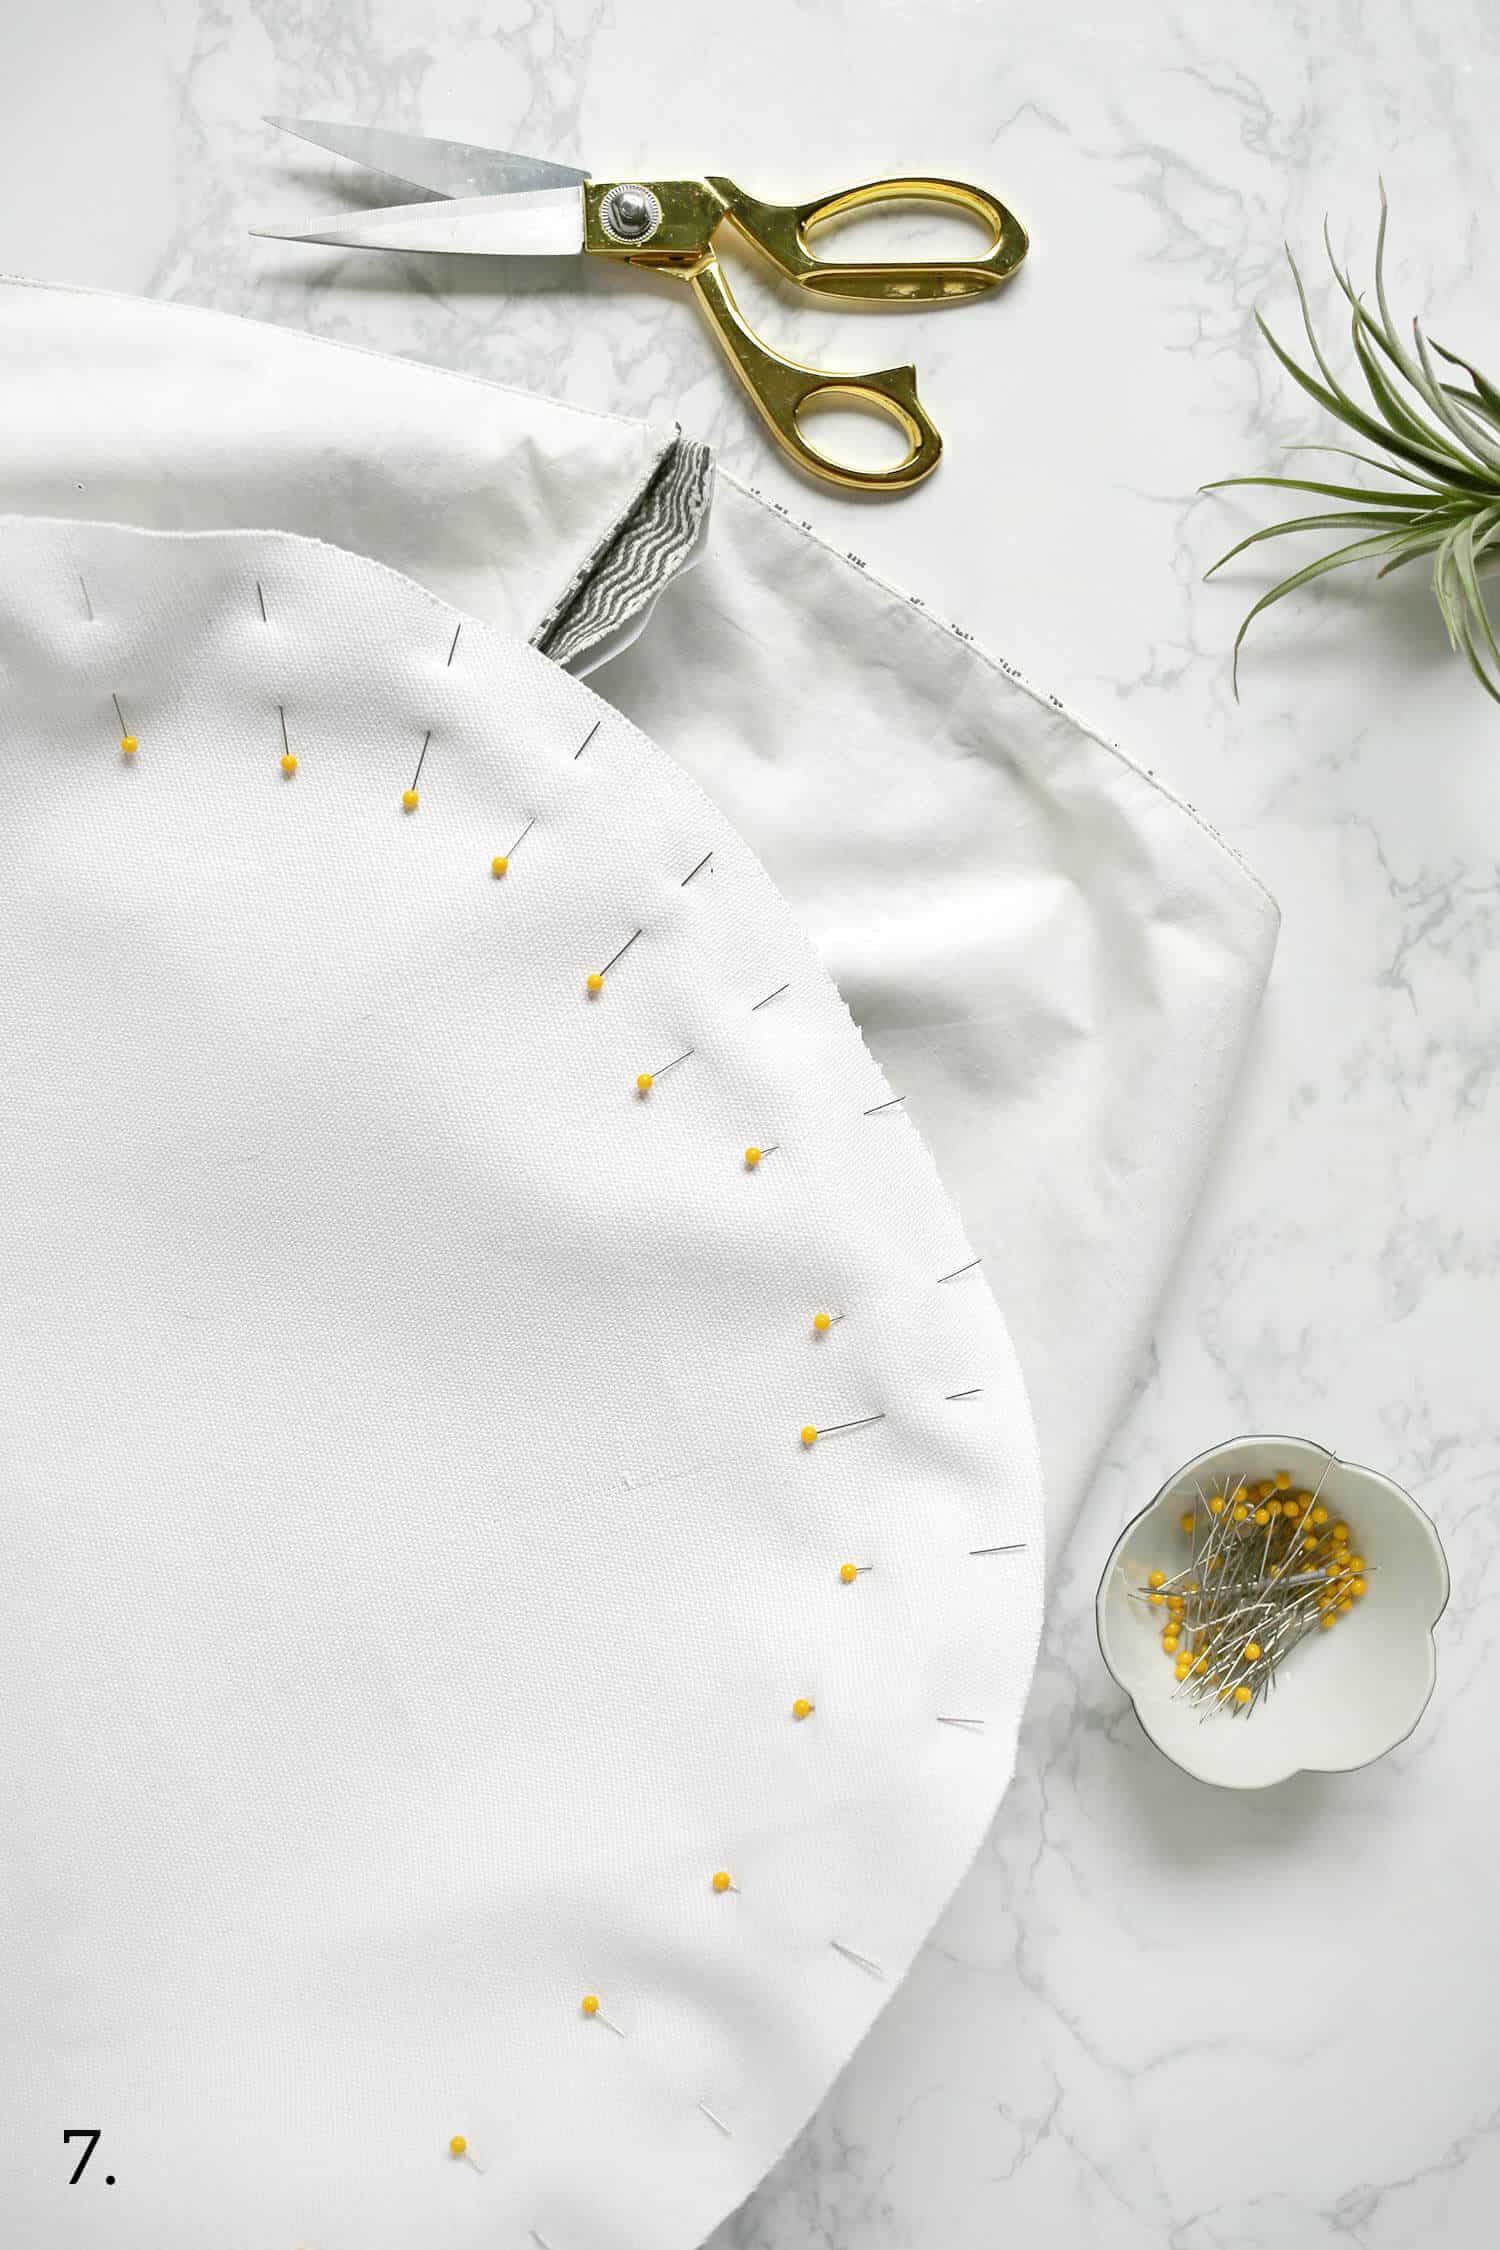 Step Seven: Pin the circular cut of canvas to the inside (right side) of your table runner. Stitch these together and trim off the excess.
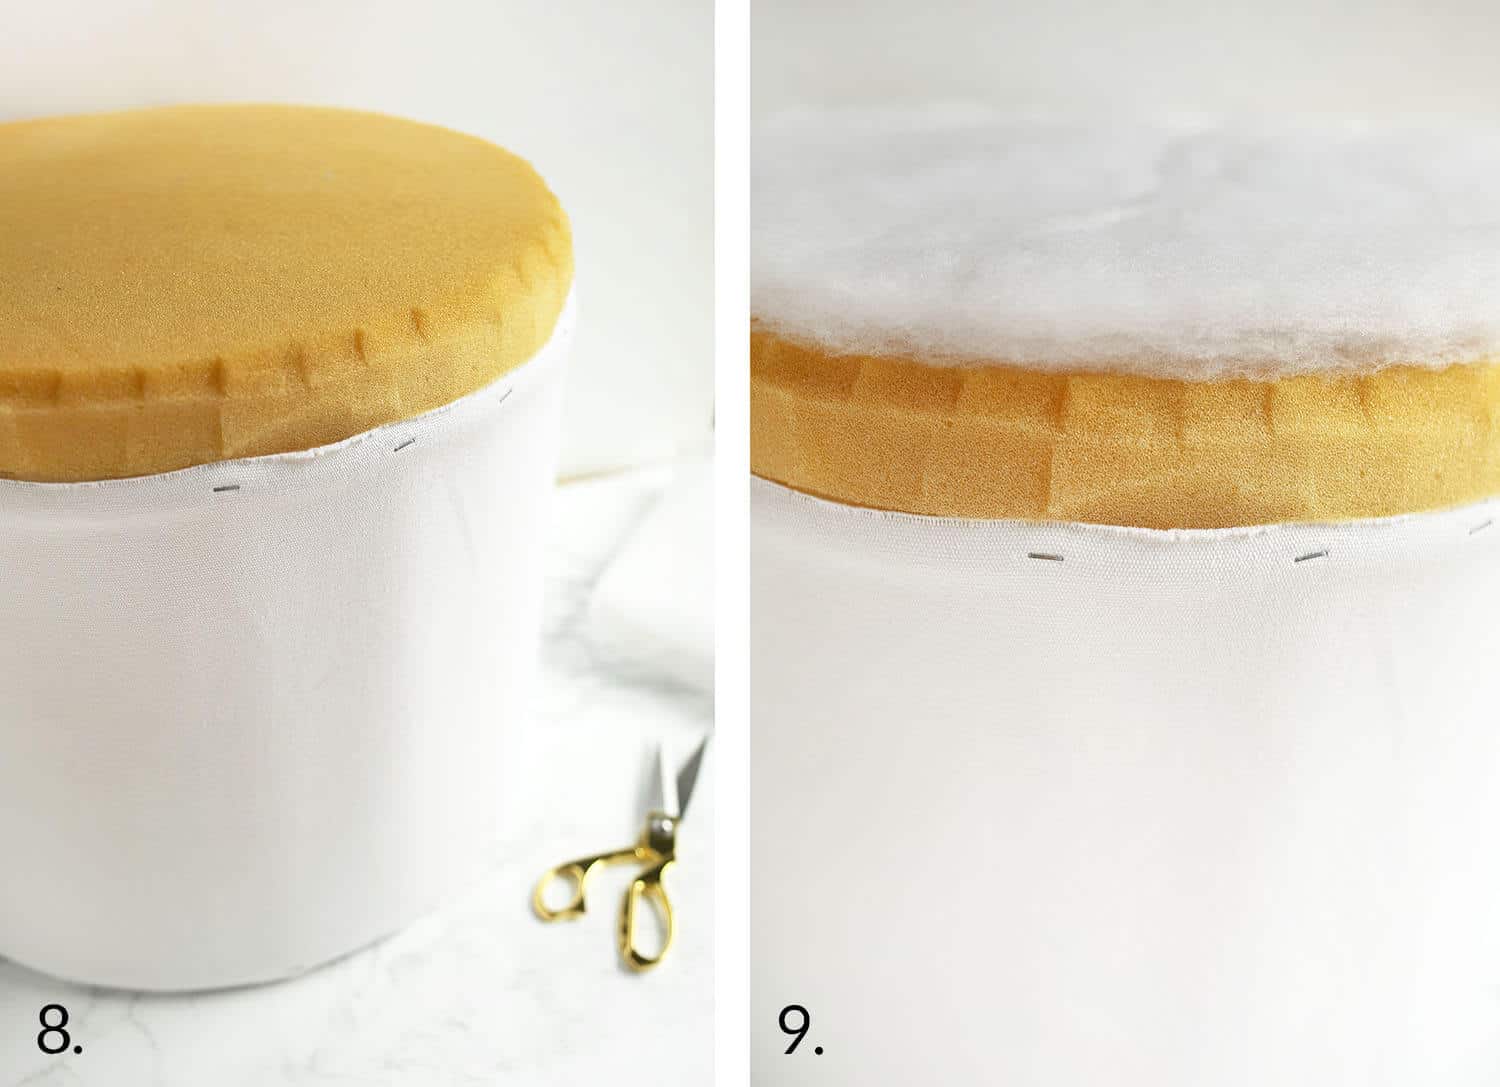 Step Eight: Place your ottoman on top of your 2″x22″x22″ foam and trace a circle. Cut it out with your sharp scissors.
Step Nine: Do the same with your high loft batting and trace a circle. Cut it out and place on top of your 2″ foam circle. 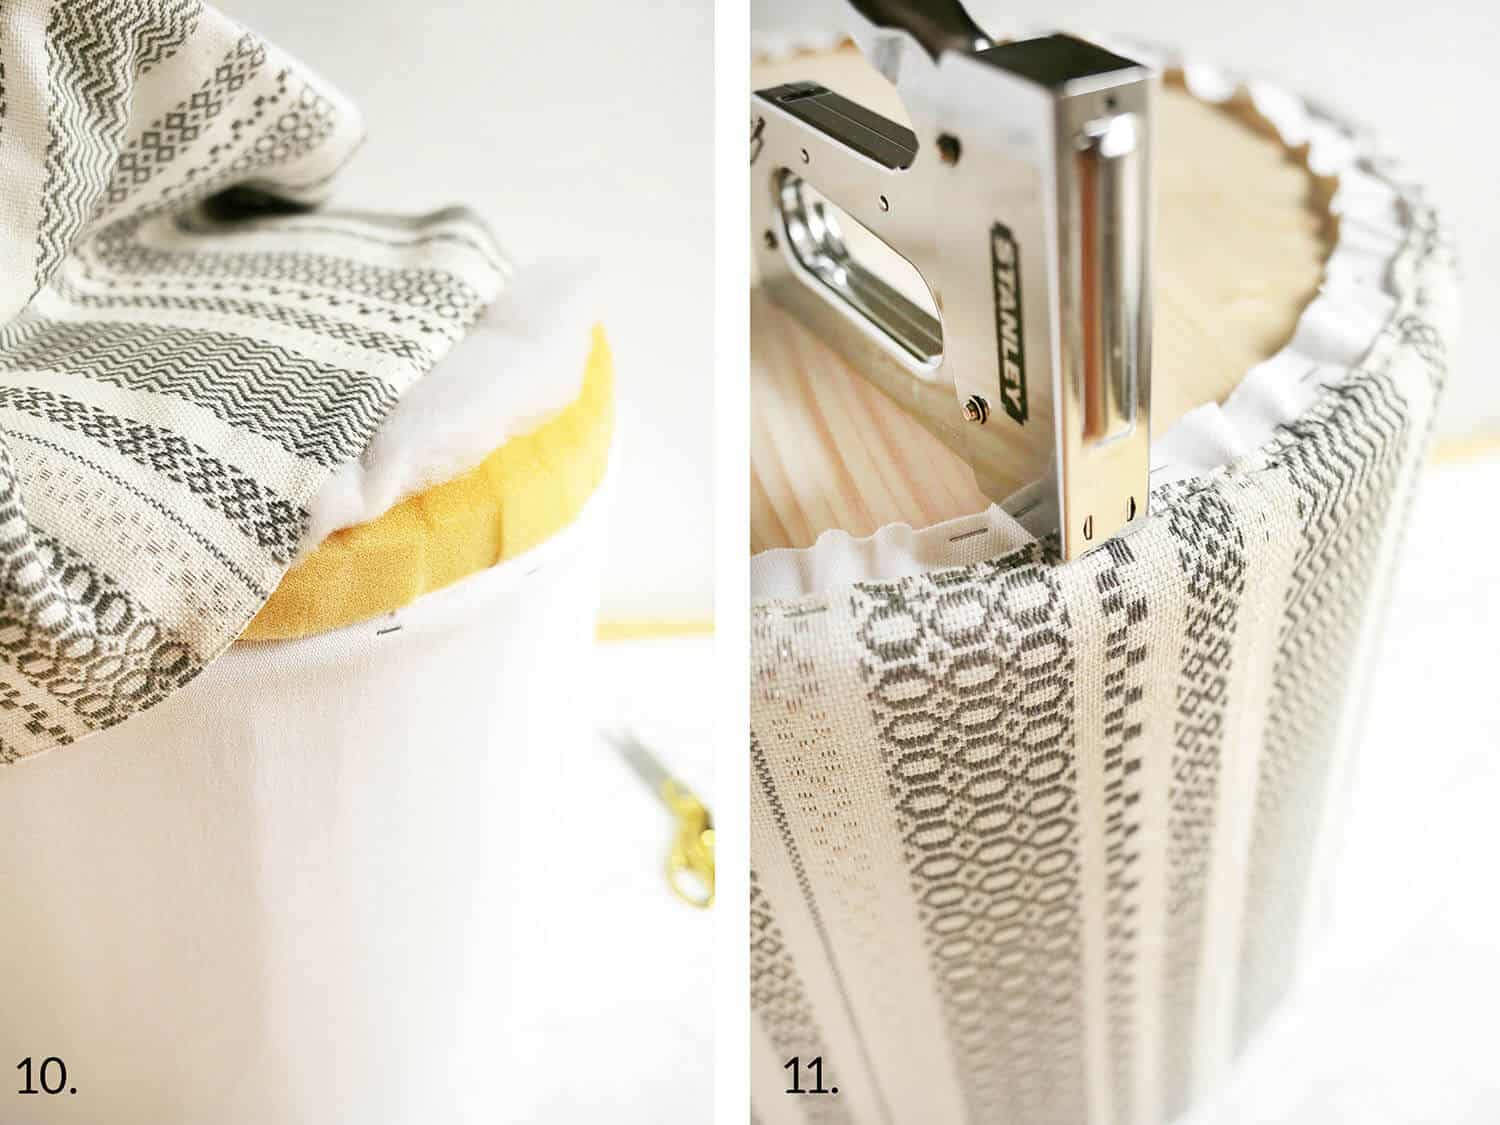 Step Ten: Turn your fabric shell right side out and pull it over the foam and down over the ottoman so that it fits snugly.
Step Eleven: Flip your ottoman upside down again and pull the bottom edge of your table runner just over the lip of the bottom round and staple in place. Repeat on the opposite side. Continue stapling on opposite sides so that nothing goes lopsided.
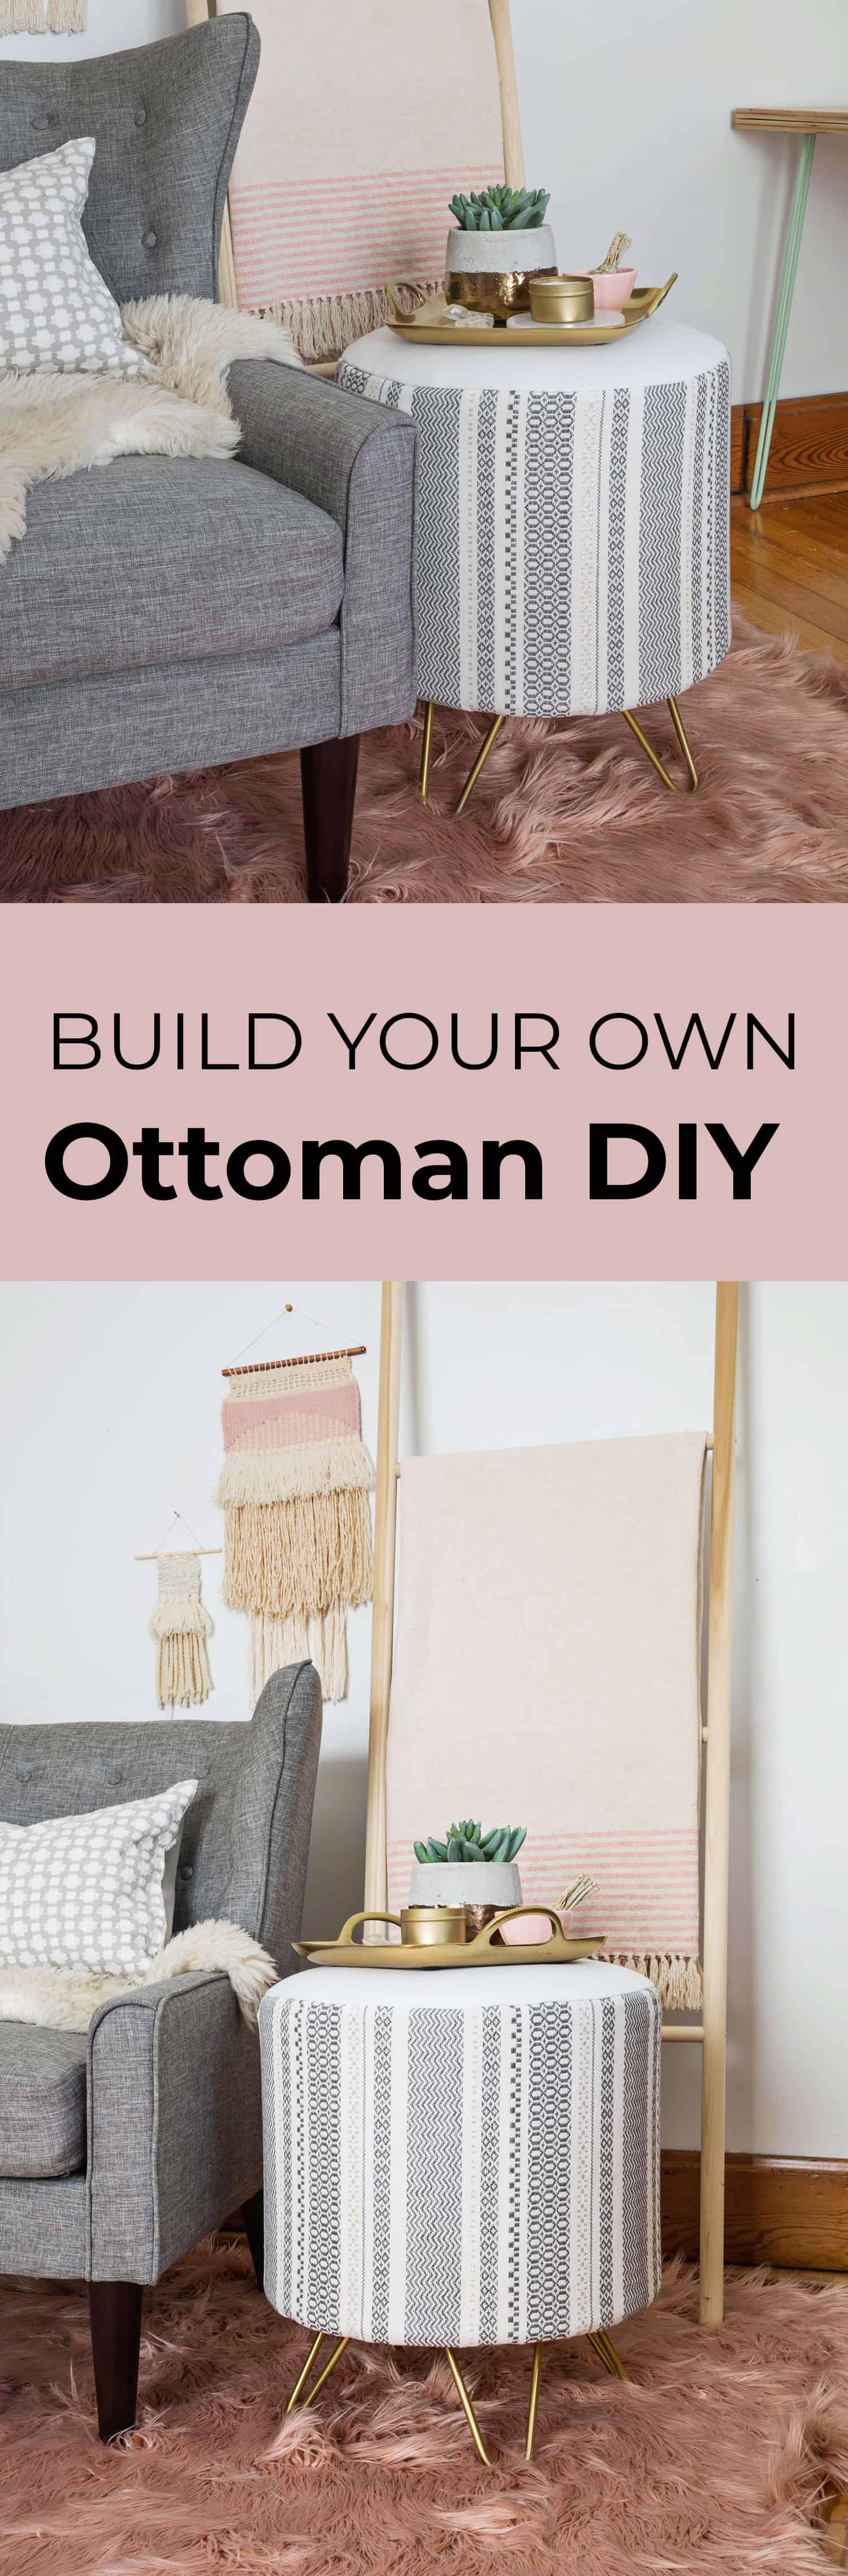
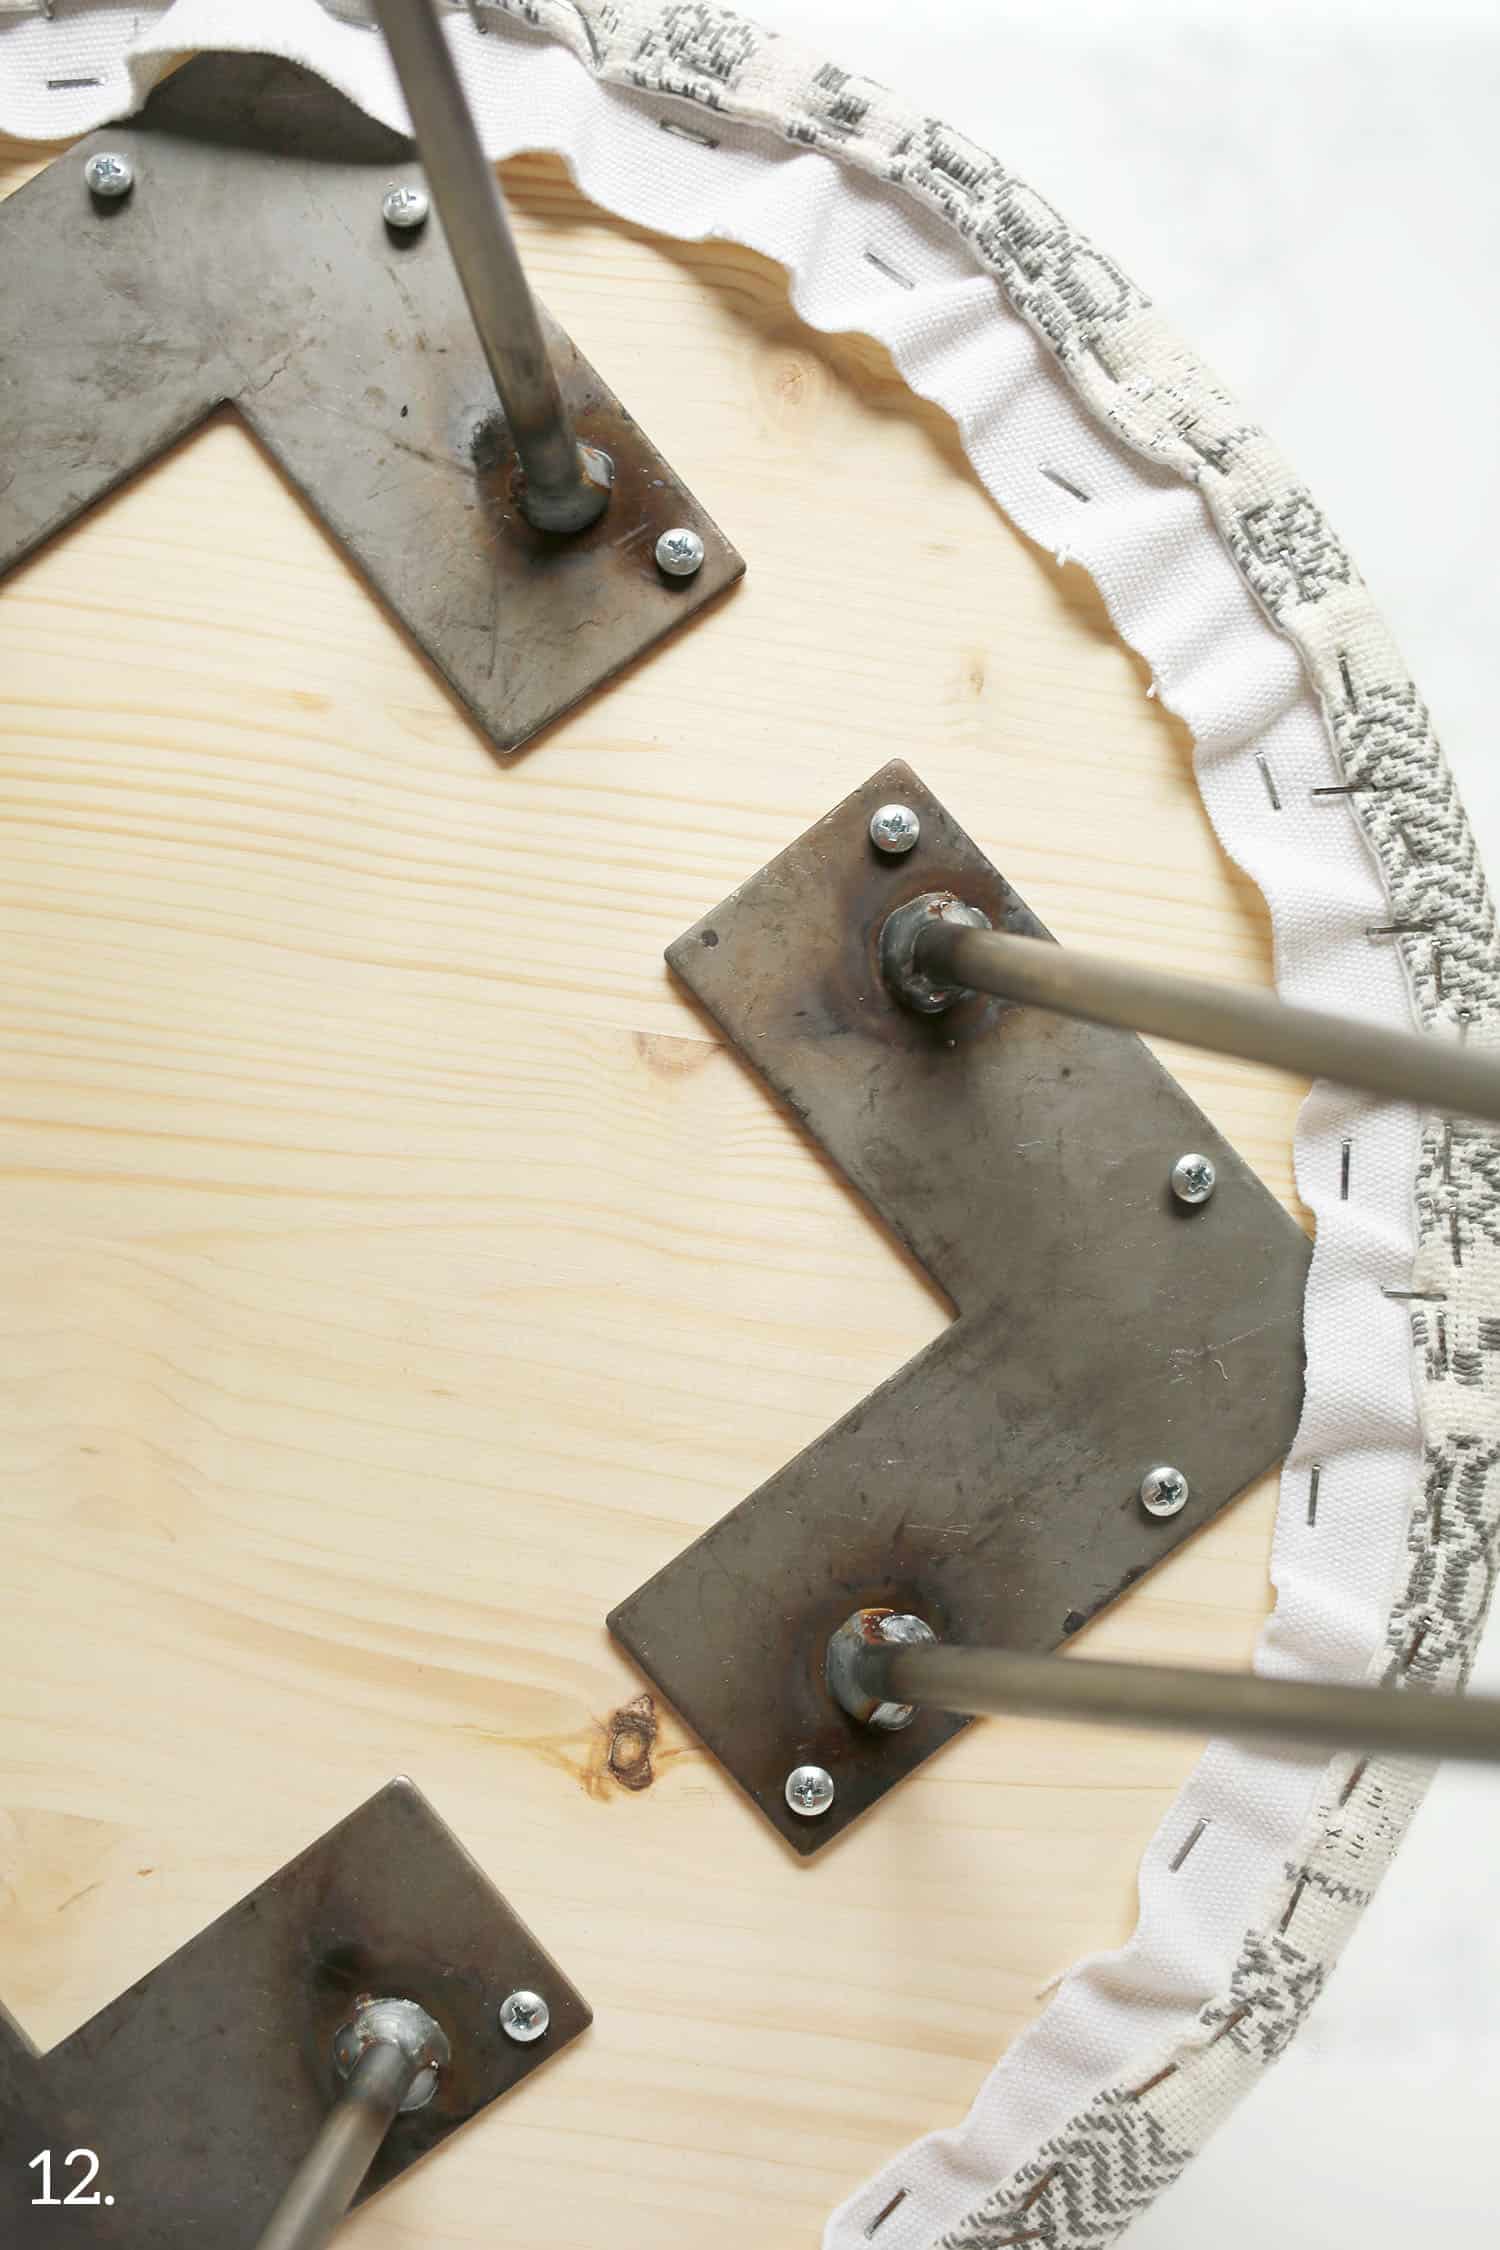 Step Twelve: Put your hairpin legs in place, mark your screw holes, and attach. OR skip the hairpin legs to make it an ottoman. You could also switch these out for painted or stained wooden legs. I originally had raw steel legs on mine but realized I needed something a bit fancier.
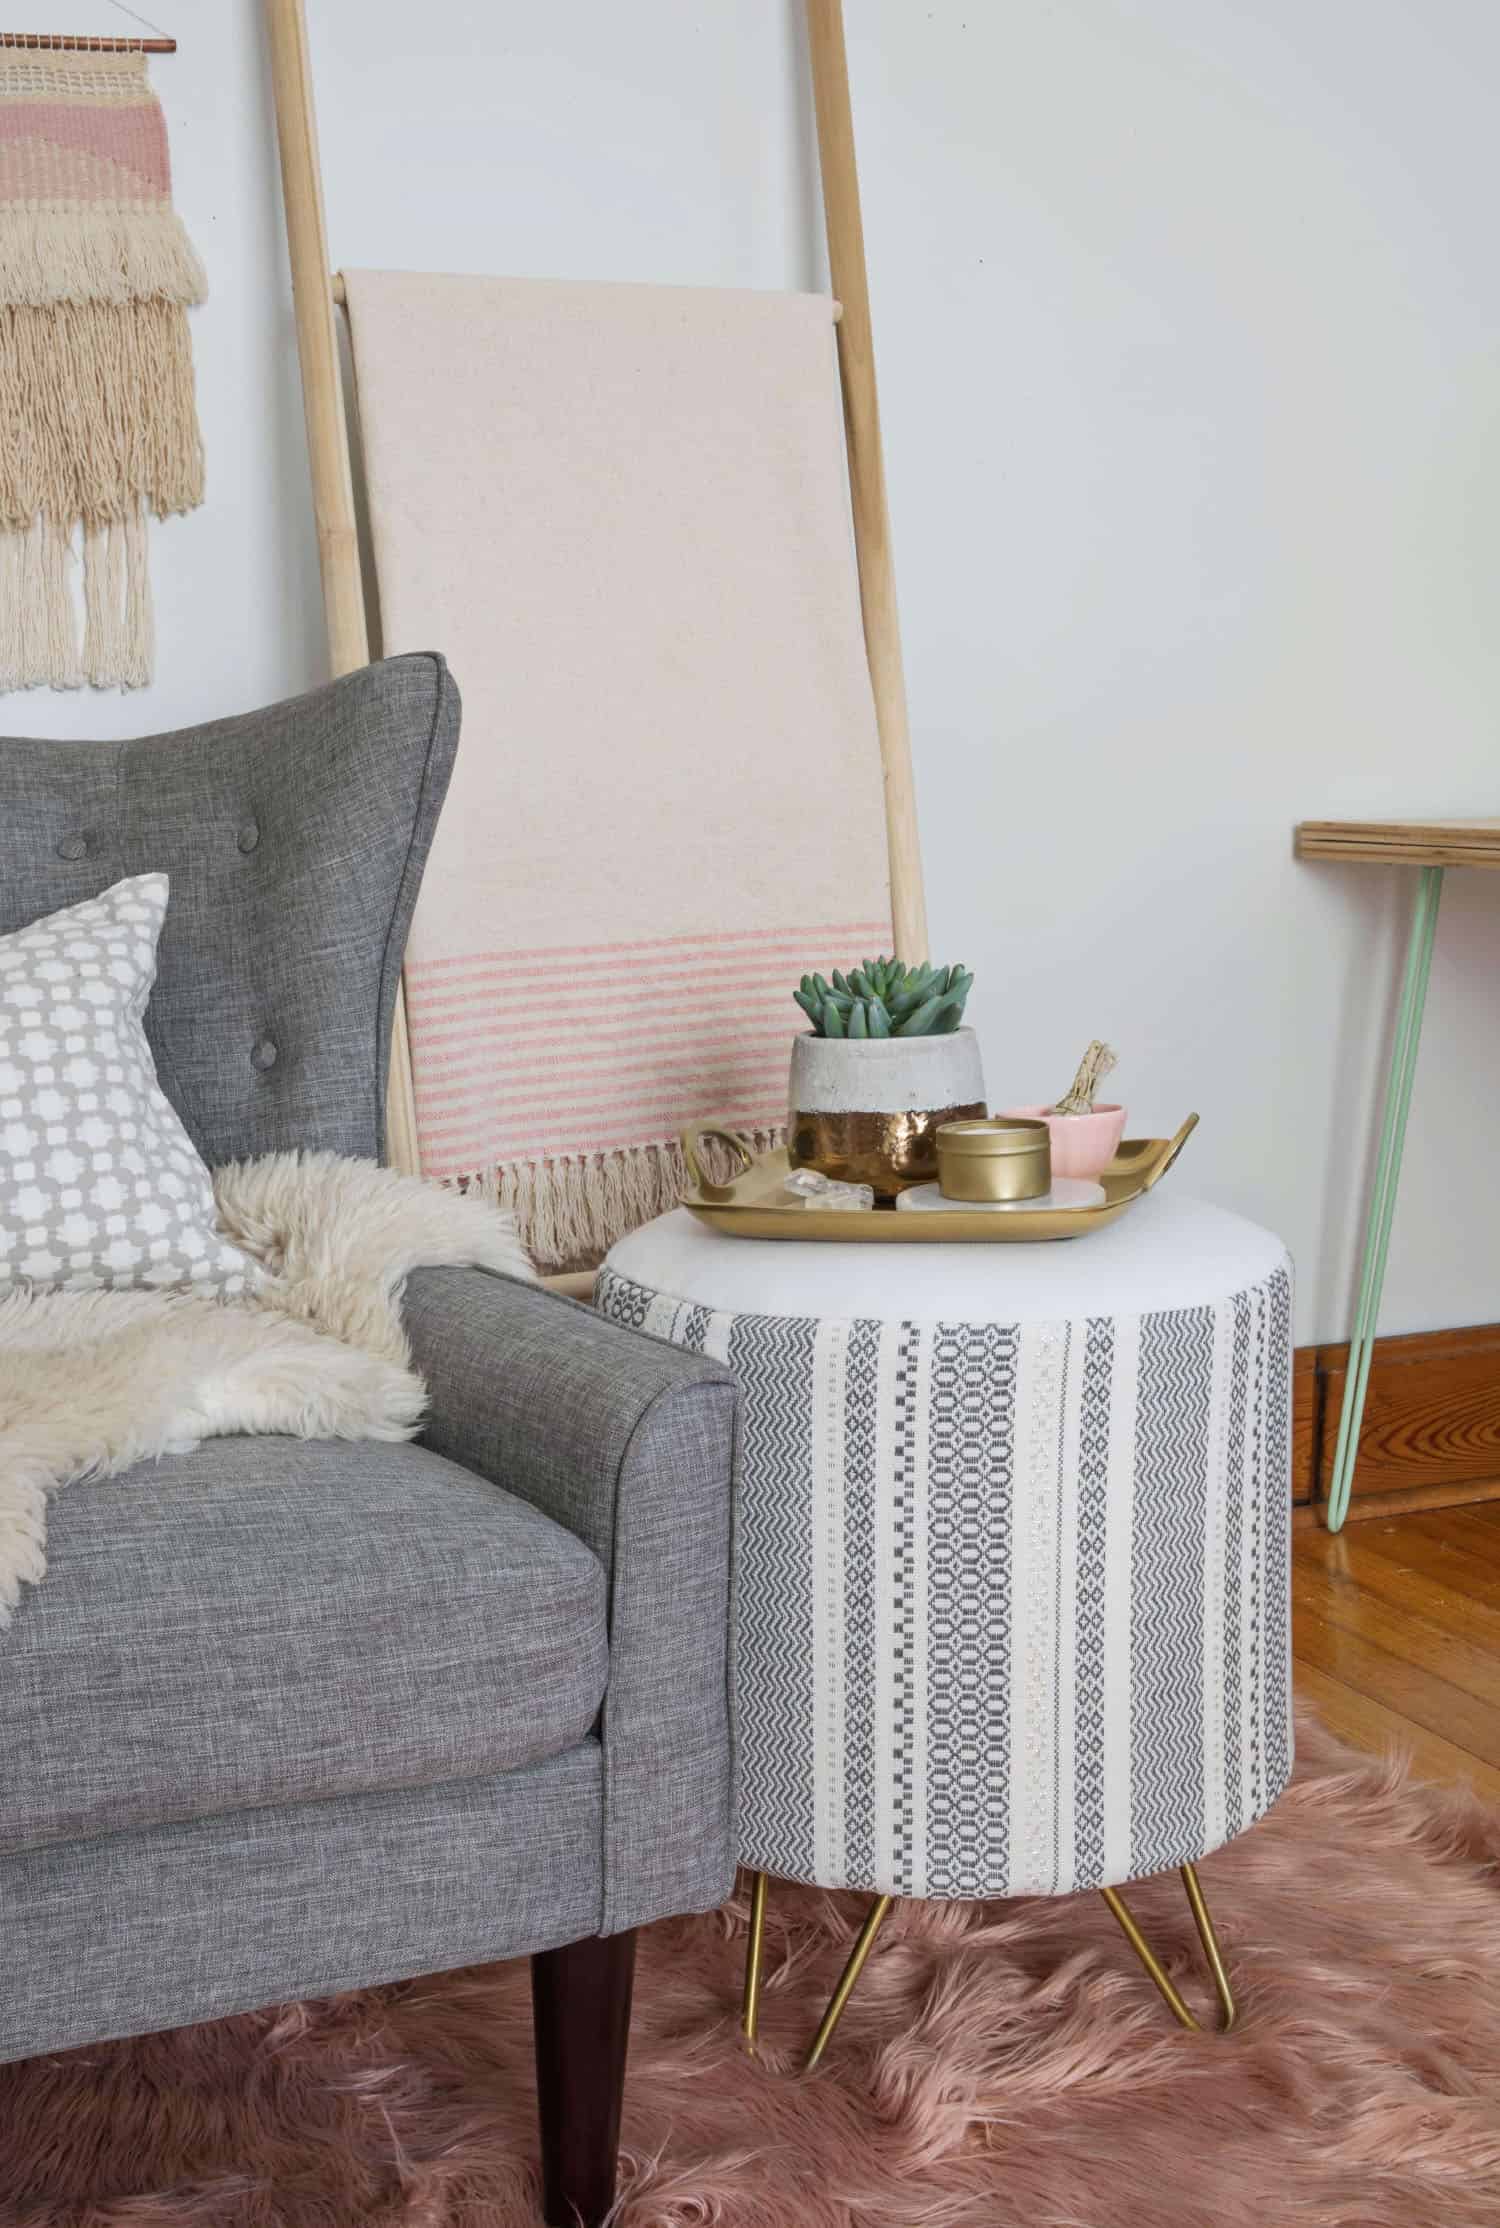
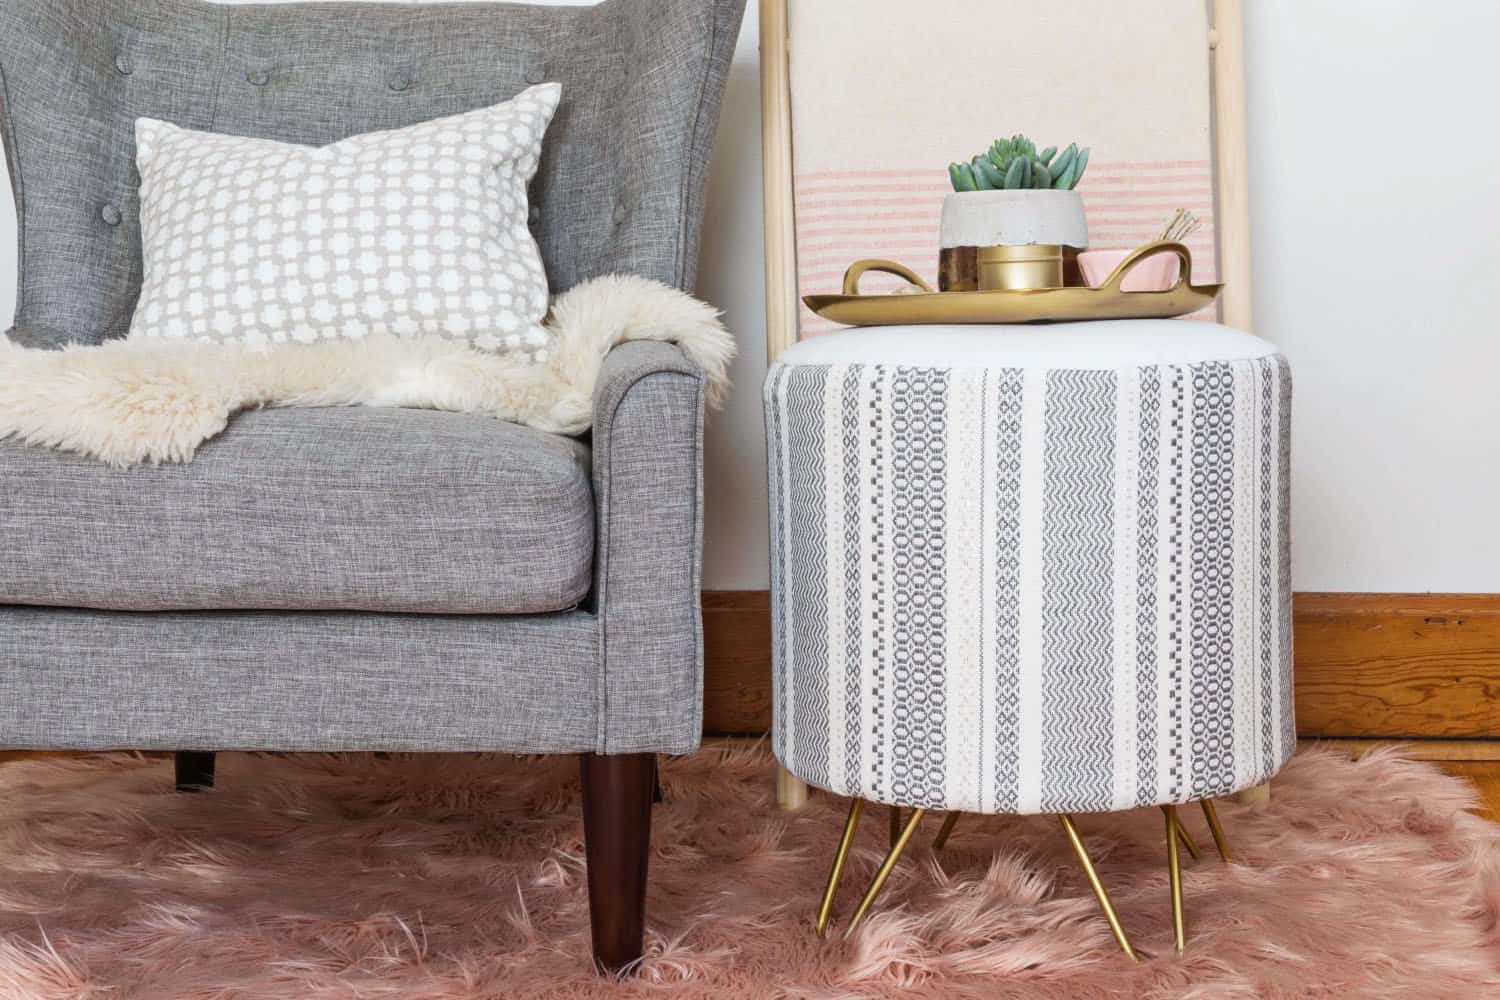
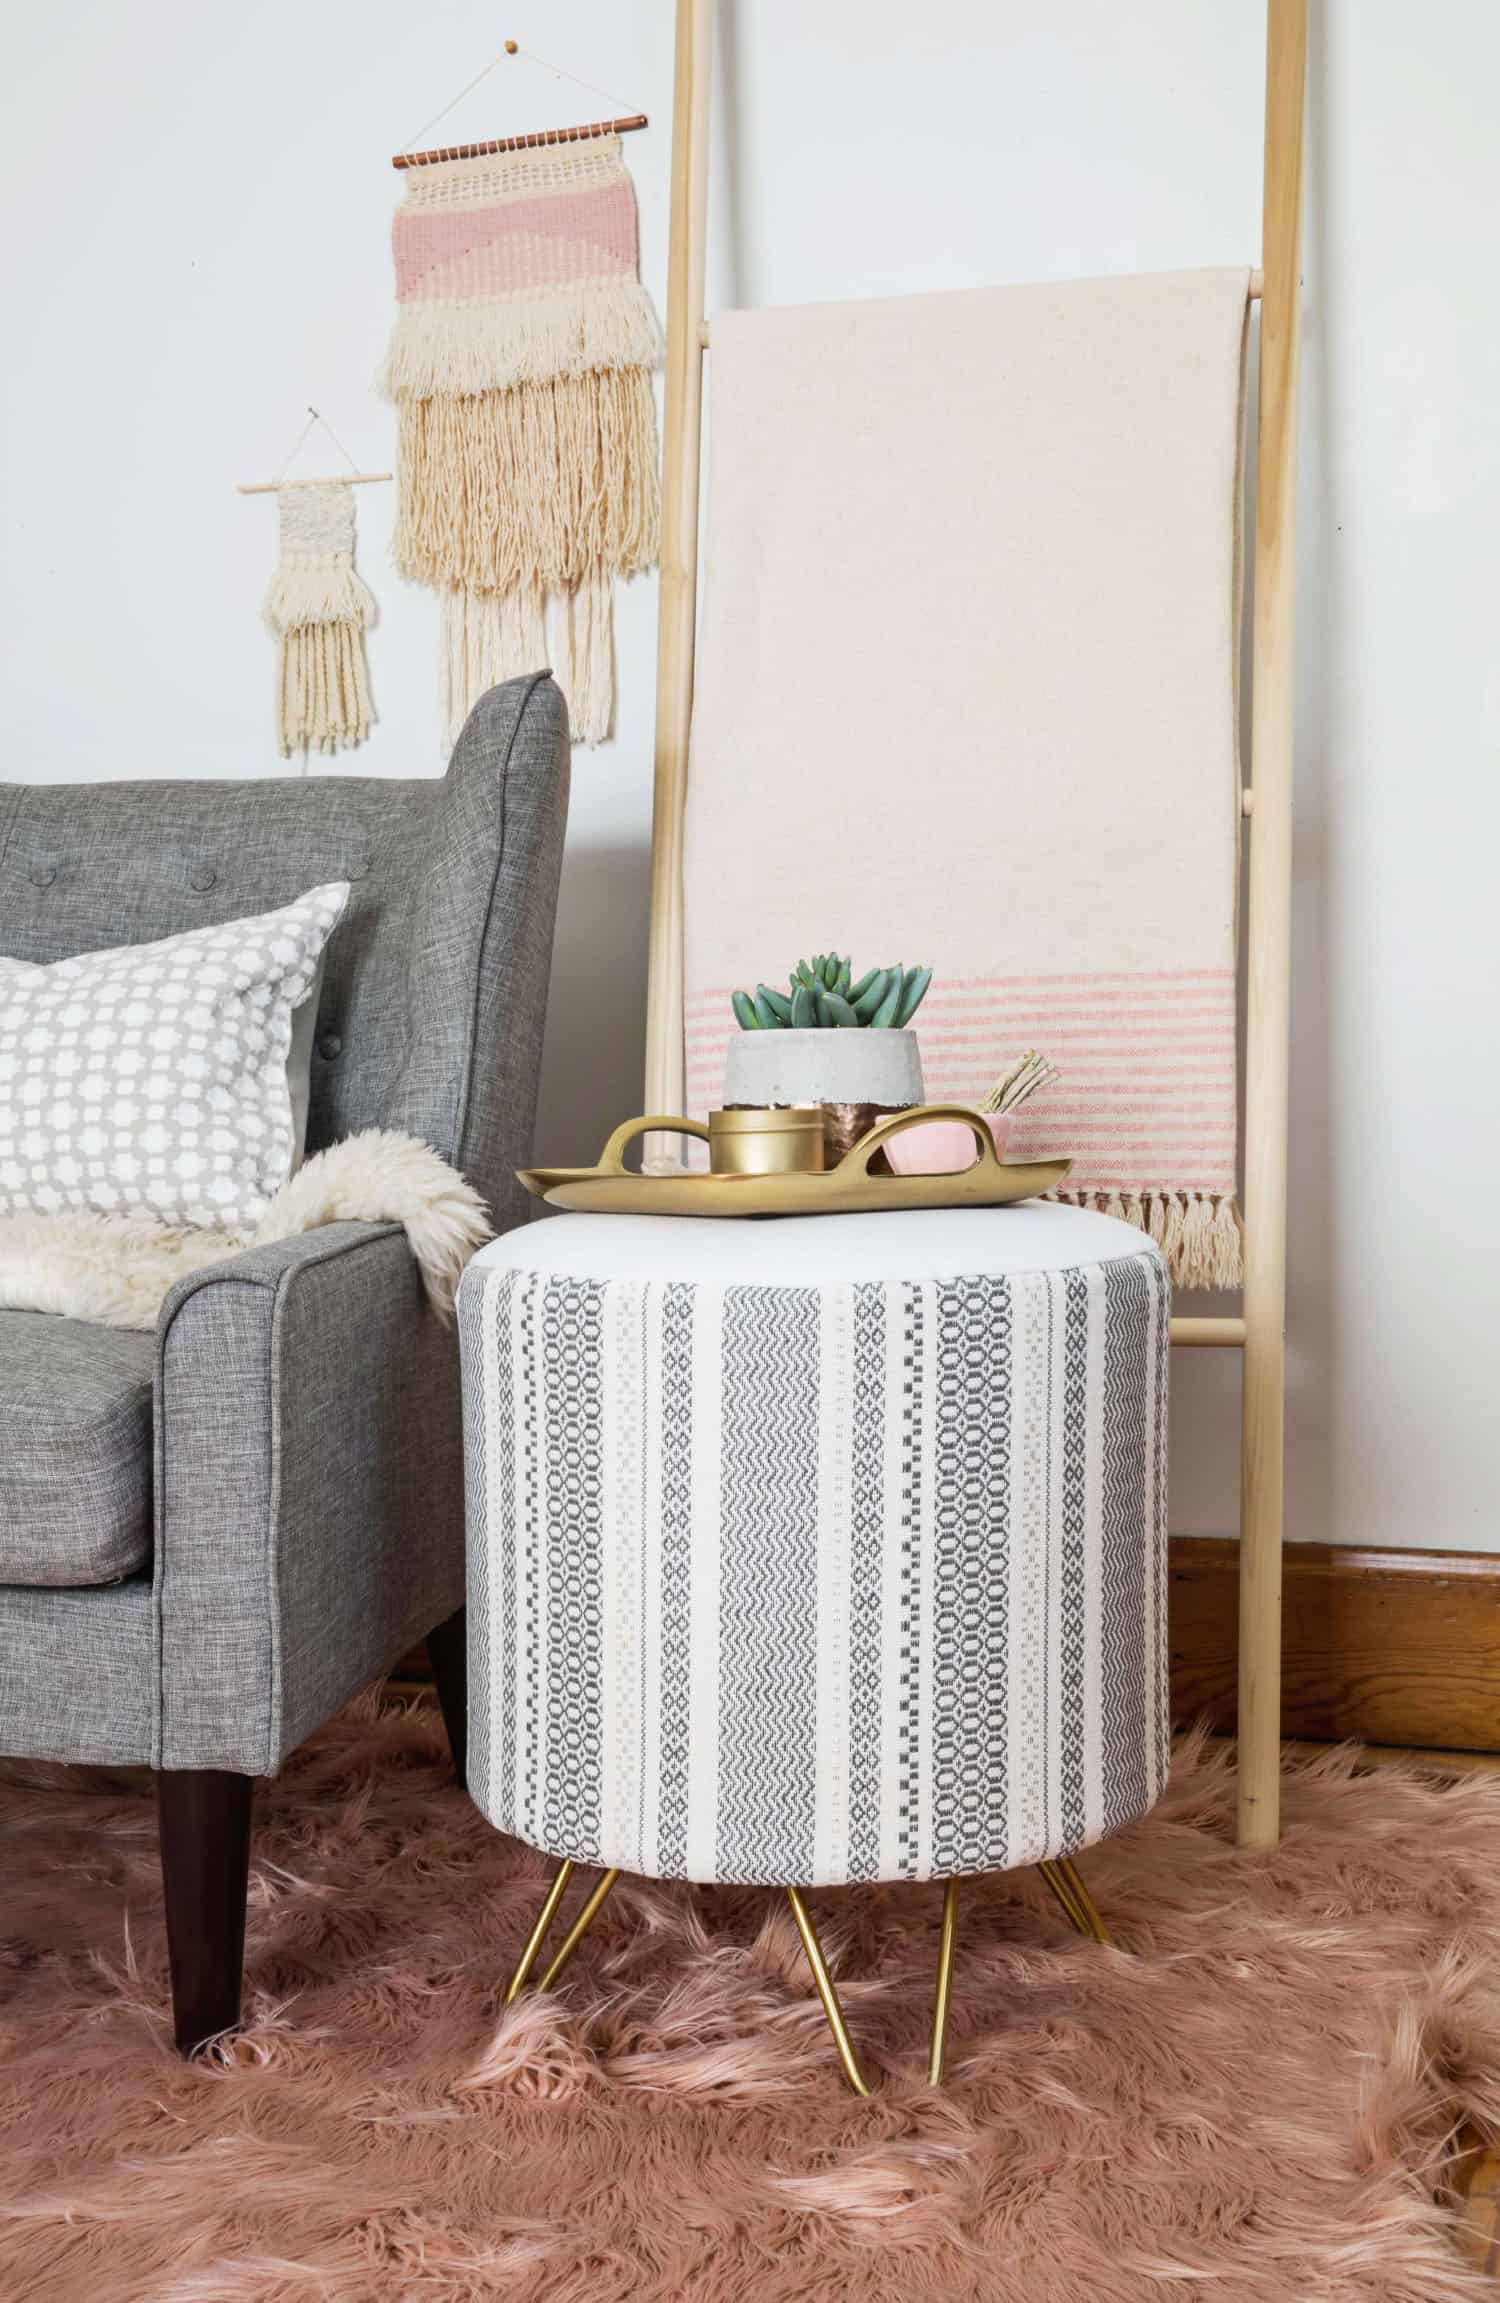
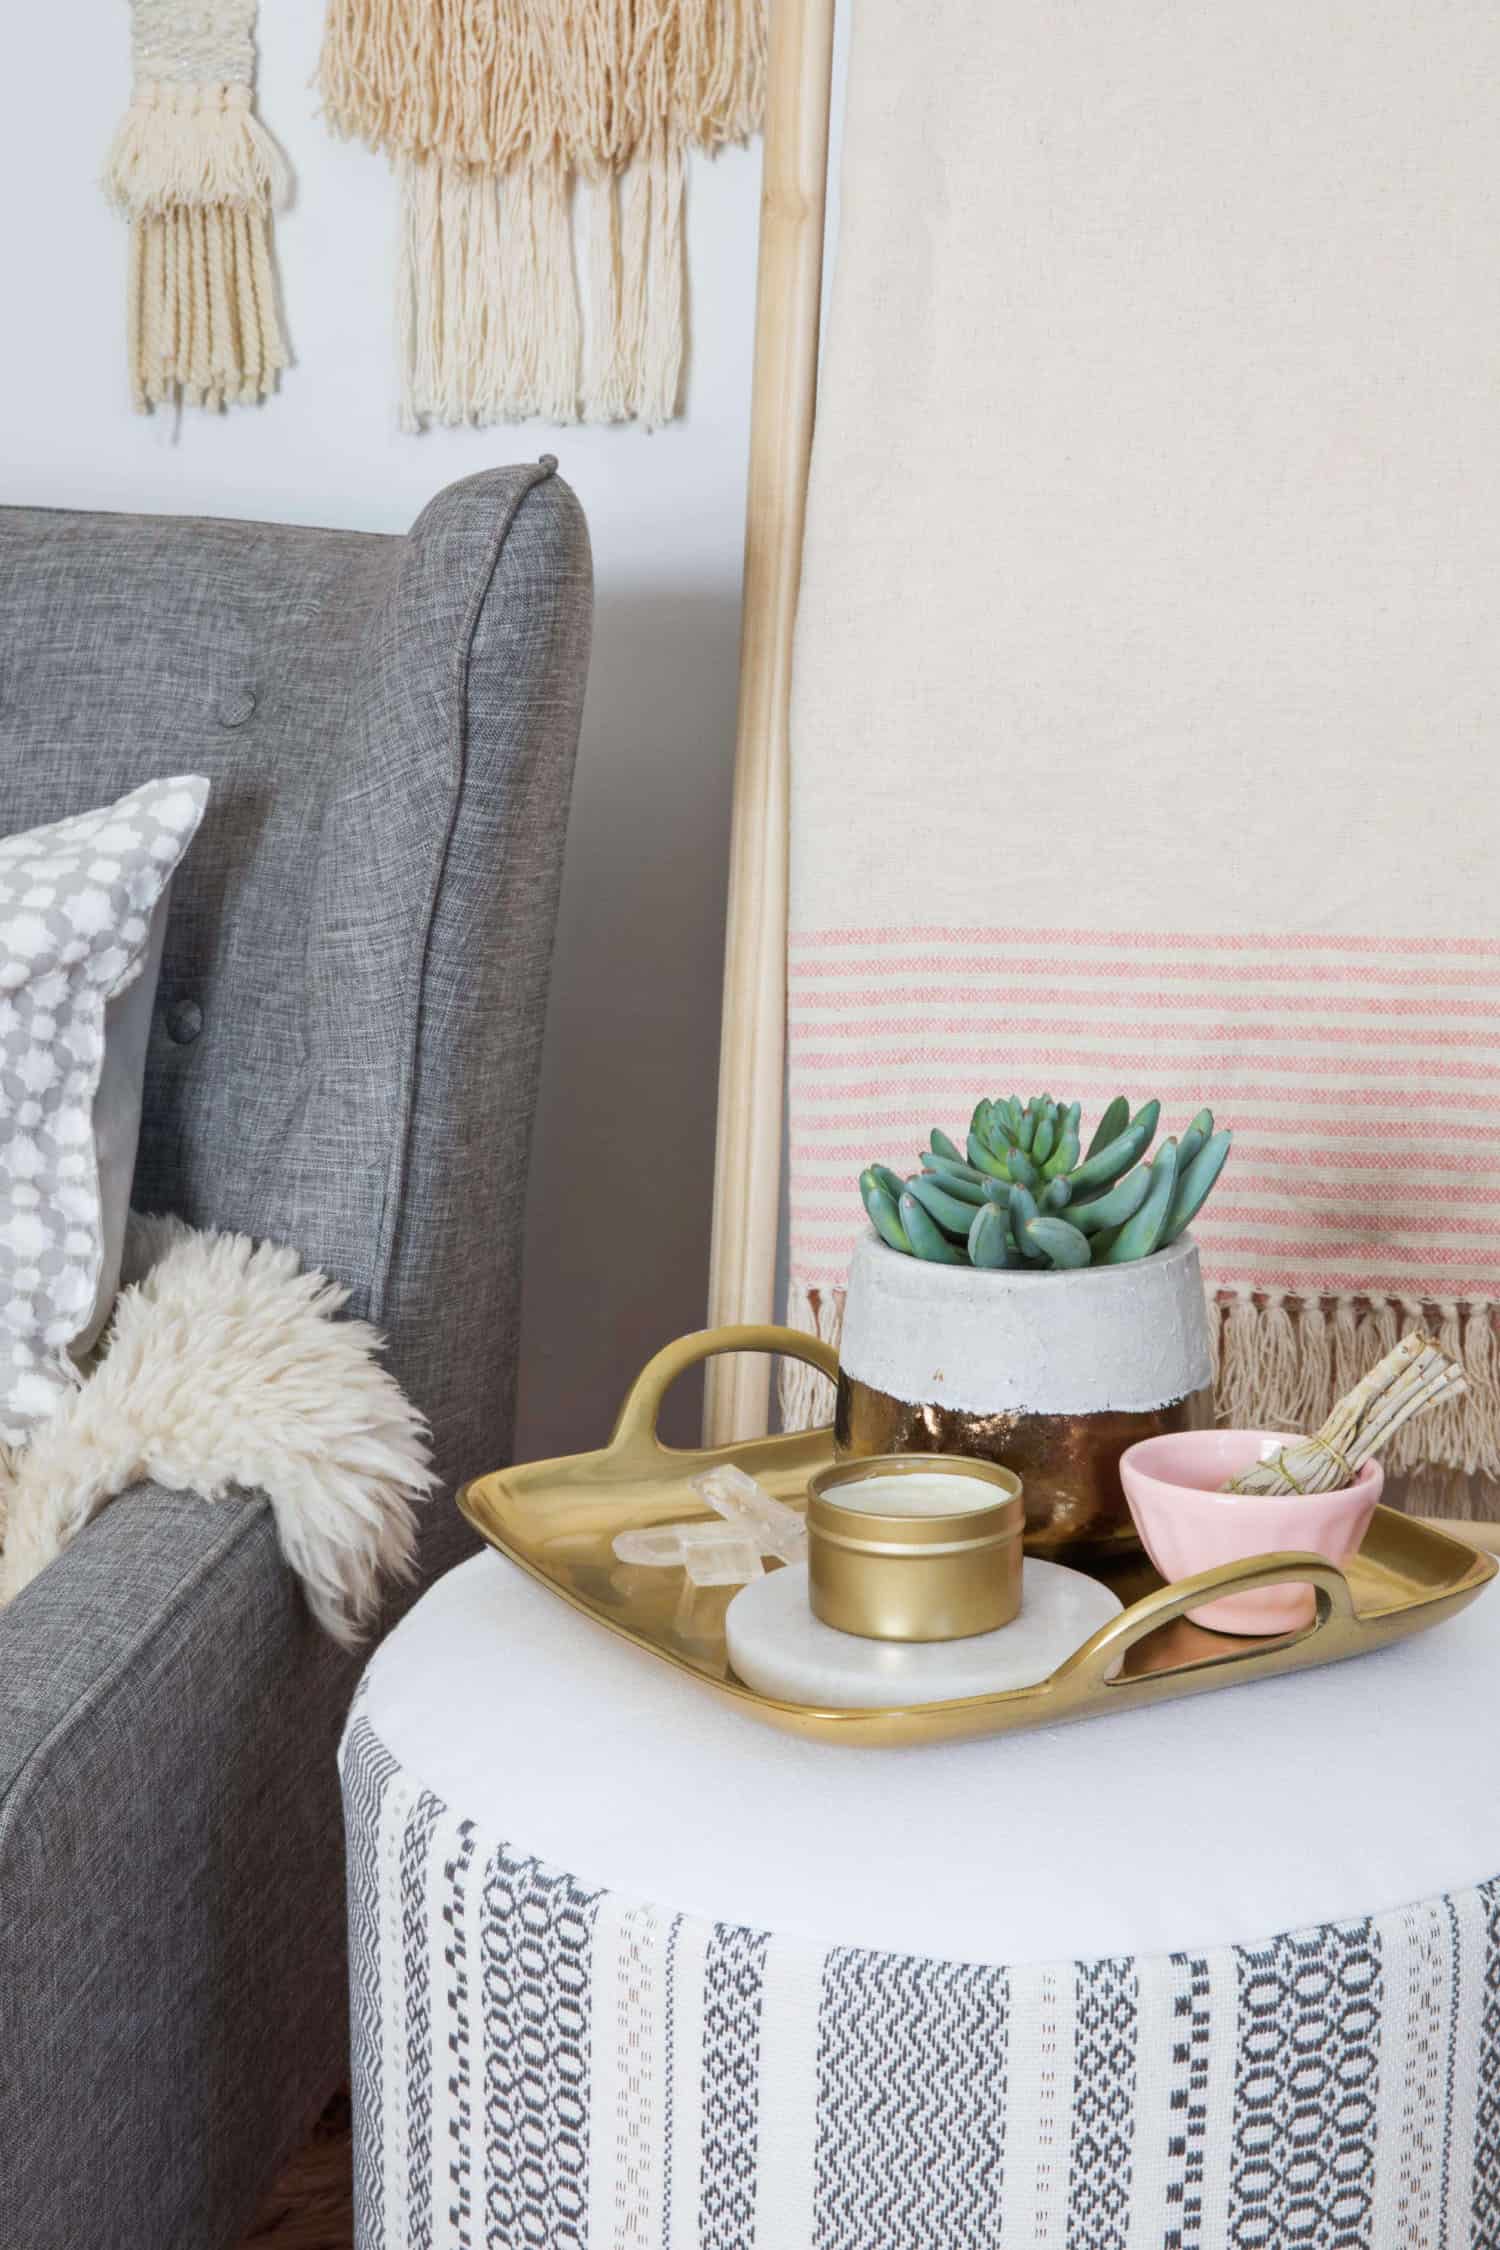 I wouldn’t set your red wine down unless you have a solid tray atop your fabric side table, but you can clean this just as you would a fabric chair. Spot clean or vacuum when necessary. It’s the perfect size for this cozy nook and my new favorite spot in the house! – Rachel
Always amazed by your talents Rachel!
OMG that turned out really great! I super love your home projects and this one makes it in my list of faves. 🙂
Anne,
Oh, I’m so glad!!!
very interesting post!
https://twinklelittlstar.wordpress.com
Eeeep! I absolutely love this DIY – will definitely be trying this one out myself 🙂
Ooh, you have to show me if you make one!!!
I love this end table! You did an incredible job!
Paige
http://thehappyflammily.com
That looks like it came from an expensive furniture store. Great job ladies! I may just give it a whirl???? and hope that I don’t mess up. ????
YES!!! That’s what I was hoping for!
Wow! This is so lovely and impressive!! I’ve been wanting to make a bench in my hallways for about a year with hairpin legs, but I haven’t had the guts to make it happen. Thank you for inspiring me to get on with my project and to get over my fears!
Eva | www.shessobright.com
Sometimes me all just need a push to realize we can do the thing!
I love the gold feet on this. 🙂
That looks so expensive, wow! I want one!
https://www.makeandmess.com/
Love it! And the gold hairpin legs to add a pop of glamour for sure.
Way to go, Rachel! Love it!
Gorgeous!!! Love these DIY projects…more please!
You girls totally crushed it on this one. I’m going to give it a shot!!
Amazing DIY as always, girls! I love how comfy and unique the side table looks! ❤️????
Charmaine Ng | Architecture & Lifestyle Blog
http://charmainenyw.com