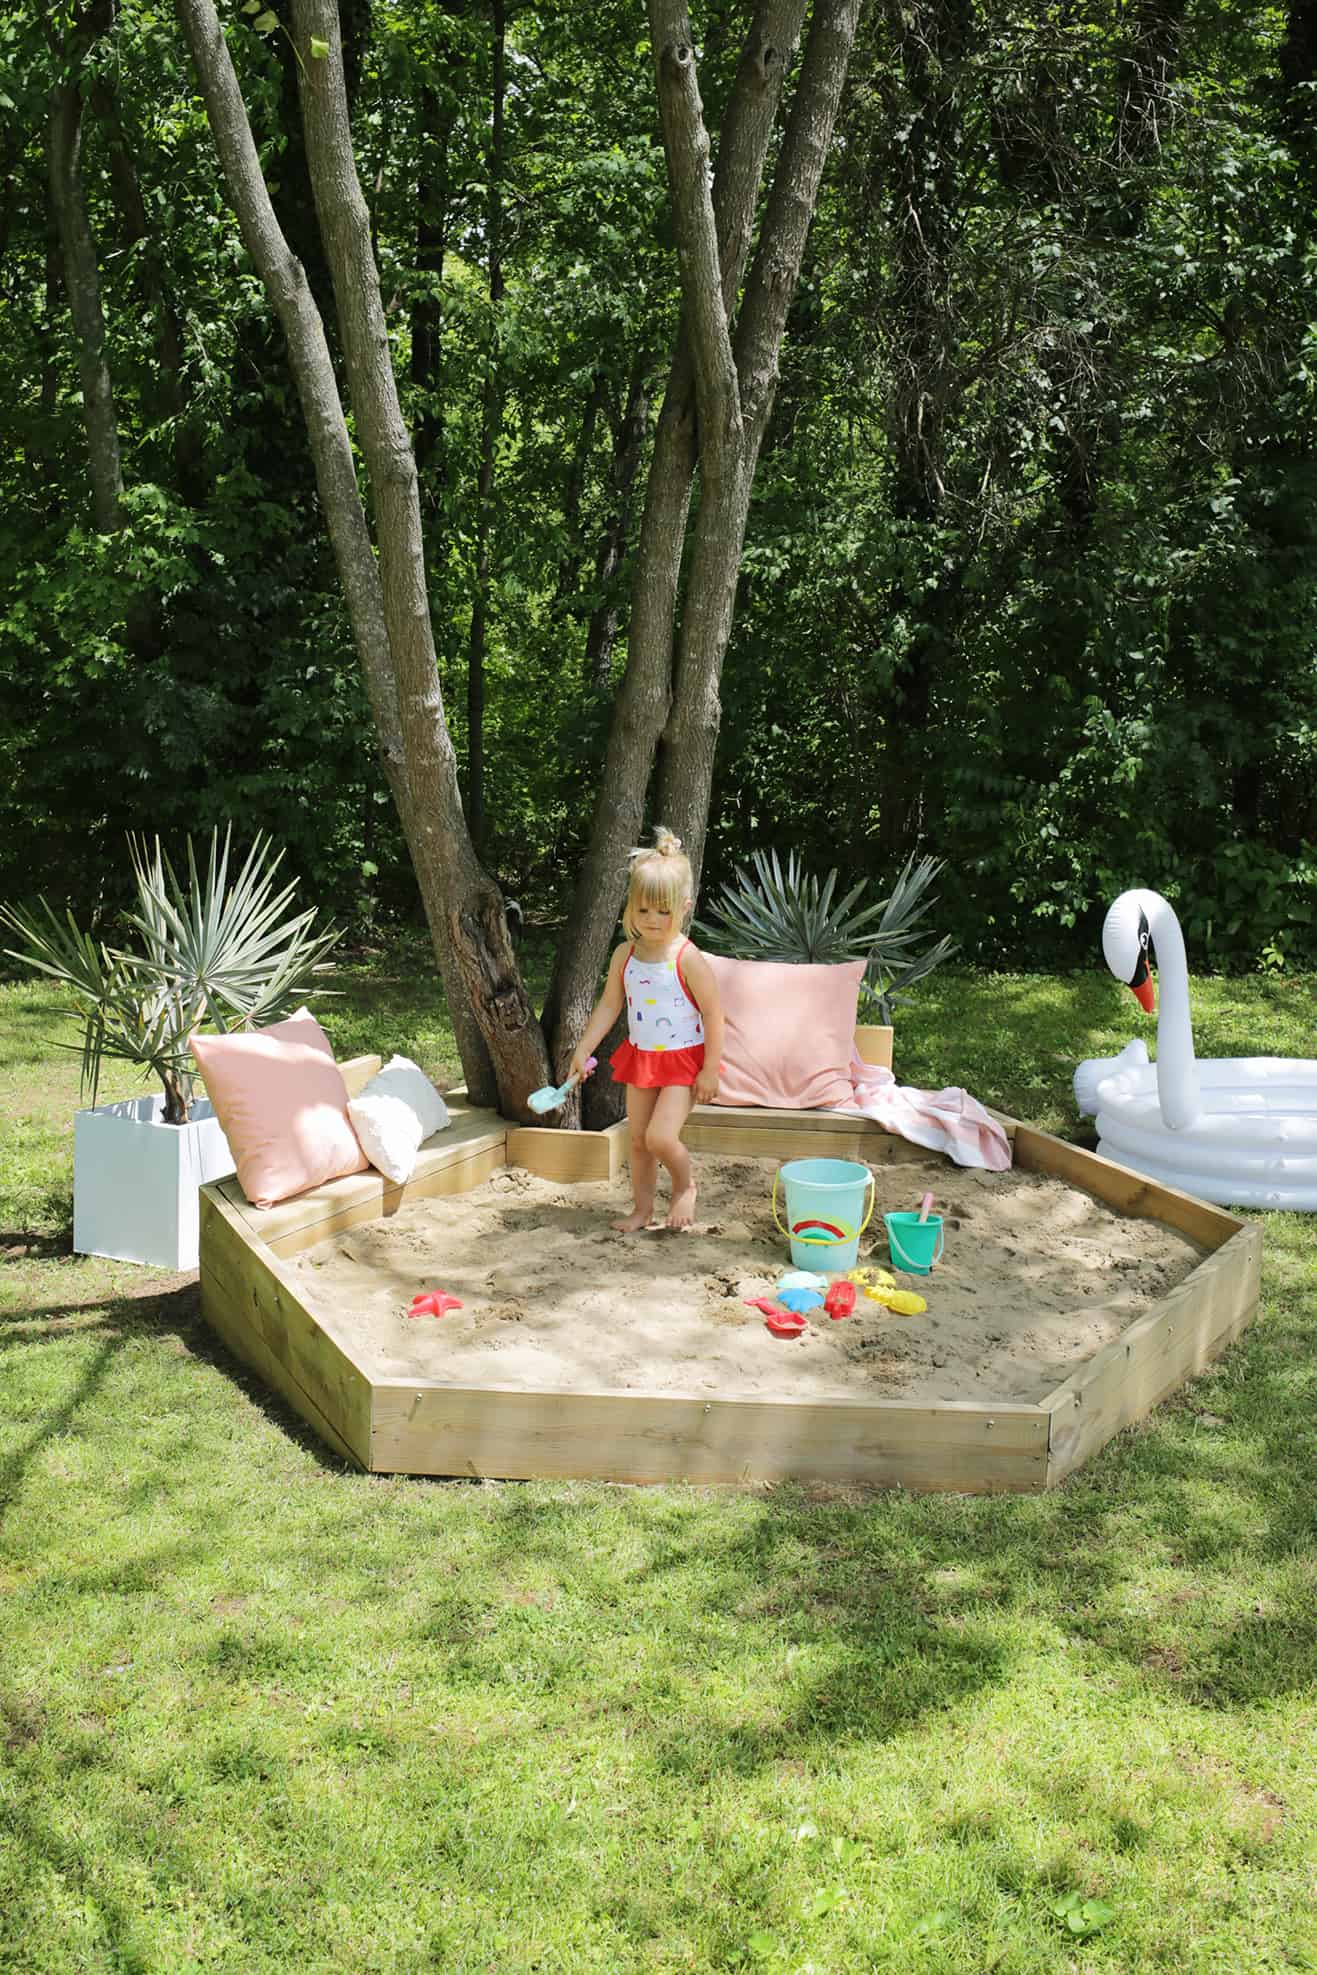
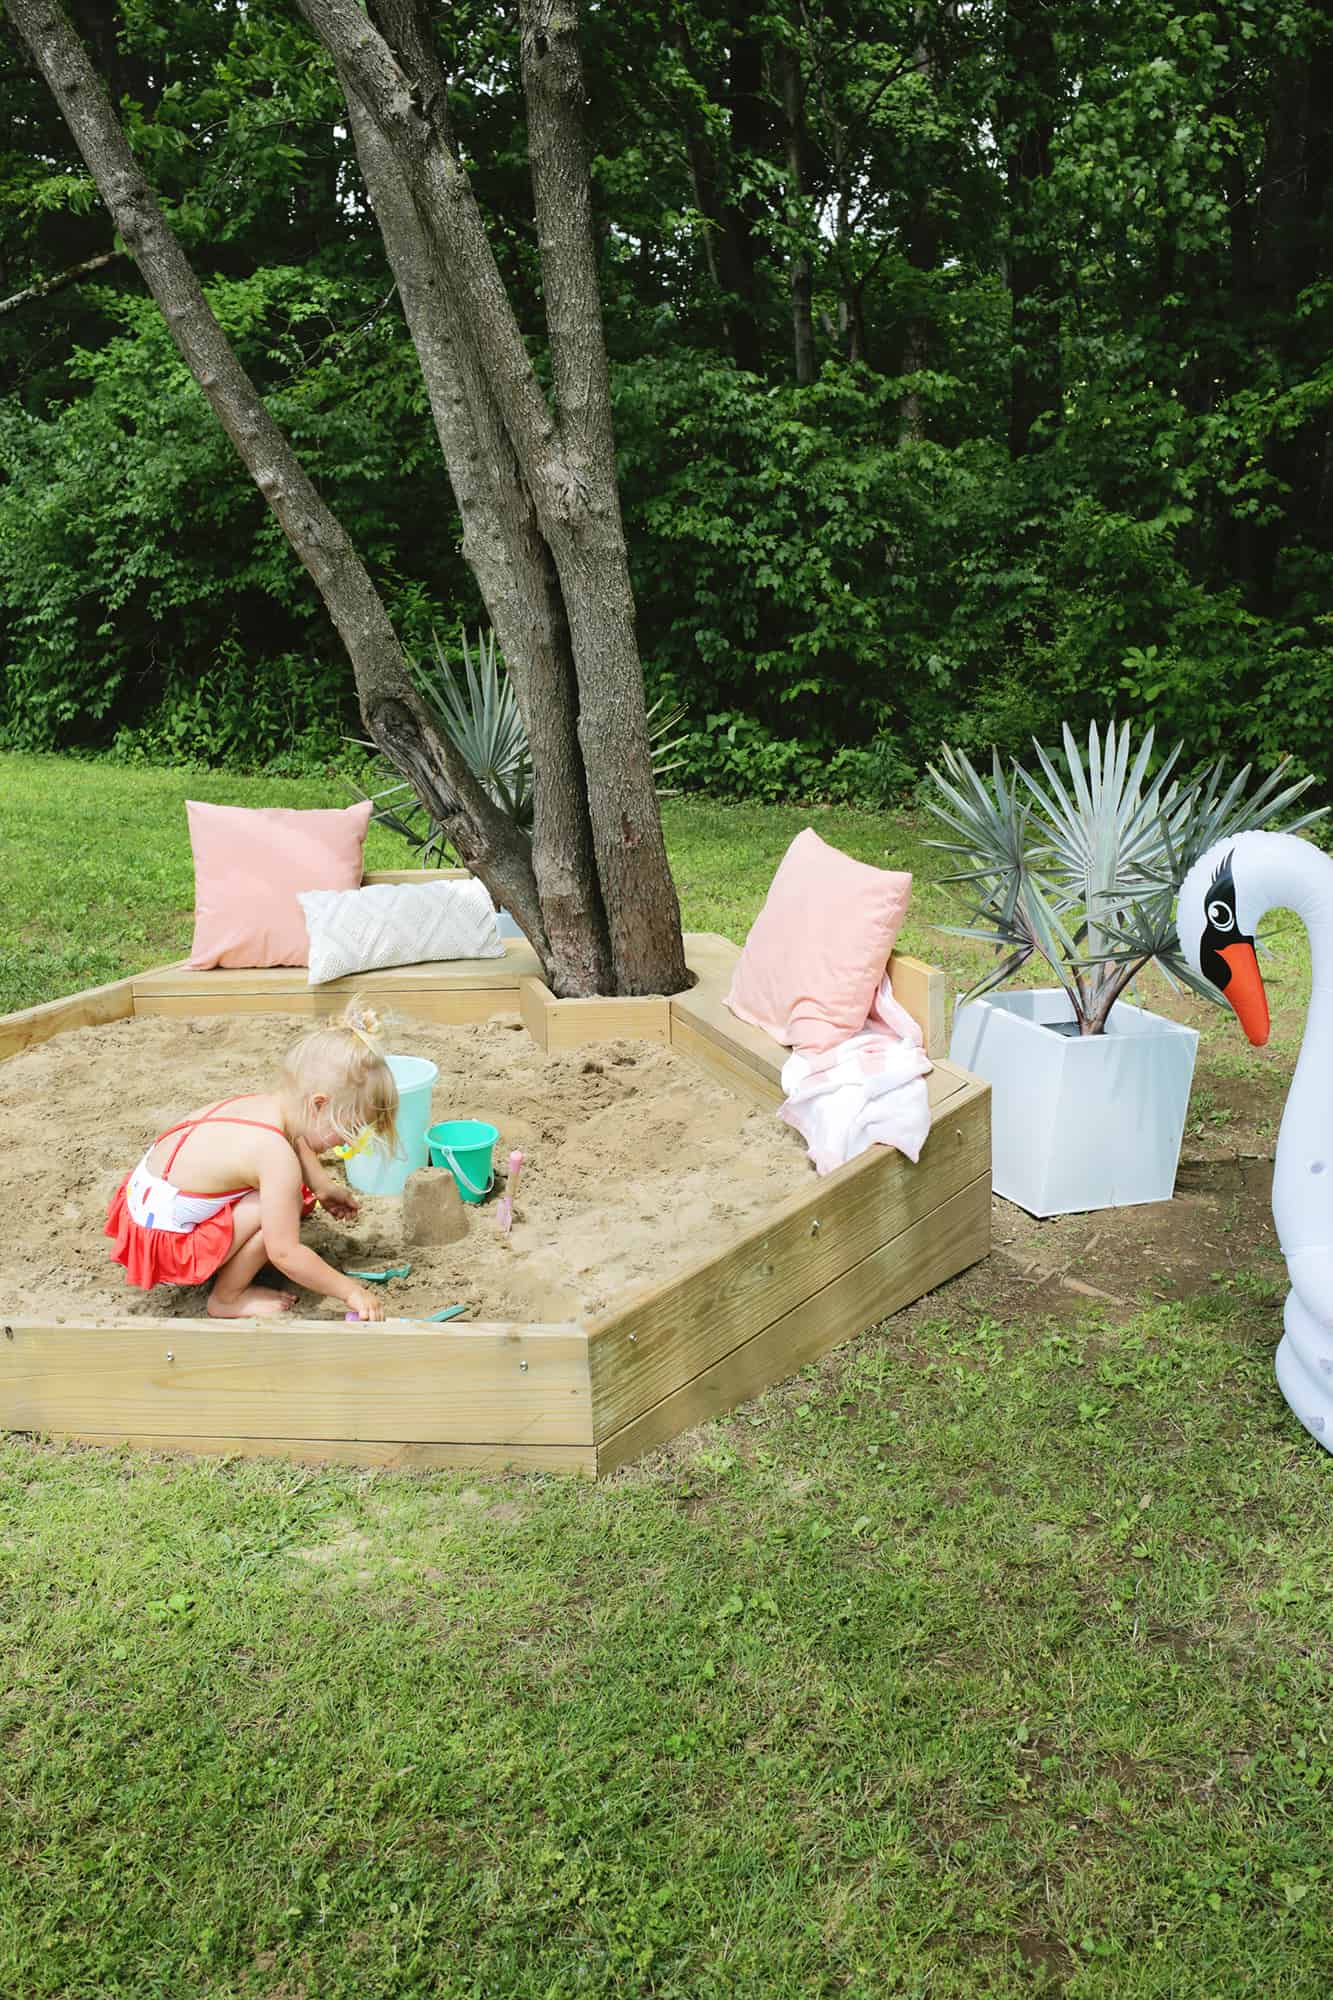
 I am totally a beach gal … the sun, the wind, the sand. Being eight hours from the nearest coast means that we don’t get to dip our toes in oceans very much these days, but I realized that I could get some summer sand and let my toddler have a blast if we did our own DIY sandbox in the backyard! Since there are lots of square sandboxes out there, I thought it would be a little more fun to make it a hexagon instead and build it around the base of a tree, so we had some shade cover for those hot summer days. Since our yard is a little sloped, we had to make a few more adjustments that you lucky flat-yard-people won’t have to do. So just ignore those steps if they don’t apply to you (same goes for the steps for building it around a tree base if you aren’t doing that) … here we go!
 Supplies:
-2″x 8″ outdoor treated lumber boards (the amount of boards you need depends on if your yard is already level and if you are adding the benches and back rests or not, so make a little sketch before buying boards to help calculate how many boards you need)
-2″ deck screws
–pocket hole jig
-drill and either circular saw or miter saw
-2″ x 4″ boards for the seat to rest on
–1/2″ galvanized pipe (you’ll need 4 cut to 12″ long)
–1/2 pipe straps (you’ll need 8)
-soil for leveling the ground (if you’re sandbox isn’t on level ground)
–landscape fabric and pins
–sand for sandbox (we used 26 bags)*
-stain for sealing sandbox
*Just as an FYI, there is a lot of debate online about which sand is safest, non-toxic, etc., and while some people don’t like to use the kind of play sand that you’d buy at a home improvement store (because of the silica that’s in the sand), from my looking into it, it seems the silica dust is more of a potential hazard—if you are a sandblaster or something like that where you are breathing in silica dust at a high rate over extended periods of time rather than occasionally playing with sandbox sand. The sand was a little dusty when we first poured it in, but as the bags of sand suggest, we lightly spray it down with a hose to keep the dust from rising and always take a bath after sandbox play (it’s a good idea to anyway if you don’t want sand all over your house!). But, if that potential worries you, you can look into some of the different sand options for another alternative.
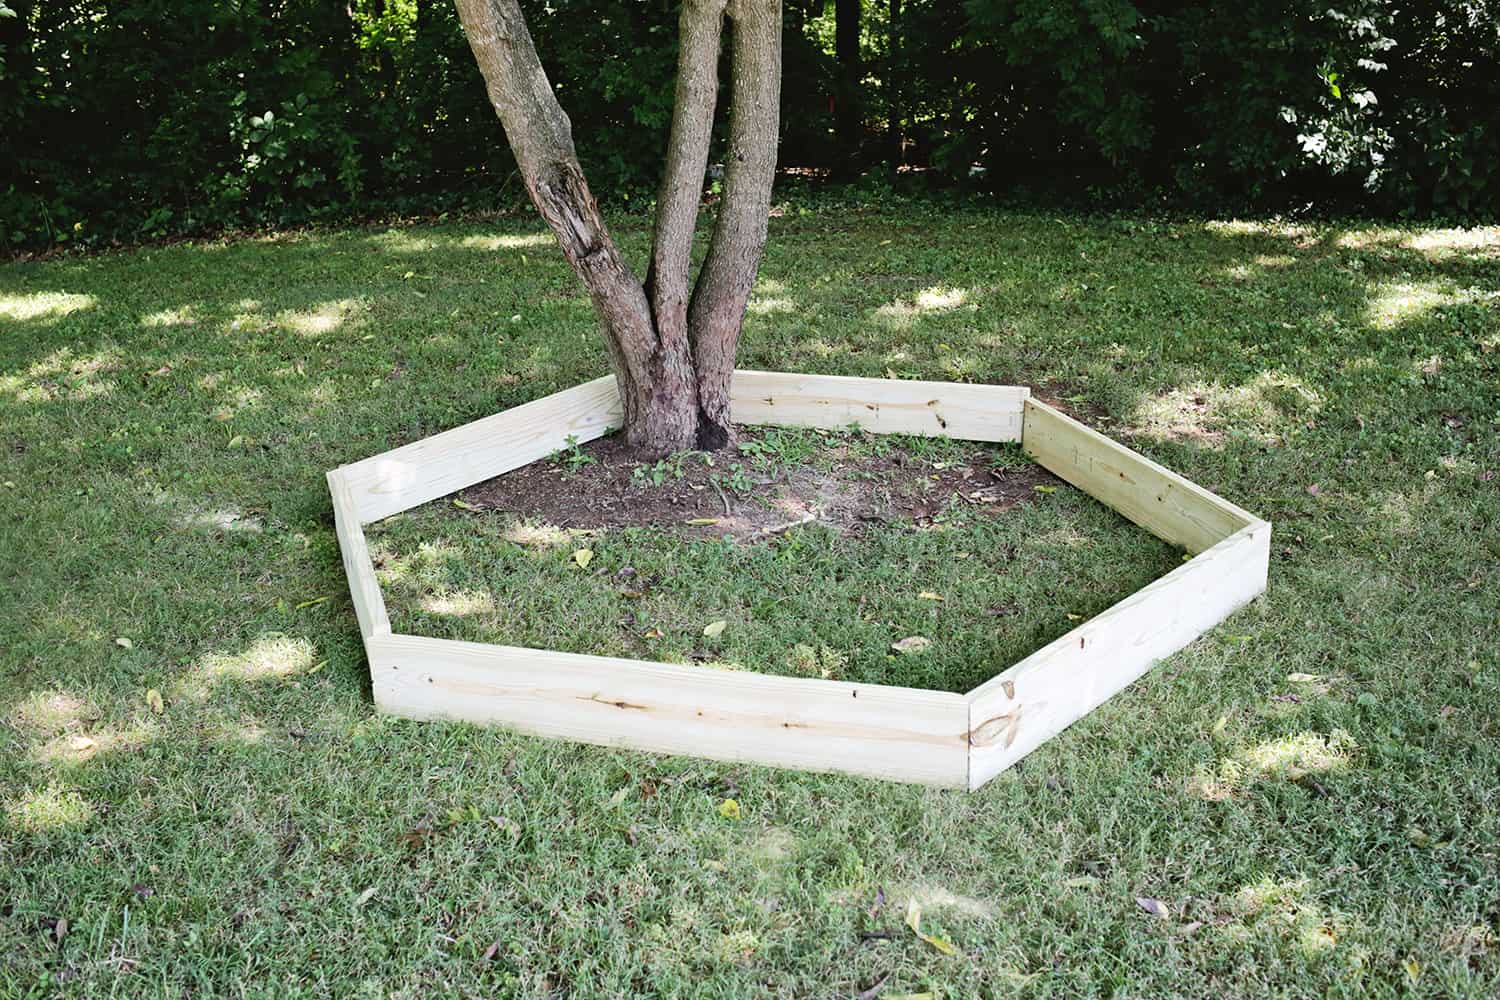
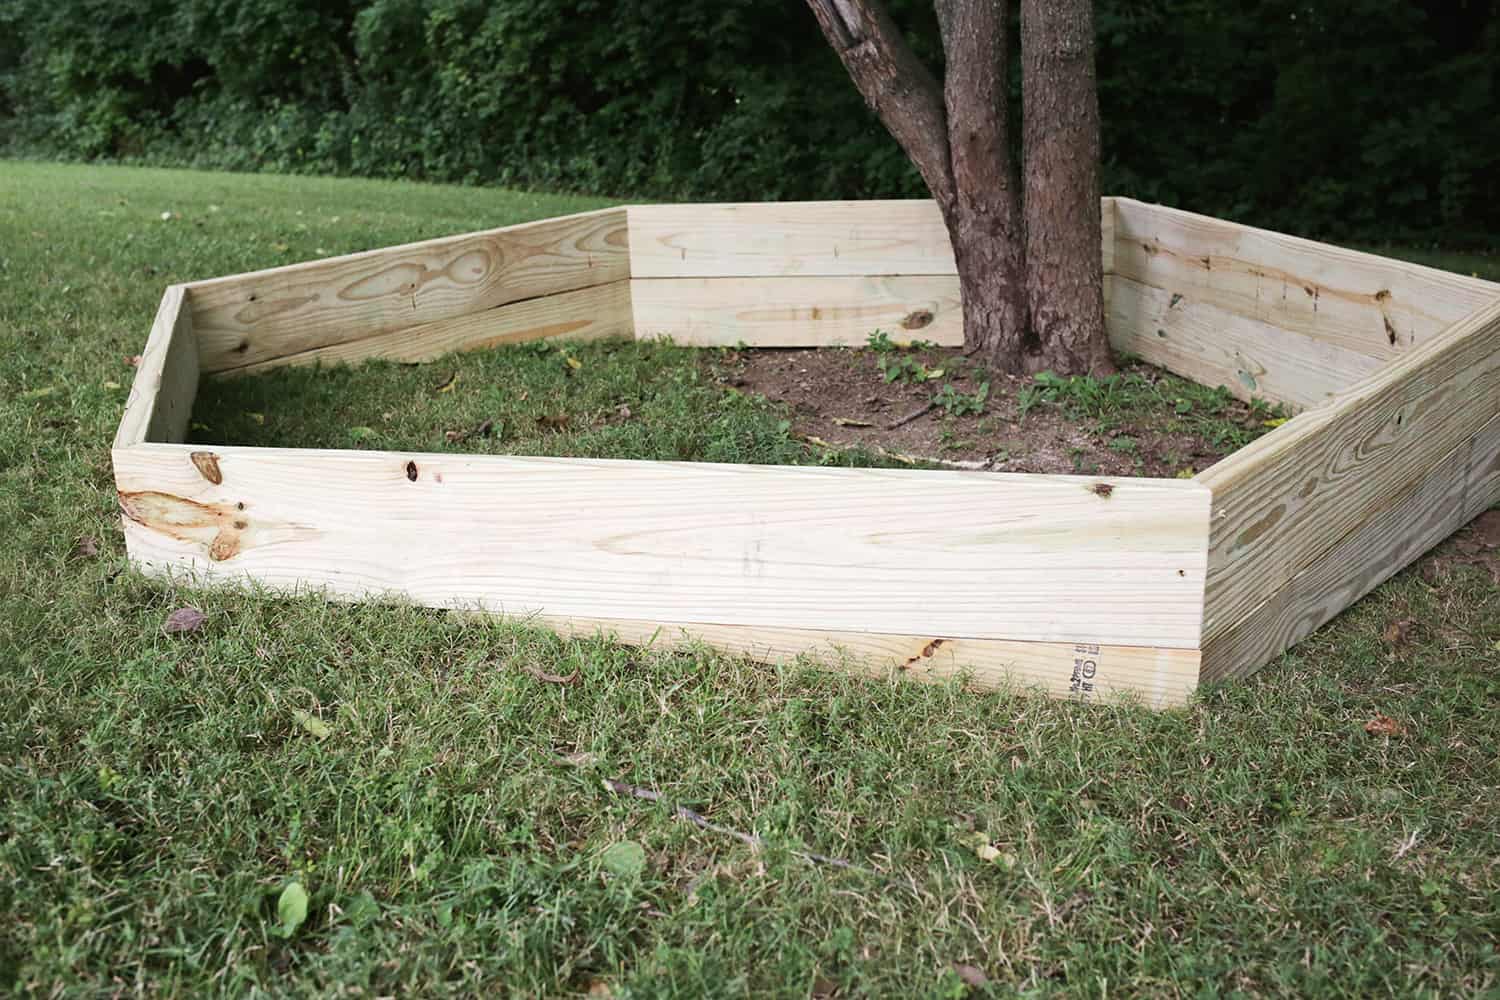
Let’s get started! I’ll give you the dimensions we made this sandbox into and if you need to adjust for your yard you can do so as needed. Cut your 6 boards that will be the sides of the hexagon to each be 51″ long with a 30° angle at each end of the board so they will all fit together into a hexagon like you see above.
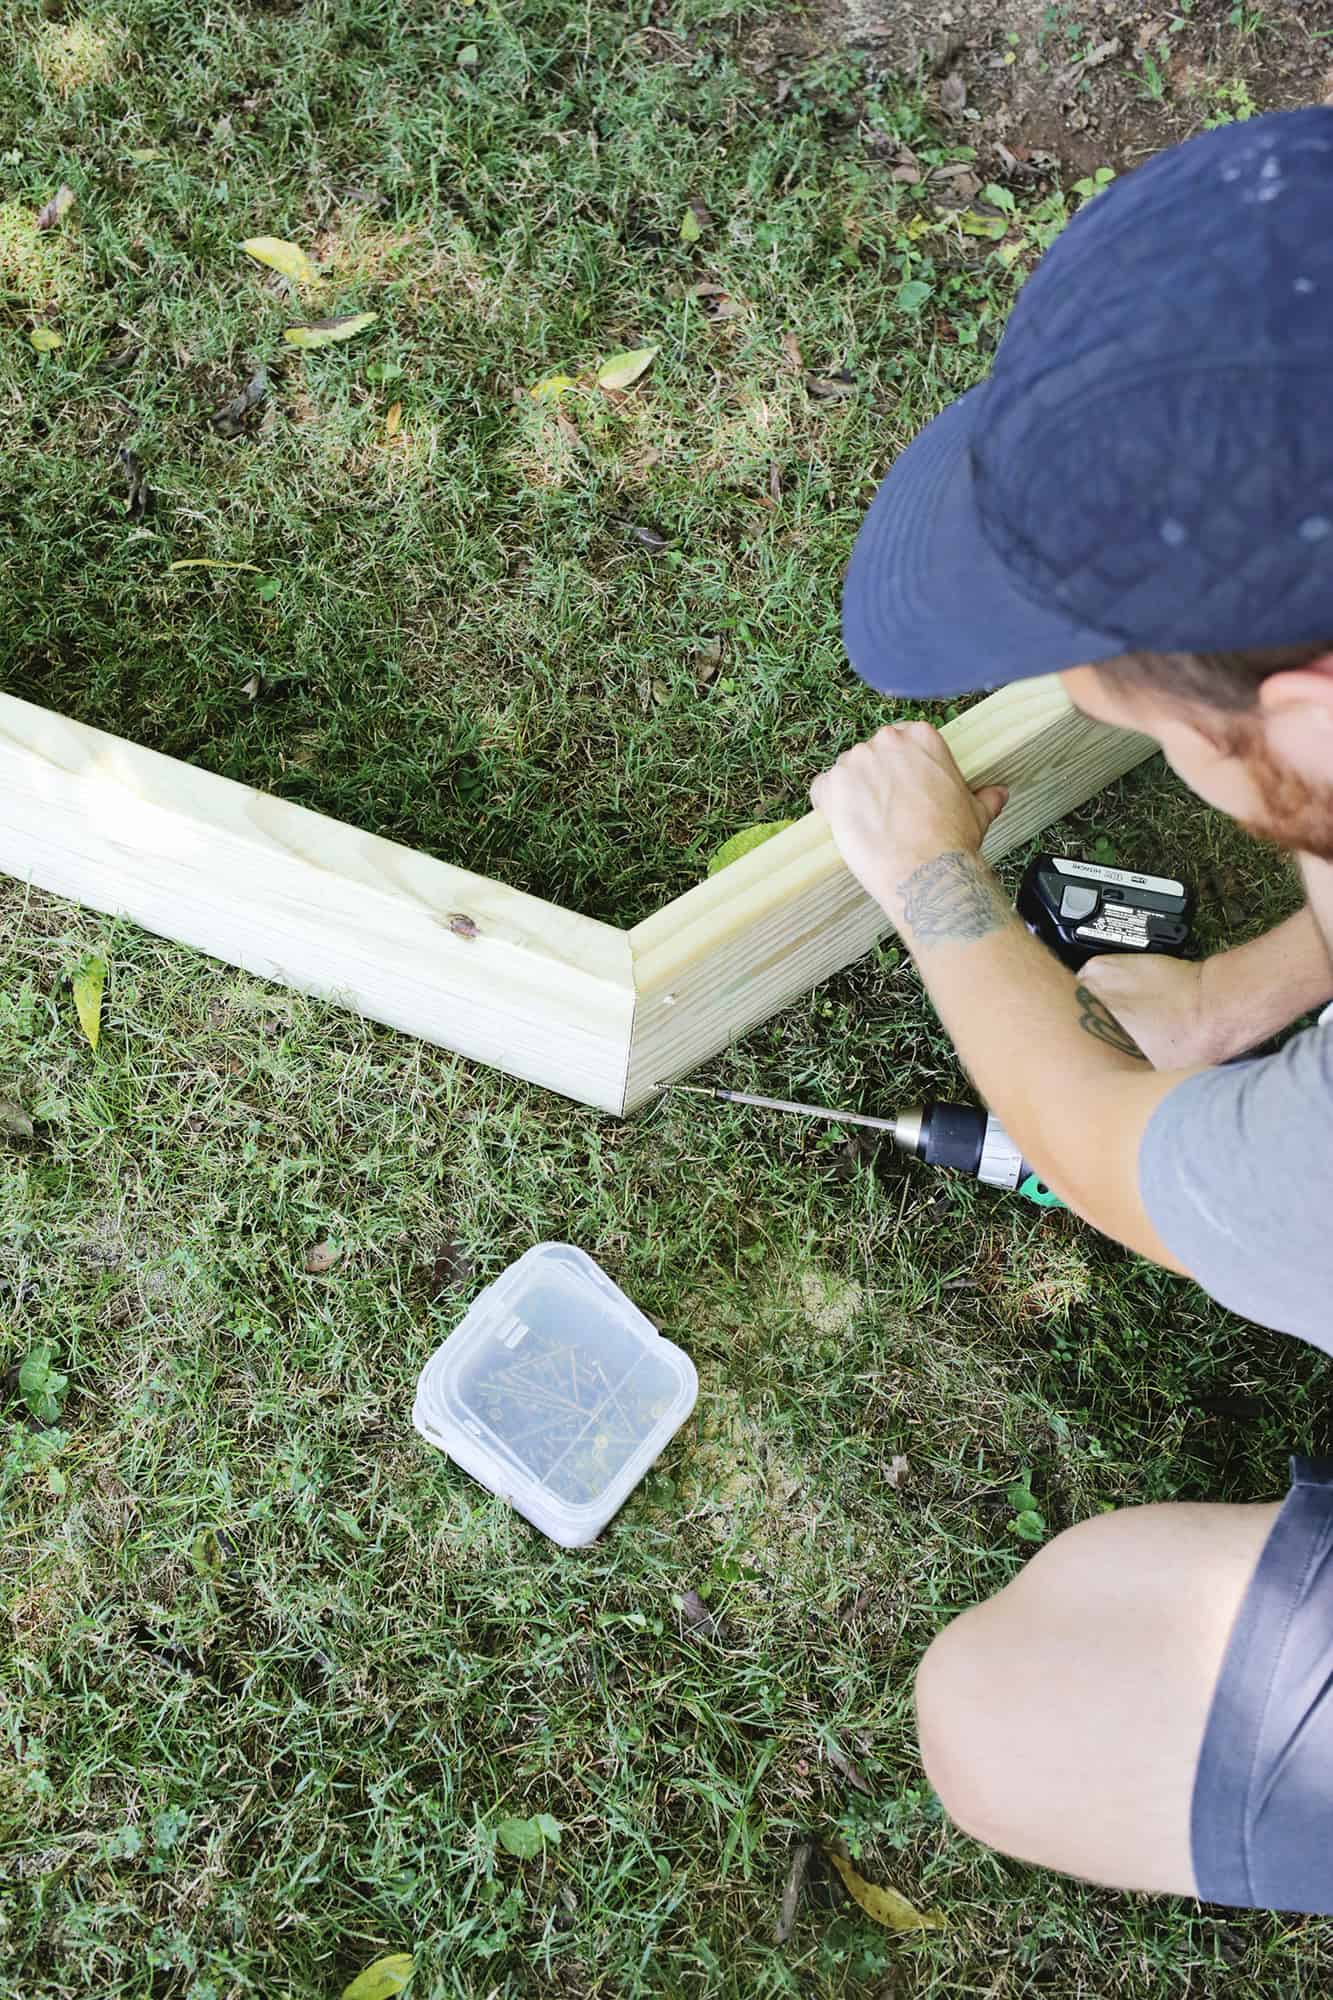
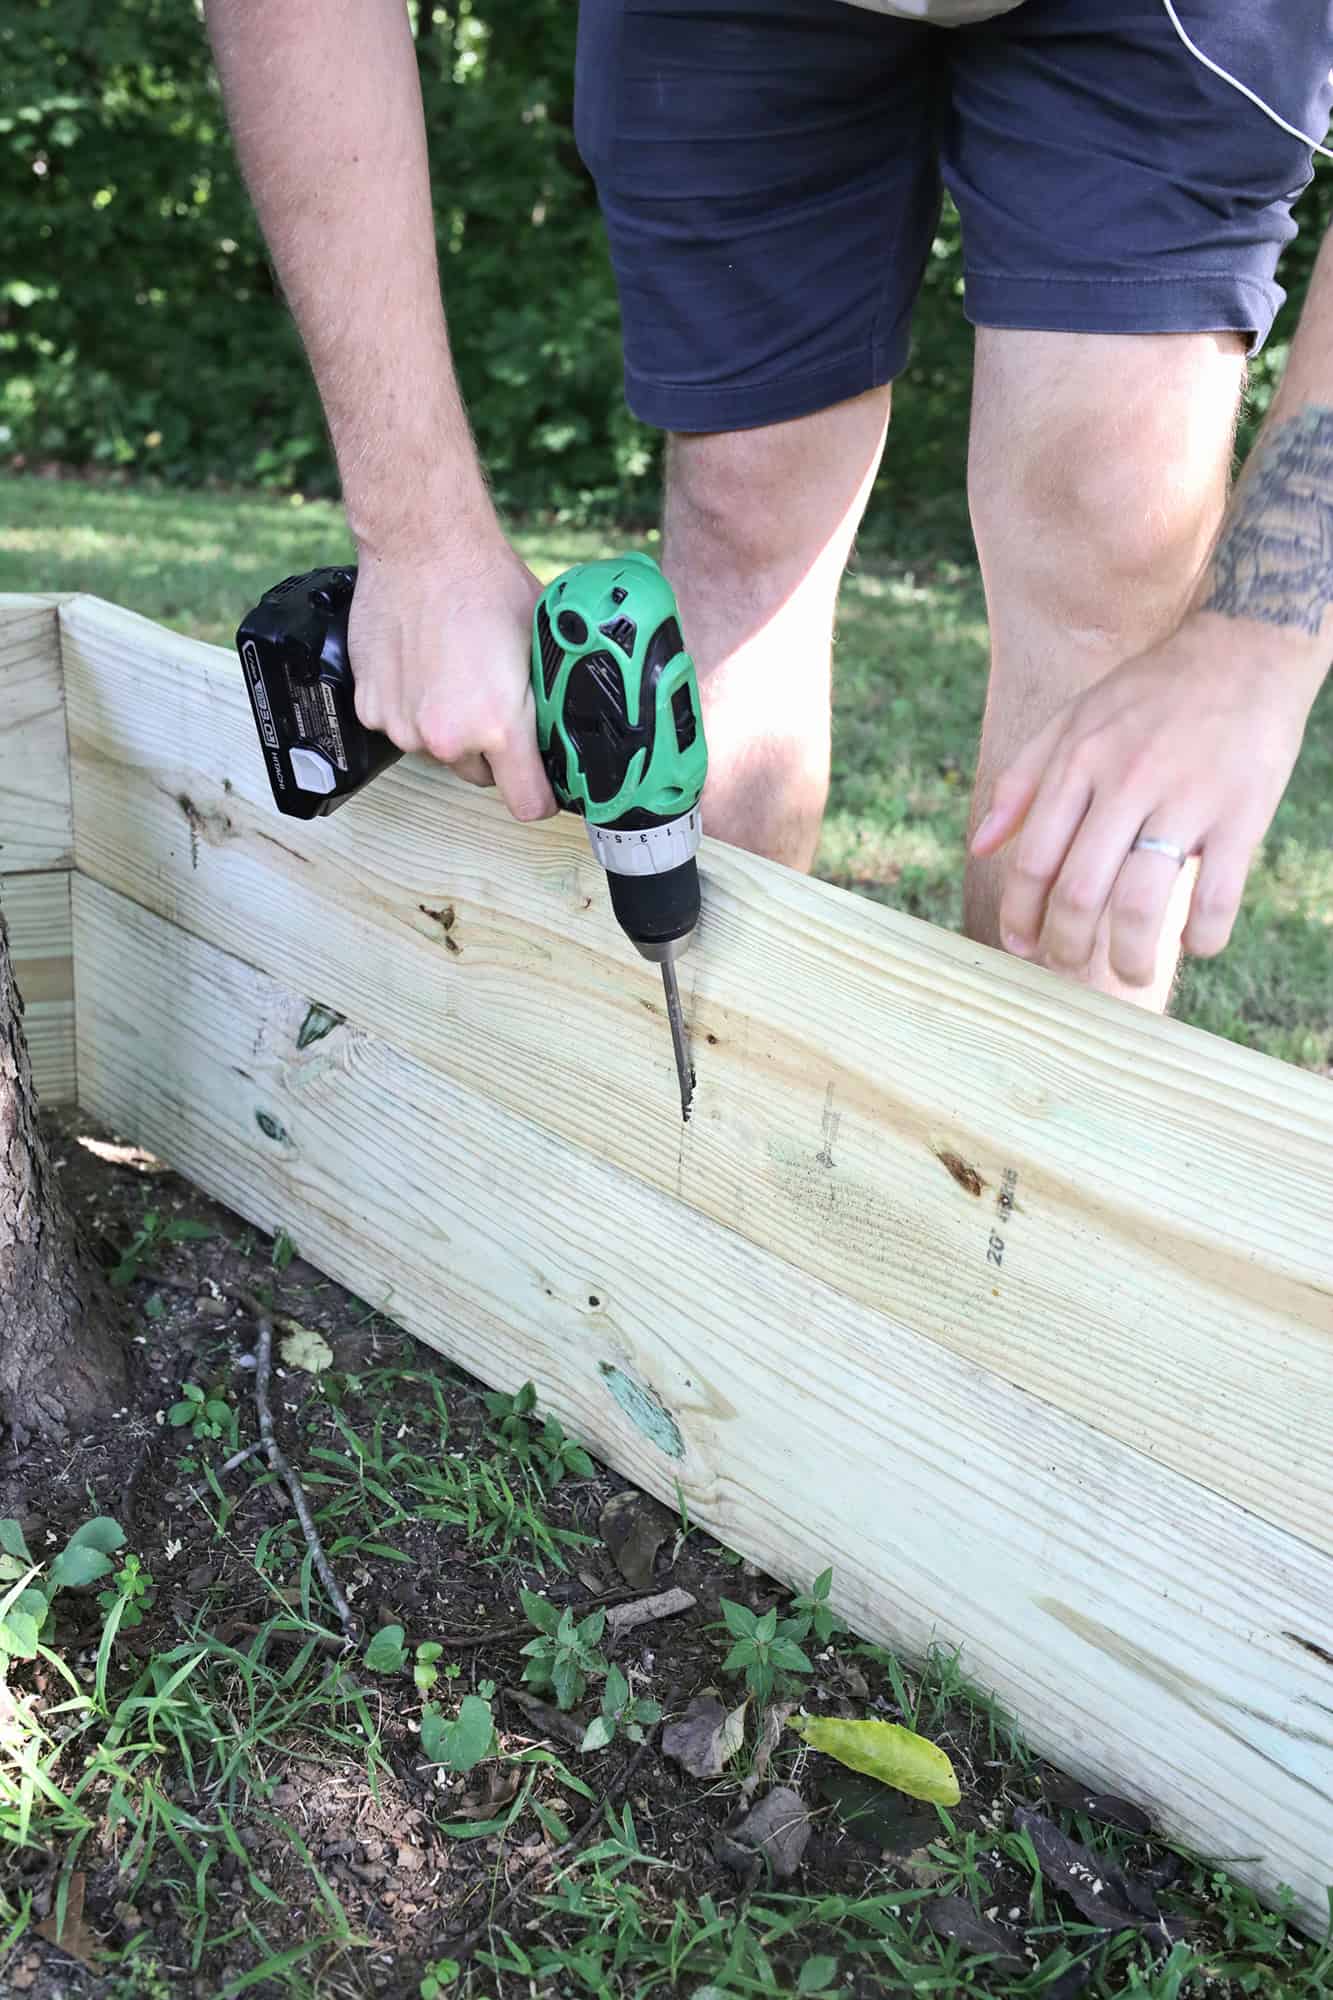
Use wood screws to connect your sides as you see above using one screw 1.5″ from the top and one 1.5″ from the bottom (it’s easiest to predrill your holes with a small drill bit first). Repeat with all your sides until you have a hexagon shape.
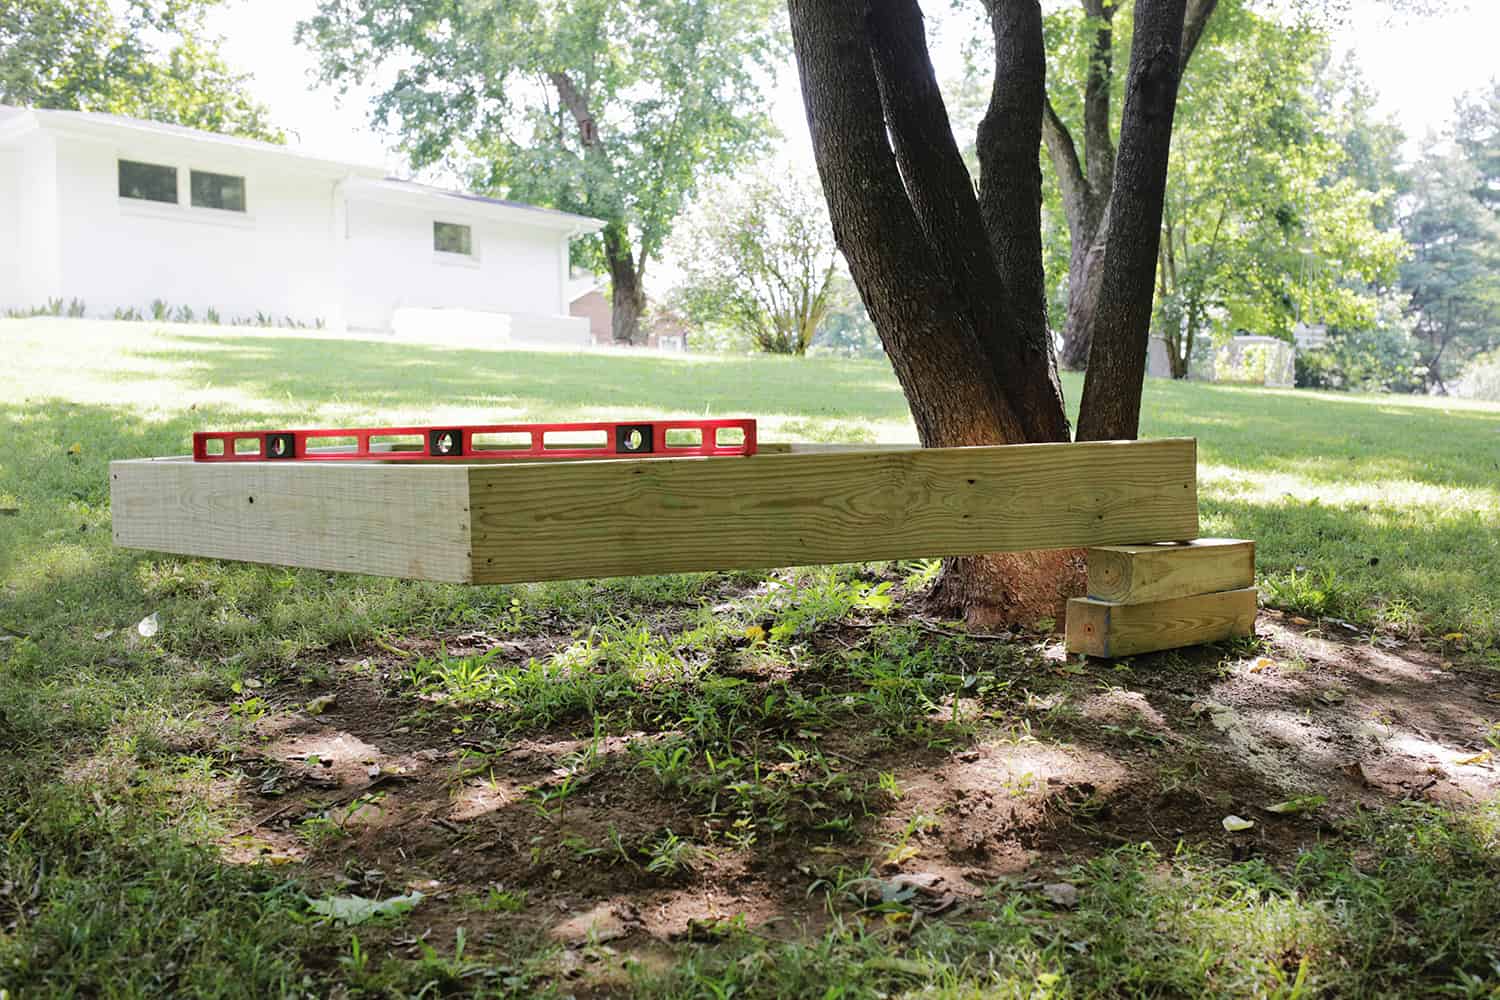
If your yard is level, you can skip these next steps to make it level and just decide if you want your sandbox to be one board deep or two boards deep (build a second identical hexagon if you want it to be two boards deep). If it’s not level, place the sandbox where you want it and use scrap wood to balance the hexagon on where needed until you can get a level to read level on all sides.
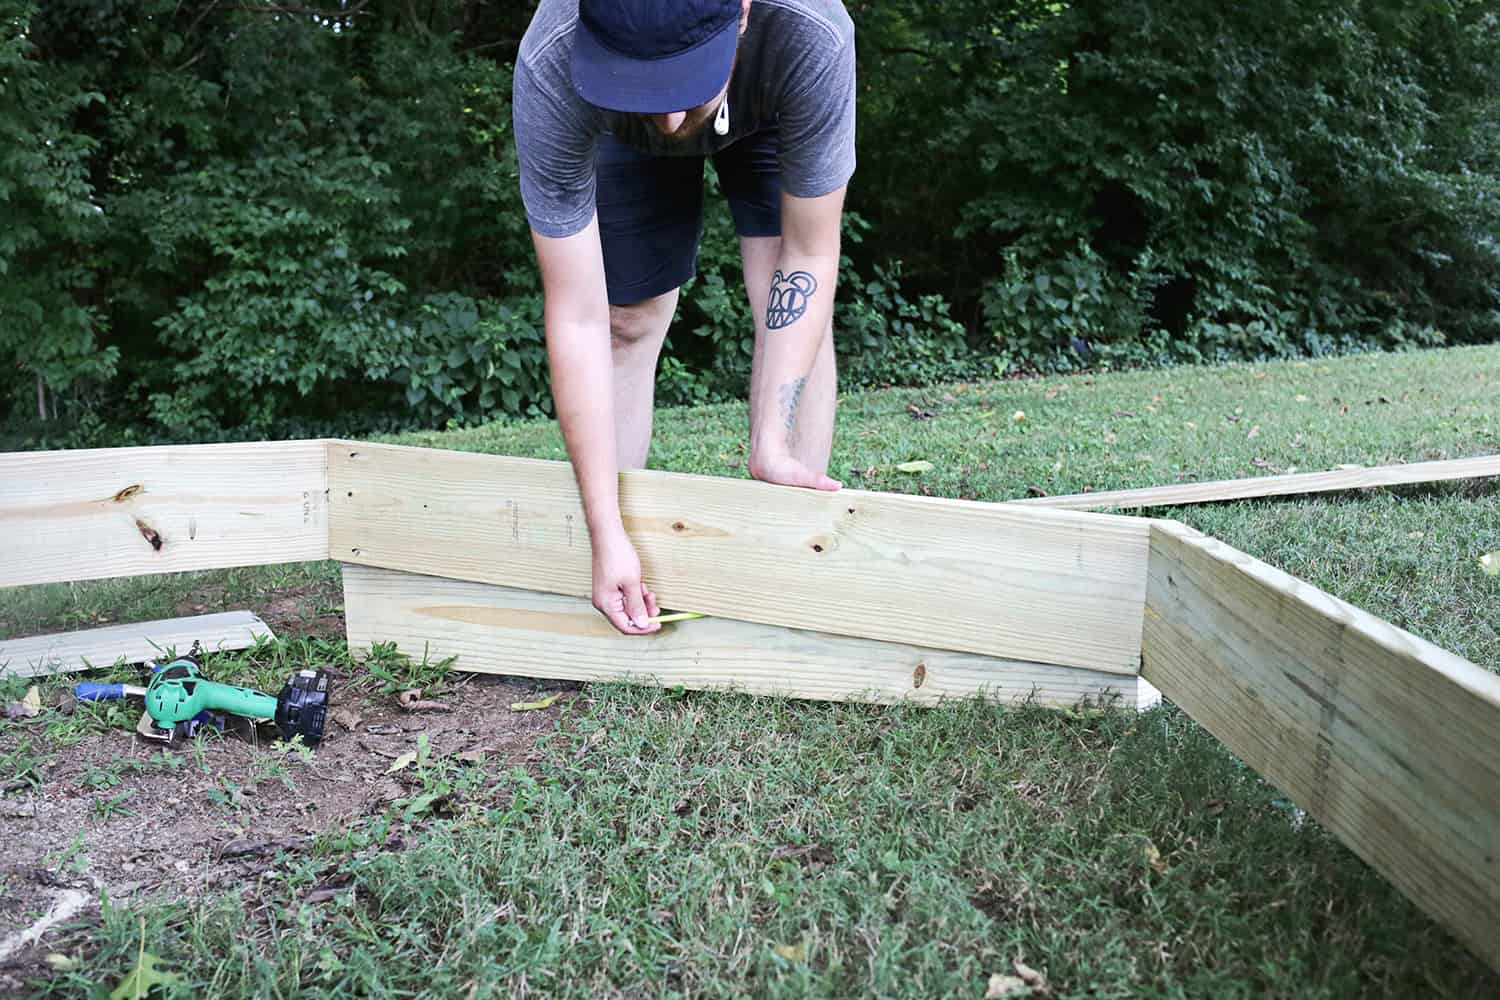
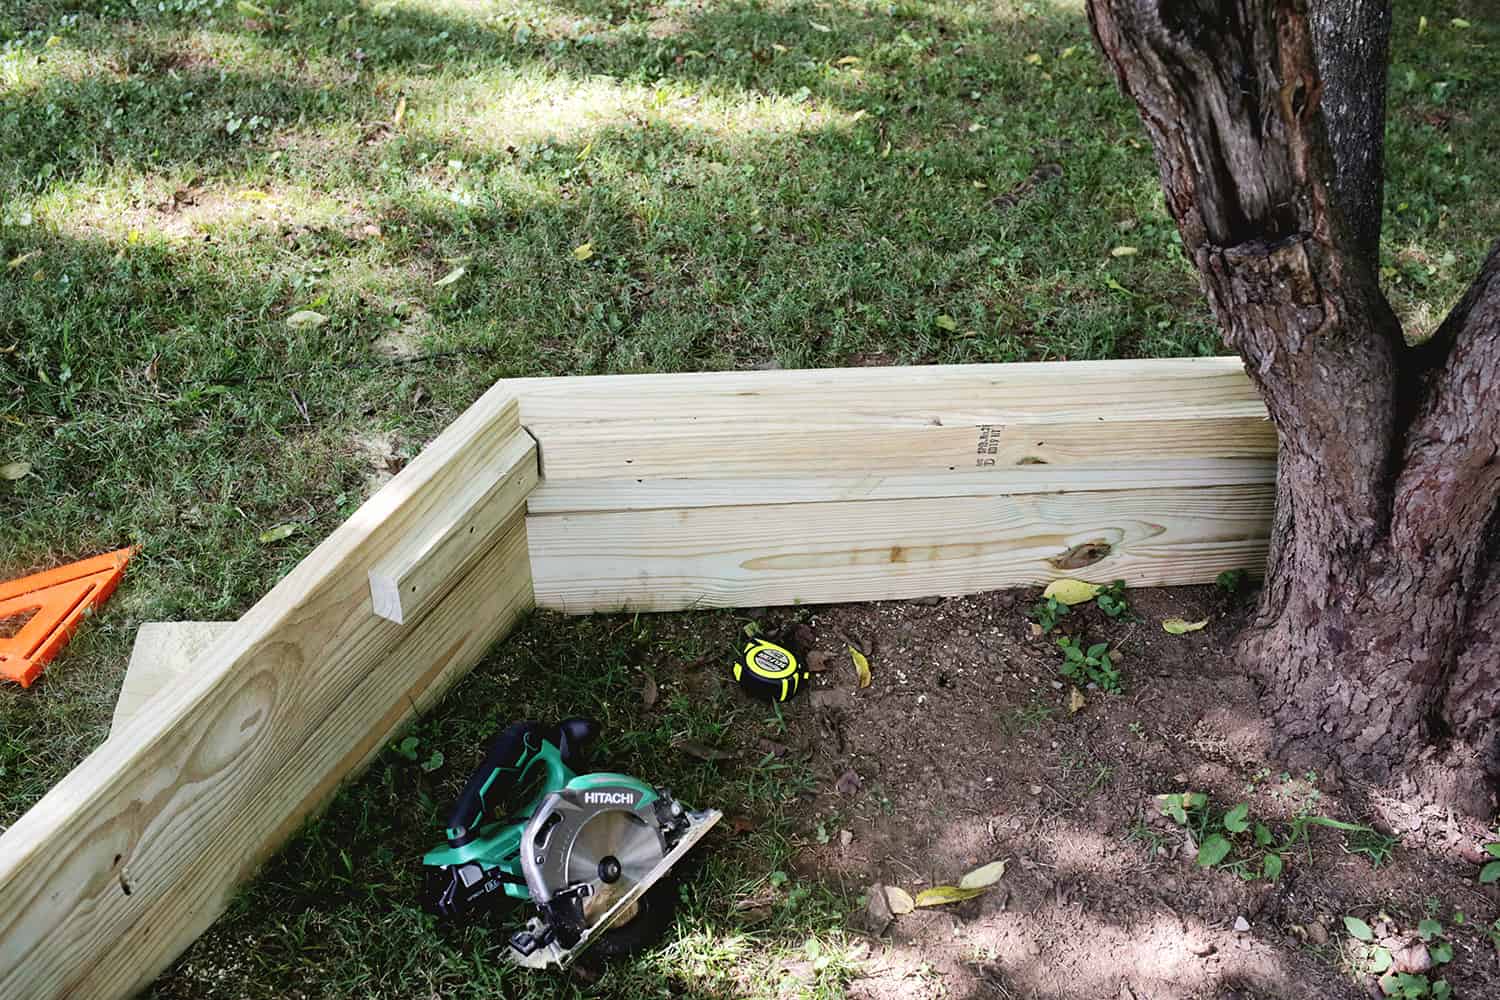
Then, place a board next to the hovering leveled board to cover the gap like shown and use a pencil to trace the angle so you know where to cut your board to fit snugly underneath.
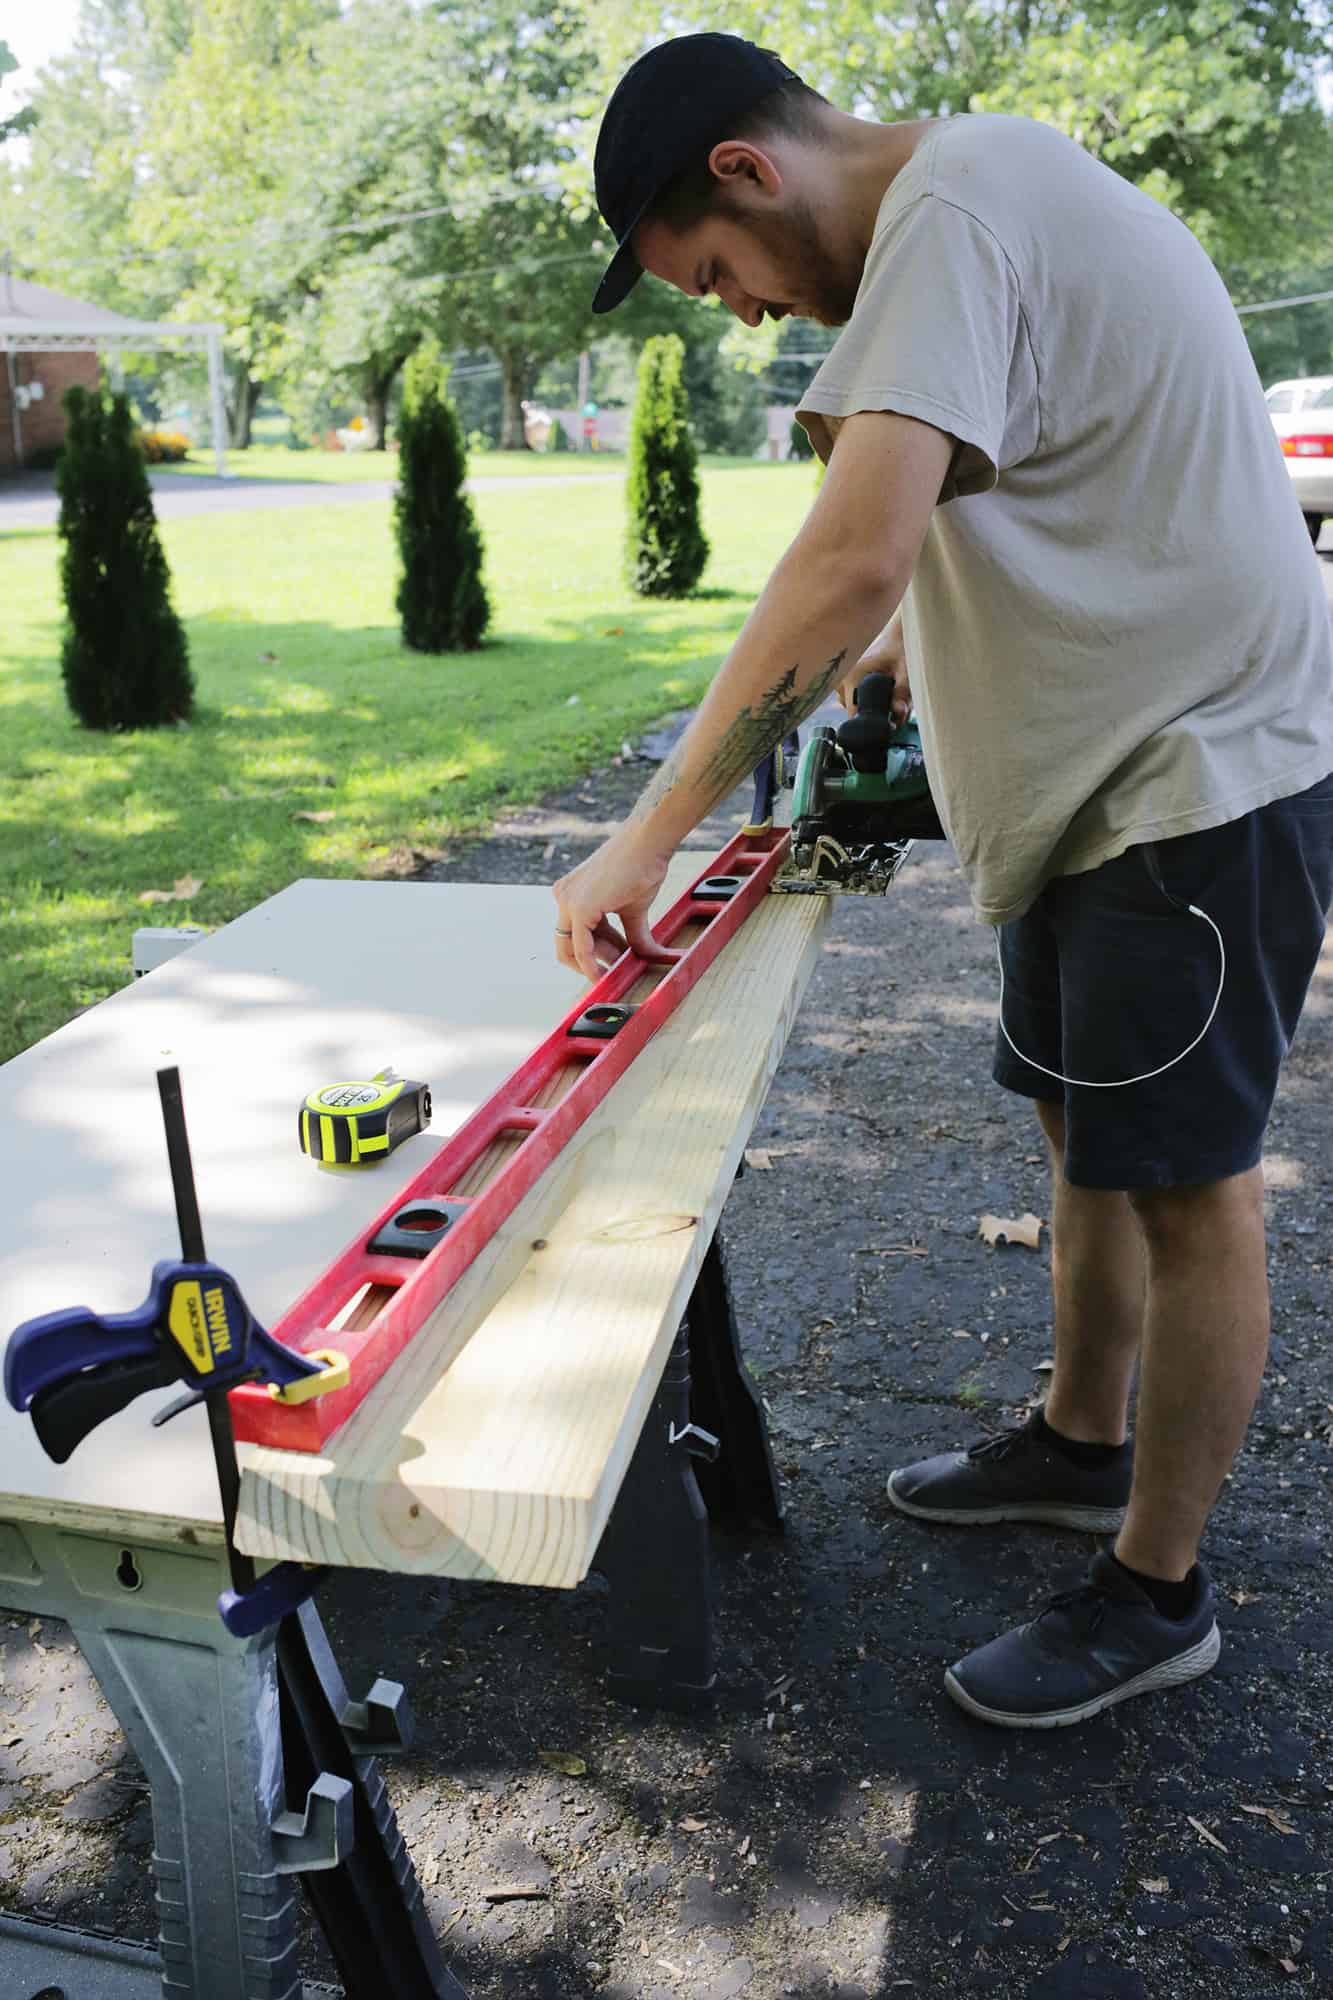
Use a circular saw to cut that angle on the board where you marked it, double check how long the board should be to fit perfectly under that original top board, and cut to the the proper length. Cut any ends that join with another side of the hexagon at a 30° angle with a miter saw so it will fit together as the top layer ends do.
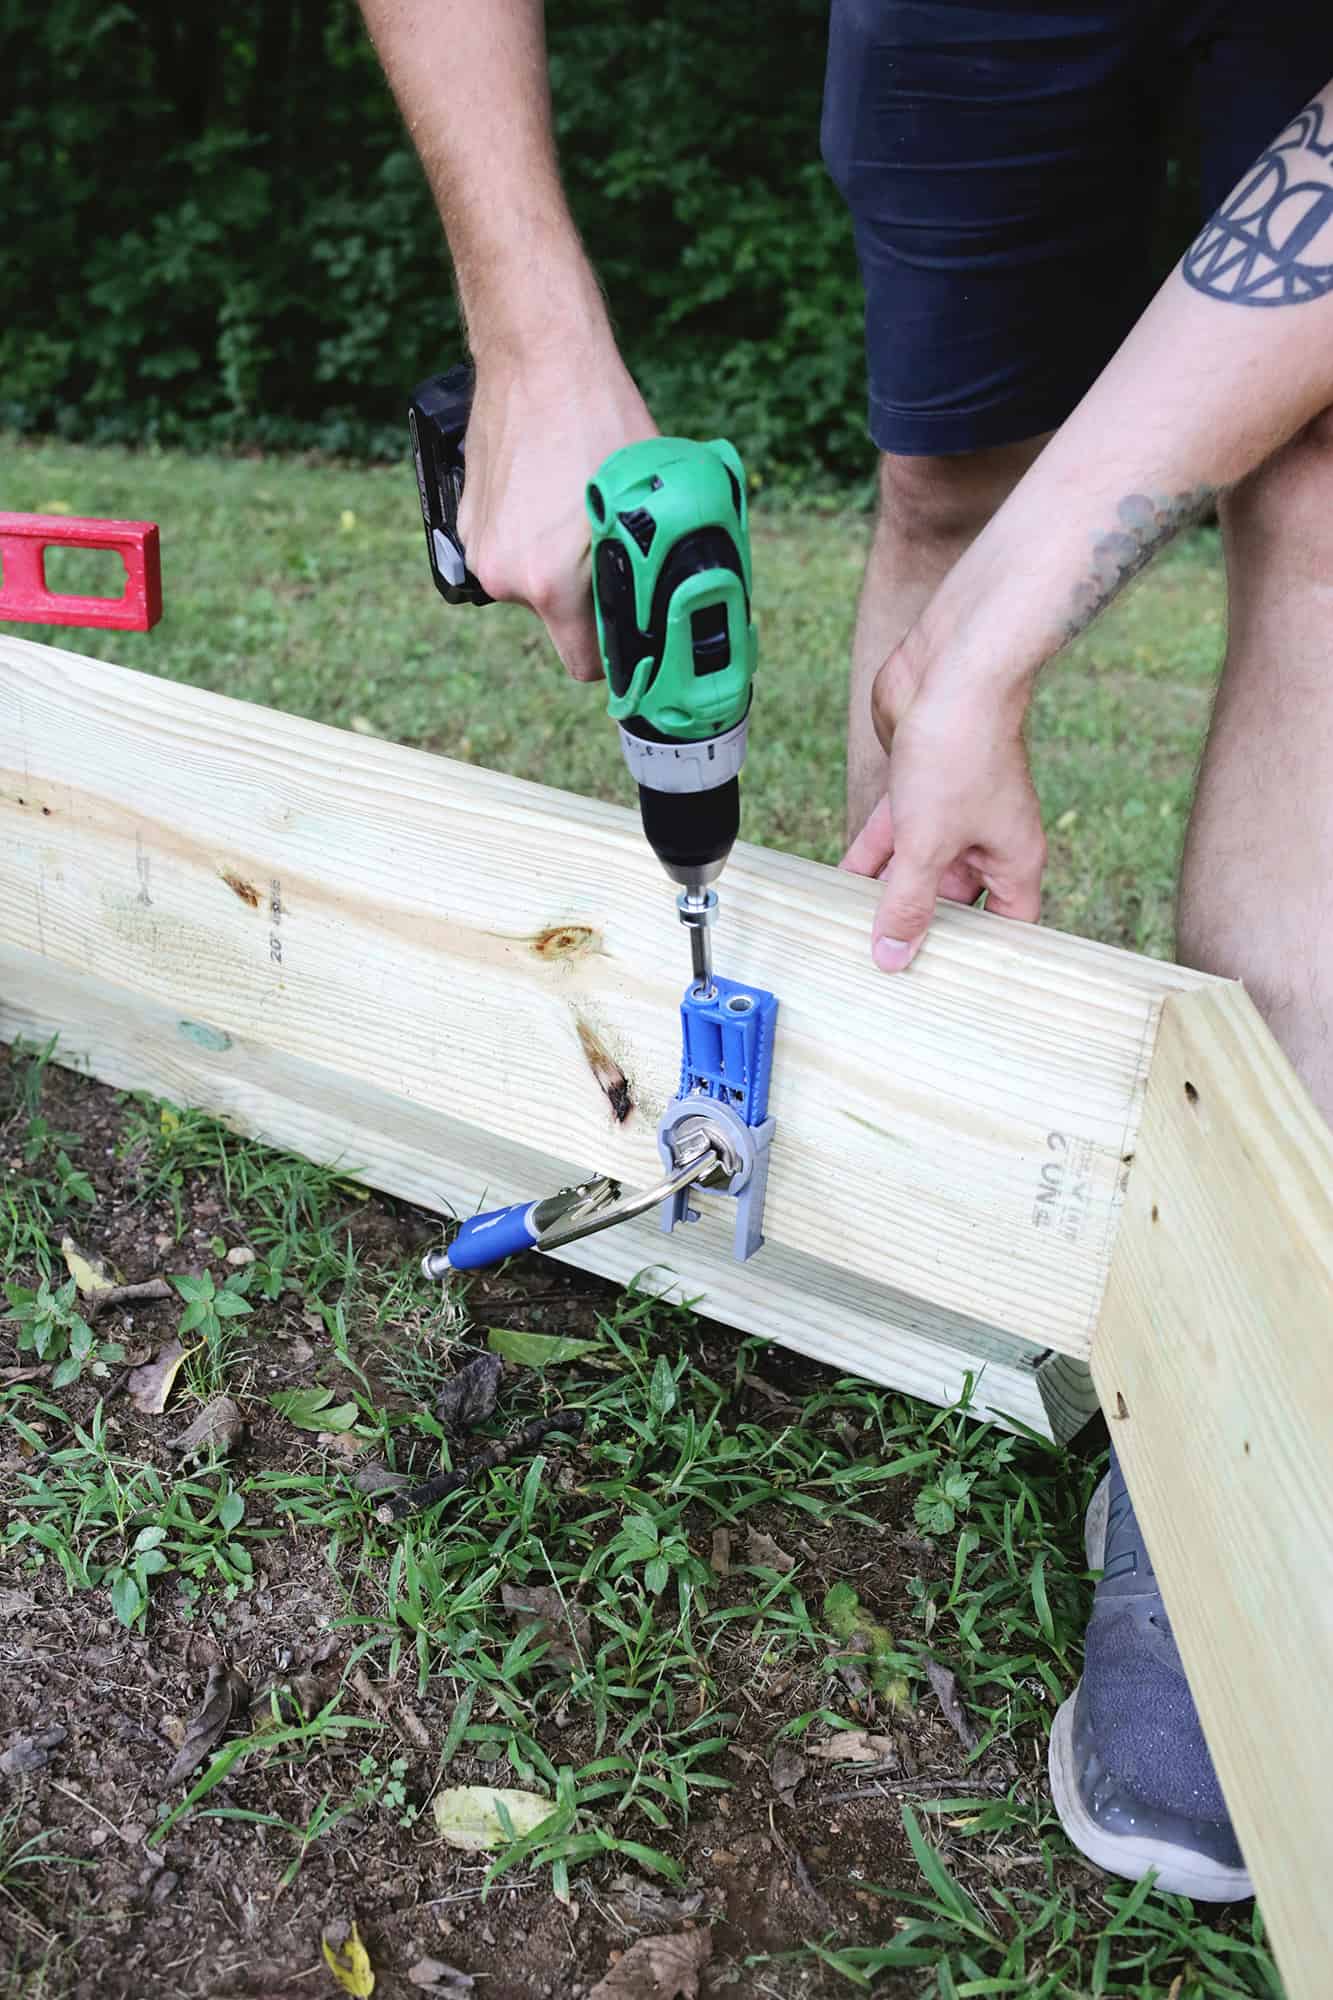
Before you connect your level top layer to your bottom layer pieces, use a pocket hole jig to predrill some holes into your top board (a pocket hole jig allows you to screw in at an angle so you can connect two boards placed directly on top of each other like this). You may have to adjust the jig to be the correct angle for your board width so the screw end doesn’t come out the other side, so practice on a few scrap board pieces first. Drill 3-4 holes spaced out over each board to connect them together.
Once your holes are drilled, place your lower layer boards under the top level layer and attach with wood screws.
Now you should have a hexagon that’s level once all your bottom layers are attached!
Now that the hexagon is level, cut pieces of your 2″ x 4″ board to sit along the sides where you want your bench to be to act as a lip that helps hold the bench up. You’ll want the top of your lip to be 1 1/2″ away from the top edge so that when you add your 1/2″ wide seat board on top of the lip it will be flush with the top of the hexagon (adjust where you place the lip if your board is a different thickness than that).

 Repeat on the other side if doing two benches like mine. If you don’t have a tree in the way, you can just have the two benches meet in the middle and cut the boards at a 30º angle to meet together in the middle with a 30º angle at each end.
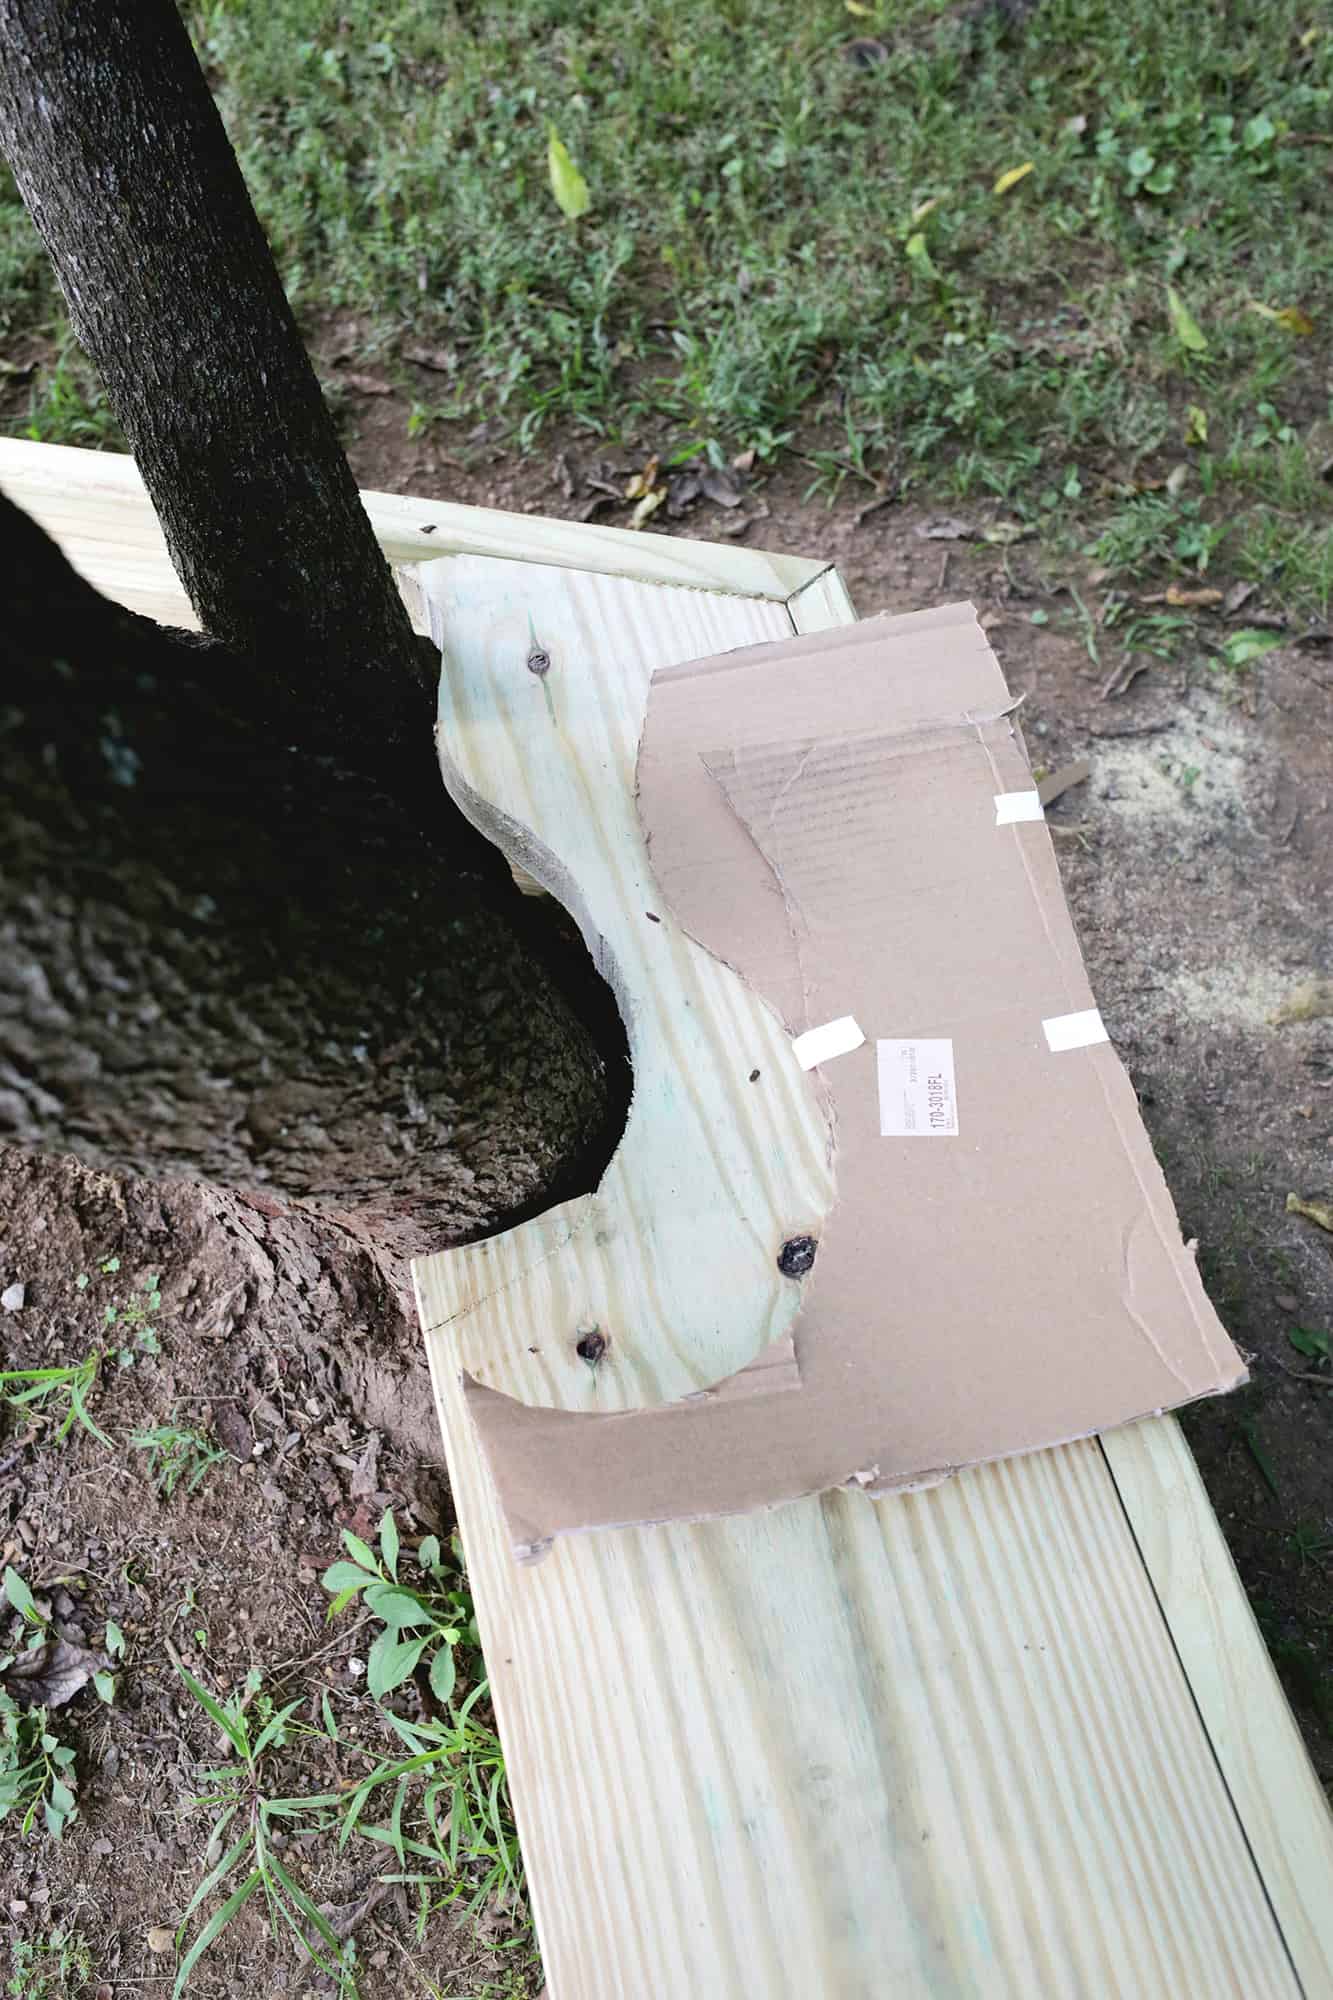
If you do have a tree in the way, use a piece of cardboard to make a pattern for where the wood meets up near the tree (leave at least an 1-2″ of space there for the tree to grow some) and cut that shape into your board with a jigsaw before placing on top of your lip.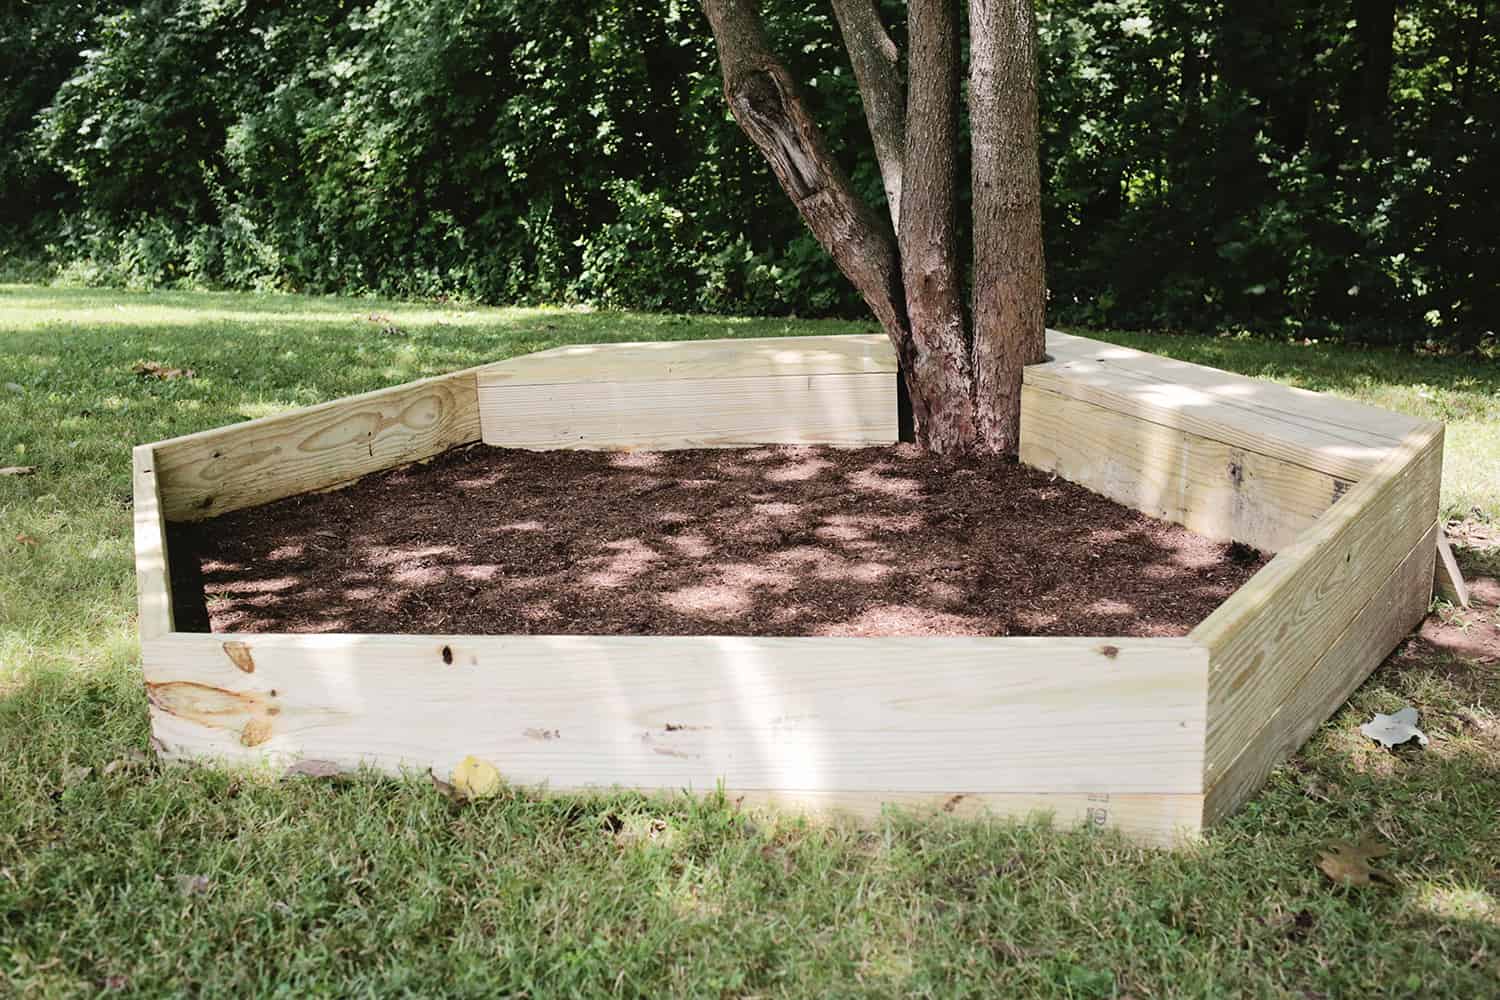
Once your top bench pieces are cut, cut two boards to sit flush under the interior edge of your seat to close the opening off and give your seat a finished look (if the board doesn’t quite reach the ground there you do the same process of tracing and adding another board underneath like we did on the sides, or if it’s too tall you can cut some length off the bottom to make it fit snugly). Use wood screws to attach your seat boards from the top into the wooden lip you added and into the interior edge boards to secure.

If you have a tree you’re building around, cut two more pieces at an angle to make a “V” to enclose the base of the tree.
If your yard isn’t level, use some inexpensive fill dirt to level off the sandbox so you don’t have to buy as much sand to level it out.
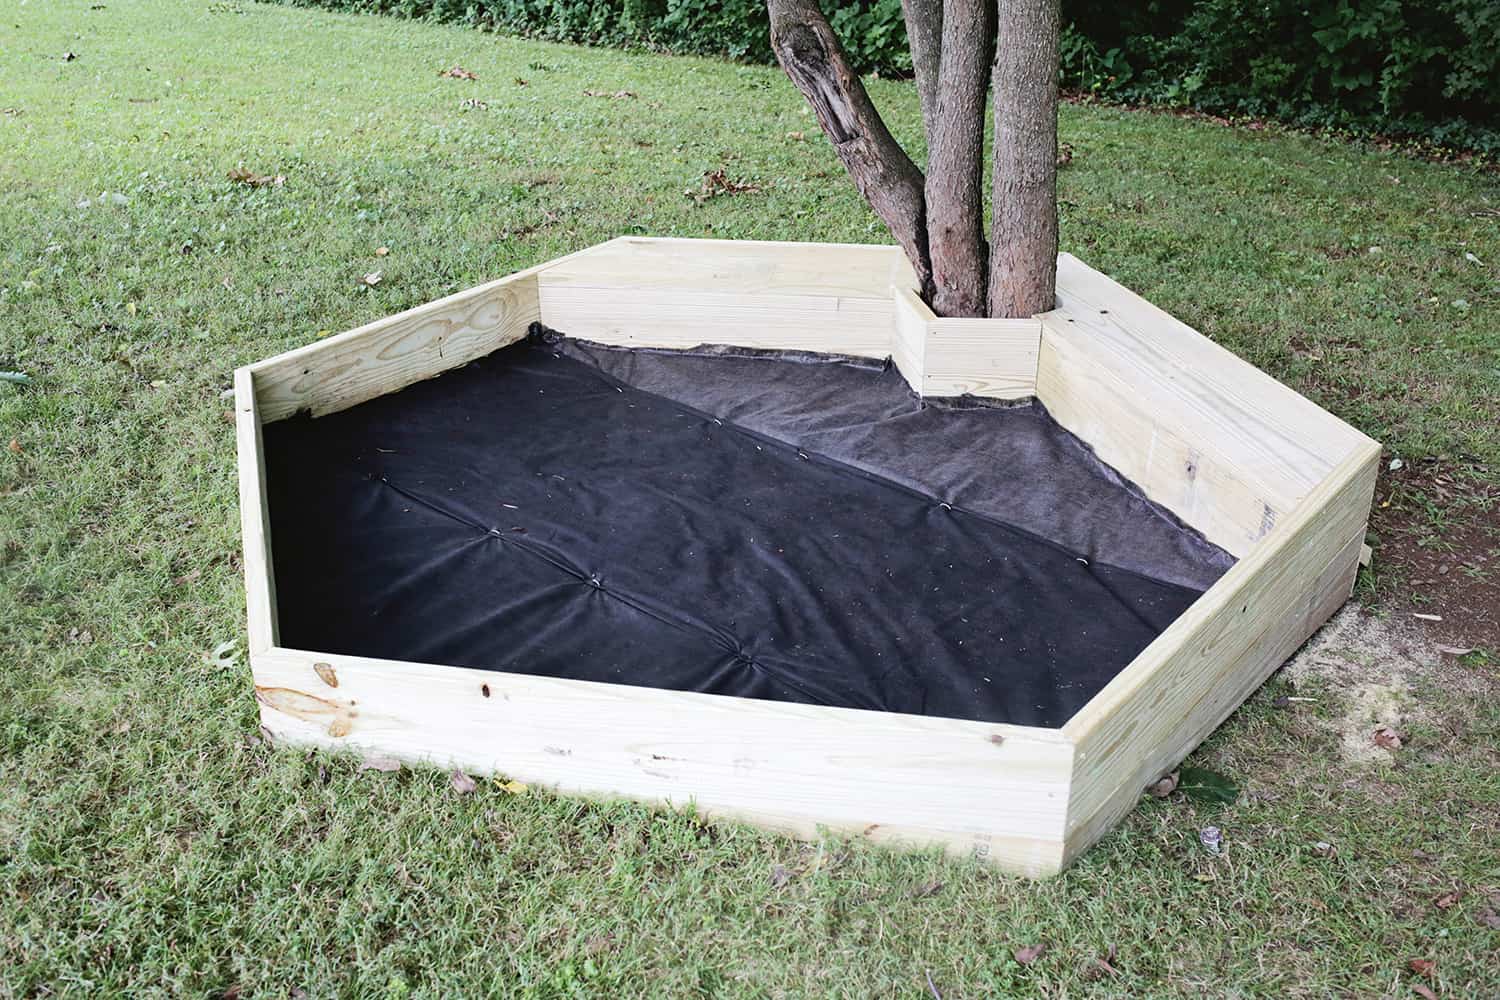
Put down some landscape fabric and secure it with pins to keep weeds and grass from growing up through the sand. Now it’s time to seal your sandbox with a wood sealer and once it’s dry, add as much sand as you want and you’ll be ready to play!
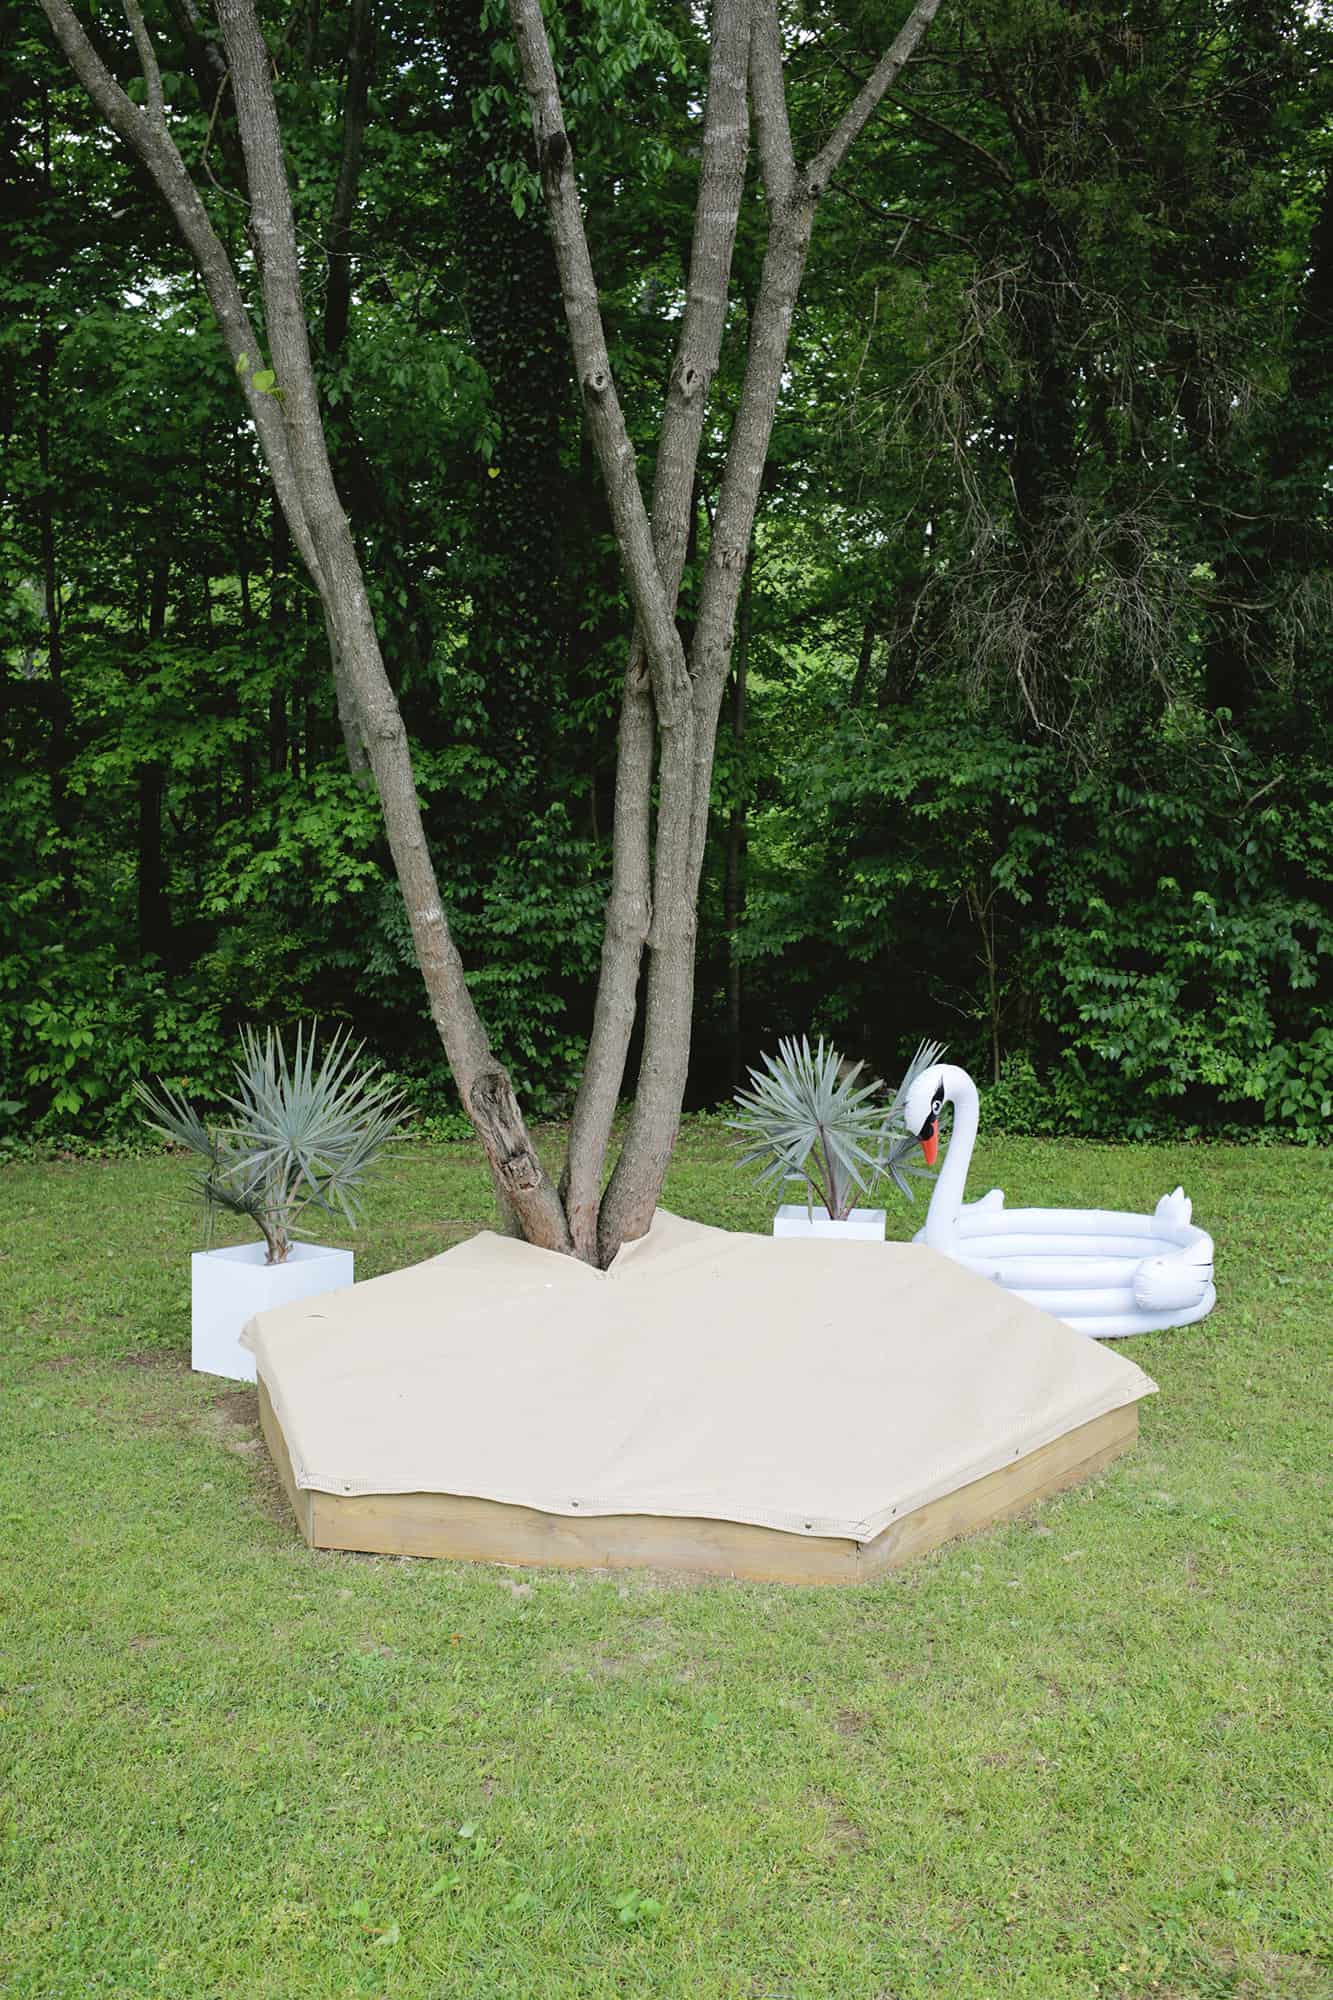
As an FYI, there are lots of ways to cover a sandbox when not in use (easiest way being a tarp with something to weigh the tarp down in a few places to keep it covered). But I ordered a custom hexagon tarp a few inches bigger than the sandbox from here so that I could add some snaps into the wood and tarp to keep it in place (and I had them add a slit as well so it could wrap around the tree base). It’s pretty easy to get the tarp off and on and even Lola can unsnap it herself, which is nice. …
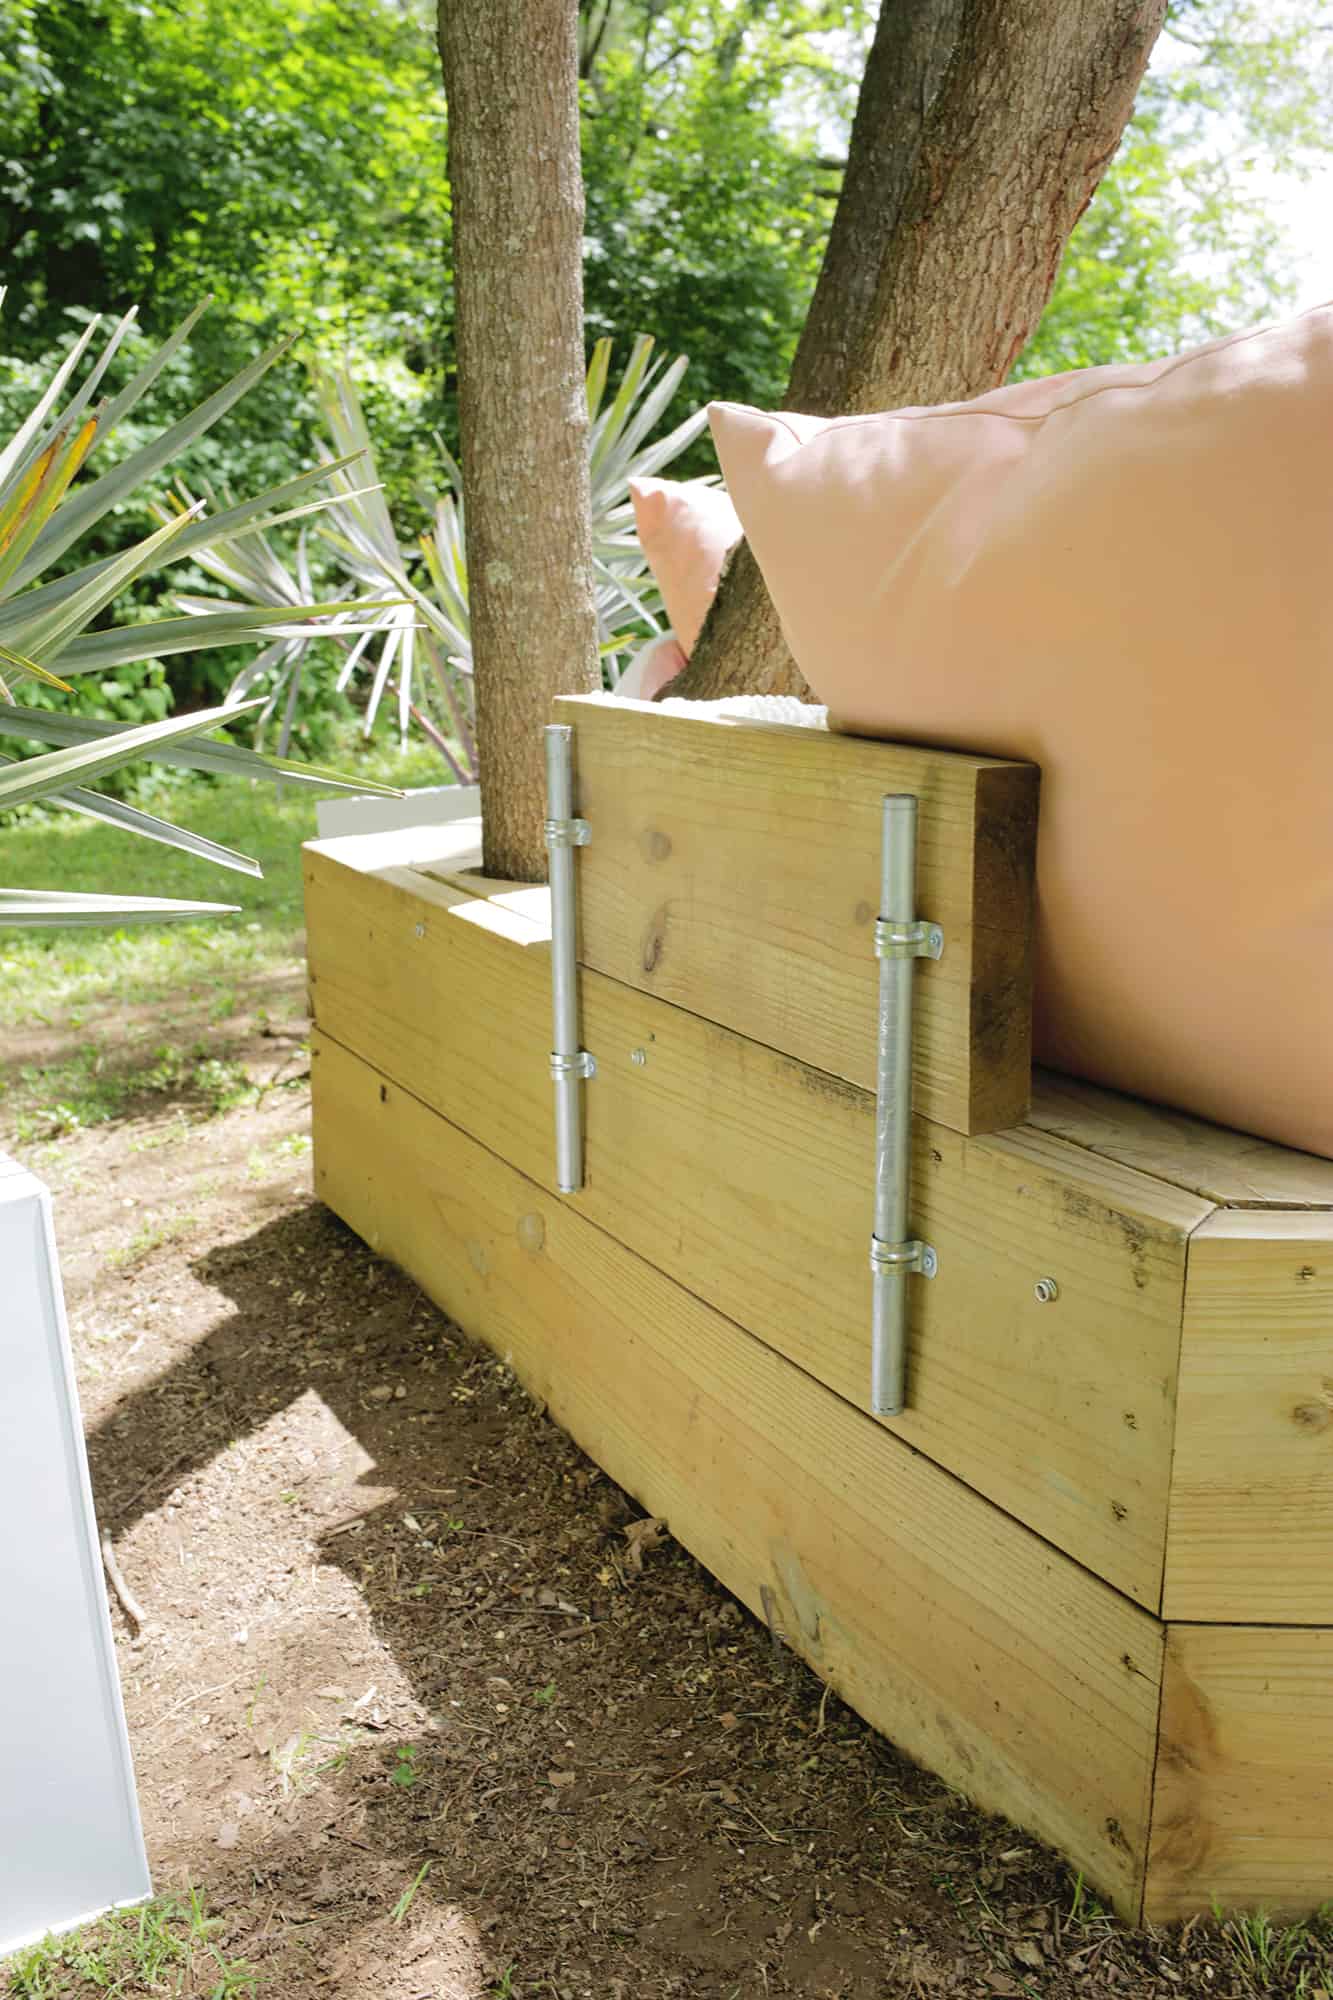
Also, for the optional backrest, I cut two boards 20″ long from the scrap pieces and used pipes and correspondingly sized pipe straps attached to the backs of each board so they can slide down into two other pipe straps on the sandbox. The nice thing about that setup is that they are removable if you don’t want them and you can put the cover on more securely by easily taking them off.
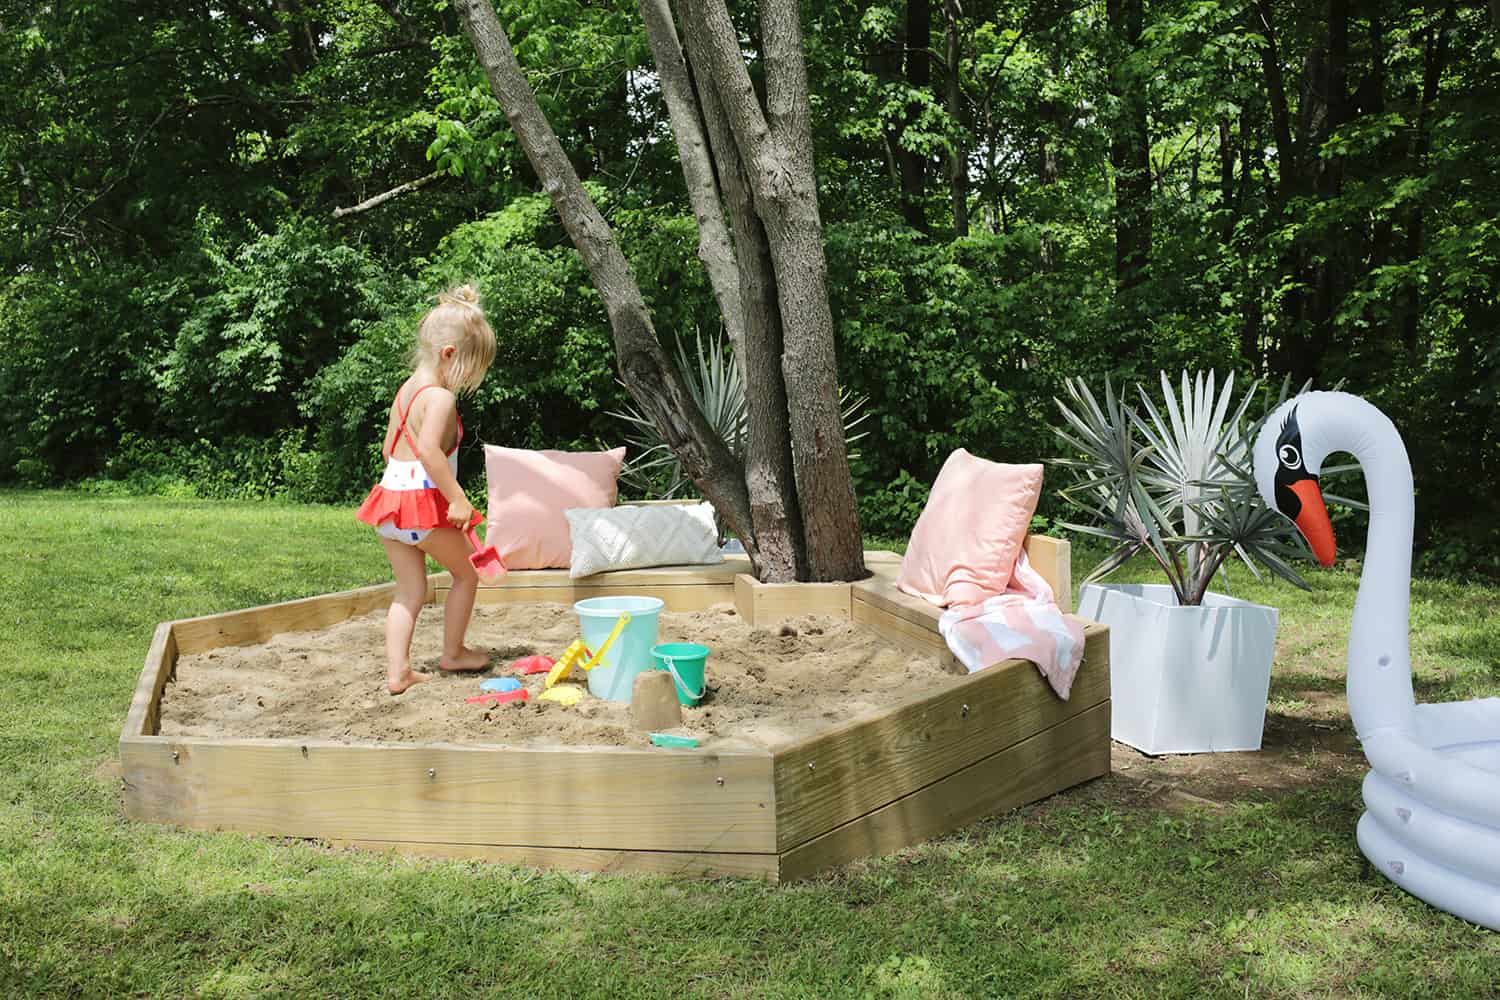
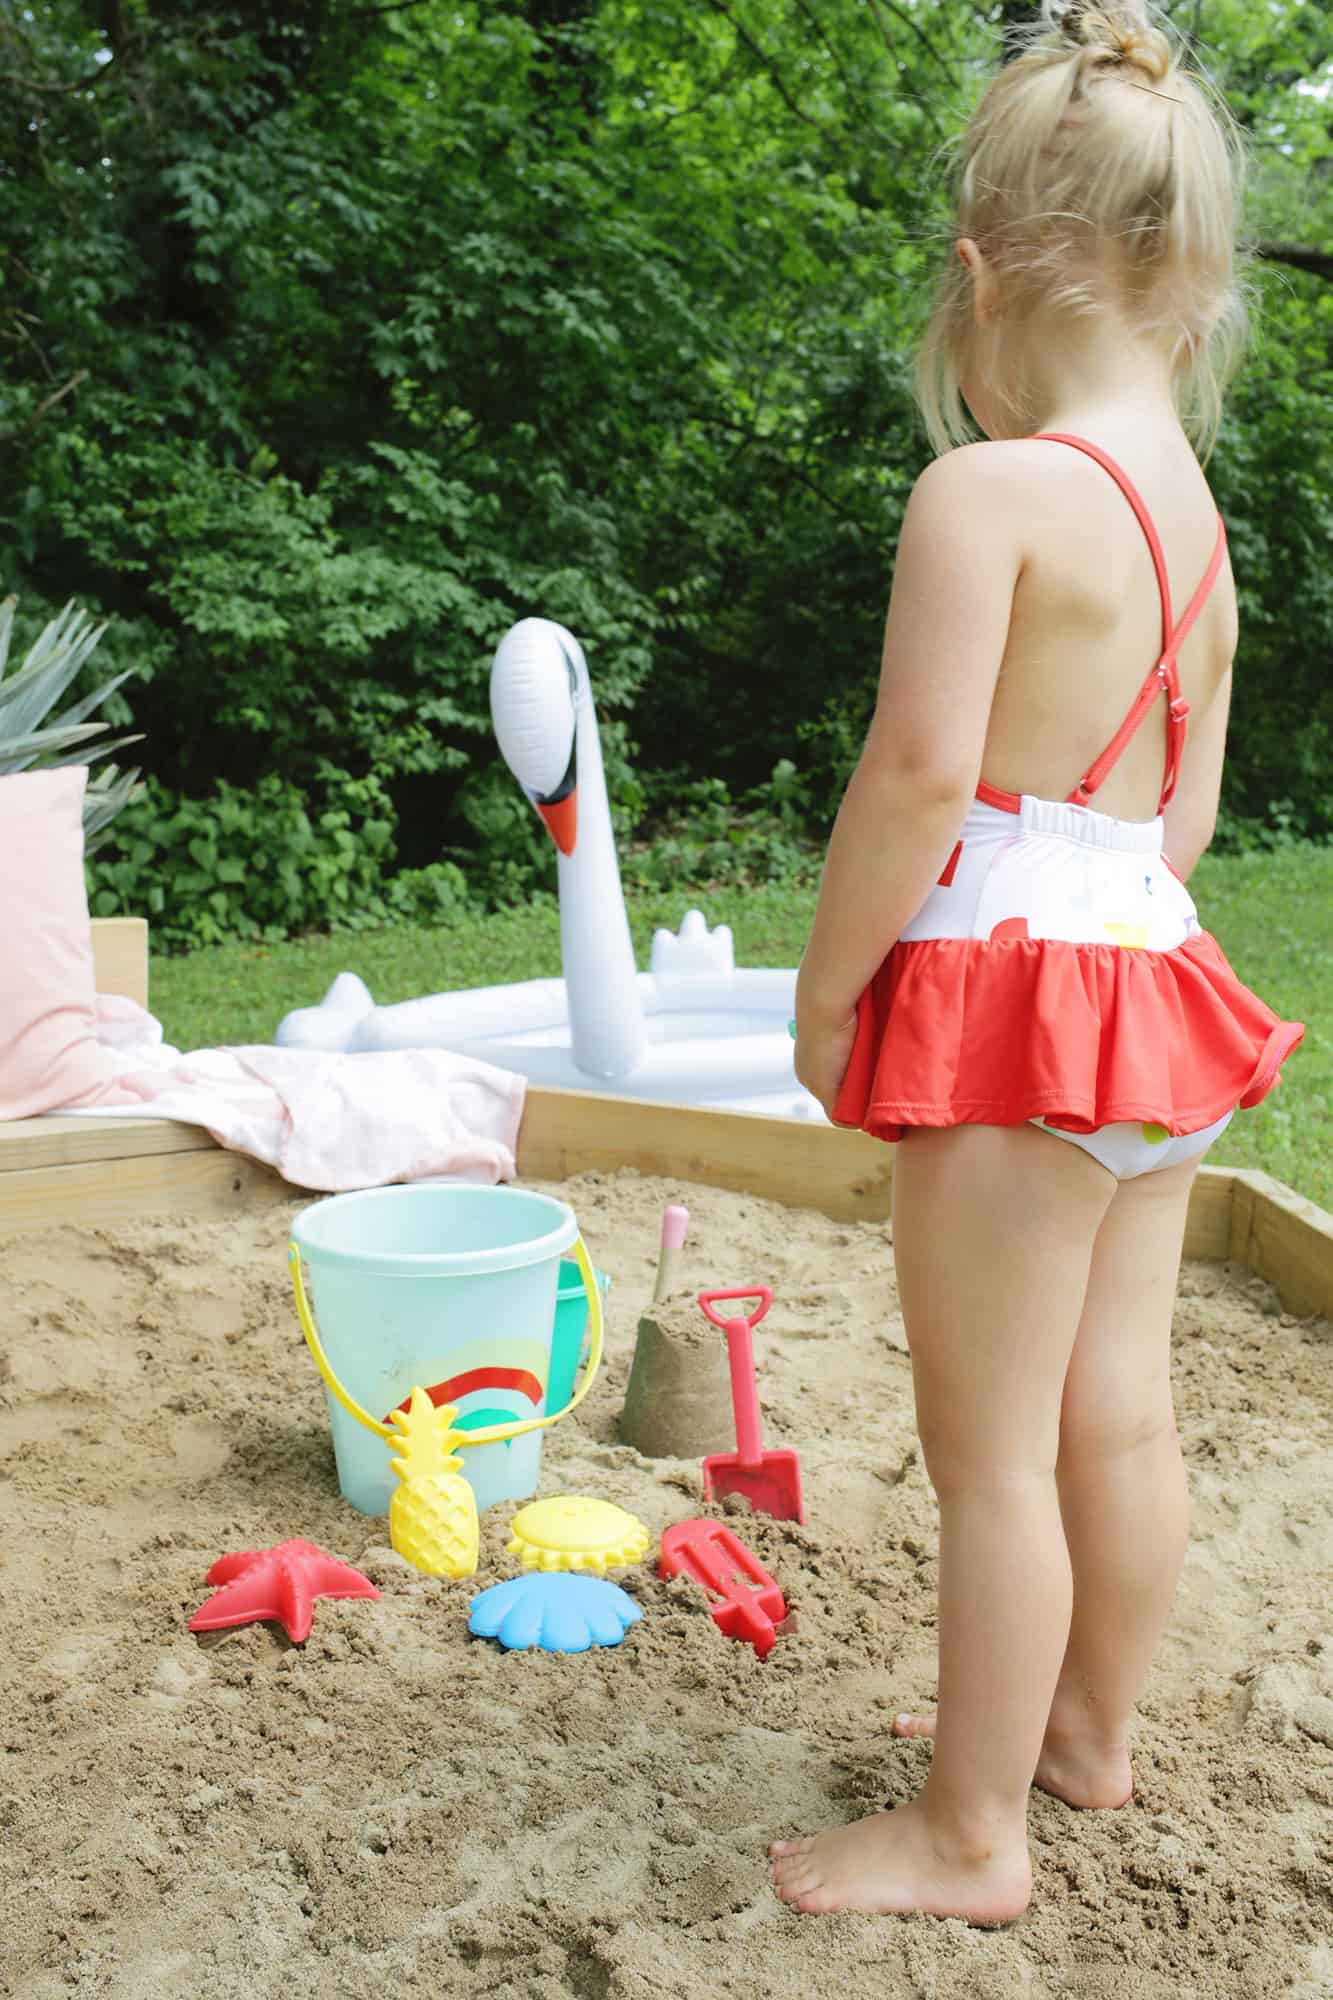
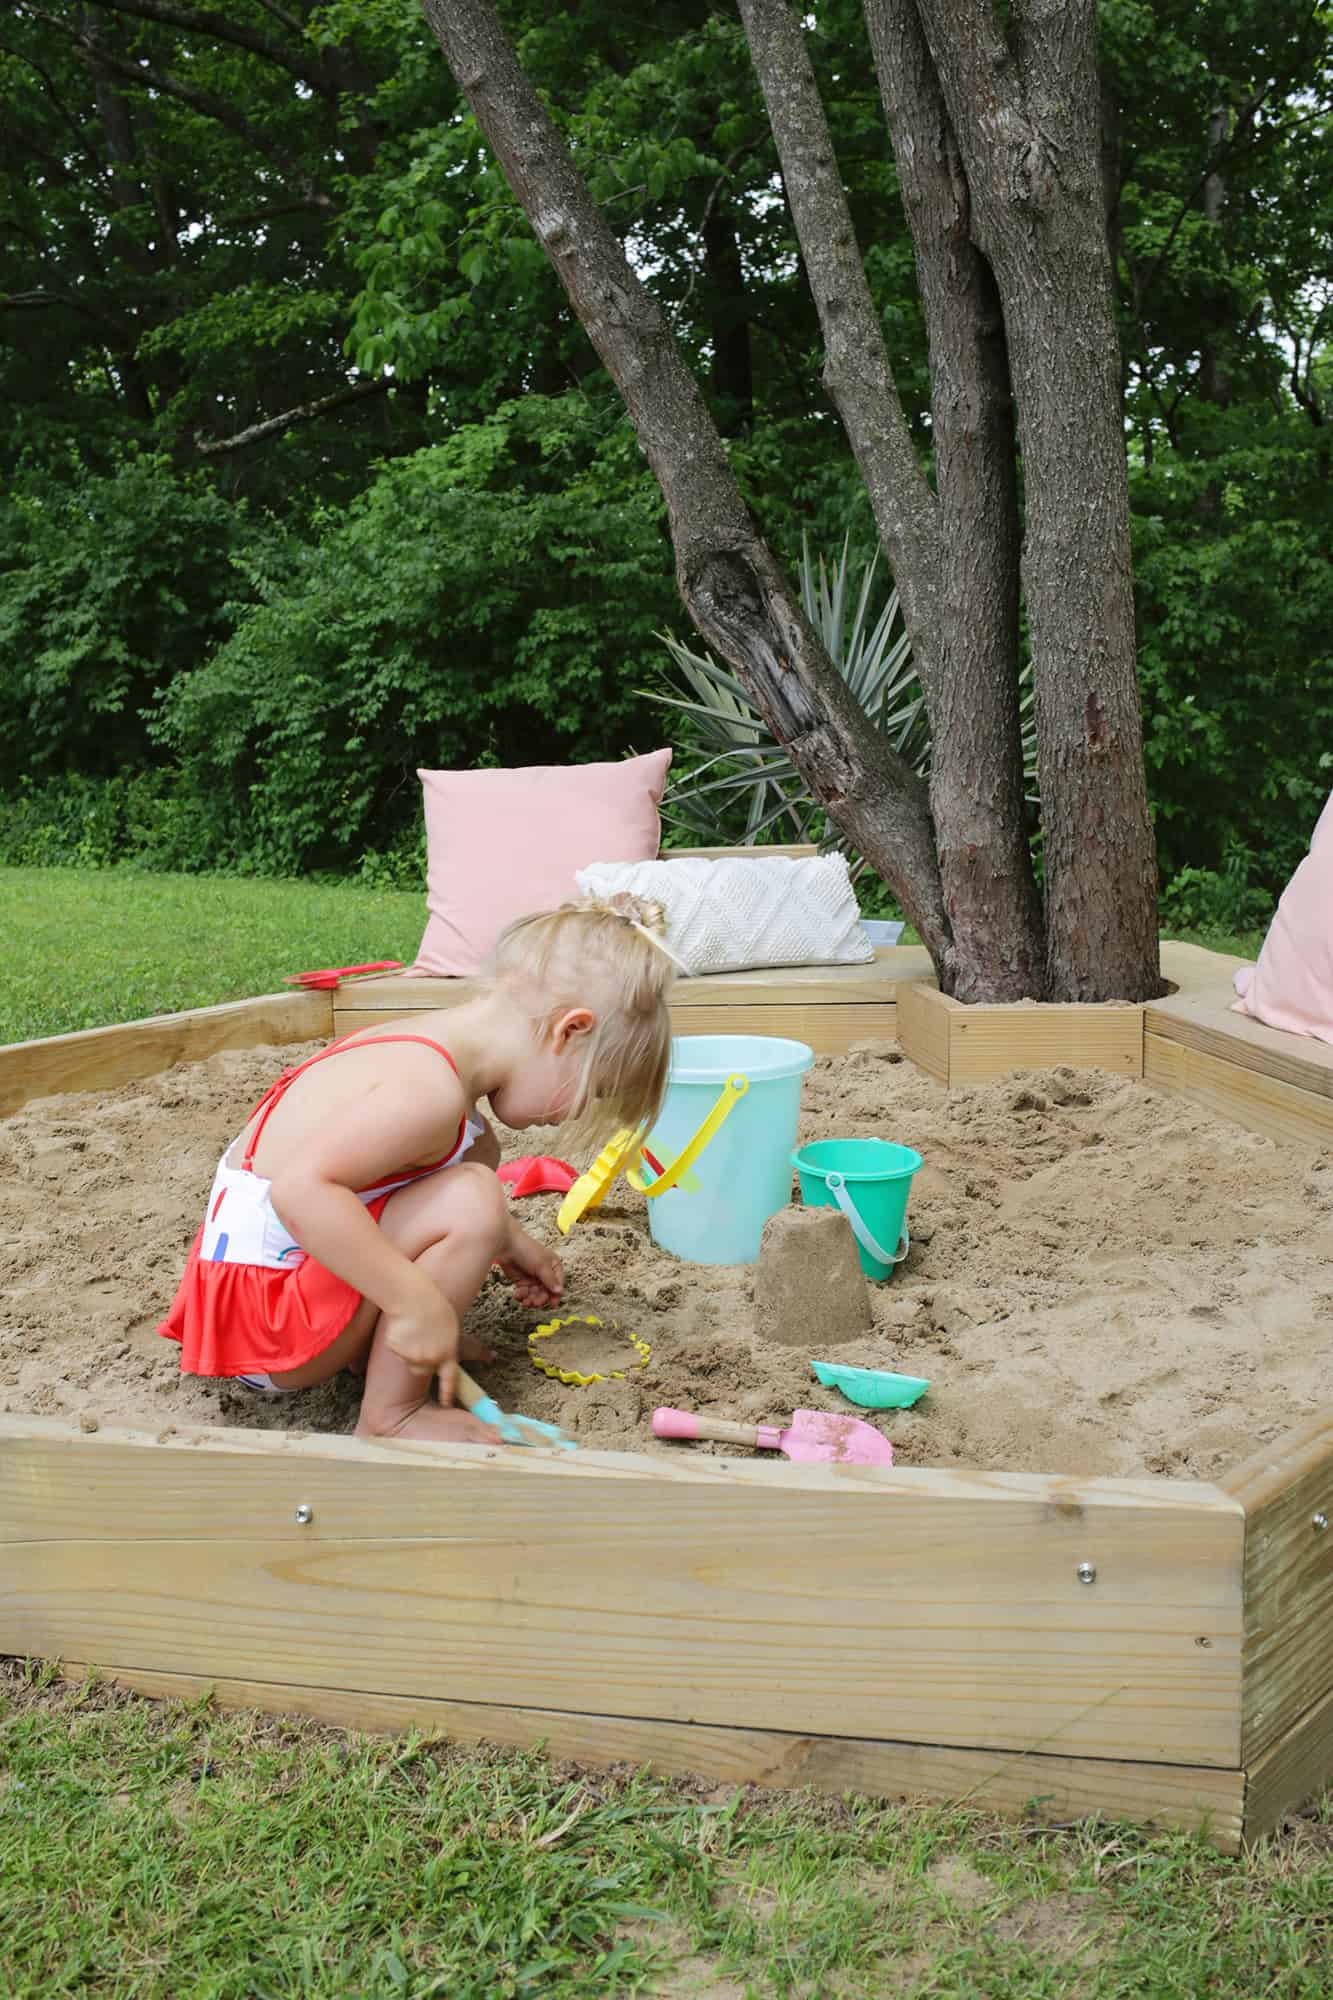
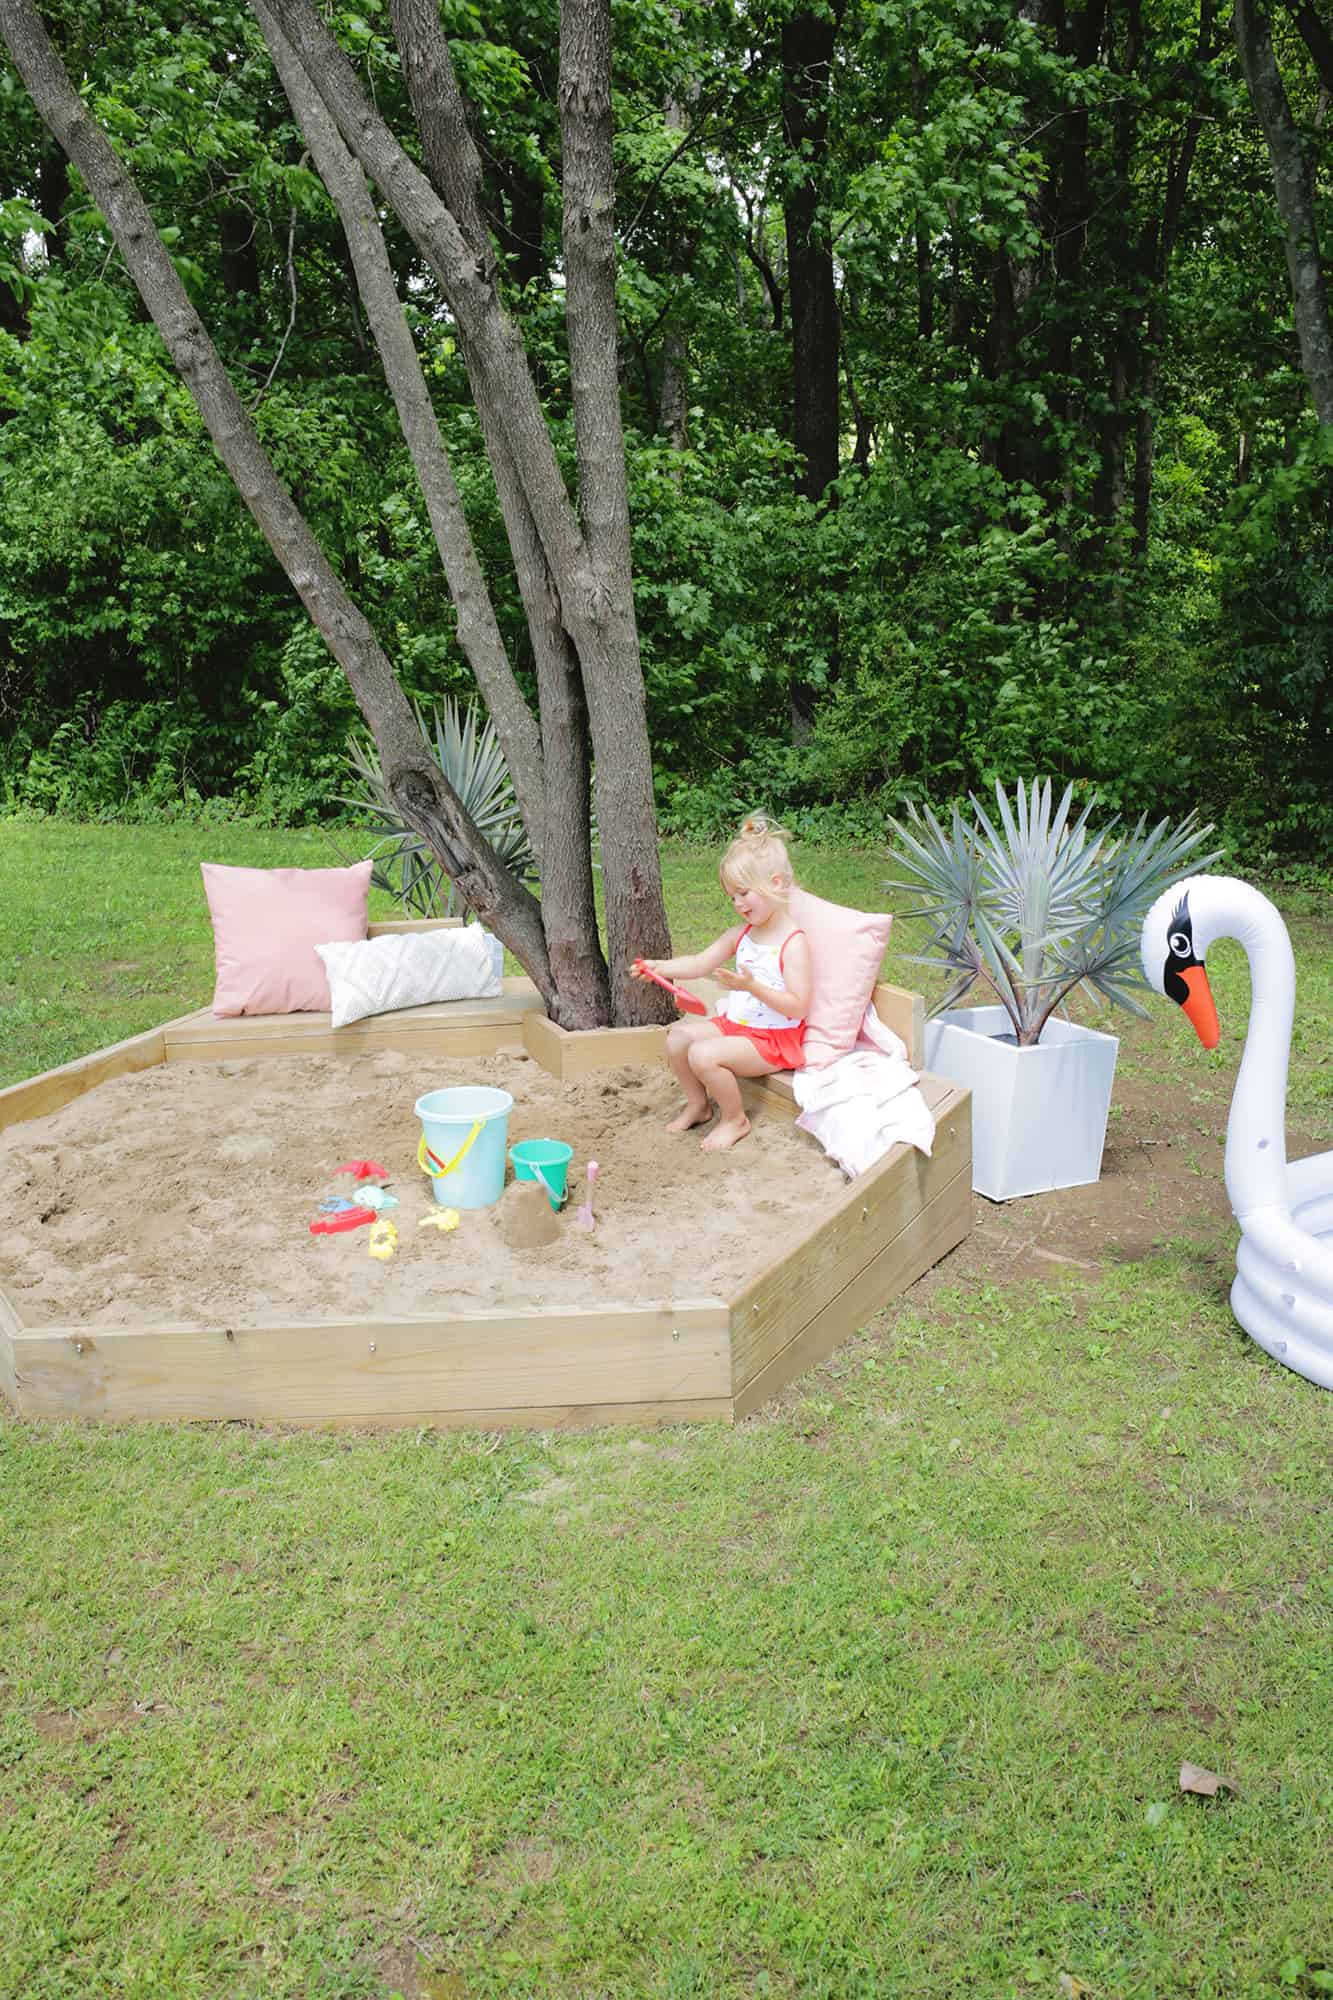

You may already be able to tell, but Lola LOVES this sandbox (she’s literally in the other room asking to go and play in it while I type this, haha). She calls it her “beach,” which is also pretty cute. It’s been so nice to have our own little spot at home where we can make sandcastles and use her sand toys and just soak in some summer vibes with our toes in the sand. If you’re looking for a beach oasis at home this summer as well, maybe this would be just the thing! xo. Laura
Great idea, especially the built in benches, thanks for sharing. Just FYI to some of the commenters thinking about doing this as a garden…do not use treated lumber for a garden. Treated wood has toxic chemicals you do not want leeching into your food. I also don’t feel comfortable letting my kids play in sand with these chemicals…so I built using cedar lumber – more expensive but much safer!
Could you give us an estimate of cost? Also, did you use play sand or regular sand? Thank you!
It turned out so pretty! And I love the way you used the tree in it! I’m going to show this to my husband hoping he wants to make it to!
Wow! This is an amazing idea! Never seen it before! Have a great time Lola!
This is brilliant! I love that the larger format with benches makes it easier to include Mom and Dad or Grandpa and Grandma, or some kiddo friends. And that it can also be a backyard hideaway to read with your toes in the sand etc. Great project!
This is such a great design. I want one of these and I don’t even have kids. Wondering how I can justify that? Maybe later I’ll turn it into a planter box?
Make it a zen garden with rocks and a rake. Add to wine stem stakes to the sides of the benches and make it a place to read with your toes in the sand. <3 You can also play Mancala and tic tac toe, etc in the sand. Write out your affirmations daily in it, etc. <3 Please do it!
How cute and looks like Lola loves it. 🙂
Baby powder or corn starch will make the sand fall right off too, incase there isn’t time for a bath.