") Our goal is to keep our site a useful and valuable resource to all you fellow crafters out there—I see you, friends! With that in mind, this post was originally written back in 2013, and we have updated it with TWO new methods for creating a wood transfer.
Our goal is to keep our site a useful and valuable resource to all you fellow crafters out there—I see you, friends! With that in mind, this post was originally written back in 2013, and we have updated it with TWO new methods for creating a wood transfer.
We have also left the original content here as well, so don’t worry because we haven’t changed that at all. We just want to provide you with more options and methods for transferring a photo to wood. And, good news, these two new methods are even EASIER than the original. (!!!!!!!)
We originally created this post AND have updated it while working with our friends at Canon USA. We love their inkjet printers for both craft projects AND home office/small business needs. We have both. We need both. And, our Canon printers fit the bill and then some.
If you’re looking for a great craft, photo, and all around awesome printer, then might I recommend the PIXMA TS9020 (which you can see below and was used for this project). 🙂
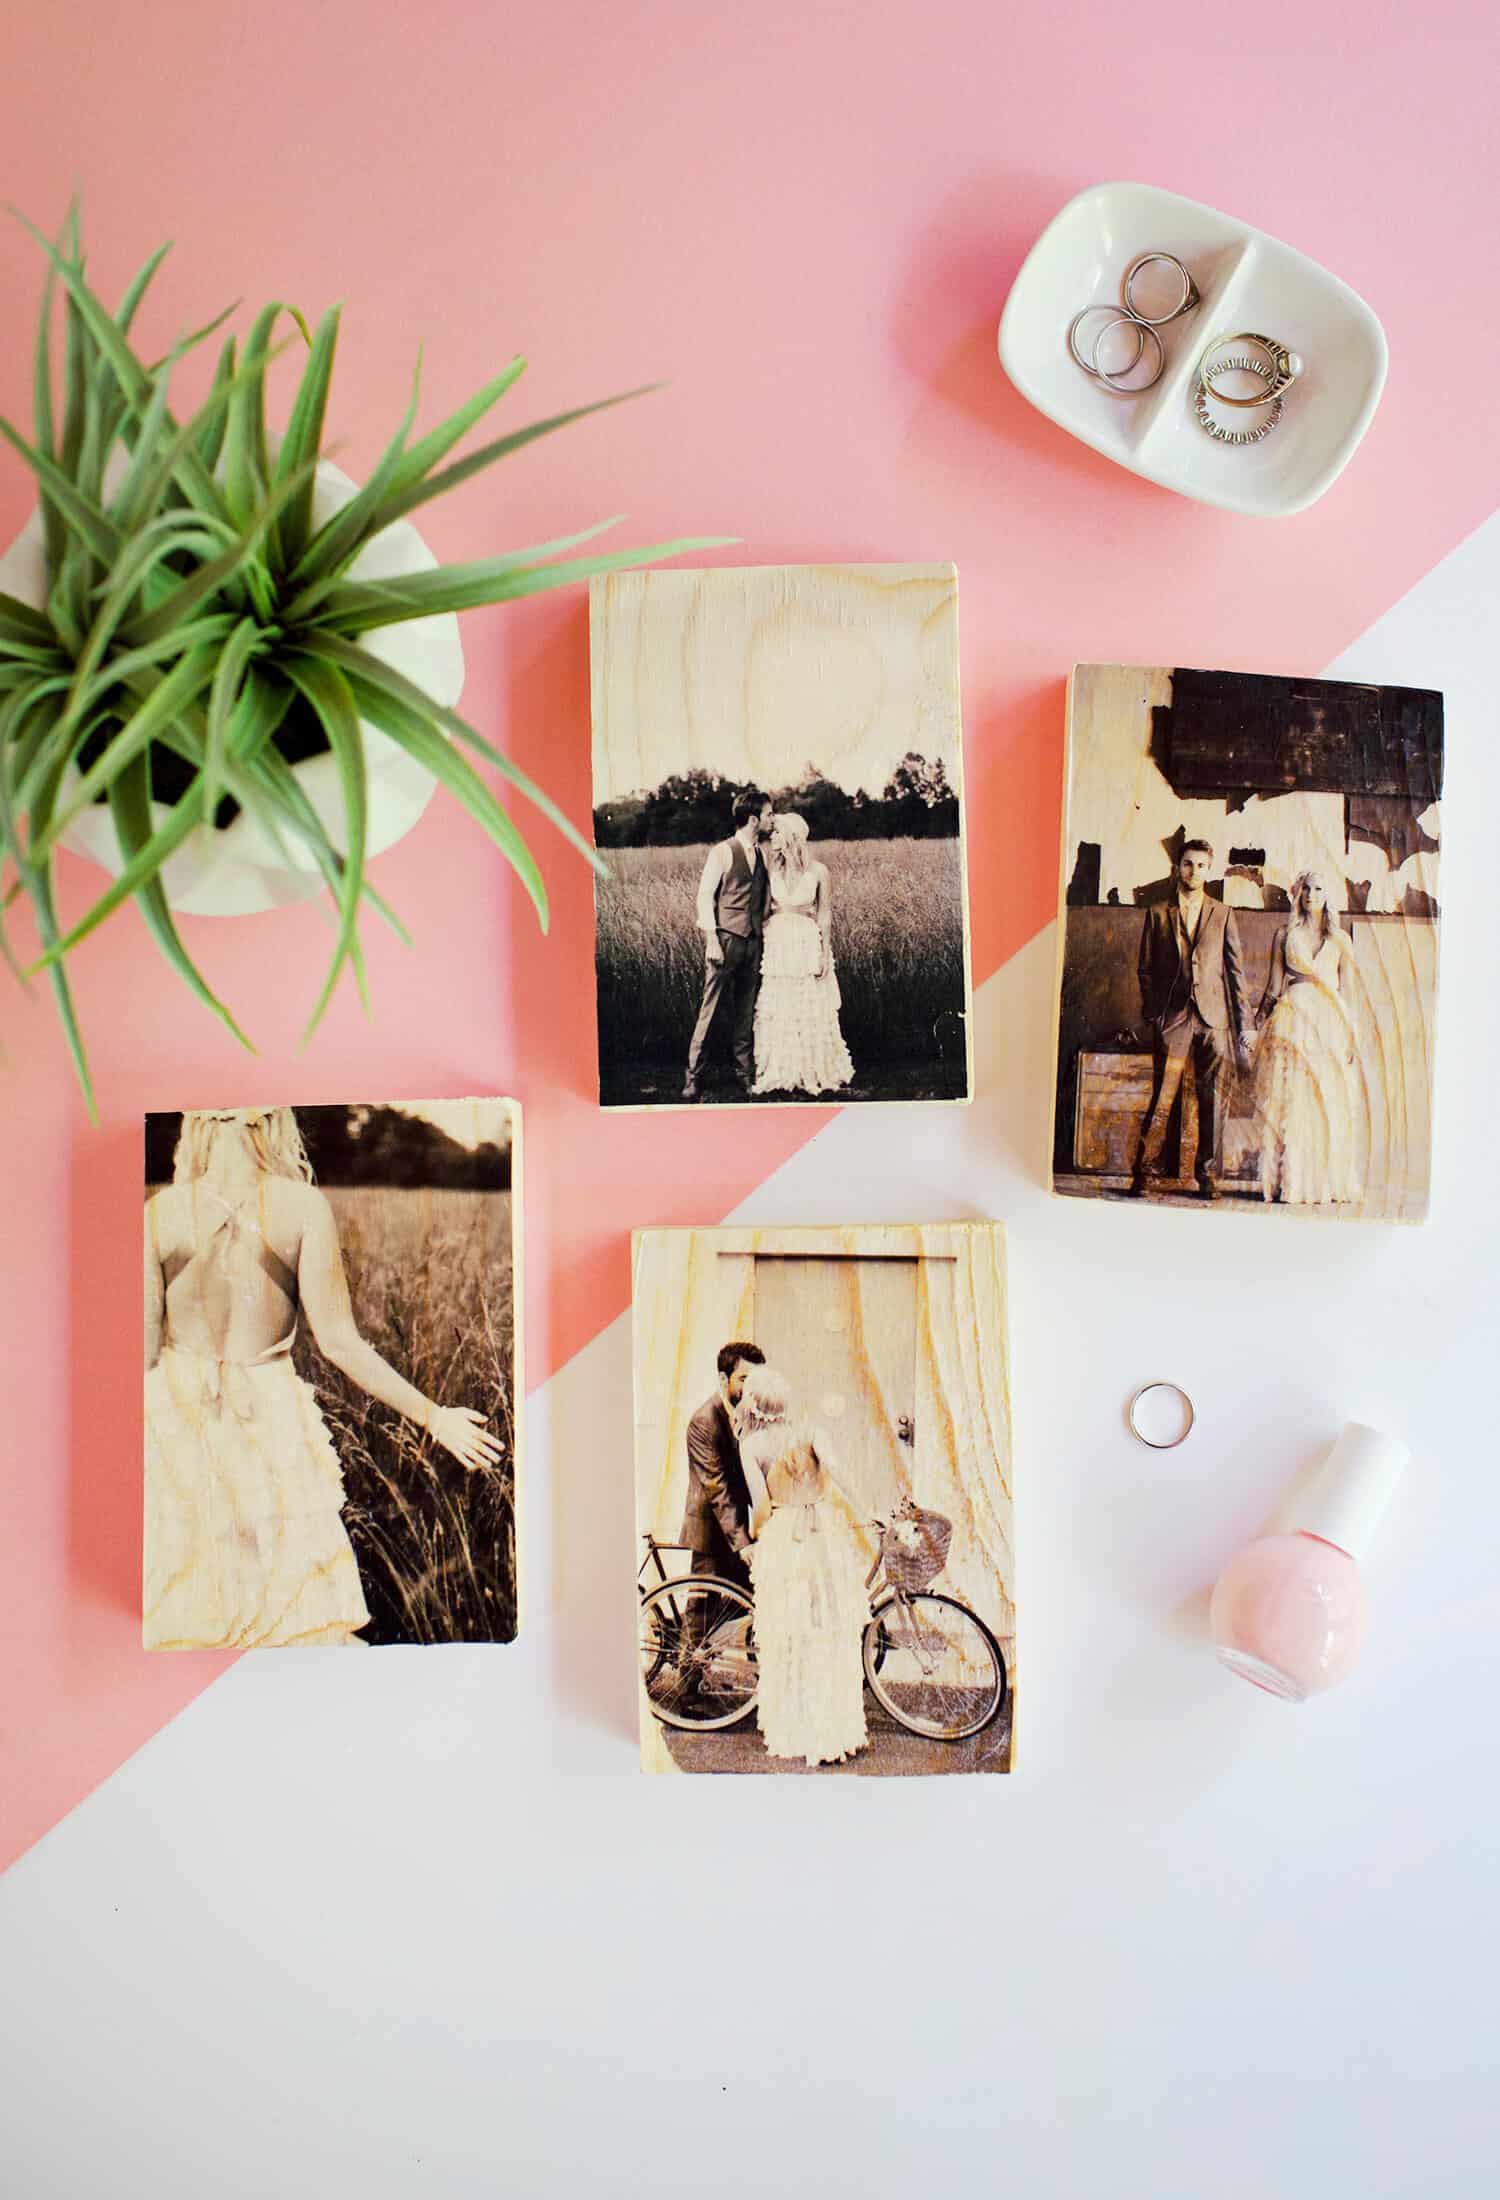
") The wood transfer I created back in 2013 is still alive and well… you can see him in the photo above (the large one, labeled from 2013). I’ve mostly kept this transfer displayed in my bedroom for the past four years, and it’s even moved houses with me once during that time.
The wood transfer I created back in 2013 is still alive and well… you can see him in the photo above (the large one, labeled from 2013). I’ve mostly kept this transfer displayed in my bedroom for the past four years, and it’s even moved houses with me once during that time.
So, if the old method works, why bother updating? Good question. So, the original method we shared I would say is somewhat advanced in that it involves a number of steps that if you mess up, can affect your final project.
I was hoping to offer another method that could suit a beginner crafter level, or a more “foolproof” method. I like anything with that term in it. 🙂
I tried a few things and the two that worked the best I am sharing with you in the video below. You can see all the supplies and steps for creating your own wood transfer:
In addition to the steps you can see in the video, I’d thought I’d share a few more tips I learned from these two methods below.

 For the water decal method, method 1, there are a number of water decal inkjet printer papers on the market that can work well for this. The one I used is here.
Once you slip the image decal off the paper (after soaking), it’s very thin, like tissue paper, so it’s good to practice a bit so you get the hang of working with it.
Also, keep in mind that turpentine has a fairly strong odor. So be sure to work in a well-ventilated area.
For method 2, using temporary tattoo paper, I used this brand. Here’s a few tips for this one. First, keep in mind that your final “tattoo” will be the mirror image of your photo. So if there is text in your image, you’ll want to flip before printing.
After printing you will have to add a sticky, clear sheet to the design. This contains adhesive that will help your design stick to the wood.
As you can see in the video, it’s OK if you don’t get this stuck on perfectly. But you do want to distribute the adhesive across your image as much as possible.
You can leave the transfers as they are or seal with a thin coat of Mod Podge or water-based polyurethane. I left mine unsealed and so far, so good. 🙂
 The transfer on the left was made using method 1 and the right was made using method 2 from the video above.
Here is the original post for transferring a photo to wood:
In anticipation of getting my wedding photos back from our photographer, I’ve been dreaming up creative ways to display some of our photos around the house. I’ve always wanted to try transferring a photo to wood.
So, I looked up a few tutorials online to see how it’s done. I learned pretty quickly that not every tutorial out there will result in a beautiful transfer. But what I learned I’m happy to share with you!
 This project is part of our collaboration with Canon USA. We used a MG6320 printer to create this transfer. Among the many tutorials I researched, the one I found most useful was from C. Monck.
 In the video above, you can watch me make the wood transfer pictured here from start to finish. Here are the instructions along with additional tips and a few peeks into the numerous failed attempts:
 Supplies:
-shipping label sheets (I used these)
–Krylon clear sealer![]()
-Elmer’s glue
–Liquitex matte gel![]() (medium)
(medium)
-small sponges
Not pictured:
-ink jet printer
-paint roller (or rolling pin)
-8×10 inch untreated wood (lighter colored wood is preferred)
Note: If you plan to use a photo you didn’t take yourself (like a wedding photo), be sure you have the photographer’s permission.
 Step One: Remove and discard the labels. You only want the backing paper.
Step Two: Spray on a thin coat of the Krylon clear sealer and allow to dry.
Step Three: Use a small sponge to apply a thin layer of Elmer’s glue to the paper. Allow this to fully dry.
 Step Four: Print your photo onto the paper on the side with the dried glue. Be careful not to smear the image once it has been printed.
Step Five: Use a small sponge to apply a thin coat of Liquitex to the wood. While it is still wet, apply your photo image-side down to the wood. Use a roller to flatten the paper onto the wood. Allow this to dry for 1 hour.
Step Six: Carefully peel back the paper from the transfer and seal with another thin coat of Krylon clear sealer. Once that dries, you can add another coat of sealer, like Mod Podge.
 Now you are ready to display your transfer in your home. I just love the rustic look of wood. 🙂 I bet you want to see the failed attempts, huh? Yeah, I would too.
Here they are along with what I learned and additional tips that might help you if you are planning to make your own wood transfer.
 This one… kind of transferred. Sort of. It’s very faint as you can see and also was quite a mess to work with as I tried to remove the paper.
The tutorial I followed for this attempt was very similar to the one above except that it didn’t use clear sealer and it suggested using Mod Podge instead of Liquitex.
In my opinion the Liquitex, although a little more expensive than Mod Podge, was well worth the investment.
 Oh dear. This attempt was done doing the exact technique taught above, except that instead of using a sponge to apply the Elmer’s glue, I used a paint brush.
For me, the paint brush left a lot of streaks and uneven coverage. I recommend using a sponge. Sponge for the win!
 This one is pretty good, huh? Not too bad. The main issue here was that there was some bubbling in the paper and it showed in the transferred image (in the area below our hands).
This is why it’s important to use a mini paint roller or rolling pin to help flatten down the paper onto the wood as the image transfers over. Say no to bubbles.
If you have any additional questions, let us know. Or if you have also completed a wood transfer project before and have any tips you’d like to share, feel free. 🙂 Thanks! xo. Emma

Cool I will try it. I know Mrs.Carabello
For the decal paper method, could you print the image flipped and after soaking leave the transfer paper on and remove after placing on the wood vs taking it off prior to placing?
I’ve never tried it that way before. I am unsure if it would work well. I’d test it with some scrap wood if you can.
heyyy
I am curious why you use turp with a water slide decal. Did you try it with water and it didn’t work as well? Or is that the instructions from that specific manufacturer?
In a store right now, wondering the exact same thing…
HELP! Lol I tried this whit some photos that were printed from Walgreens. Took forever to get the paper off the back (at least I think I got it all off) but it’s VERY light and you can barely see the image. How can I fix this?
Can I use a laser printer with the label paper method or any of the other options? Thank you.
I am not sure. I don’t have a lot of experience with laser printers. But if you can find similar label paper that is for laser printers then it would probably work. Sorry I don’t know for sure, I just don’t own laser printer.
What a cool project I’m excited to try this..I was just wondering what the best paper to use with a inkjet printer?
Wow, this is really cool! I haven’t seen this before! I will definately try it soon… that will be perfect presents for friends! Thanks for the idea! 🙂
I love this! We just bought our home earlier this year and we are smack dab in the middle of decorating everything. Trying to think of creative wall decor can be a challenge but I think this technique is perfect! Thanks so much for the great idea–I look forward to trying my hand at this photo transfer. : )
isnt this kind of a waste of the labels? Surely there must be a better way ?
This is great! Thanks for the tips and showing us how to do it! Is the finished product water proof? Like if you spill water on top, will it get damaged?
I am happy that you have posted this tutorial. It is also nice that there is a video because I am more on a visual learner. I will surely give this a try. Thanks for posting!
has anyone tried using those iron on transfers to either wood or canvas? i just thought of it and wonder if this can work too.
Barbara- you are right! photos with words should always be printed in reverse for transfer projects! 🙂
I love this idea, but have a question — shouldn’t you print the picture in ‘reverse’ or ‘mirror’ image? Otherwise, it would seem to me that you would be looking at it in mirror image once you get it completed. In your sample picture, it probably wouldn’t matter if it were ‘mirrored’, but with faces or writing or something I’d think it might be a problem. Just wondering. . . I’m going to give it all a try.
Beautiful! I love photo-transfer. Your’s turned out great! I’ve done it a lot for various wood, canvas, & fabric projects, and I know the reason your earlier attempts didn’t work is because of the ink-jet printer. Ink jets use water-soluble inks and some of the photo transfer methods will make the inks runny and faded (or not transfer at all).
Any of the other methods should work as long as you use a laser-printed photo copy of your picture (just be sure to reverse the image first). I always just go to Staples or some other copy center since they use laser printers.
Some of my projects are on my pinterest:
http://pinterest.com/vintagewise/handmade/
I’m horribly bad at keeping my board updated so I don’t have pictures of some of my favorite projects, like the galaxy hair bows I made for my daughter (using actual images from NASA which are public domain).
Thanks for sharing! This turned out awesome! And it’s very encouraging to see the ones that didn’t work, too, cause you know…
Anyway, at the beginning when it says:
1.) Remove and discard the labels. You only want the backing paper. 2.) Spray on a thin coat of the Krylon clear sealer and allow to dry. 3.) Use a small sponge to apply a thin layer of Elmer’s glue to the paper. Allow this to fully dry.
In step 2, where do you spray the Krylon? Onto the label backing paper? And then in step 3 you apply Elmer’s glue over the top of the dried Krylon?
Sorry, I’m only going by the text and not the video!
Personally I like the first “fail”, really it has quite an artistic, emotional feel to it in my eye, but hey…
In regards to the glue issue, I routinely use Elmers and other glues thinned with distilled water so it flows easier with a smooth finish once dry and doesn’t seem to affect the properties when dry compared to undiluted. Haven’t tried this, but other than a longer drying time for the glue before printing, I don’t see why it wouldn’t work and allow the brush method, the glue will float out to a smooth surface.
Other than, you just lit a fire on a cloudy stormy day.
Time to be a kid again “)
mammoth article which i accept decrypt against a prolonged travel unbroken with i codify absotively-posolutely bookmark it sporadically
thanks with a point of view this brobdingnagian send
Great idea and would be great as a wedding gift as well ! 🙂
http://www.diycray.blogspot.com
Sweet, but does this work with colour images too?? thanks