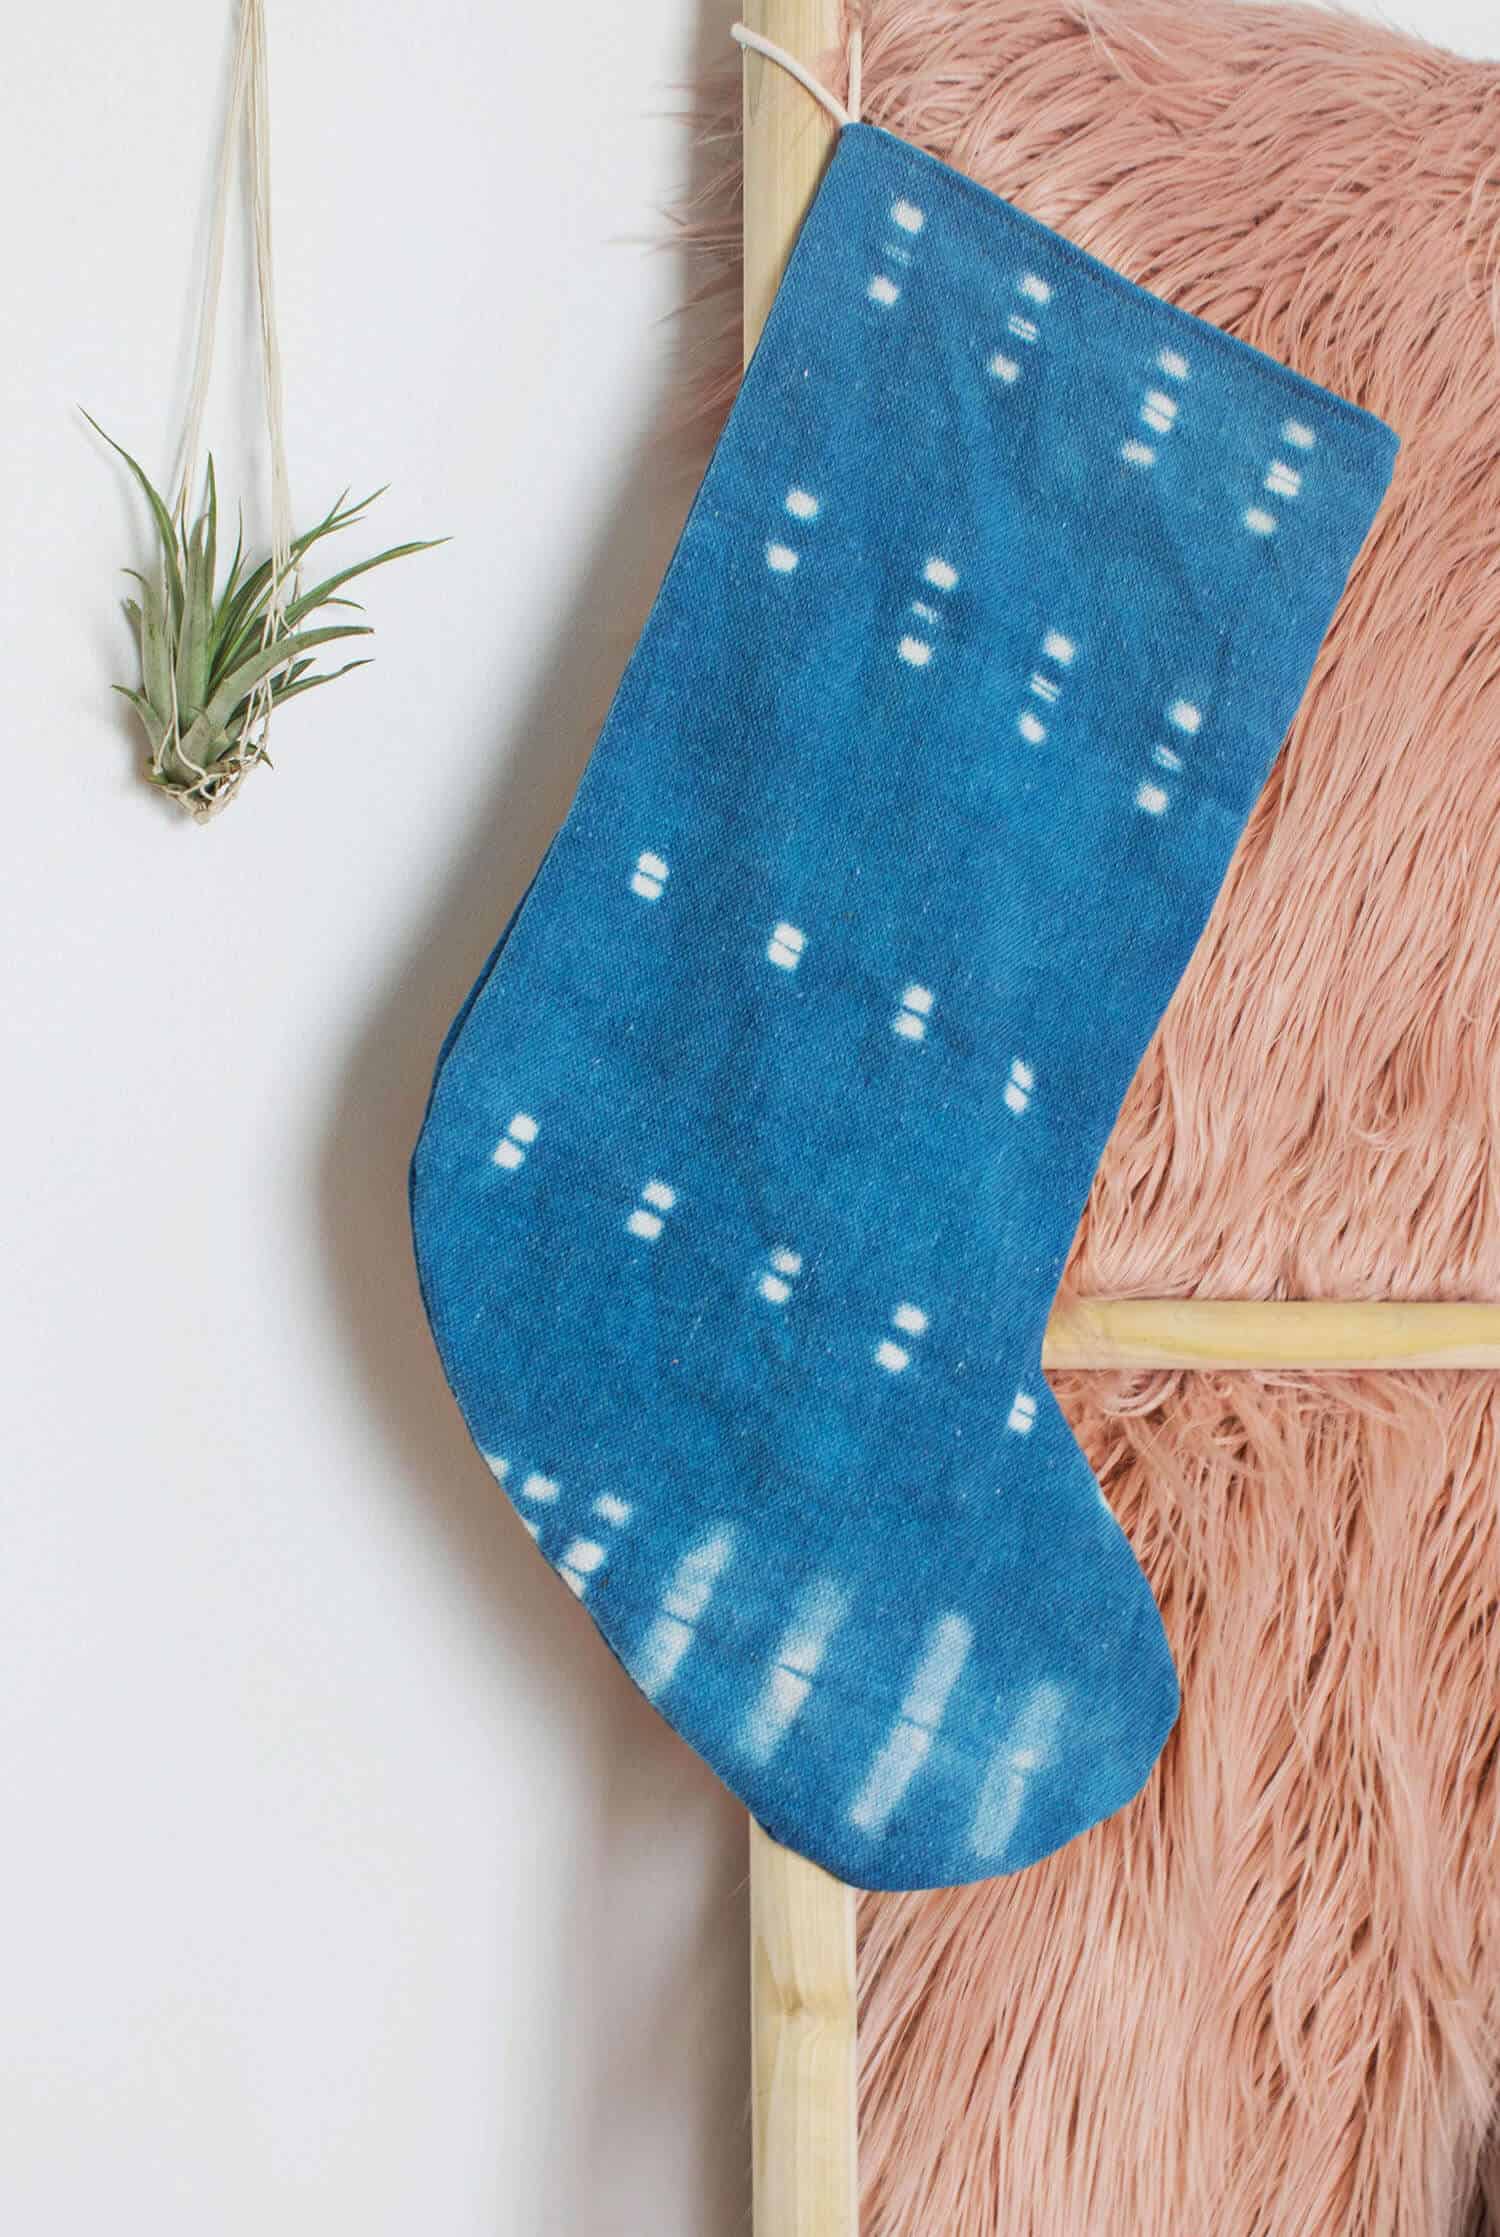
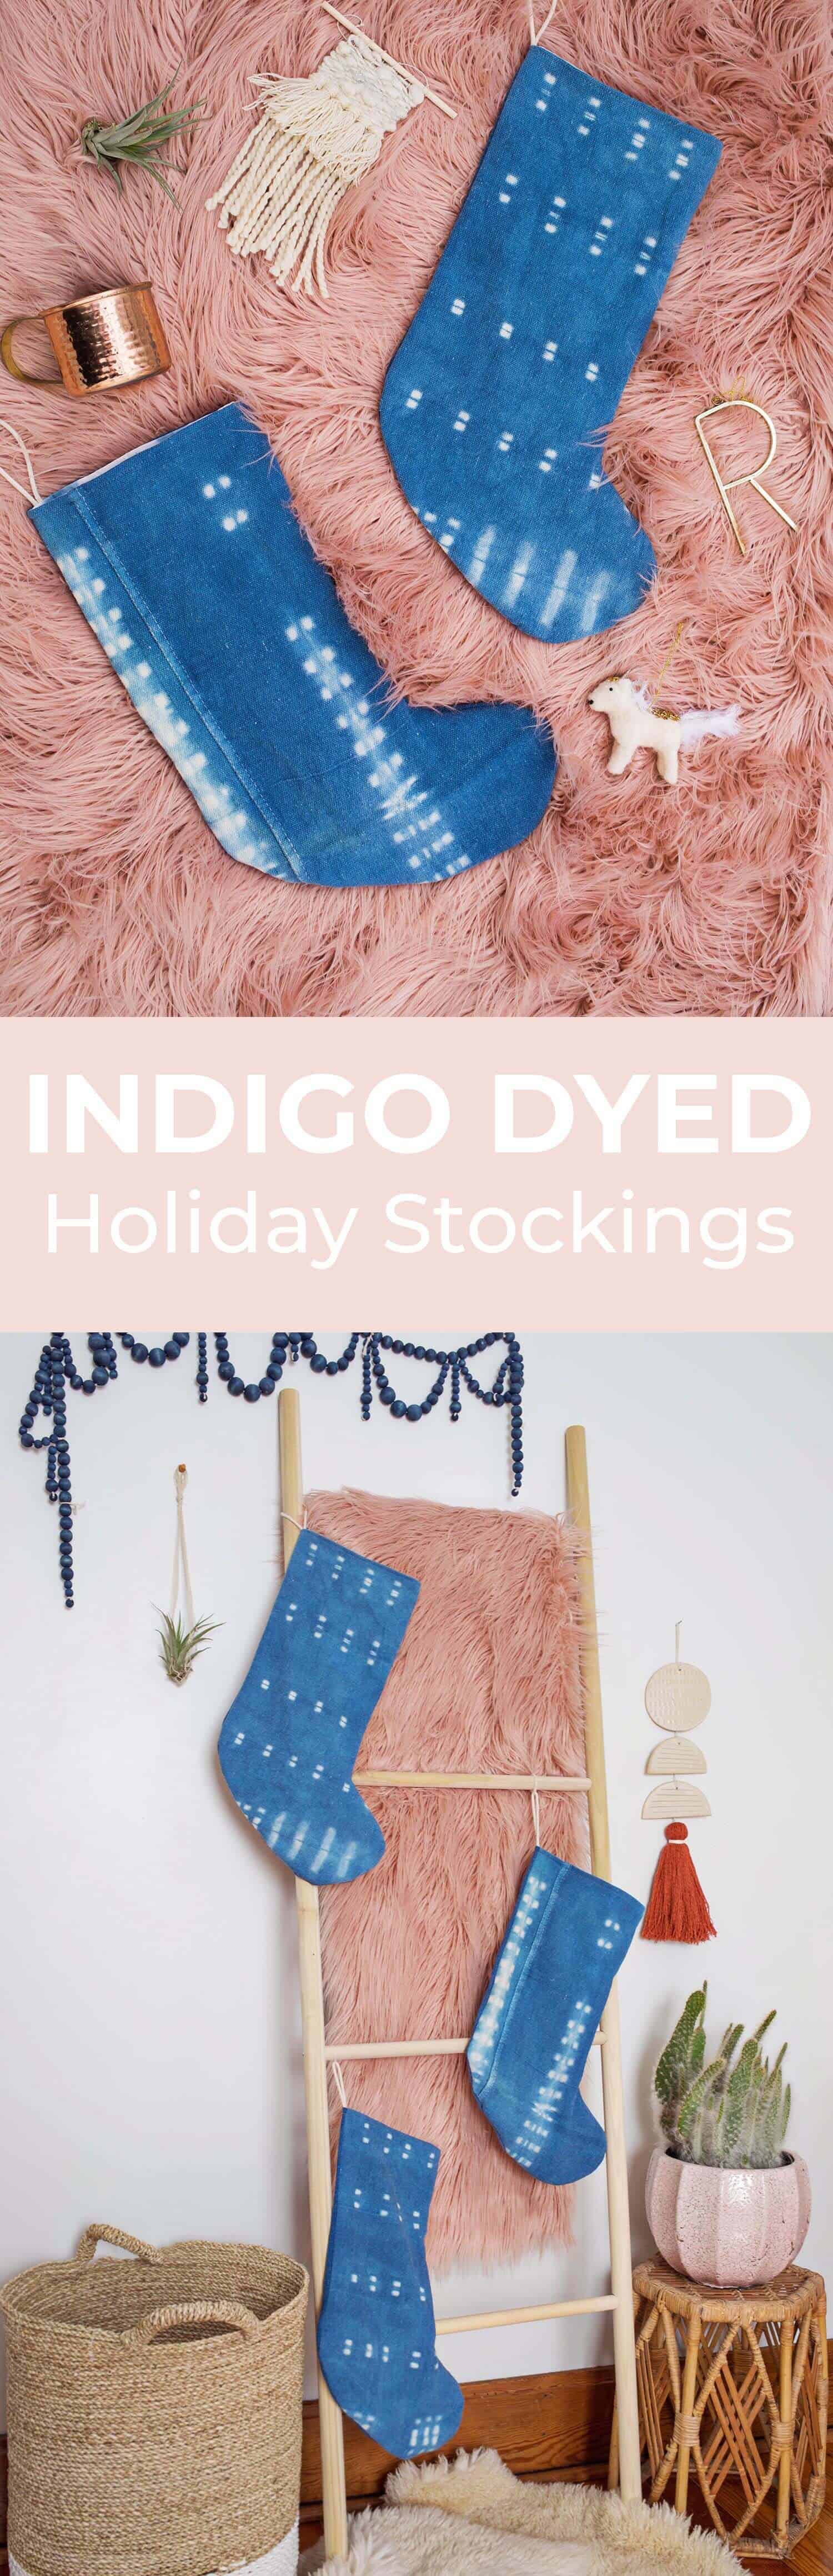
 It’s not always easy to find holiday decor that fits your specific home decor. If you’ve also succumbed to the beauty of vintage indigo textiles, the rest of your home may give off more of an arid desert vibe than a Christmas in Nantucket vibe, am I right? Thankfully, stockings are one of the easiest decorations to customize and can serve as a focal point to draw the rest of your desert oasis decor together.
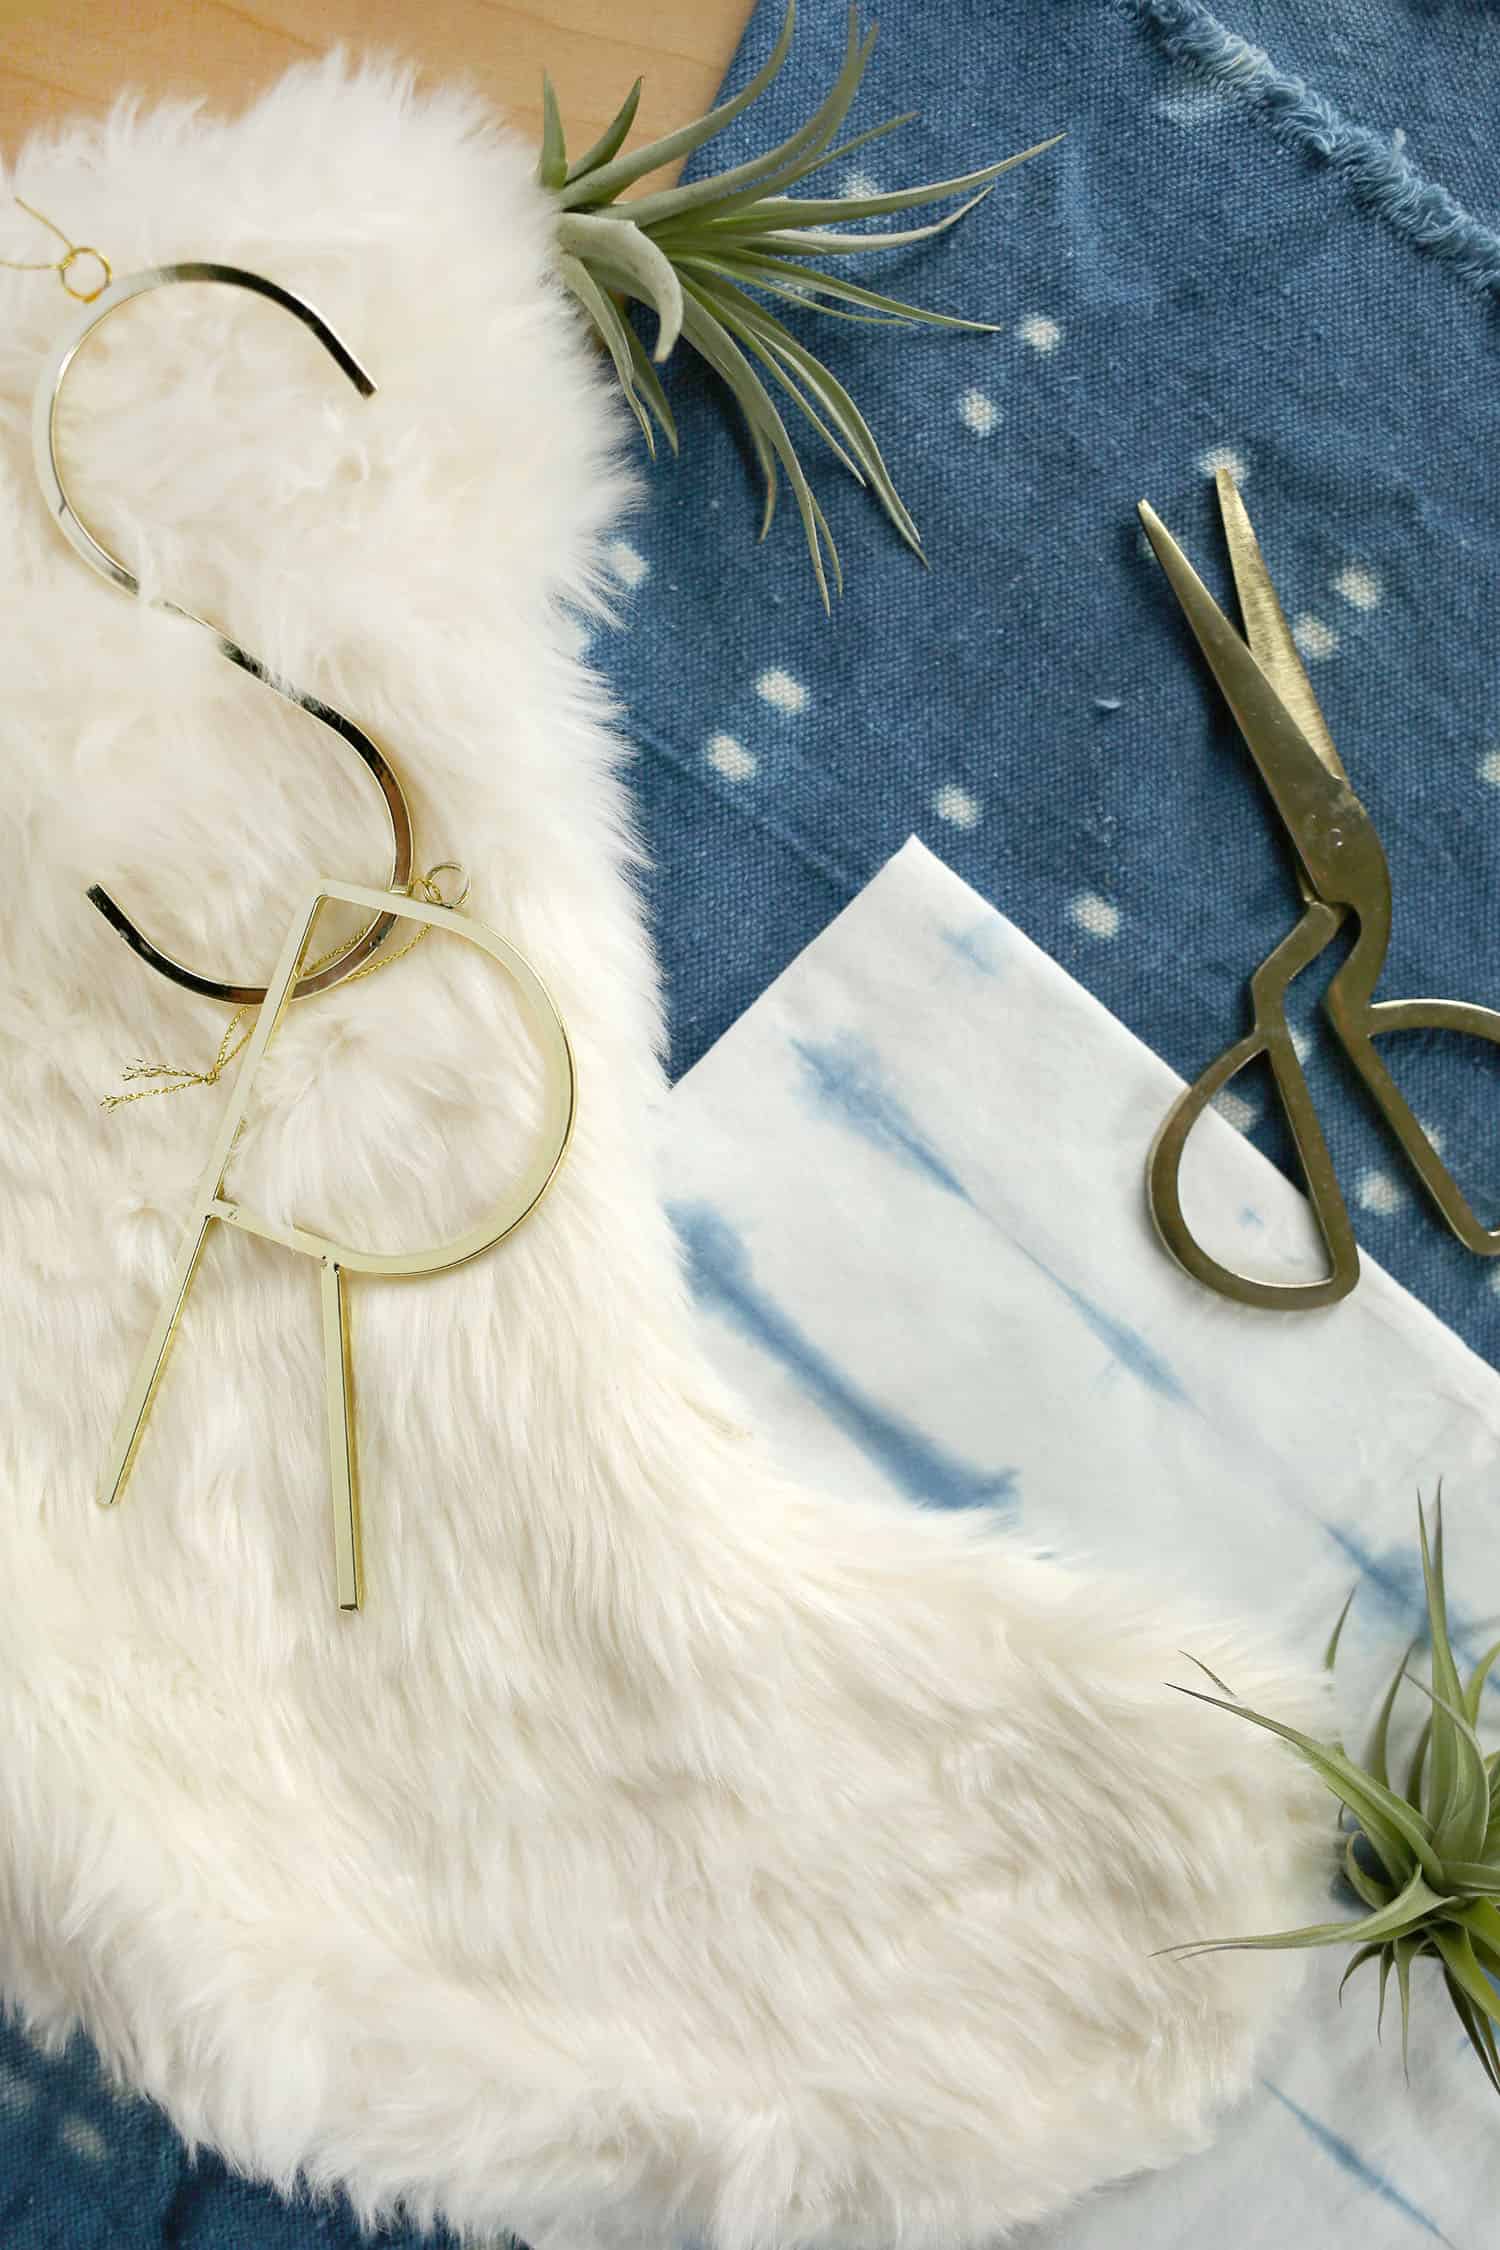
For this project, you’ll want to click back to my hand-dyed indigo bolster pillow tutorial, where you’ll find the specific instructions for getting this specific indigo resist pattern as well as links to all of the supplies. You can also use vintage indigo fabric you might find online or a worn out pair of indigo jeans that could use some love. The second part of this project, which I’m sharing below, is how to put your stocking together using a sewing machine. From there you can customize your new stocking with pom-poms, tassels, initial ornaments, etc., to add even more charm.
 Supplies Per Stocking
-1/2 yard indigo dyed canvas (or linen) for outer shell
-1/2 yard cotton fabric for inner shell (indigo dyed or not)
-8″ x 1/4″ cotton rope for hanger
-standard stocking to use as template
-scissors
-sewing machine
-straight pins
-thread
–Instructions for Indigo Dyeing Fabric
Note: The specific cotton fabric I used for this tutorial was a canvas drop cloth purchased at Ace Hardware. It had a rough, loose weave which absorbed a lot of color and felt very similar to vintage indigo textiles. You can also use linen and a regular cotton canvas from any fabric store. Be sure to pre-wash your fabric before dyeing. Once your fabric has been dyed, rinsed, and dried, you’re ready to work!
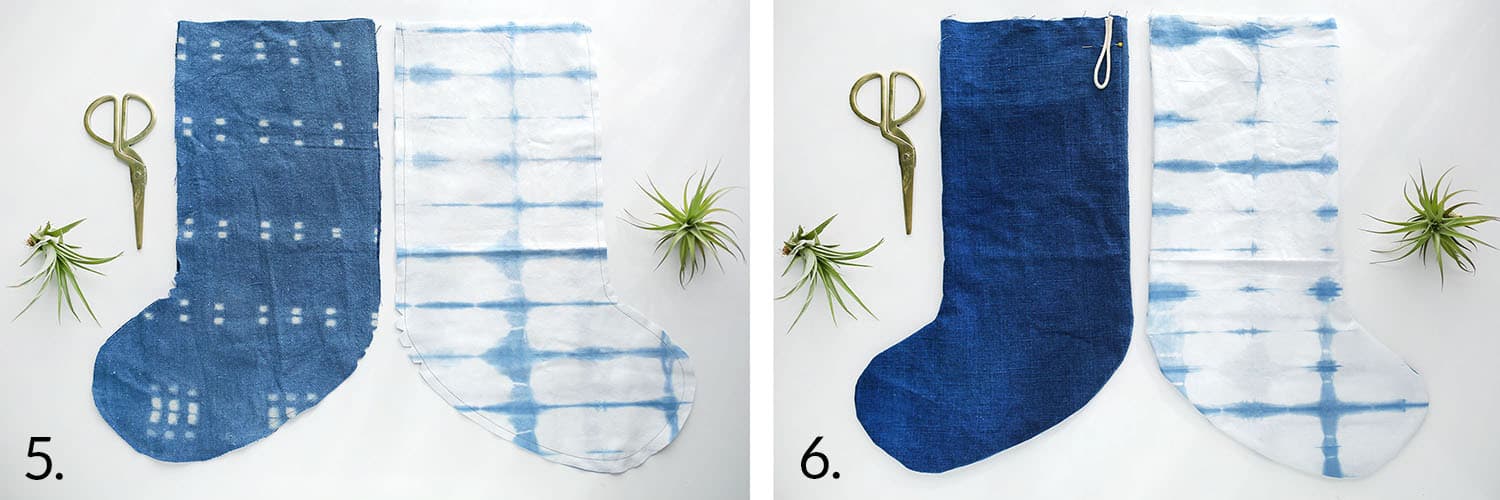
 Step One: Fold your dyed, canvas fabric (for the outer shell) in half and place a standard stocking on top. Make sure your stocking isn’t hanging over the edges of your dyed fabric anywhere. Use the shape of your stocking as your guide and mark or just cut around the stocking with about 1/2″ extra room. Cut all the way through both pieces of dyed fabric so that they’re matching.
Step Two: Fold your cotton fabric (for the inner shell) in half and use one of the two layers of dyed canvas on top. Make sure your dyed canvas template isn’t hanging over the edges of the inner shell fabric. Use the shape of your top piece and cut exactly around the edges. You don’t need to make this one any larger like you did in step one. You will end up with two outer shell stocking shapes and two inner shell stocking shapes.
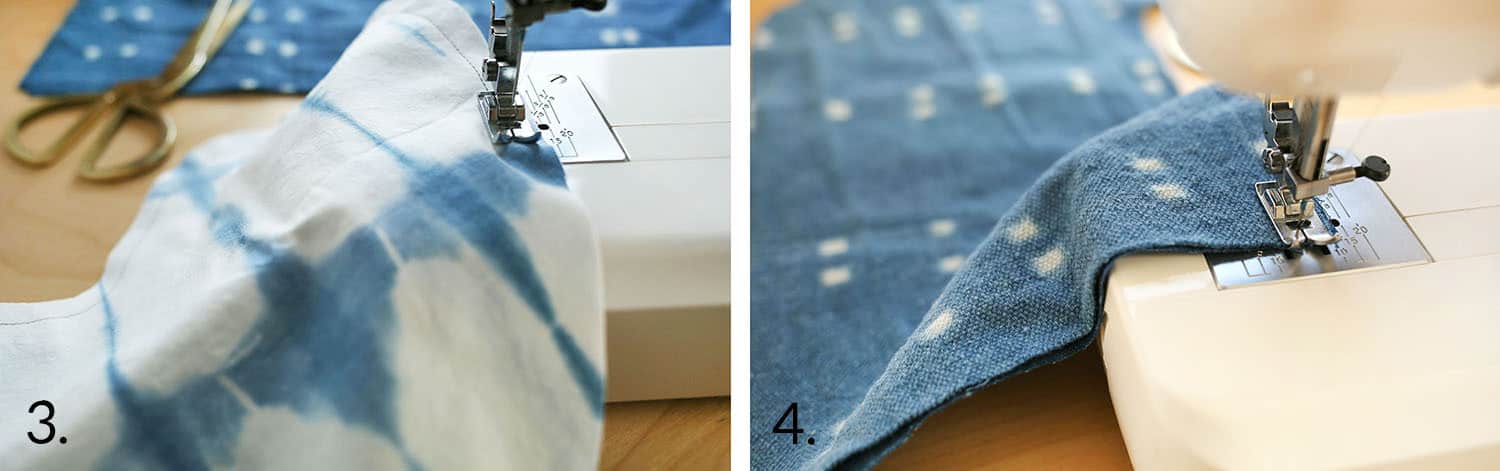 Step Three: Keep your two inner shell pieces of fabric together and pin around the edges every 4″. Then starting in the top right corner of the stocking shape, stitch around the perimeter until you reach the top left corner of the stocking shape. Be sure you don’t stitch up the top of your stocking or you’ll not get any treats! Your stitches should be about 1/2″ from the edge of your fabric as shown.
Step Four: Repeat the same process with your outer fabric. If one side of your fabric has a deeper color than the other or you use a printed fabric, make sure the right sides of the fabric are facing each other before you pin things together and start sewing. Trim your excess thread.
Step Five: Cut little v-shapes into the extra fabric around the heel of your stocking and the inner curve that’s almost opposite it. This will give your fabric room to move so that you don’t have a lot of bunching and pulling. Be sure not to cut past your seam, though.
Step Six: Fold your stockings right side out. You can see on my outer shell, one of my cuts of fabric has the white resist markings and the other side is completely blue. All of my stockings will have the toes pointing in the same direction, so I made sure the white resist side was the one that would be showing while pointing that way.
You’ll want to fold your cut of cotton rope in half and pin it with the ends near the top edge of the back side of your outer shell where it will hang. The loop will point down, which feels counter-intuitive, but it’s all going to work out in the end.
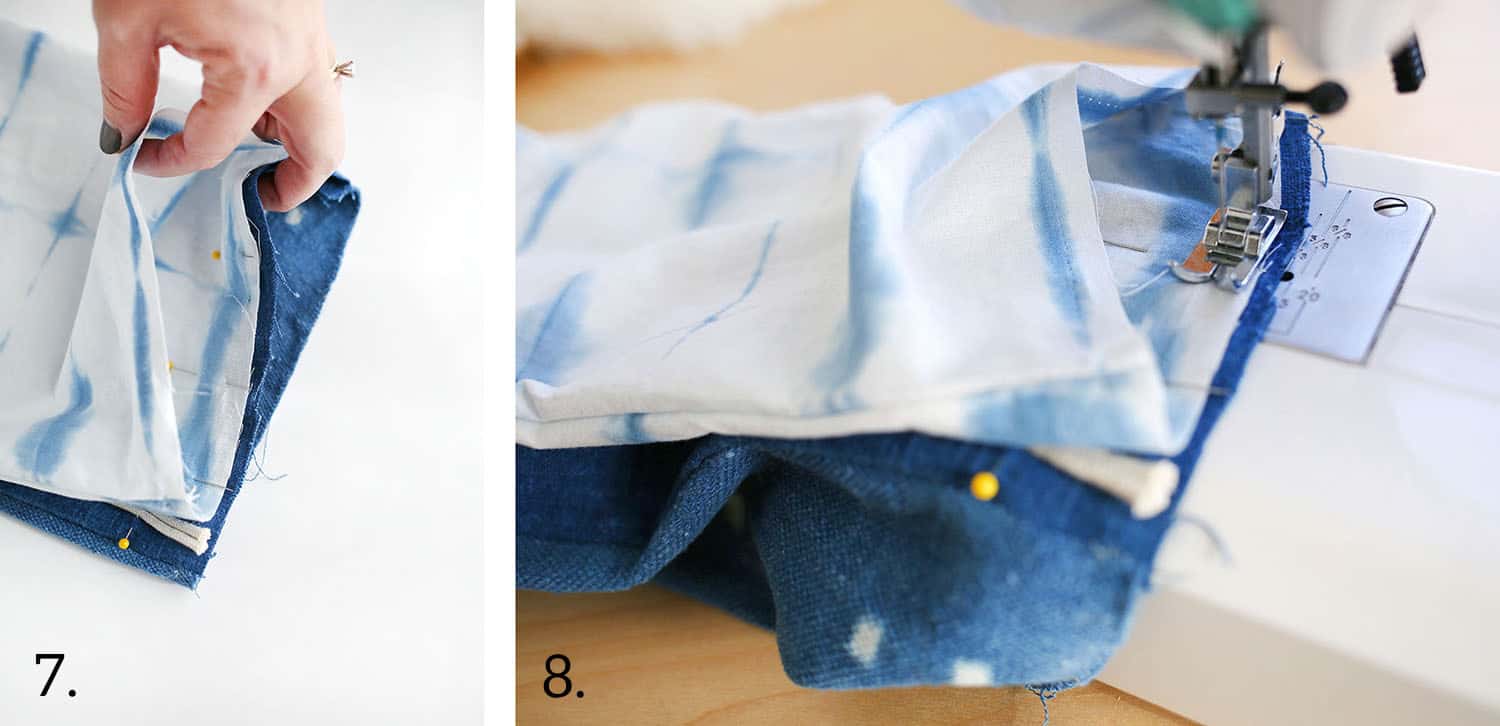 Step Seven: Place your inner shell on top of your outer shell so that the toes are in the same direction. Pin the two shells together where their touching sides meet. Do your best to line up your seams. Double check that the right sides of the fabric are facing each other.
Step Eight: Carefully place your stocking under the needle near one set of seams that are pinned together and slowly stitch across, about 1/2″ from the edges. Keep stitching and rotating your stocking under your needle as far as you can but leave enough of a space where you can fold things right side out. Remove your pins as you go.
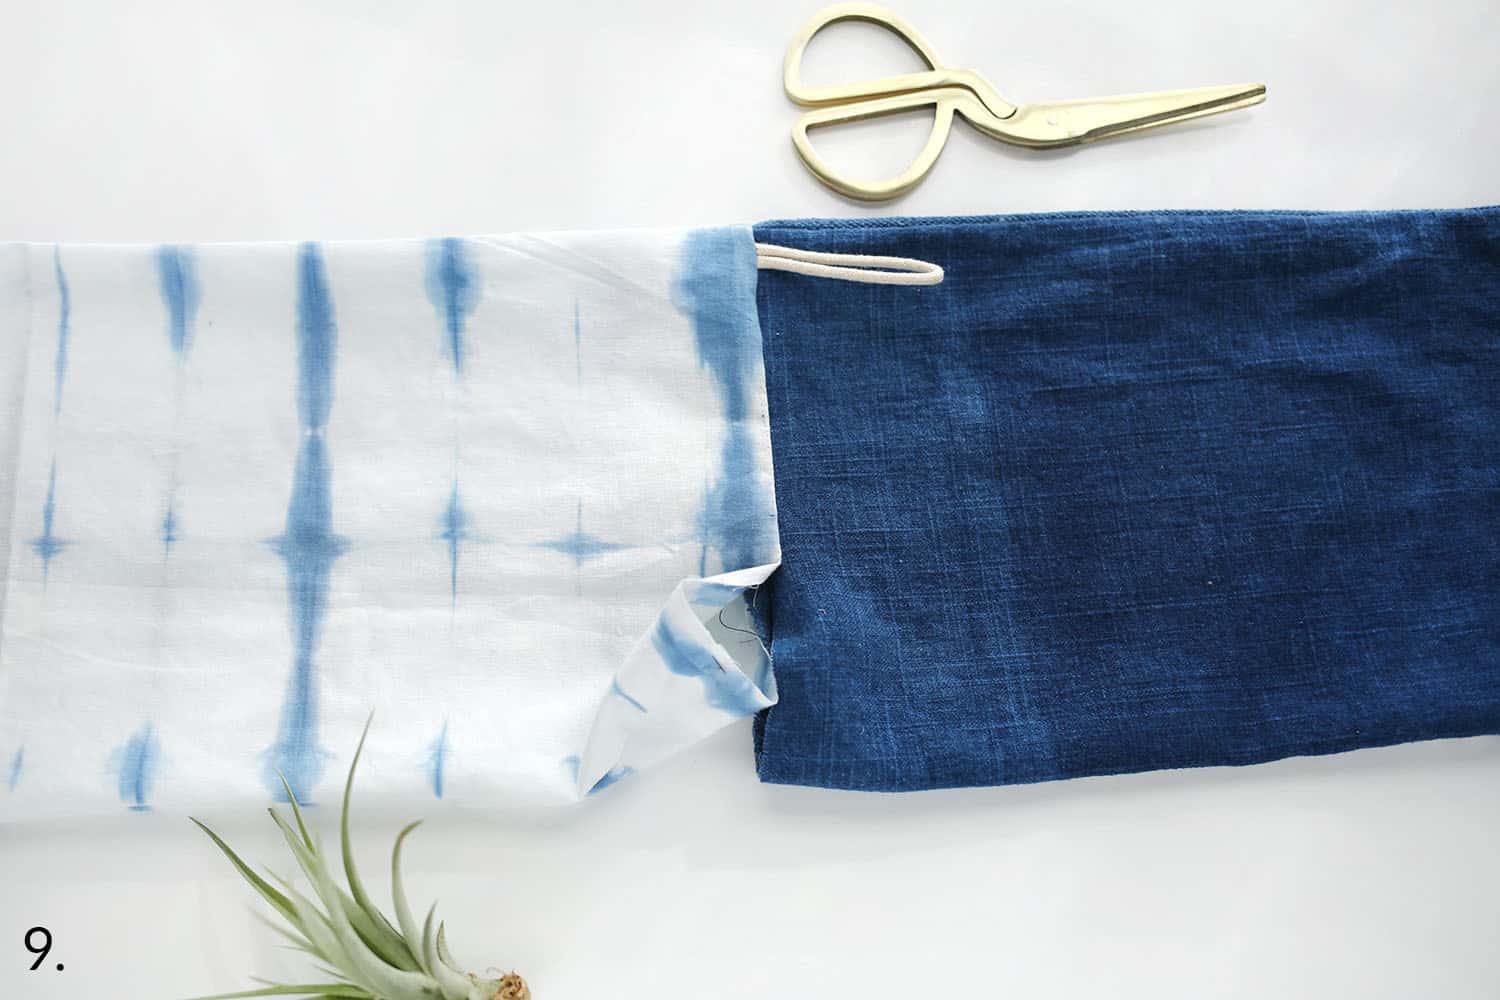 Step Nine: Most of your stocking shells should be stitched together except about 4-5″. Pull the inner shell above the outer shell as shown. You can see where the hanger has been stitched in place and where the hole is.
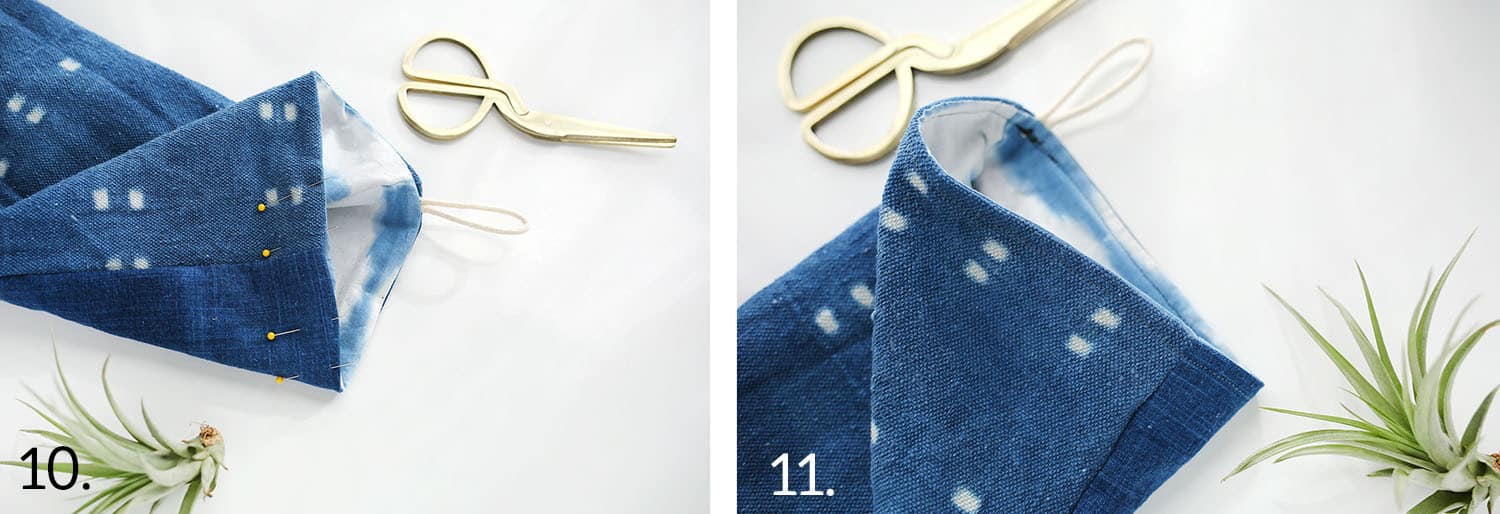 Step Ten: Then carefully push the inner shell down into the outer shell so that it fits inside snugly. Your seam where the two shells meet should be pressed flat with an iron if possible. Fold your open edges of the shells towards each other and pin together.
Step Eleven: Starting on a seam, stitch all the way around the perimeter of your stocking so that you stitch the opening closed and keep the two shells from shifting while Santa fills them up.
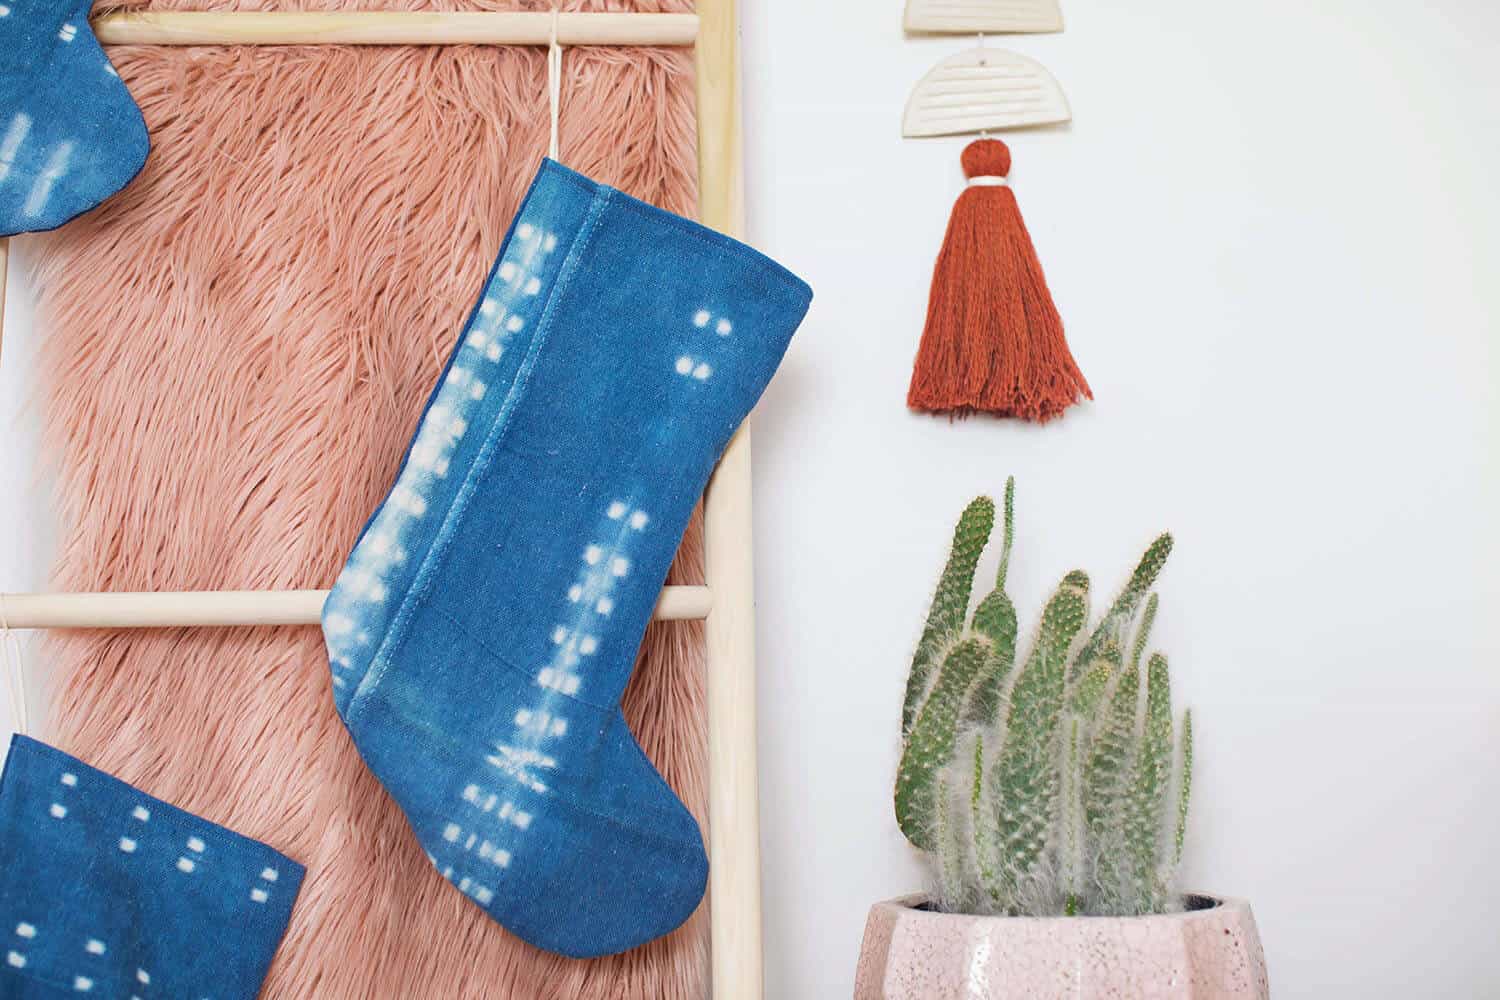
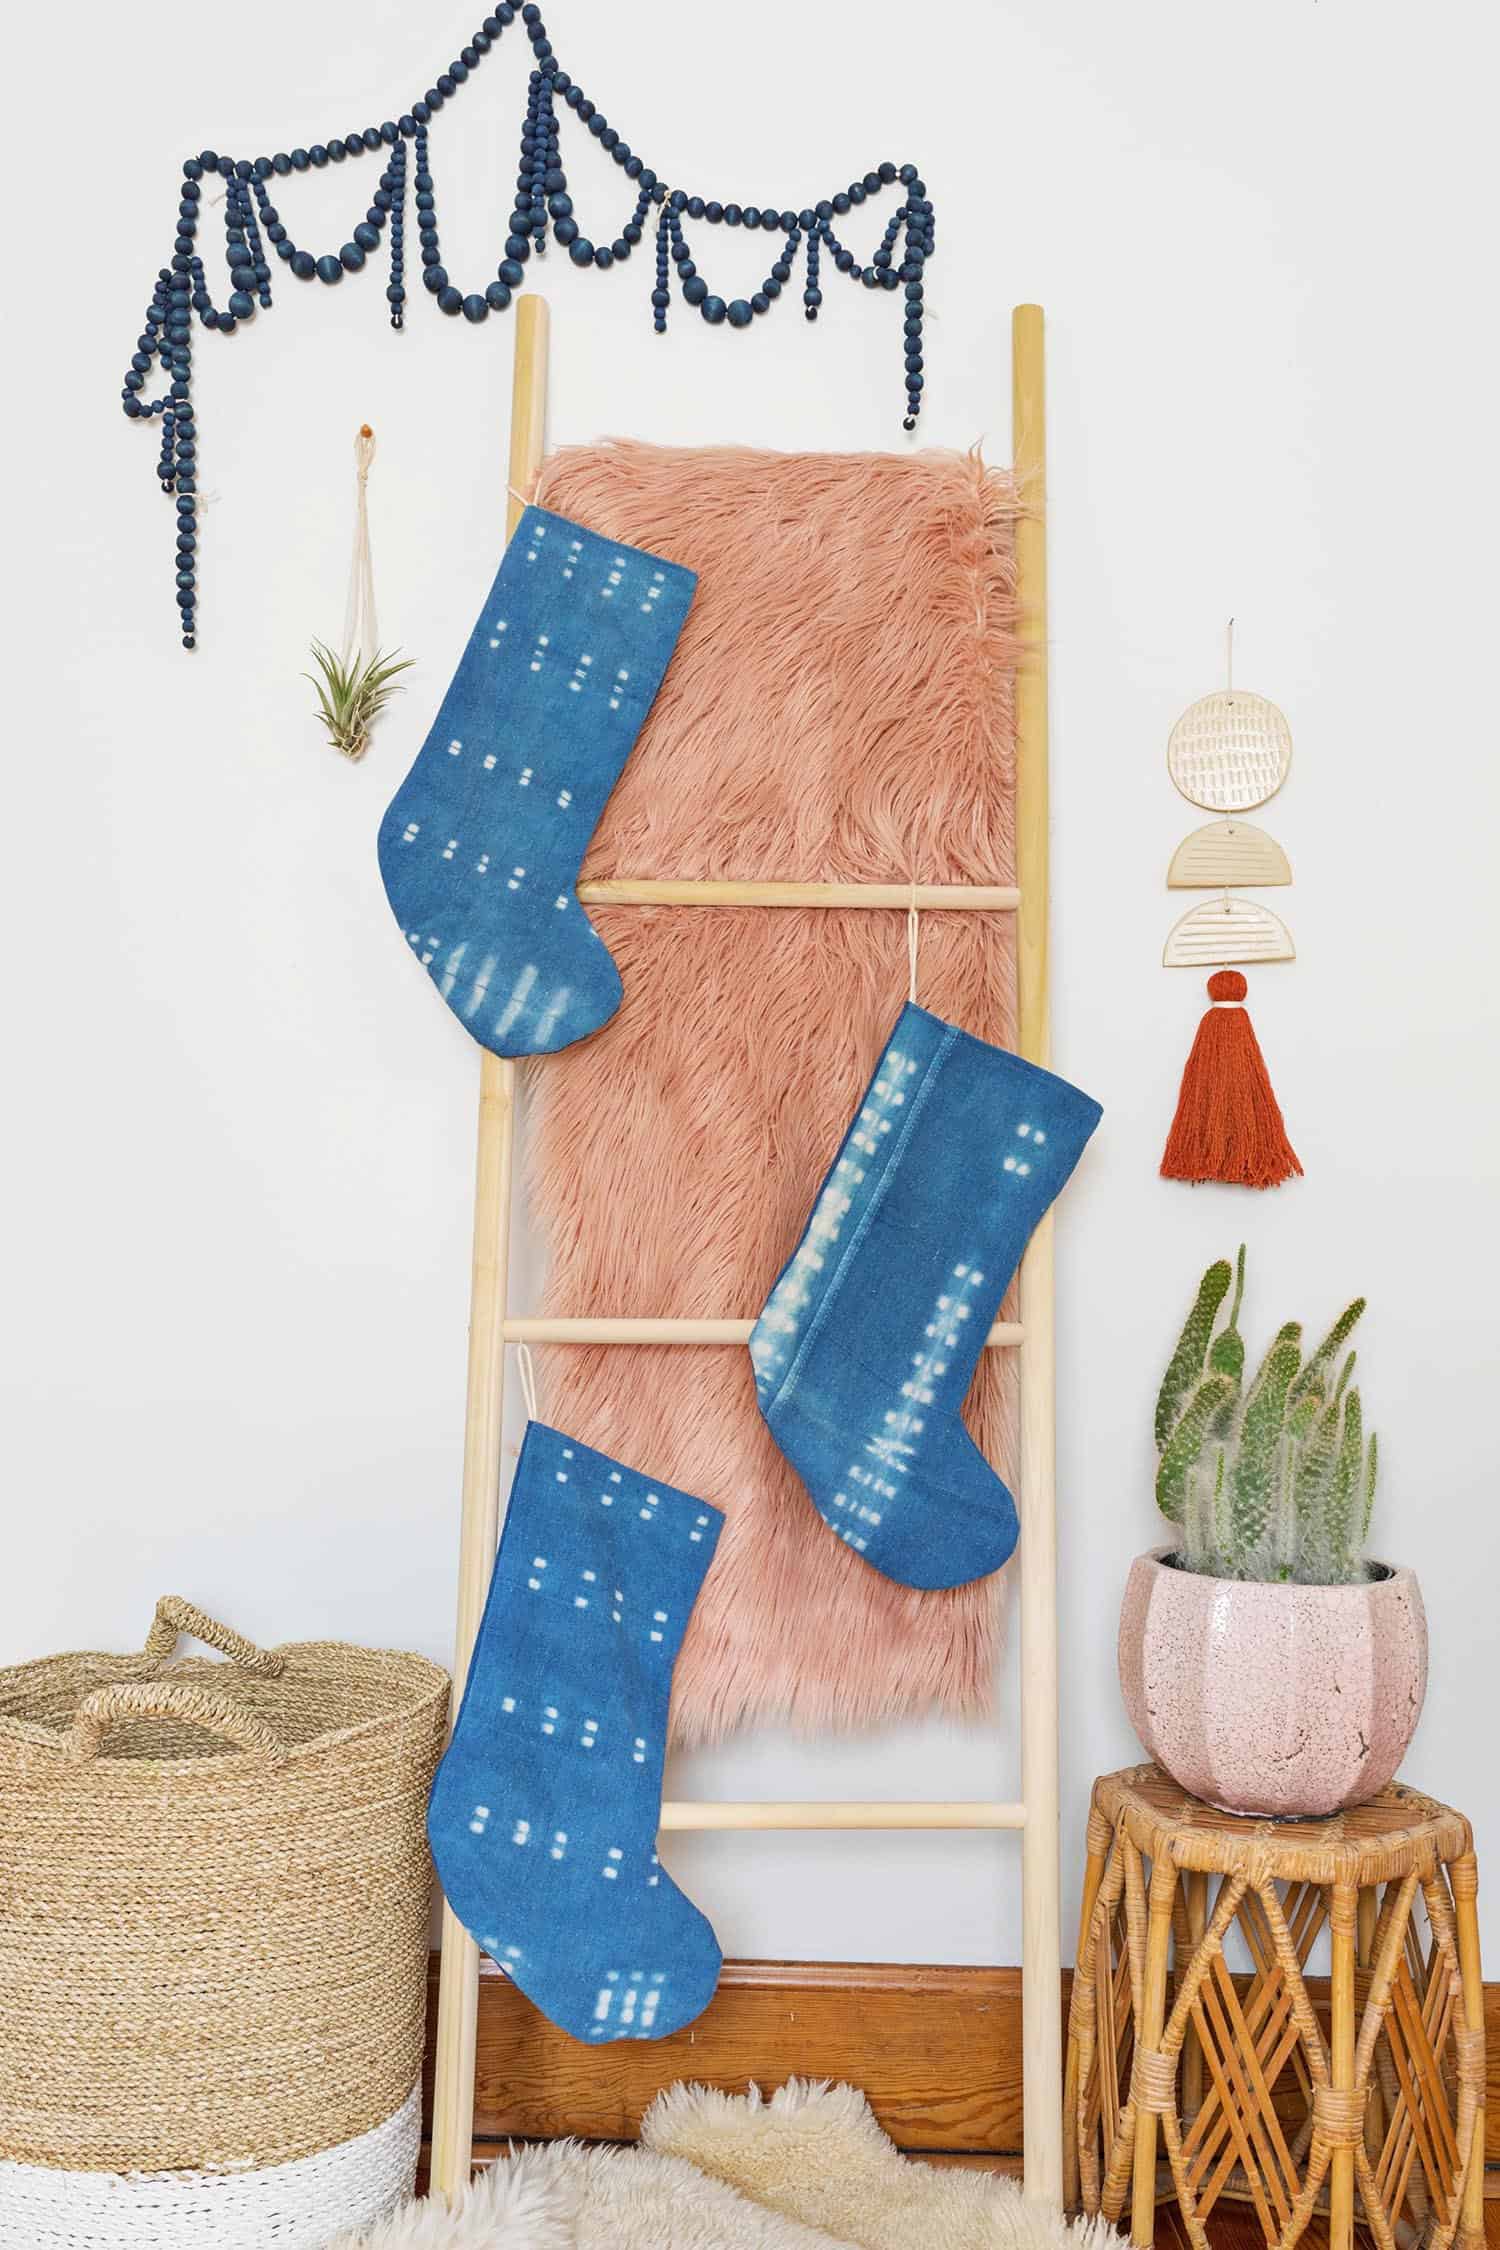 Give your stockings a good iron and hang them with care! I love the idea of adding even more texture by adding a set of white cotton tassels or pom poms made of chunky wool. These would mix well with any neutrals but would look especially lovely next to faux fur stocking or something with a chunky knit! Make a full set for your loved ones or mix-n-match with different shibori patterns. The beauty of these stockings is they are just as unique as those to whom they’ll belong! – Rachel
P.S. If you love this look but don’t have time to make your own, check out these beauties from Live Free Creative Co.
Love these stockings, but ALSO love your photo where you’ve placed them on a blanket ladder. We don’t have a fireplace or mantle so I’ve been trying to figure out a cute way to show off our stockings!
I love this idea! It would be helpful if you could specify when the right sides of the inner and outer layers should face each other or themselves while cutting and sewing. For those of us who fall short in 3-dimensional thinking!
These look like they’d be even better cuffed to show the contrasting fabric.
Yes! I didn’t want things to get too complicated for any beginner sewers but that’d be a great addition! -Rachel
Wanted to let you know you were in a BuzzFeed post!! https://www.buzzfeed.com/camrynr2/18-blogs-subscribe-to-in-2018-158qq?utm_term=.bwKYyPoNz#.bwKYyPoNz
Always so creative!
x Mariya
www.brunetteondemand.com
Thank you!!!
I’m not a big red and green fan so I love a twist on the usual colors with traditional xmas decor! This is perfect for my stair railing 🙂
Exactly! I don’t think I’ve done a red and green Christmas in fifteen years! There are too many other good color combos! -Rachel
I love idea!!!
https://thepinkpineappleblog.blogspot.com/2017/12/5-textures-you-should-try-on-this.html
Thank you! So glad you liked it! -Rachel
That’s super cute and really easy to do!
Thanks so much! -Rachel
The stockings are beautiful but I’m wondering where you got the gold letters from?! I’ve been looking for something similar and haven’t had any luck!
This looks so special, I love the idea!
https://www.makeandmess.com/
I love all the ways Christmas decor can be customized to fit anyone’s decor! -Rachel
My best friend is crazy about tiedye, this would be perfect for her! 🙂
Charmaine Ng | Architecture & Lifestyle Blog
http://charmainenyw.com
These are gorgeous!
Thanks, April!! I’m so happy with how they turned out!!