Ahhh, holiday cards … what’s more fun to receive in the mail than that?! Maybe only a big giveaway?! For this post, we’re partnering with Canon USA and have a prize pack you don’t want to miss! Full details are below, but one lucky reader will win a PIXMA TS9521C (our go-to crafting printer!), an iPad and a IVY CLIQ+2! (Giveaway Closed)
I do a little December photo book each year to remember the season, and I always put all the holiday cards we got that year in the back pocket and it’s so fun to keep them and look back at how friends and family have grown over the years. So special!
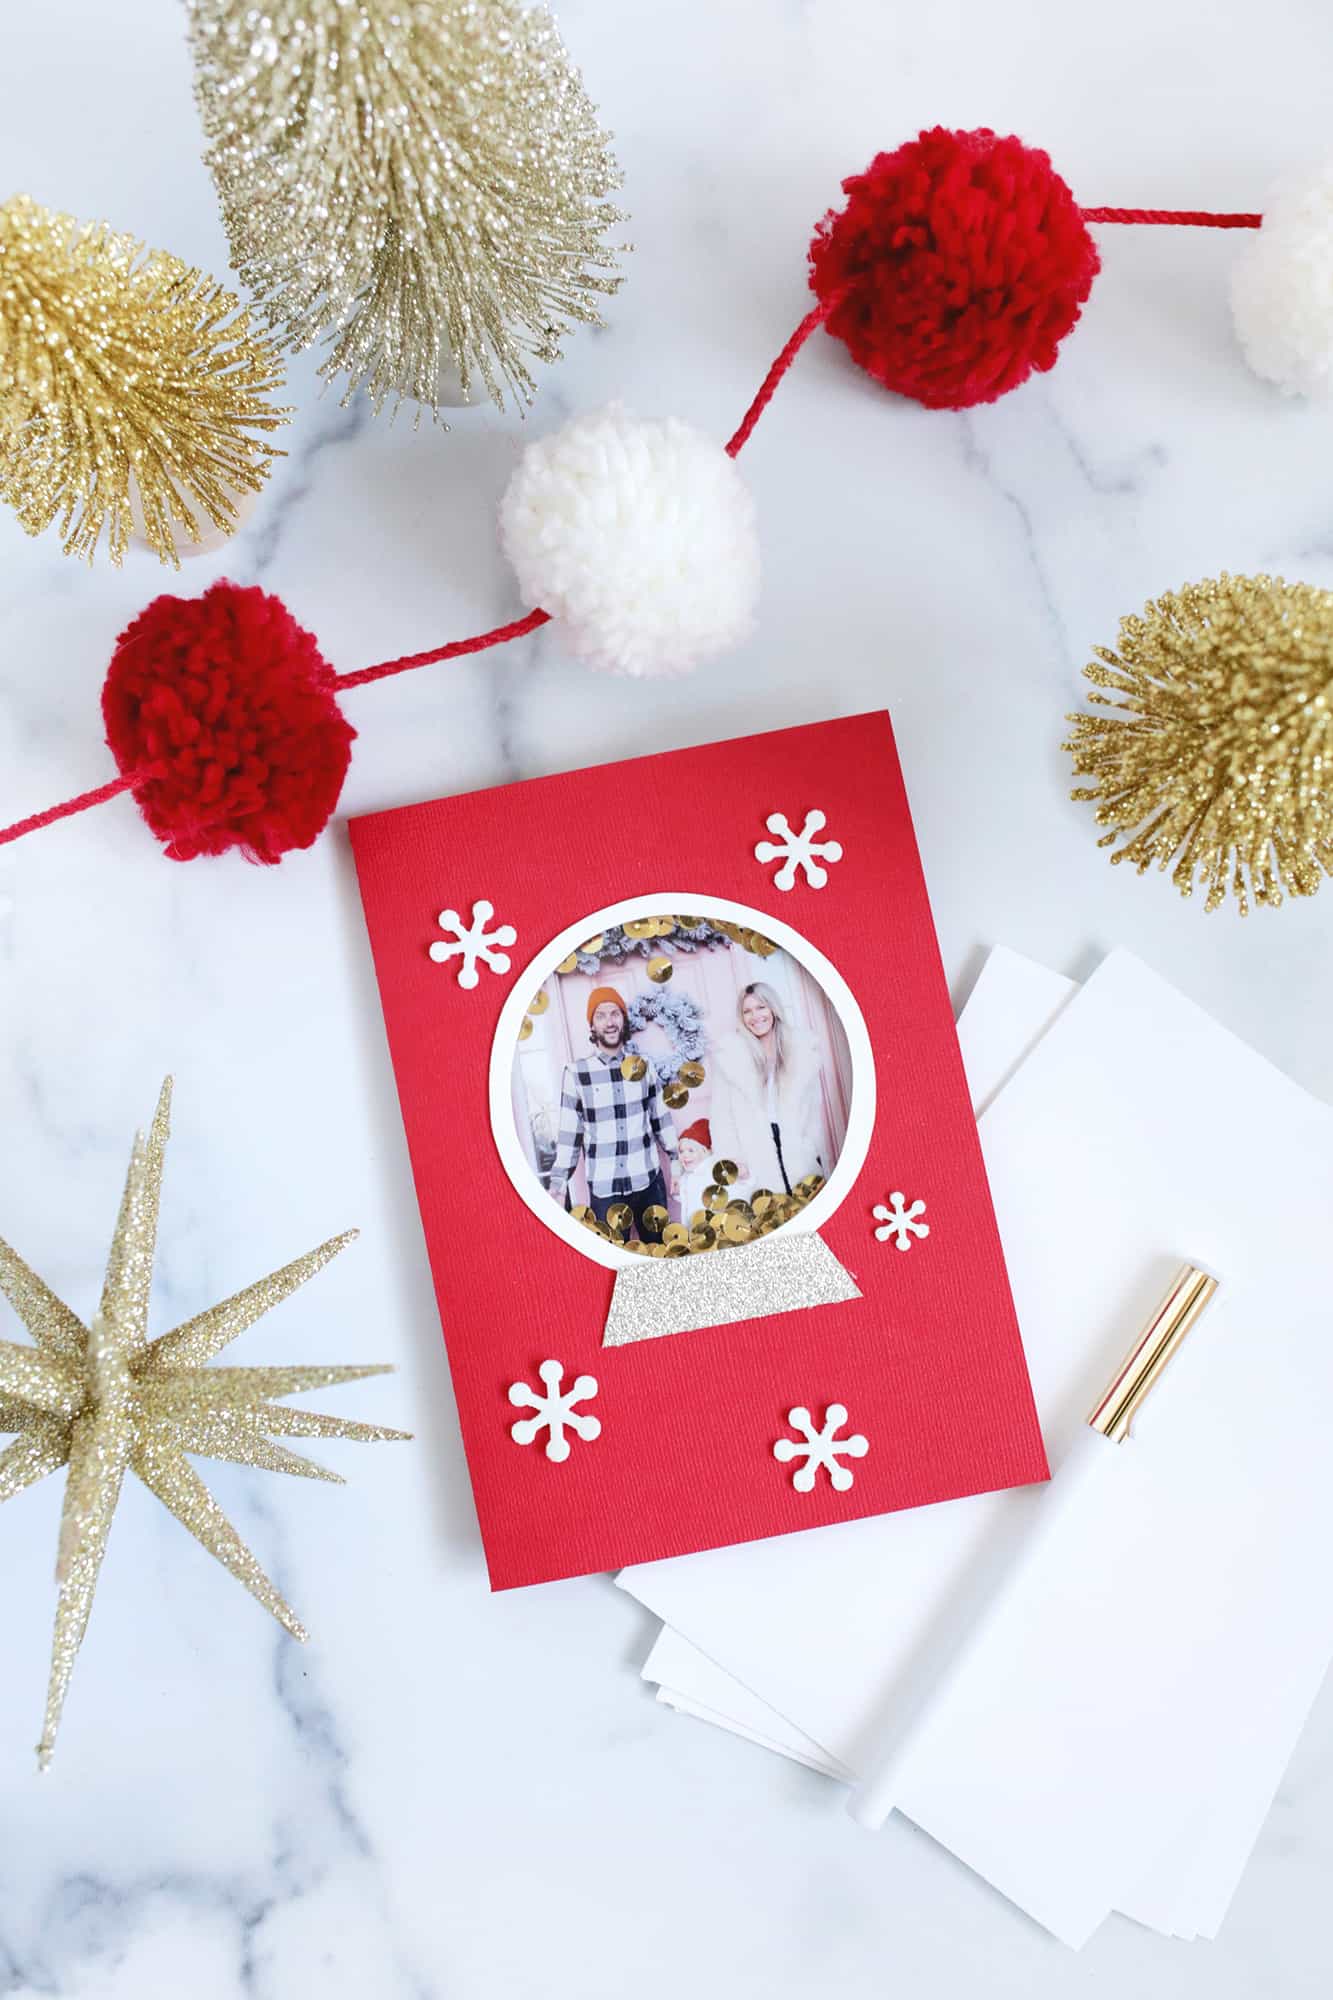
This year, I thought I would make some special snow globe photo cards to add a handmade touch, and it’s got an interactive element for the receiver as well, which is always fun.
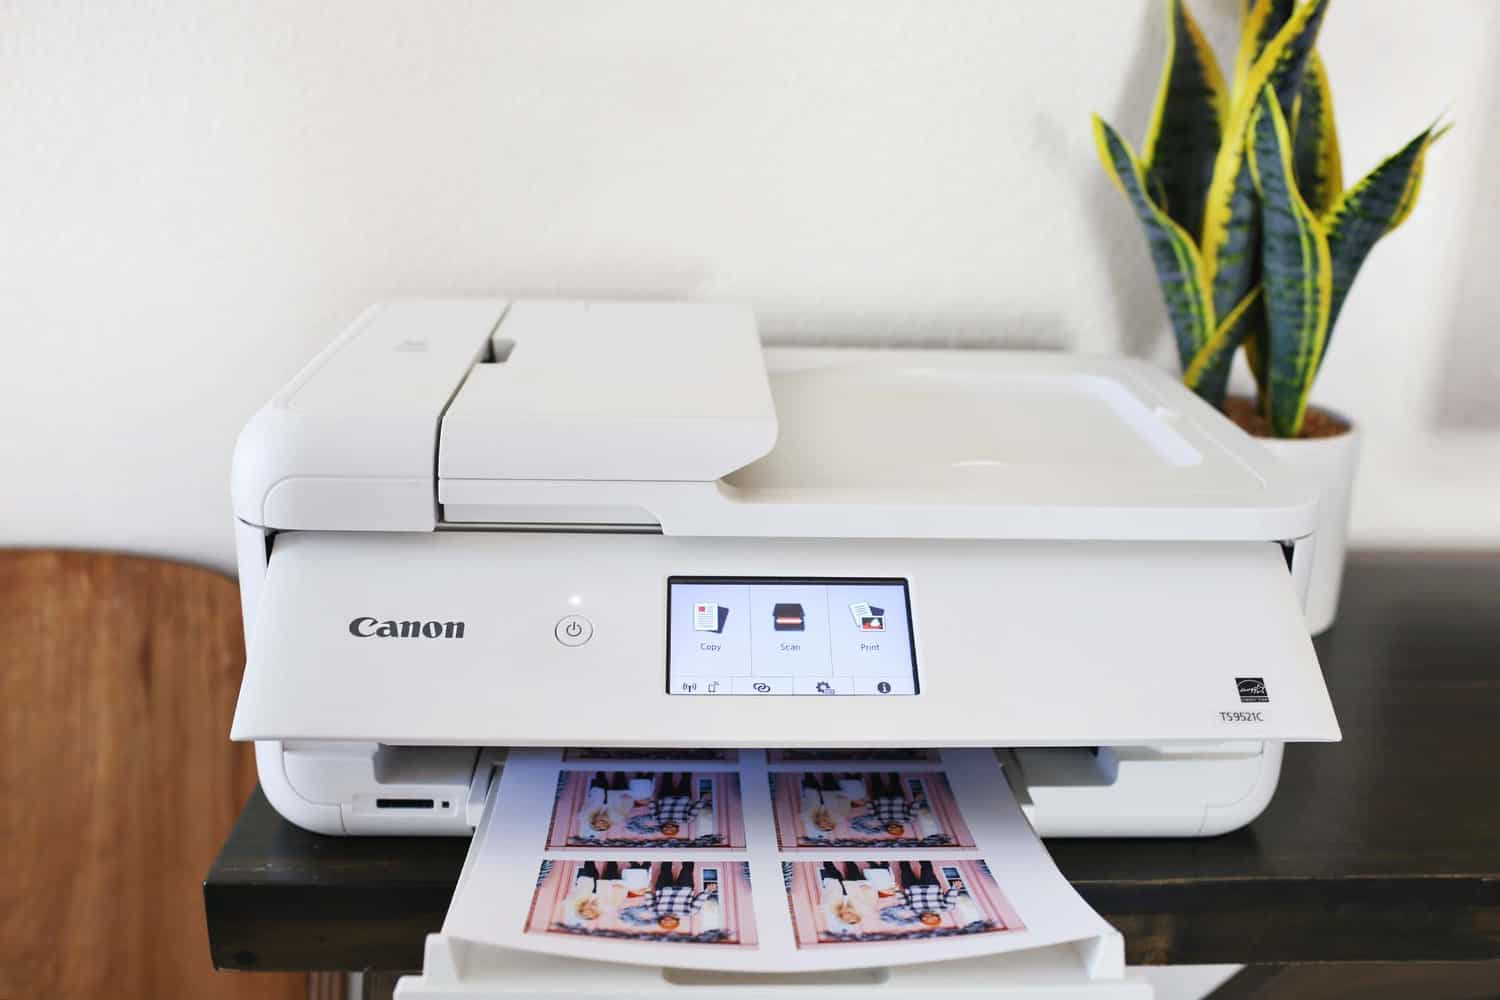
We love working with our Canon printer to make the “printing at home” element easy so you can create your own cards from the comfort of your living room! Or dining room, or wherever you craft … you get the idea!
The great thing about this printer is the ability to print up to 12×12 (which is a great option for crafting) and the strong colors Canon printers are capable of capturing.
Supplies:
-printer
-photo paper
–snow globe template
-card stock in color of your choice for body of card
-glitter paper or other paper for base of snow globe
-white card stock for ring around globe
-loose sequins
-clear plastic film (can be some from left over packaging or use transparency sheets)
-glue gun
-scissors or X-Acto knife
-double-sided foam tape (or foam squares)
–snowflake stickers
Print out your photos and snow globe template for your cards. I resized my photos so that they would be the right size to fit into the 3″ wide circle of the snow globe and put several on a page so I could print a lot at once.
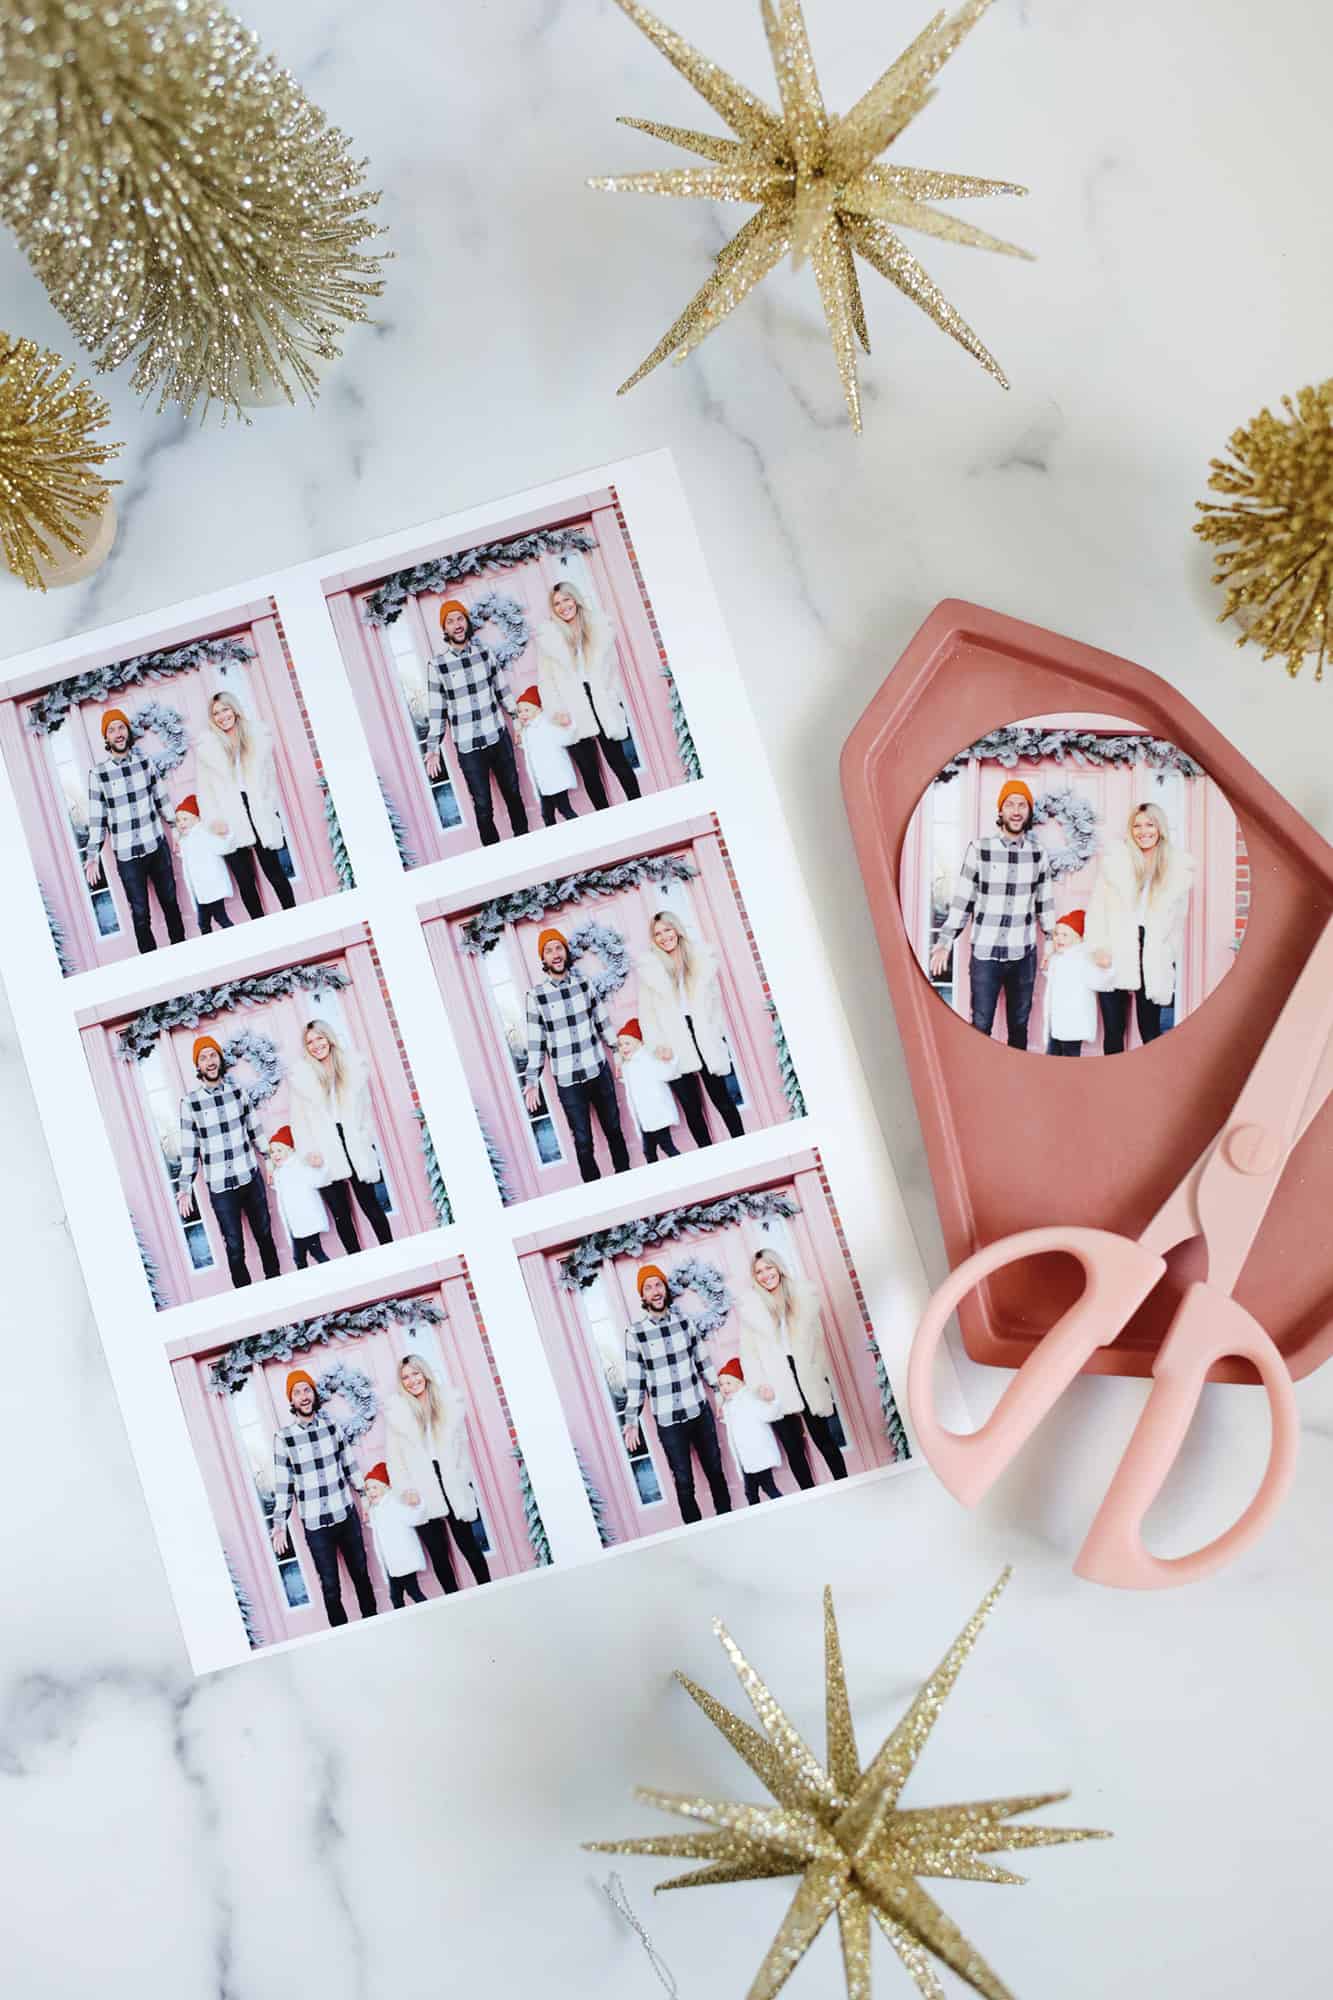
Once you have your photos and template printed, use the photo template circle to trace circles around your photos (center yourselves in the middle of the circle) and cut out your photos into circles.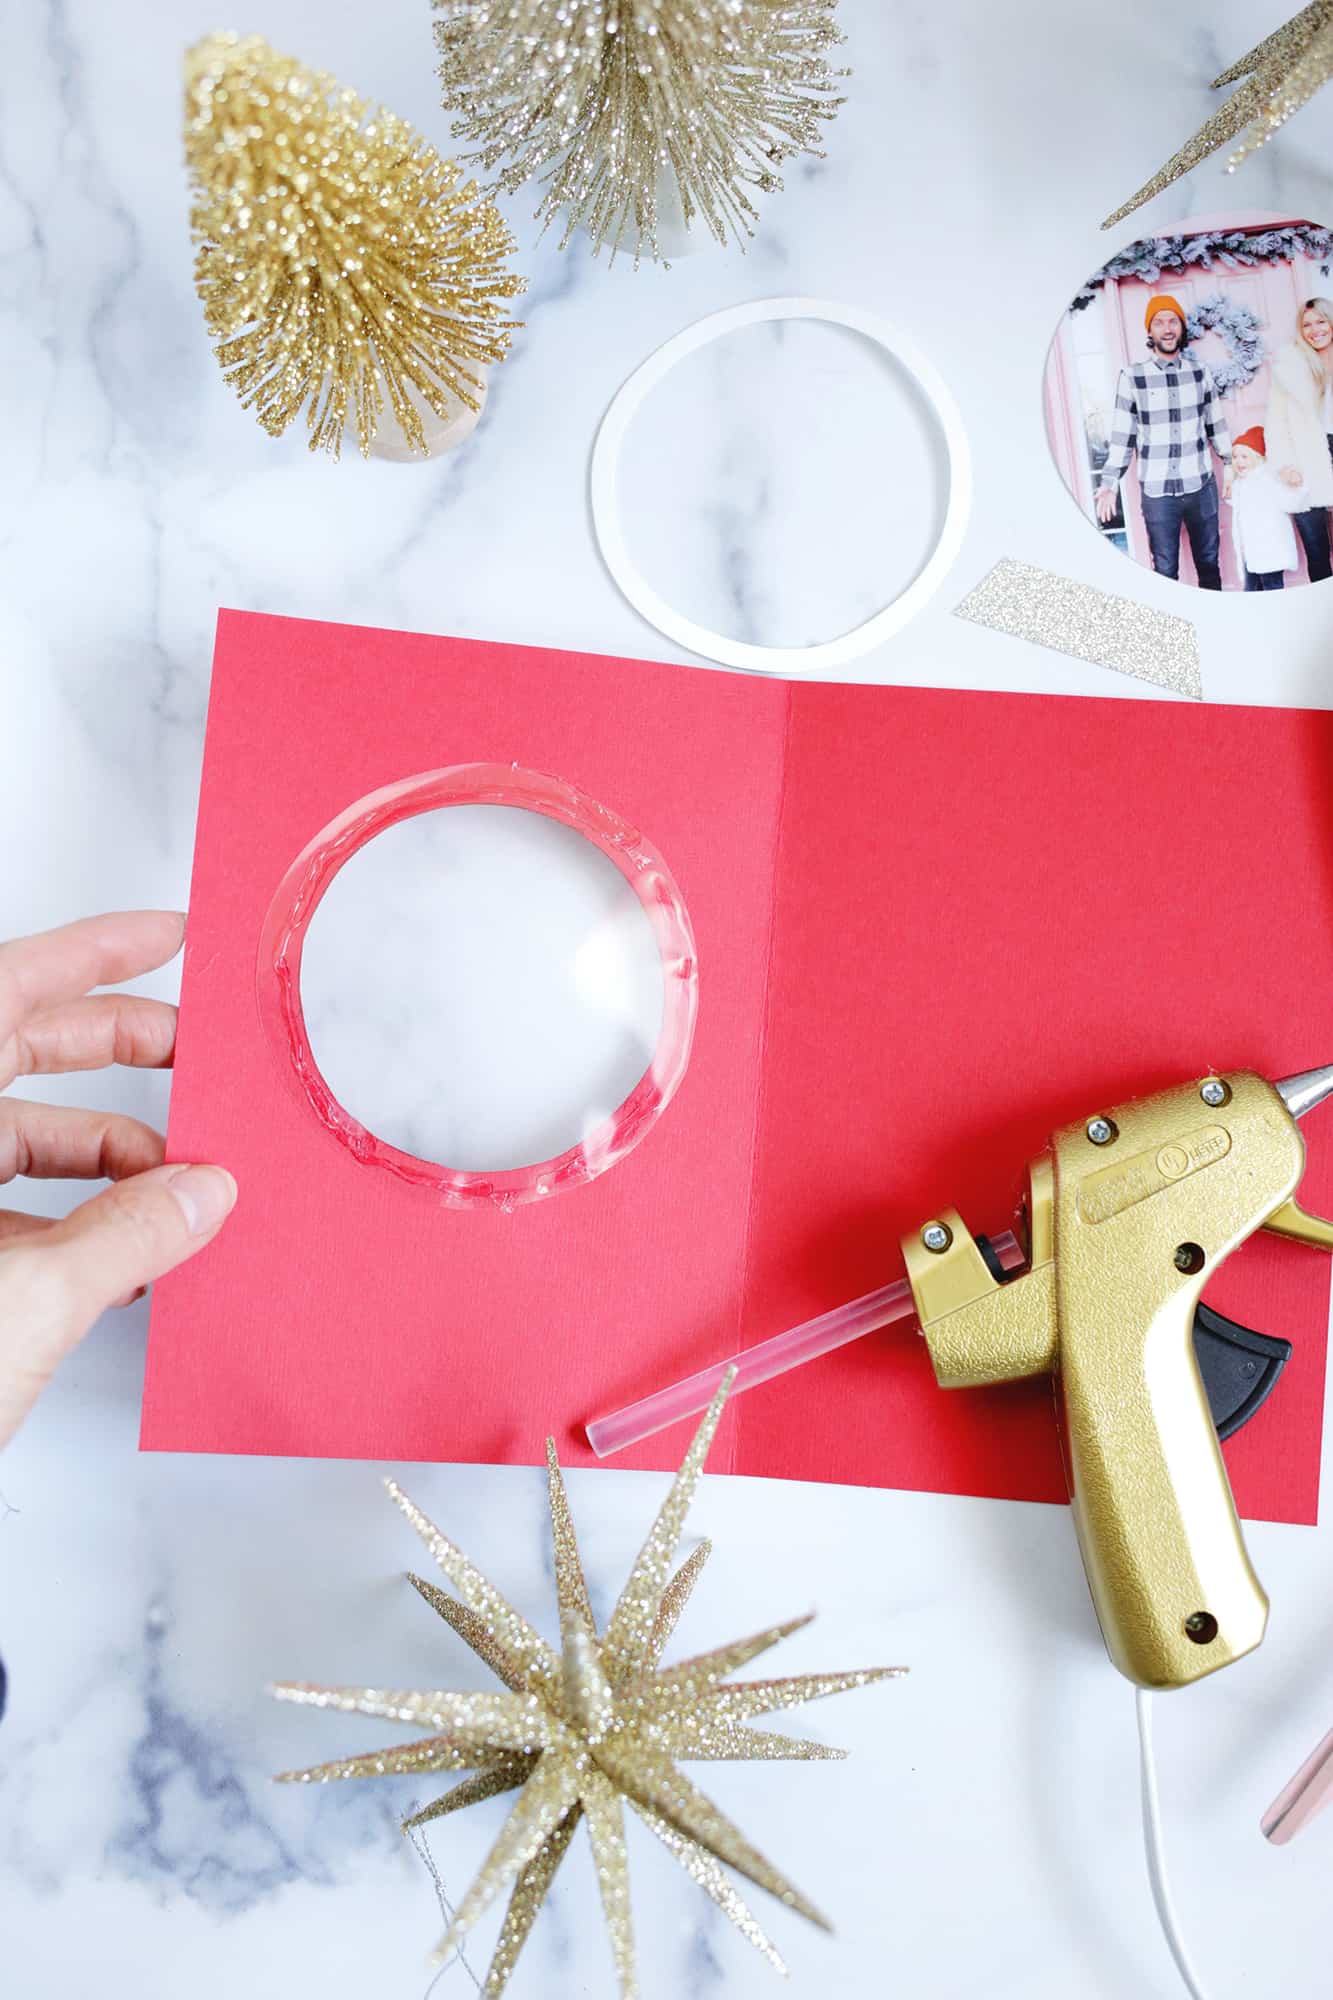
Fold your card stock in half and place your card template on the seam so you end up with a folded 5″ x 7″ card. Cut your snow globe circle window where indicated on the template (I love to use X-Acto knives for cuts like that), trace and cut out your plastic circle and glue it onto the backside of your snow globe window.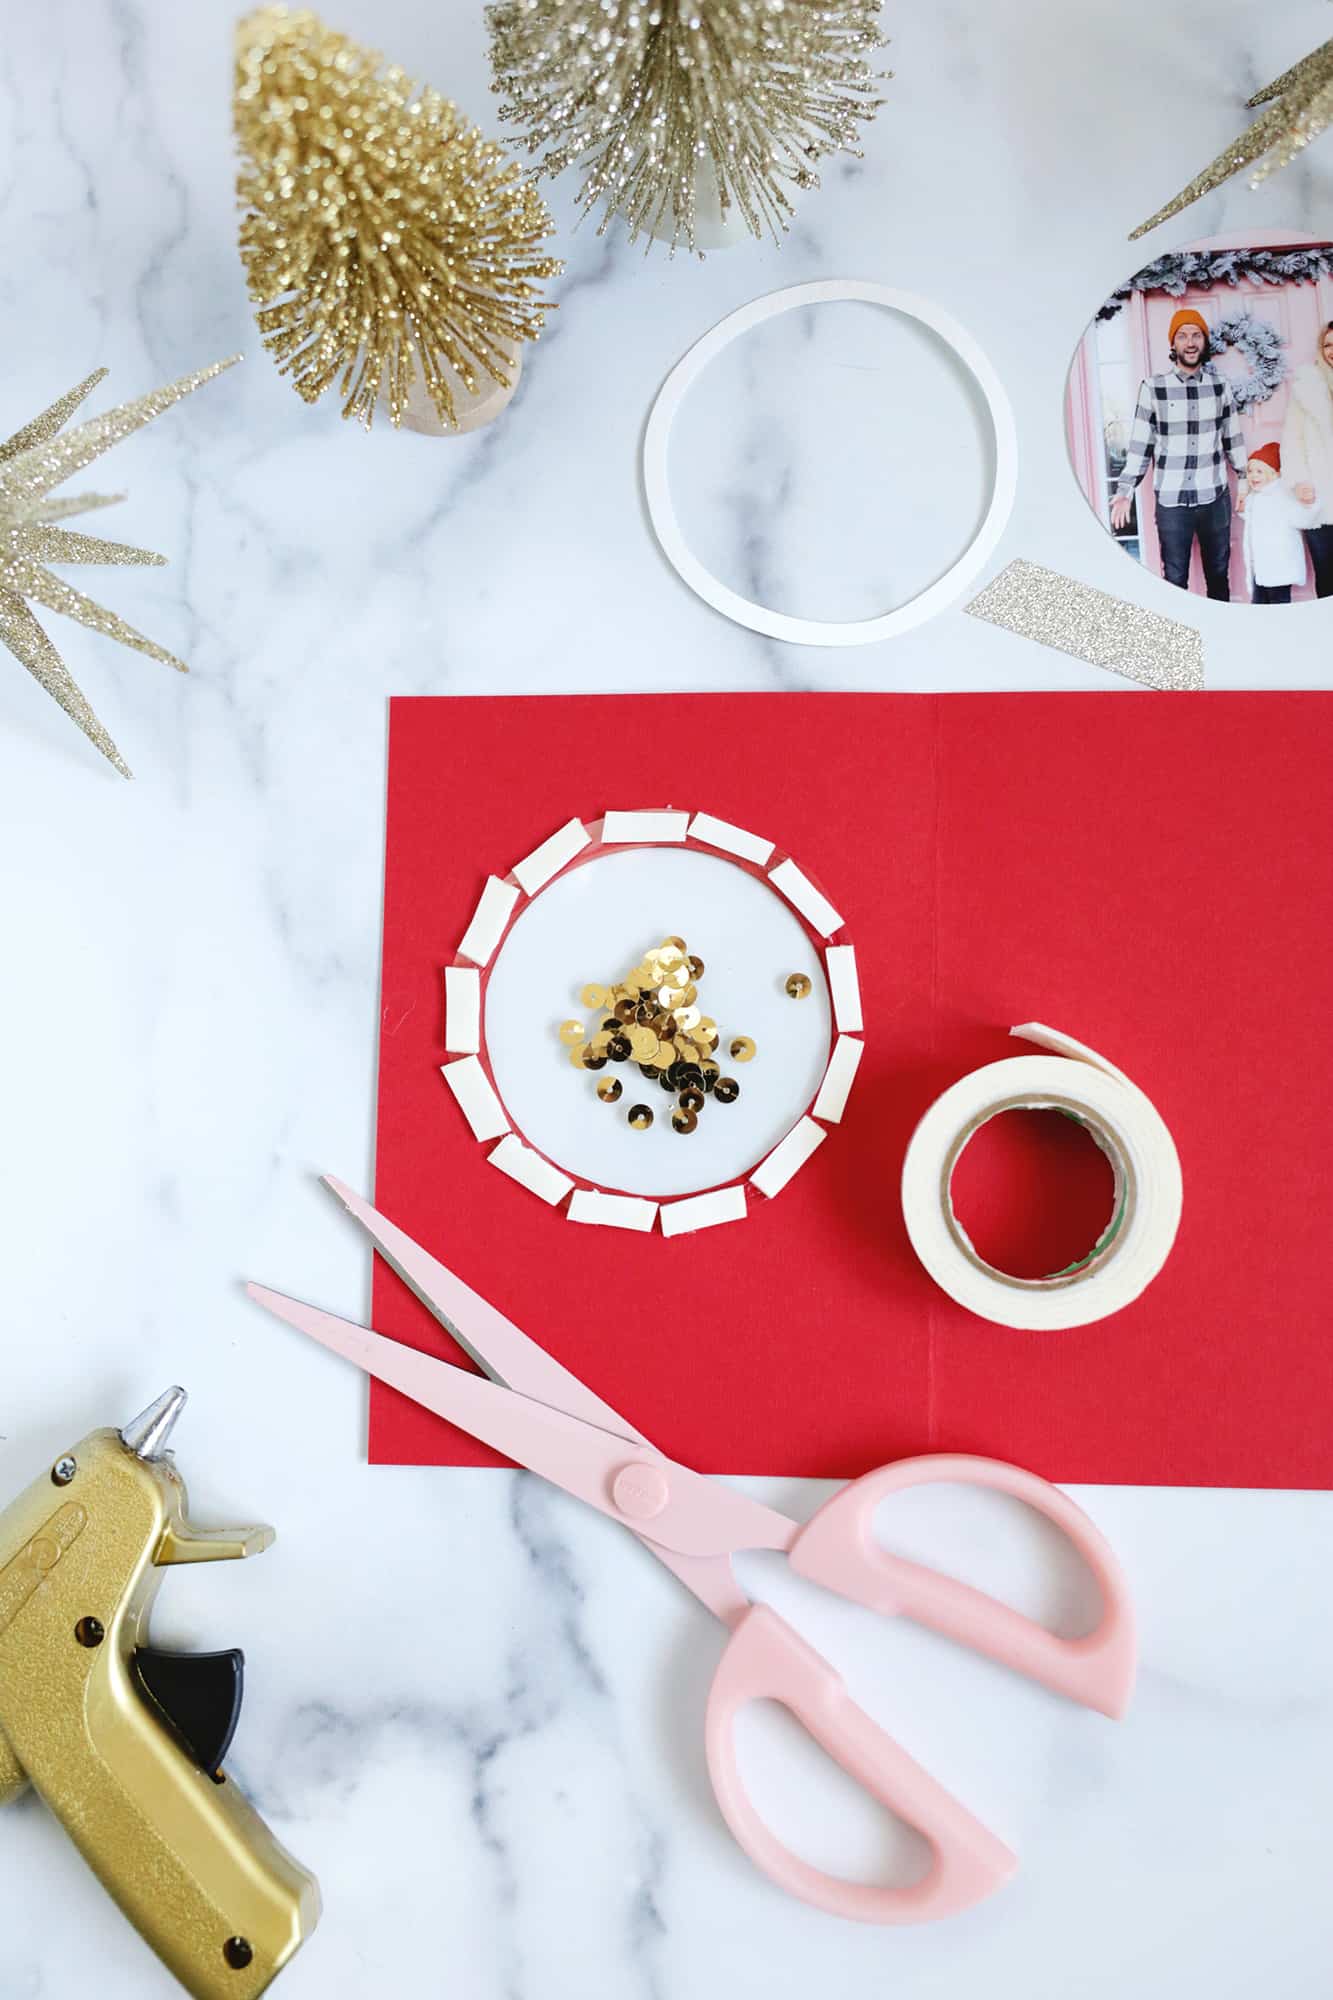
Cut out and place skinny strips of foam tape all around the outside of the circle close enough so the sequins can’t escape (love those pink scissors!). The foam tape will give a little bit of space between the plastic and the photo so that there’s room for the sequins to move around.
Peel off the backs of the tape, place some loose sequins in the middle of the circle, and place your cut photo face down and centered so that you will see it through the plastic on the other side once you flip the card over.
Now that you can see your photo and sequins from the front, glue on your white ring and glitter base for your snow globe, add some snowflakes, and you’re ready to sign and send your card!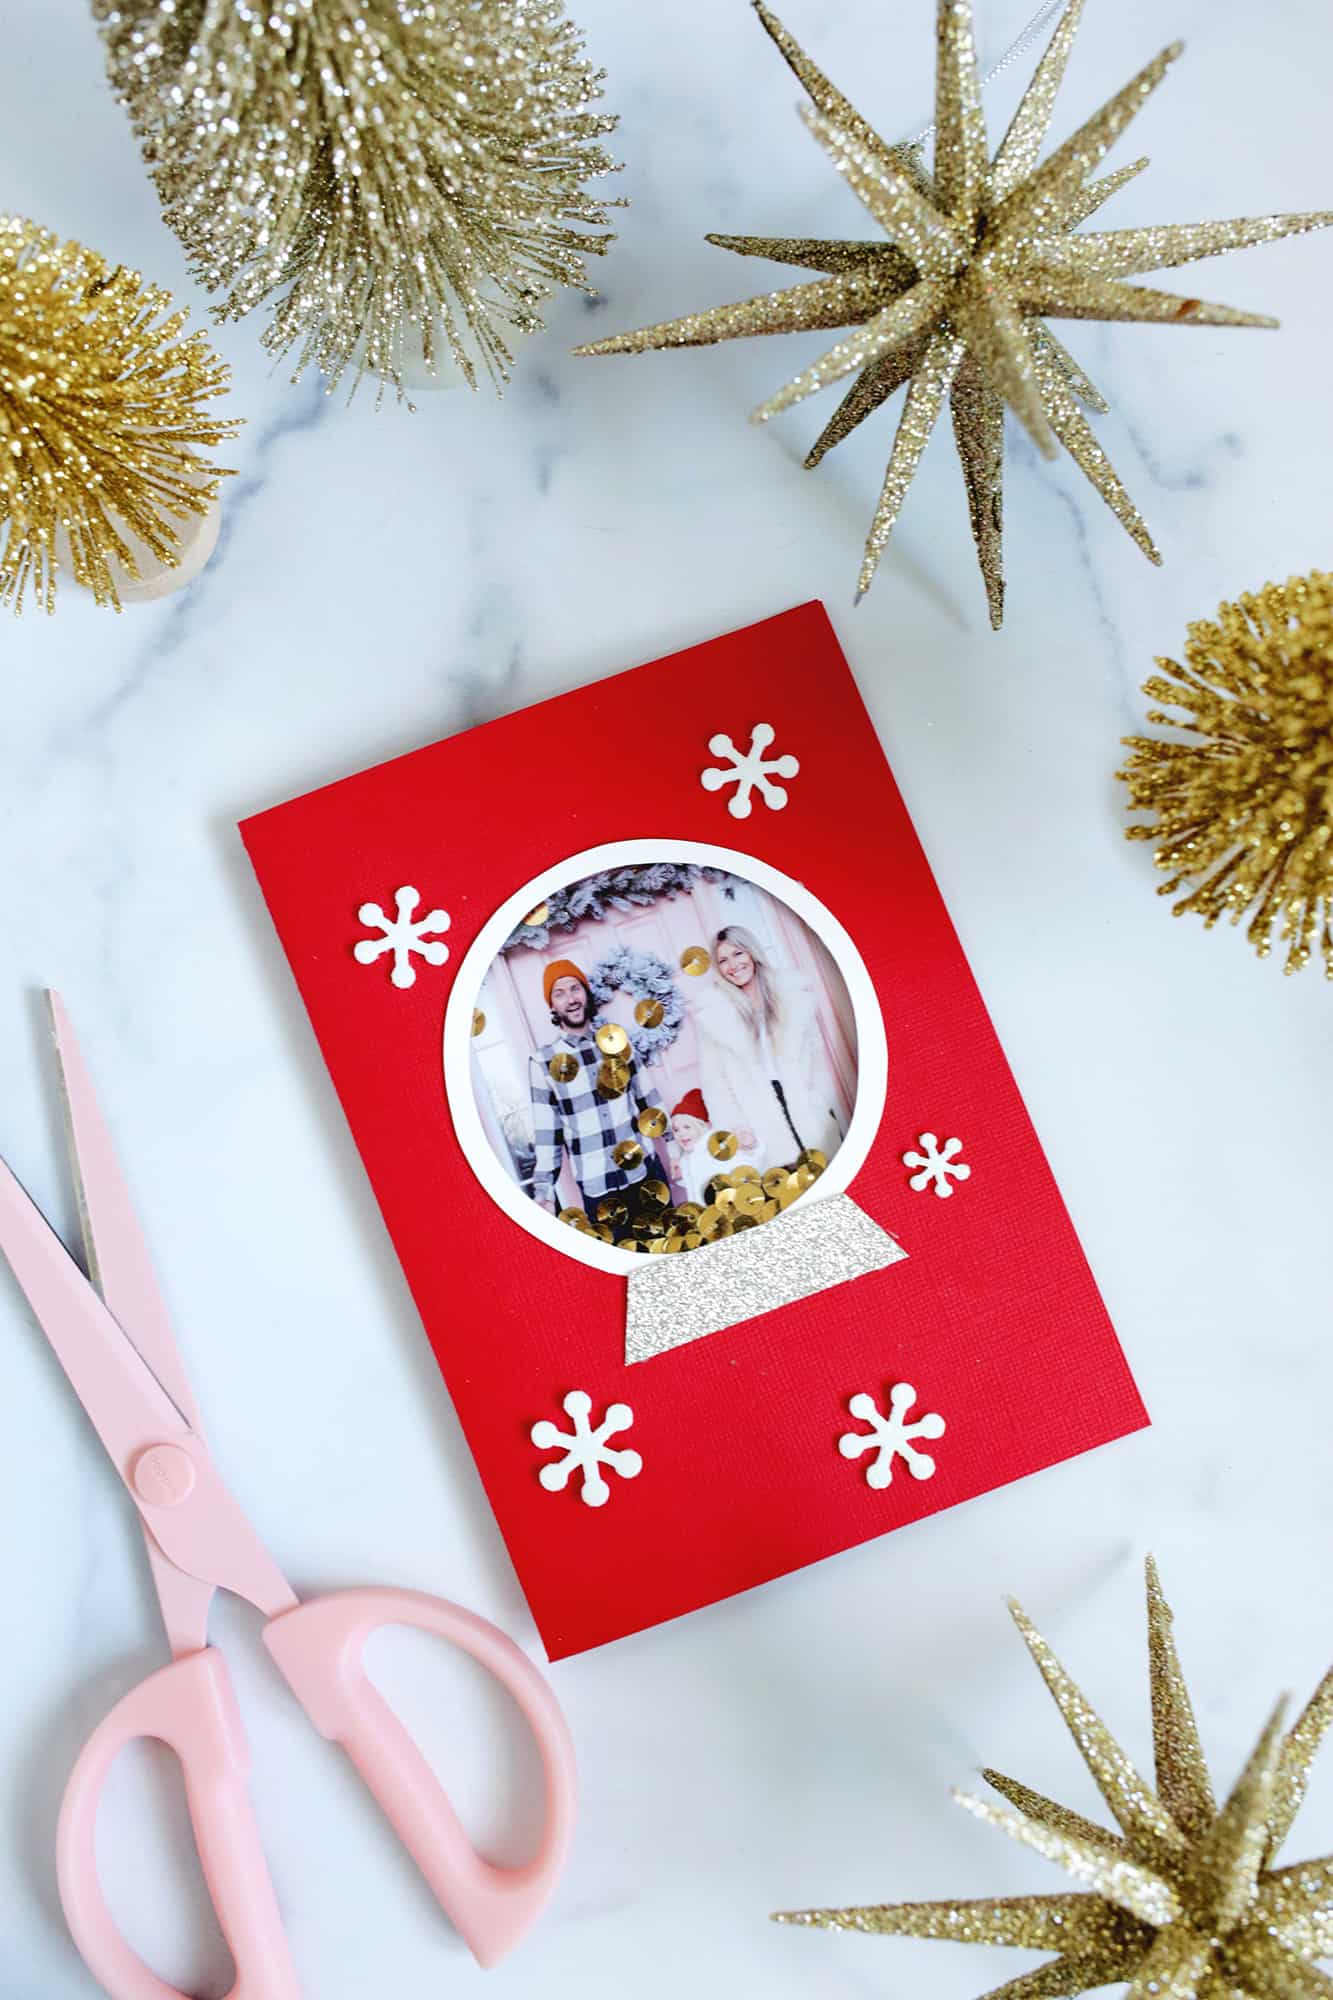
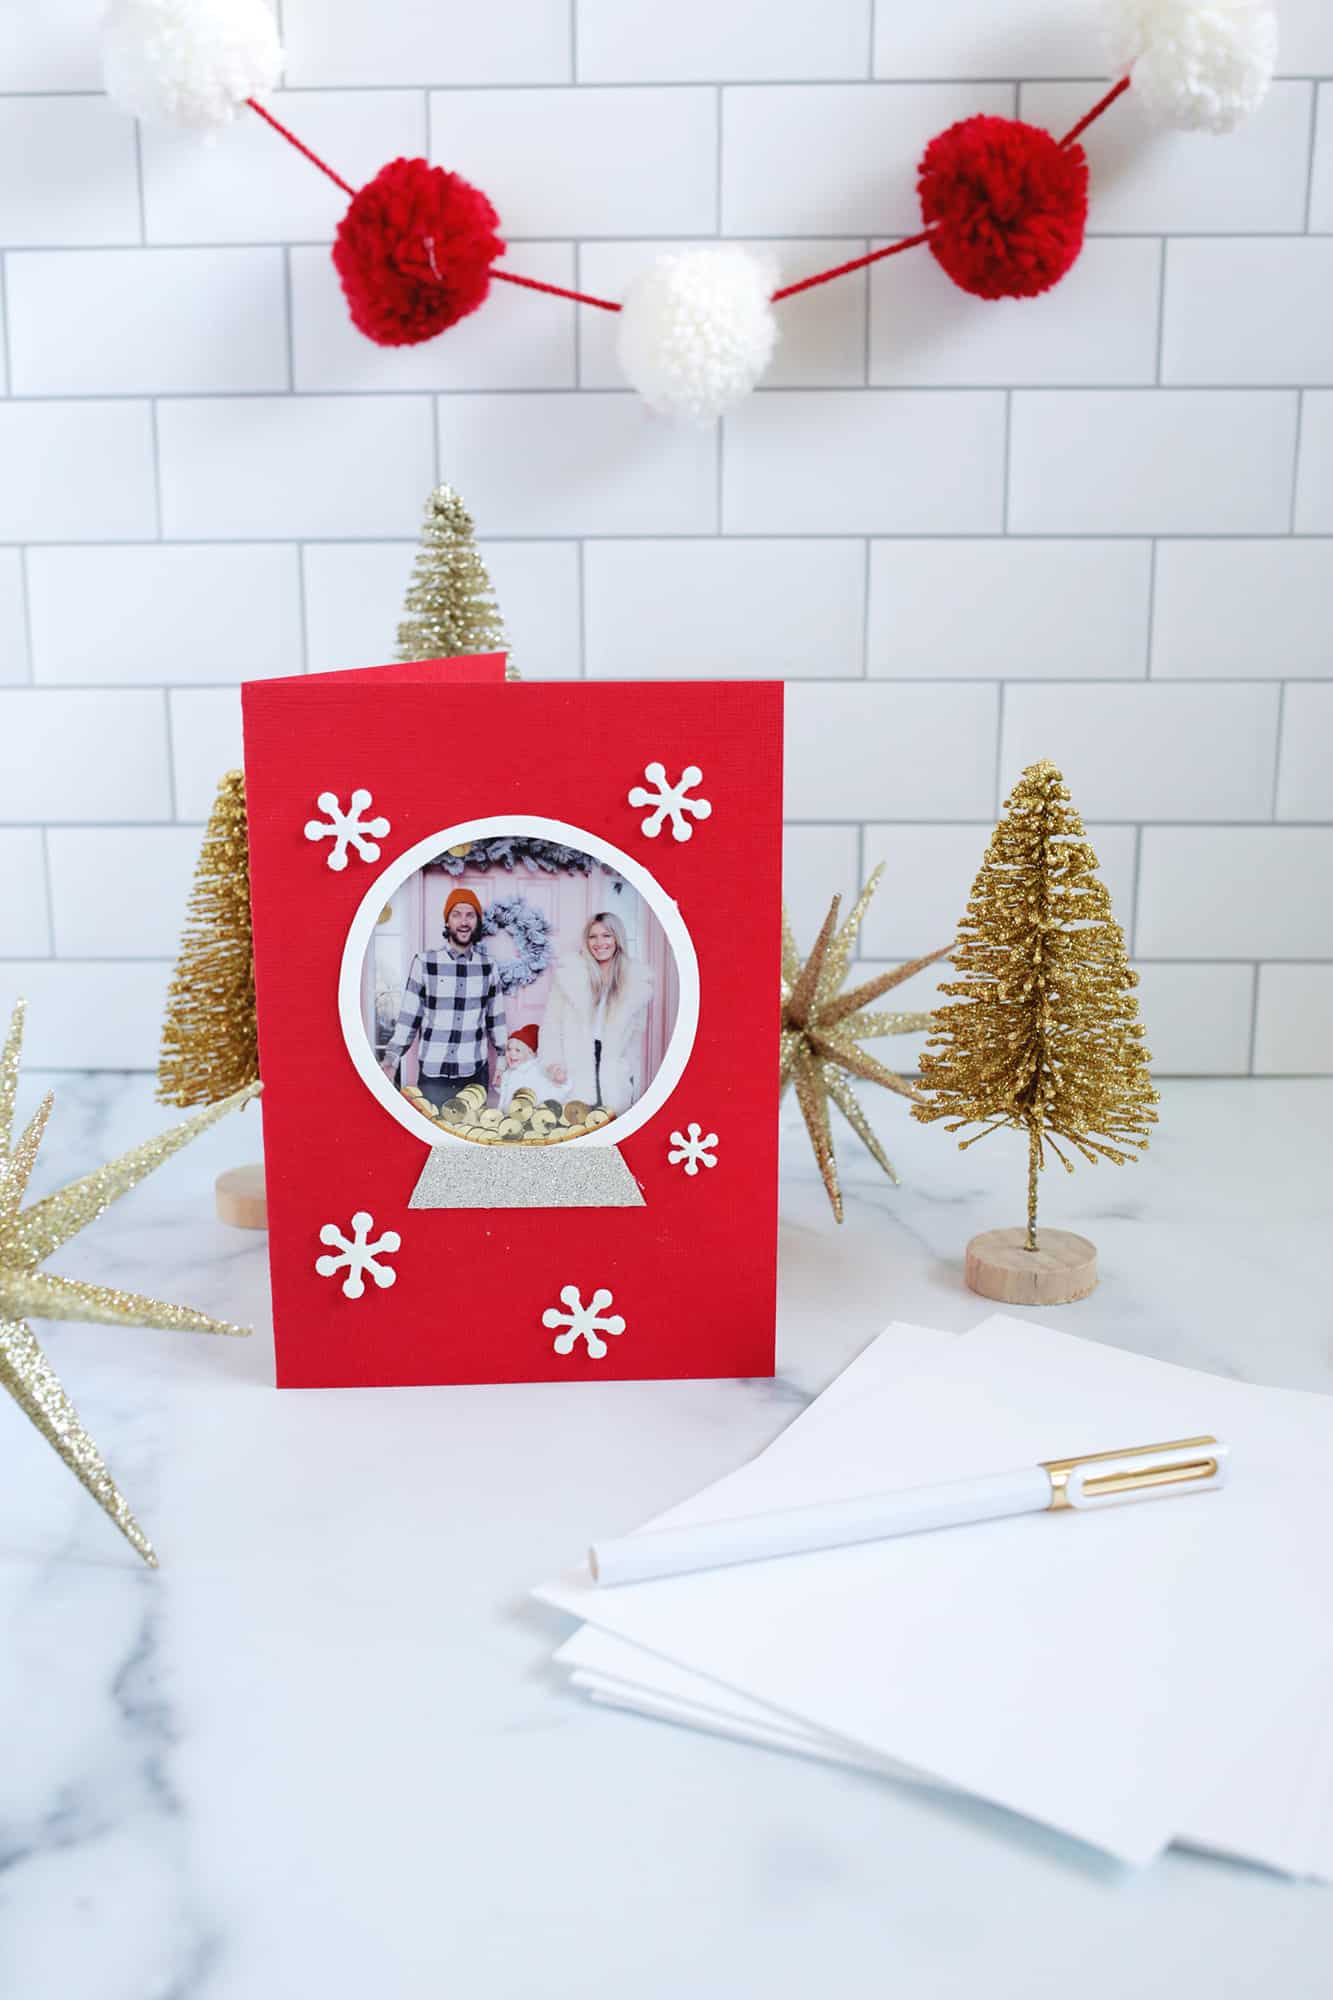
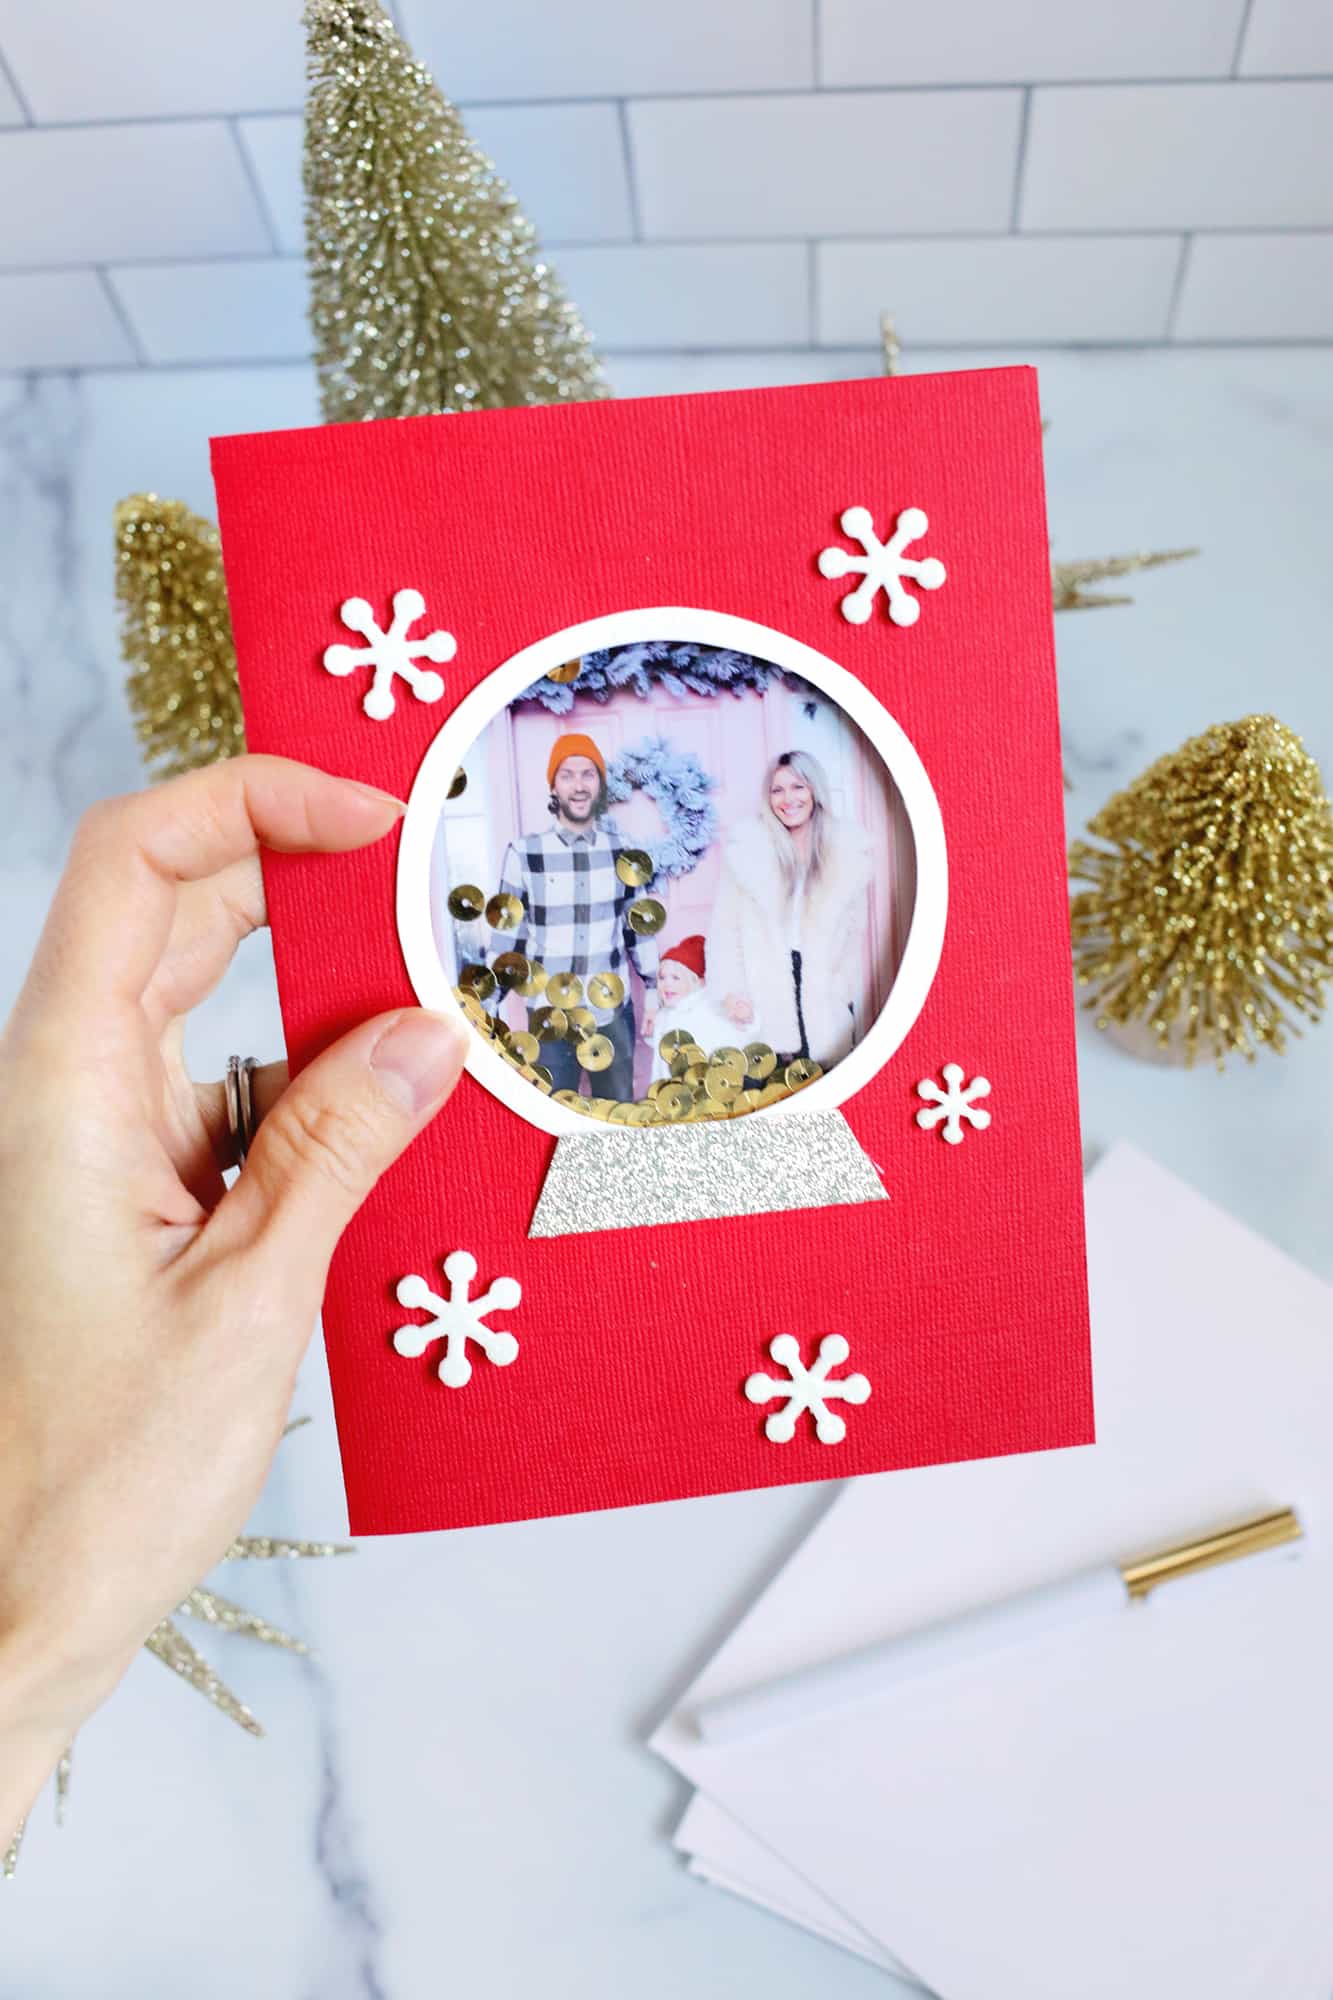
I love it!! So festive and I love that I could print my own photos for this all at home. The sequins really do move around as you shake the card so I can totally imagine that this will be a big hit with any kids that receive one of these guys.
I think this is the perfect way to put a little DIY spin on the old classic holiday card and a really fun activity to do at home with kids (just swap out hot glue gun for glue stick). Hope you have fun making some this year too! xo Laura
Love this post? Sign up for our newsletter for more ideas!

Get creative ideas for recipes, crafts, decor, and more in your inbox!
 Get the How-To

Supplies
- printer
- photo paper
- snow globe template
- card stock in color of your choice for body of card
- glitter paper for the base of the snow globe
- white card stock for ring around globe
- loose sequins
- clear plastic film (can be some from left over packaging or use transparency sheets)
- glue gun
- scissors or X-Acto knife
- double-sided foam tape (or foam squares)
- snowflake stickers
Instructions
- Print out your template and photos (you'll want to resize photos so they will fit inside your window first)
- Once you have your photos and template printed, use the photo template circle to trace circles around your photos (center yourselves in the middle of the circle) and cut out your photos into circles.
- Fold your card stock in half and place your card template on the seam so you end up with a folded 5″ x 7″ card. Cut your snow globe circle window where indicated on the template (I love to use X-Acto knives for cuts like that), trace and cut out your plastic circle and glue it onto the back side of your snow globe window.
- Cut out and place skinny strips of foam tape all around the outside of the circle close enough so the sequins can’t escape (love those pink scissors!). The foam tape will give a little bit of space between the plastic and the photo so that there’s room for the sequins to move around. Peel off the backs of the tape, place some loose sequins in the middle of the circle, and place your cut photo face down and centered so that you will see it through the plastic on the other side once you flip the card over.
- Now that you can see your photo and sequins from the front, glue on your white ring and glitter base for your snow globe, add some snowflakes, and you’re ready to sign and send your card!
- I love it!! So festive. The sequins really do move around as you shake the card so I can totally imagine that this will be a big hit with any kids that receive one of these guys. I think this is the perfect way to put a little DIY spin on the old classic holiday card (and a really fun activity to do with kids, just swap out hot glue gun for glue stick), and hope you have fun making some this year too!

Hi, this is a great idea but the how to is not very user friendly. I got very confused with the specifications of which stencil to use for which part of the card. The given templates seemed the wrong size, and overall the photo circle was much smaller than expected. The use of transparency paper also left a lot of fingerprints and markings from using the glue gun as you specified. I’m not sure if I’m the only one but I had a lot of trouble following these directions and think they should be made clearer.
Great ideas and clear directions. Thanks
Soooo stinkin’ cute! I created something similar on top of a mason jar. Love it!
I love this a great keepsake for years.
I LOVE this idea. I’m saving this for next Christmas. Thanks for the inspiration!!
This is so clever Laura!!! Our girls would LOVE this!
I bet they would!
Laura
These are precious!! I’m definitely pinning this as card inspo for next year!
Yes, great idea!
Laura
Excited to make this adorable card!
Oh yay! Please do!
Laura 🙂
I ABSOLUTELY love A BEAUTIFUL MESS. ive ordered from them before , sign up for their emails, and make their crafts. If you are a creative person but need some guidance – you have to follow these amazing , supportive, fun and colorful women !
Adorable! Cardmaking is a craft I love but am not good at so thanks for tutorials like this!!
I love this project, it is so cute! I would love to enter the giveaway. Is there a link, or just comment here? Thank you!
Hi Kara! There’s a box at the bottom of the post— you can enter there 🙂
So glad you like it!
Laura 🙂