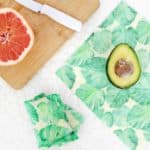
Make Your Own Beeswax Food Wraps
Ingredients
- thin cotton material like quilters cotton organic would be preferred since this will be touching food
- organic beeswax pellets they also have white ones that would yellow your fabric less
- powdered pine resin
- new paintbrush
- pinking shears optional but helpful
- baking sheet and parchment paper
Instructions
- Wash your fabric to remove any chemicals still on the fabric and dry. Cut your fabric into 8″ x 8″ squares with pinking shears (this will help your fabric not unravel at the ends). You can cut squares much larger and adjust the amount of your ingredients, but I just stuck with an 8″ x 8″ since that’s what fits best in my smaller oven cookie sheets (I have one of those smaller apartment-sized ovens—thanks, house designer!).
- Lay out parchment paper on your cookie sheet and place your fabric square on the sheet. Sprinkle 1/2 teaspoon jojoba oil, 1 1/2 teaspoons pine resin, and 2 teaspoons beeswax pellets over the sheet as evenly as you can. Preheat your oven to 225° and place your sheet in the oven for 5-10 minutes or until you can see that all the elements have melted.
- Once you see everything has melted, use your paintbrush to smooth out the mixture all over the sheet. One thing I added to the process is that I also used the brush to lightly squeegee the excess mixture from off the sheet so only a light coating remained. When I just brushed and evened out what was on there and let it dry, it was too thick and I had to put them back in, let it melt again, and remove the excess. I’d rather have a little too much though and squeegee it off than too little, so I would suggest doing it that way.
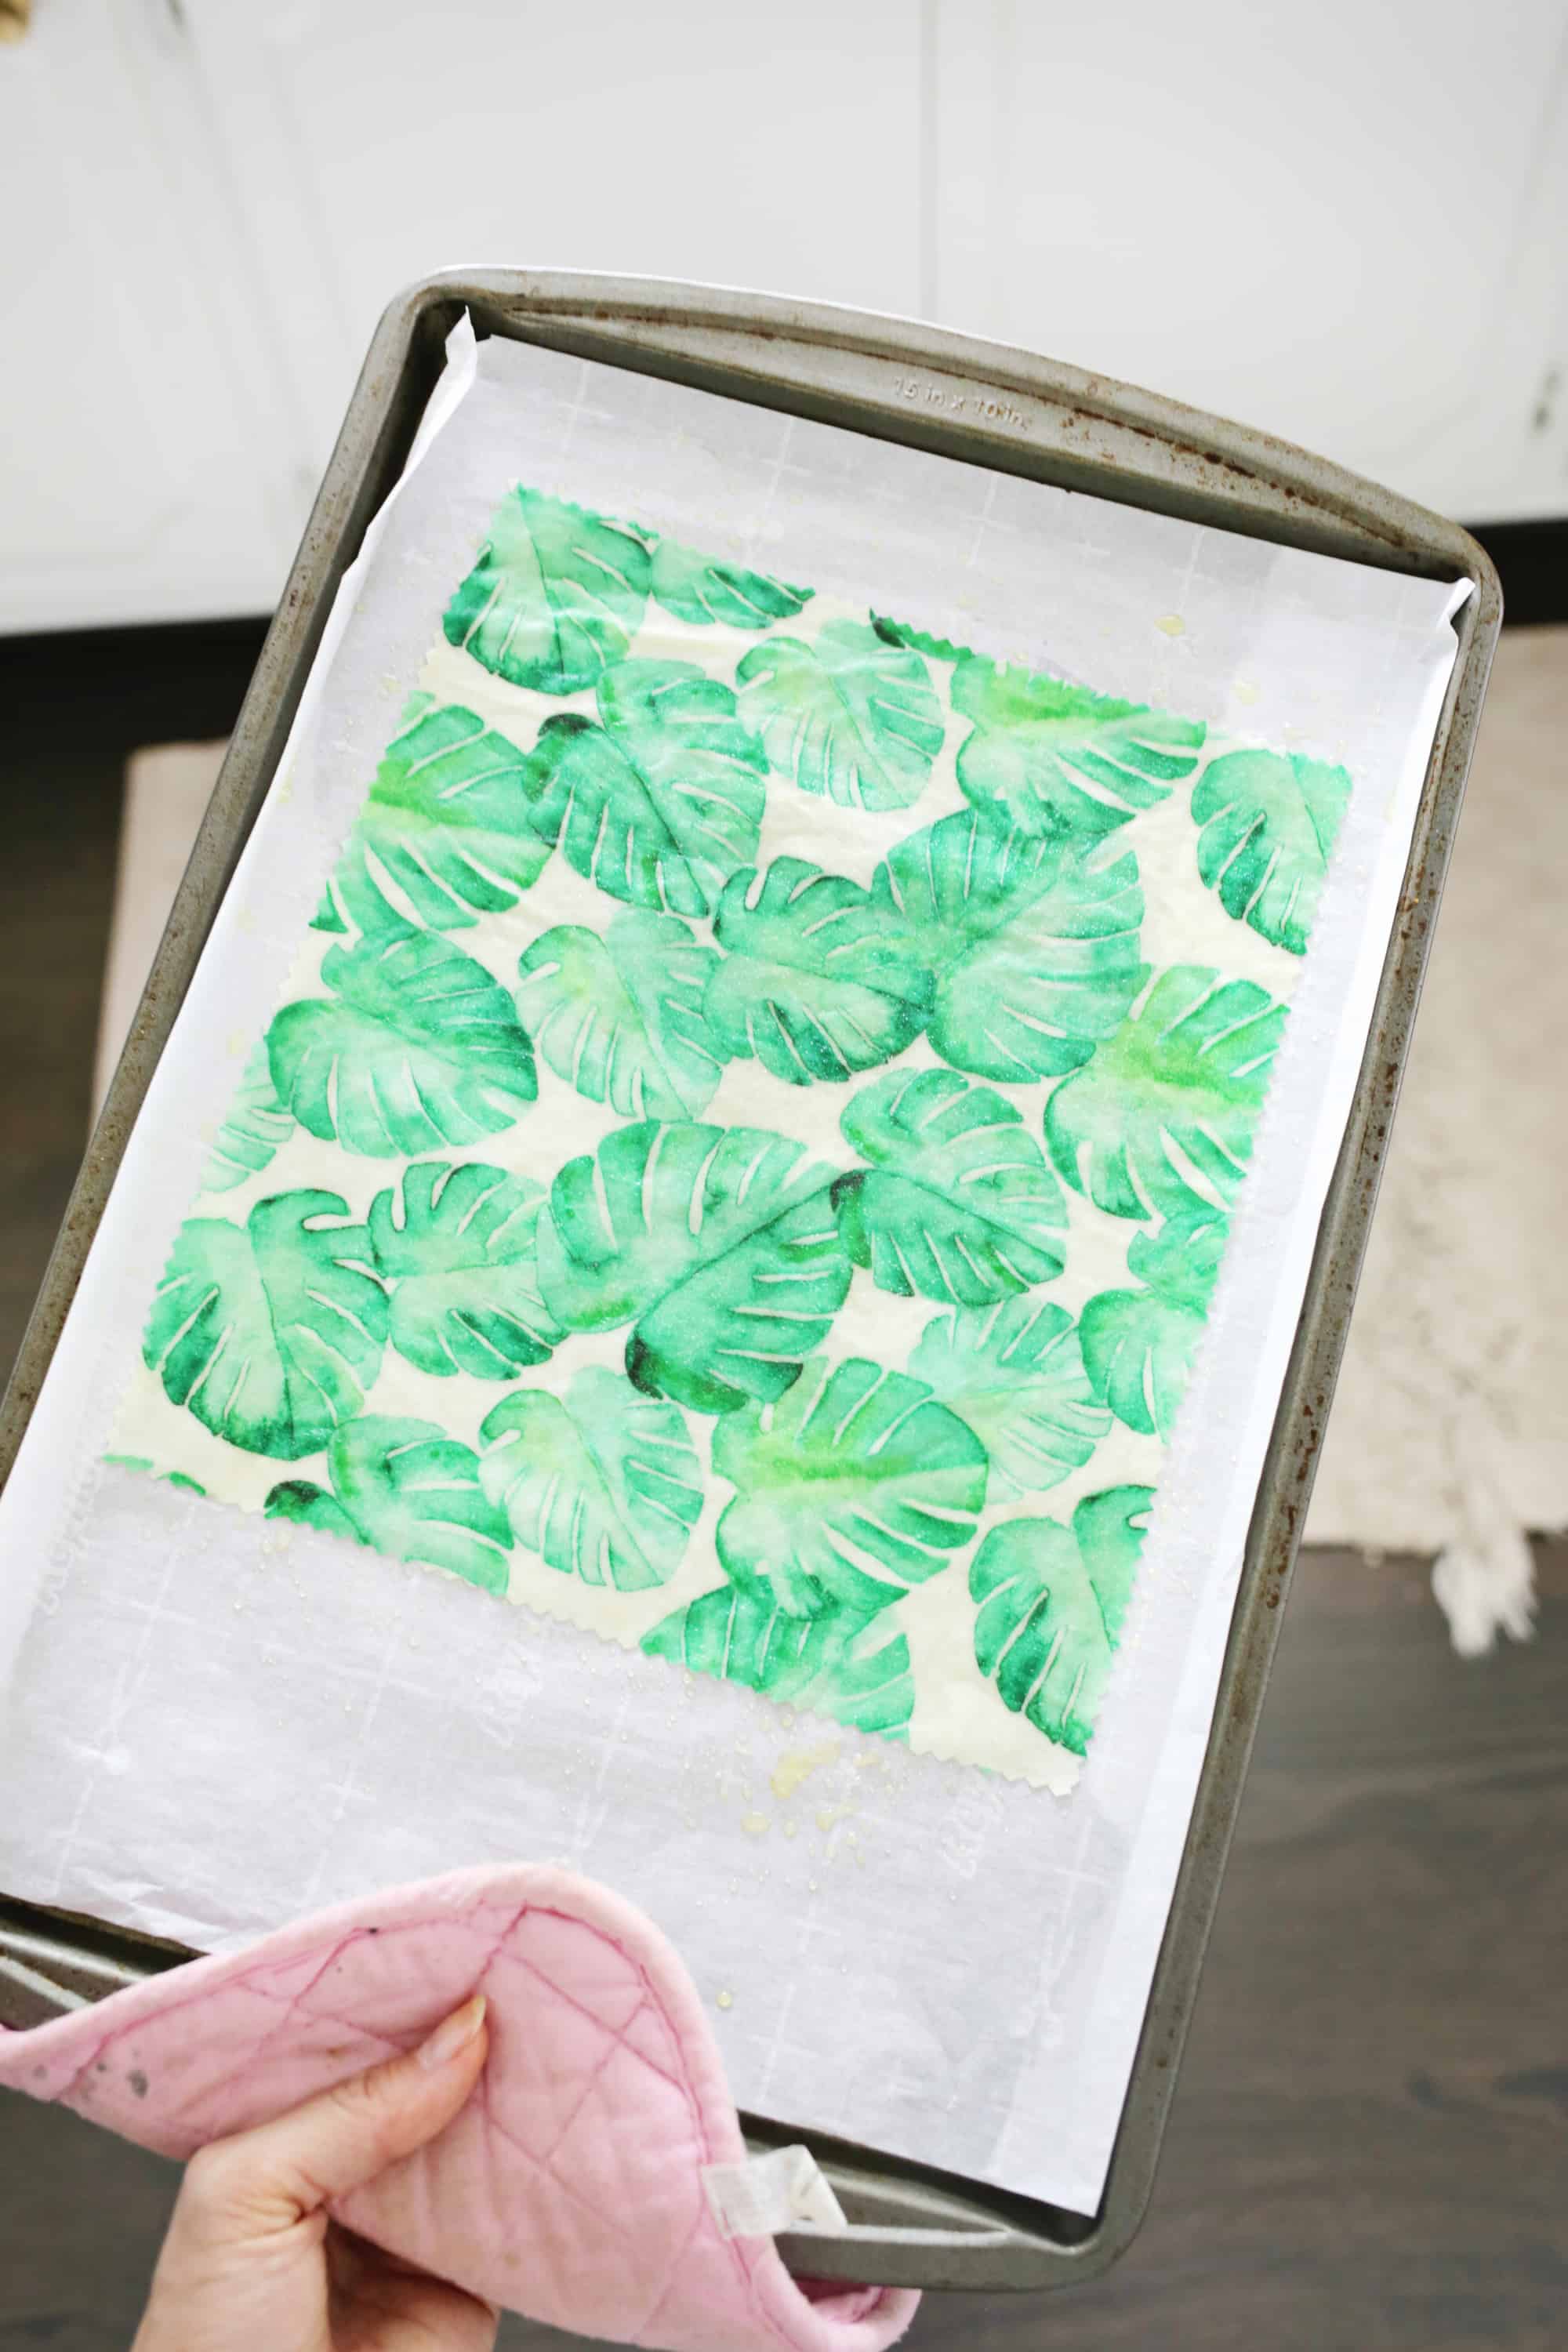
- Once you have thin coating after brushing, place the sheet back in the oven for 1-2 more minutes.
- Use tongs to pick up the sheet off the tray and wave it around in the air for a few seconds to allow it to cool (it cools pretty quickly), and then hang it over something to allow it to fully set. I see that some people use them right away after they have cooled, but I waited 24 hours to give them time to fully dry.
- Once your sheets have set, they are ready to use! Oh, and it may take a little longer to get the resin powder and beeswax off, but you should be able to clean up your tools with just hot water and soap.
Notes
When it come to caring for your wraps, wash in cold water (hot will melt your wax off), use mild soap, and allow your sheets to air dry before their next use. You don’t want to use these with items that you would want to wash in hot water/soap after touching (like meat) so this is more for wrapping up fruits and veggies, bread, and cheese, or as a bowl cover.