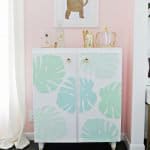
Ikea IVAR Cabinet Hack (Turned into a Bar Cabinet!)
Equipment
- IKEA IVAR cabinet (I used the smaller 30′ x 12′ x 33″ size)
- legs (I used these pretty legs)
- white semi-gloss paint
- 1 1/2″ boards to create the top tray
- 3/32″ x 2″ x 36″ basswood sheet to close door gap
- wood glue and clamps
- X-acto knife
- cabinet pulls
- wooden monstera leaves
- miter saw or jig saw
Instructions
- First, assemble your cabinet as per the instructions.
- Attach your legs to the bottom of your cabinet. While you can use any legs you want, those legs I got are great because they come with plates to attach the legs to, which makes for a more stable attachment.
- So now we are going to build a little lip around the top of your cabinet so we can keep bar cart items on top without worrying about them falling off the edge. Cut your 1 1/2″ board into 4 pieces to fit around the top of your cabinet. If you have a miter saw, cut 2 boards that are 31 1/2″ long and 2 that are 11″ long and cut them at 45° angles so they all fit together like above. If you don’t have a miter saw to cut a 45° angle where they come together, no worries! You can use a jig saw or ask the hardware store to cut the wood for you and cut 2 pieces that are 31 1/2″ for the front and the back and 2 that are 9 1/4″ to fit in between those boards for the side pieces to make your rectangle. Use wood glue and nails or screws to attach the frame together and then glue it to the top of your cabinet.
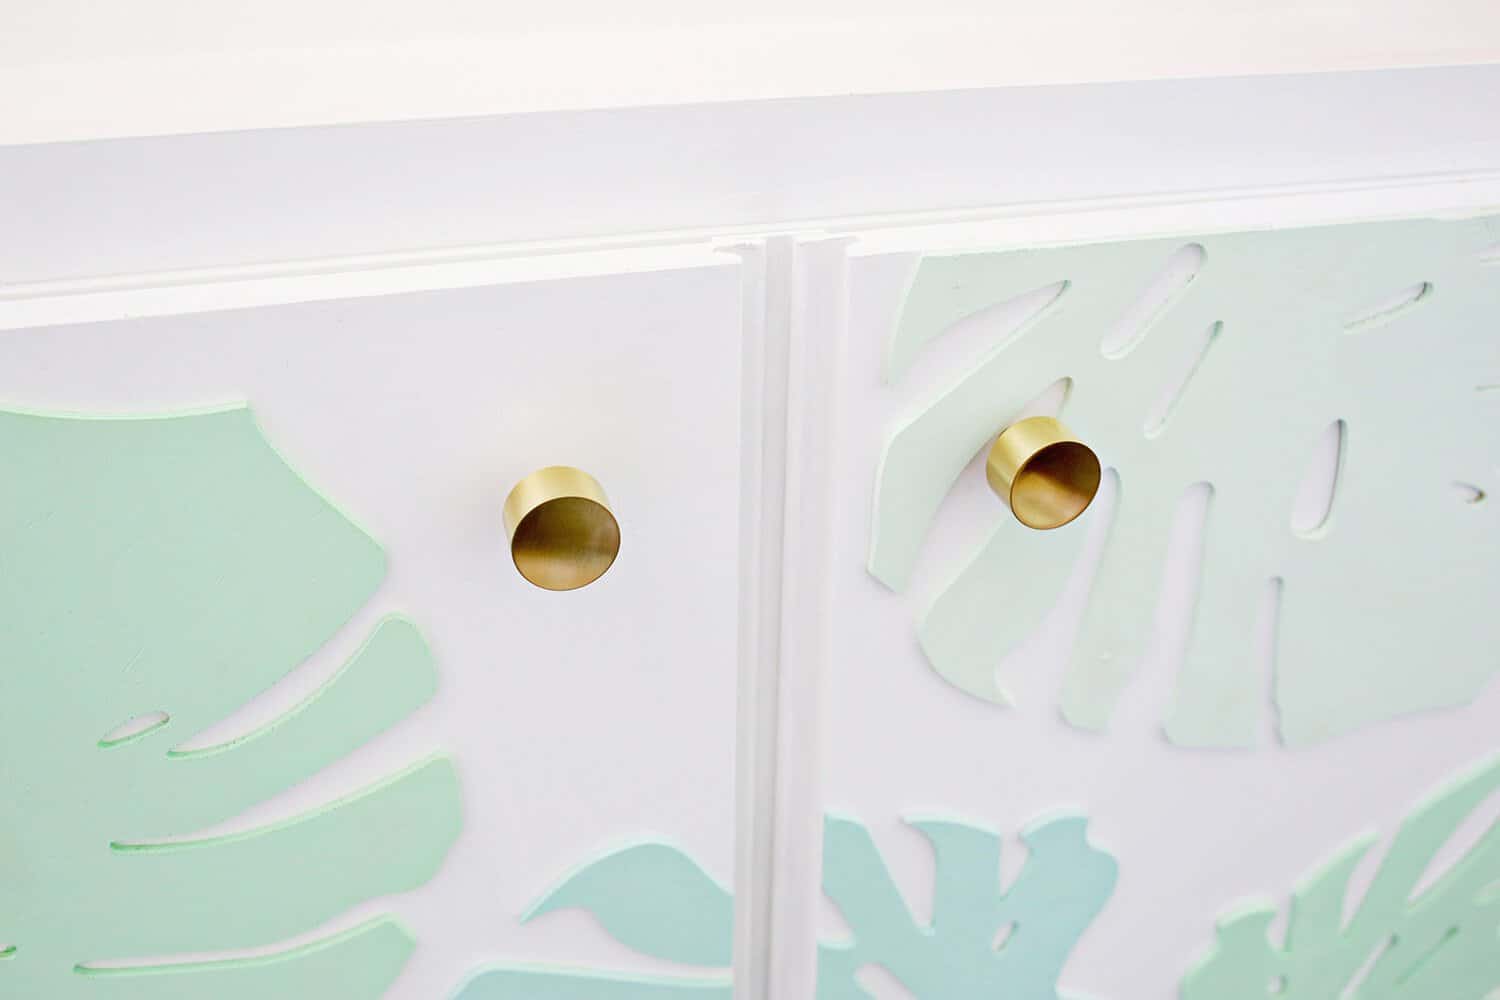
- One frustrating thing about this cabinet that I noticed from all the reviews about it is that the doors don’t close together and there’s an 1/2″ gap in the middle no matter how you try to adjust the doors. It’s such a good price point for the item though that I knew I could glue a thin piece of 2″ wide basswood to one of the doors to close the gap and it totally worked! Basswood is available at hobby stores with the balsa wood and you can cut it down with an X-acto knife to size. Just glue the wood onto one of the doors to cover the opening (I glued it onto the left door since we are right handed and will instinctually open the right door first) and clamp into place while it dries.
- Paint your cabinet white, and, if you want to, you can paint the backboard of your cabinet a color to give it a little pop when you open it (that’s Hello Dolly by Valspar).
- Lay your monstera leaves on top of your cabinet and arrange them in place until they are where you like them. I hung some of them over the edge, marked the edge line on the leaf, and cut the leaf along the line which you can do with a miter saw or jig saw. If you don’t have or don’t want to use a saw on this part, then you’ll have to arrange the leaves so that there’s no overhang and nothing to cut off the ends. Once the leaves are cut, paint them 4 Valspar colors: Summer Sigh (top left and middle right), Meadow Mist (middle), Ultra Green (bottom right), and Mint Hint (bottom left and top right). Once they are painted, glue and nail them in place.
- I would definitely suggest mounting this to the wall so that it can’t be tipped over as well if you have little ones around.
Notes
I love having the top edge on the cabinet since that really makes it feel more like a traditional bar cart and the monstera leaf pattern is just perfect for a pop of pattern and color without feeling too over the top. And how awesome is that new print I picked out to go above the cart—it’s SO GOOD! No more worries here now that Lola and our bar stock are separated from each other, and we also got an adorable piece of new furniture at the same time! xo. Laura