
Reupholster Your Bed Frame in One Afternoon
How to recover your bed in one day!
Equipment
- electric staple gun and 1/2" staples or manual staple gun
- fabric scissors
- straight pins
Ingredients
- wide bolt upholstery or multi-use fabric in your color of choice wide enough to cover your headboard and be wrapped around the back (the fabric I chose was 54″ wide). I used about 5.5 yards for my bed
- wide bolt white fabric as an underlayment optional, but helpful if you have thin primary fabric and are going from a dark bed to a light bed
Instructions
- Take apart the pieces of your bed frame
- Once we had taken apart each of the rails (and removed that wooden spine part in the middle that holds the mattress up) we also took off the connecting hardware on each section too. Make sure to label where each piece goes and what direction it faces so you can put it back together at the end. I also suggest jotting down a quick measurement of where the hardware is connected on each board so you can easily find that spot again if you end up covering that area with fabric (like 8″ in from the outside edge and 1/2″ up from the bottom type of measurements).
- I also unscrewed the legs as well from the header and footer and made a note of where those holes are located too. Your legs may have a plate they attach to or just go directly into the wood, so remove the plate if there is one there.
- THE SEWING OPTION: Next, I laid the headboard onto a section of my white fabric (with the right side of the fabric facing the headboard) that was big enough to wrap the headboard and wrapped and pinned the fabric around the back trying to get the fabric smooth and tight. The small section of sewing that I did was at the top corner of each side of the headboard. I smoothed out the fabric and pinned the corner together so that the sides came together nicely like you see in the top two frames. Repeat that smoothing and pinning with the opposite side.
- Next, I removed the pins that were holding the fabric on the headboard, removed the fabric from the headboard and sewed down that line where the corner pins were and cut the excess. I then tried the cover back on the headboard again to see how it fit and pinched and sewed a little more fabric if it didn’t fit very snugly. Once I had the fit right, I turned the fabric right side out and put it back on so that I had the nice sewn corner that you see in the last frame.
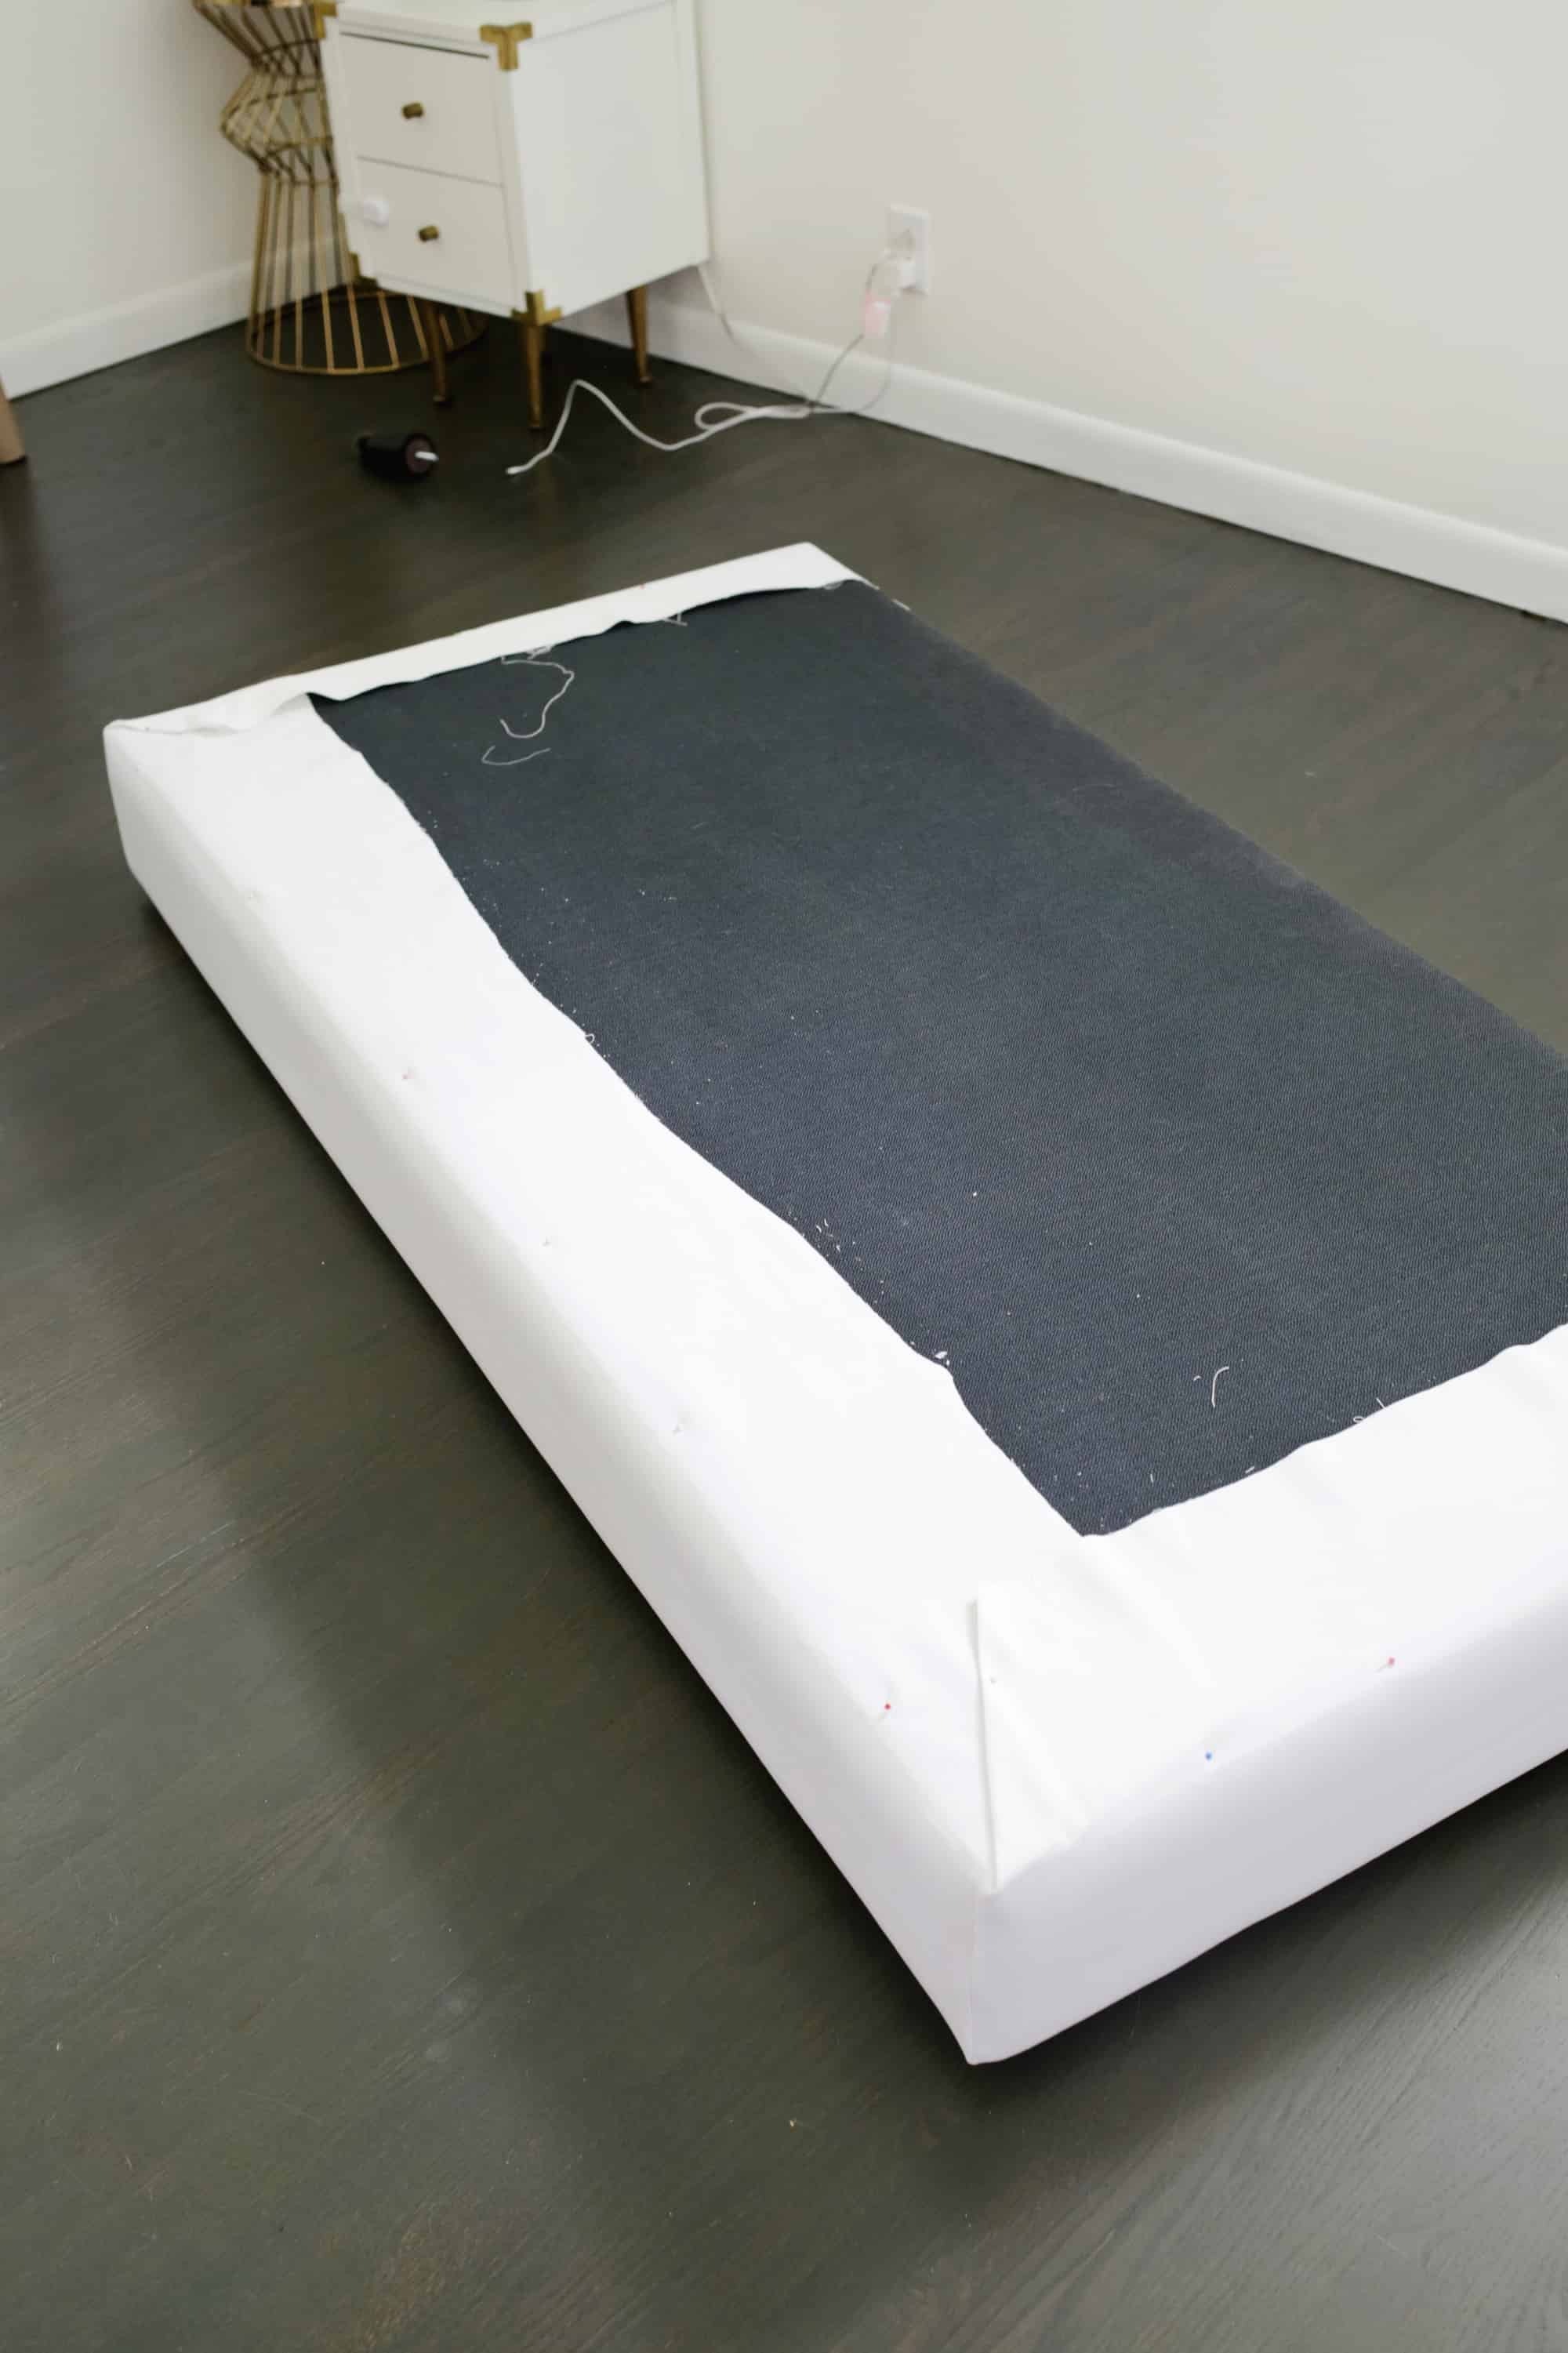
- THE NO-SEW OPTION: If you don’t want to be bothered by sewing, you can lay your headboard on your fabric (with the right side facing outwards) and wrap your corners like you would wrap a nice present and staple in place! The above two photos are how I wrapped the bottom of the headboard so the only difference is that you’ll want to make sure you have enough fabric length to have that open side in the first picture come all the way up and over the back so you can staple it on the back where it won’t be seen at all.I did the quick sewing option at the top two corners of the headboard and the footboard to make them look extra clean, but I wrapped all the other edges like you see above. Just be constantly thinking about what edges will be seen and which will be hidden under the bed, etc., so you know which edges should be totally covered.And if you are using two layers of fabric and doing the new-sew option, I would layer the fabrics on top of each other with your main fabric on the bottom and the right side facing the floor, and wrap them around the corners at the same time rather than one at a time. Take care to smooth them really well before placing your headboard on top, but doing them together should give you a less bulky fold than if you did them separately.
- Once your sides are wrapped in whichever way you choose and the fabric is smoothed and pinned to the back, use your staple gun to secure your fabric in place on the back/bottom of your headboard. You’ll want to staple into something hard rather than just an area of foam or something, so feel around for the wooden frame under your fabric and staple your fabric secure to that down each side. I like to start in the middle of each section and have one person smooth and hold the fabric tight while the other staples every 5-6″. Once you reach one end, go back to the middle and complete the other side. You may occasionally reach a spot that’s really hard wood where your staple gun doesn’t quite go all the way in and that’s OK. You can try another spot nearby or hammer your staple flat, and as long as most of it went in it will hold. Trim any excess fabric as needed.
- So, once I had my headboard wrapped and covering the white fabric, I repeated the process with the pink fabric of pinning the corners, sewing, and stapling the fabric in place. You’ll only have to do it once though if you don’t need the white underneath.
- To put the hardware back on, we poked around the spots where we knew the holes were (based on our measurements we took before taking them off) with a pin or an awl until we found the holes and drilled our screws back in to create holes in the fabric. It’s a little harder to find the holes with two layers of fabric, so we found the holes through one layer, put the screws in and took them out again, and that made the holes easier to find and mark on the second layer so we could put the hardware back on over the top of the fabric. Do the same thing for connecting the legs back on as well.
- Basically, at this point, I just repeated the process of laying out fabric that was big enough for my section, wrapping each piece, and stapling in place. I found it easier to do the two sides with both fabric layers at once since I was simply folding and stapling those corners, but then I did the headboard and footboard with the white and pink layers separately since I was sewing those top corners and that kept the fabric smooth.
- A little tip if you are doing two layers of fabric is that you can trim excess fabric off the underneath layer to get a cleaner, less bulky corner fold like I did with the white above. Also, if you come to a really hard spot in the wood where your staple gun just can’t get through, you can use small nails to tack that section in place.
- Once all your pieces are covered, reattach all your hardware and legs and put your new bed back together! Since the fabric made the bed a little thicker in some spots, it was helpful to leave the screws out about 1/4″ when putting the hardware back on. That way, you could fit the pieces together more easily and then tighten the screws once the frame was back together again. Reattach the spine middle part of your bed and you’re ready for the mattress and covers!