 One thing you should know about me is that while I love to craft with yarn and make all the pretty textured things, I can’t knit or crochet. Maybe one day I will learn, but for now I like to challenge myself to think outside the box when it comes to yarn crafts. It also probably doesn’t help that I am not patient when it comes to long, time-intensive projects like wall weavings, latch hooking or knitting. So that is where I try to find short cuts to get the look for less (time, that is!). This technique for a DIY faux latch hook wall hanging came from my desire to make a latch hook piece (I love all the warmth and texture it brings to a space), but seeing how much time it takes to hook and loop each individual thread was definitely not going to happen for me. So instead I figured out how to recreate the look with simple tassels and OMG it is addictive and takes so much less time! If you want to learn to weave, start here: Weaving for Beginners
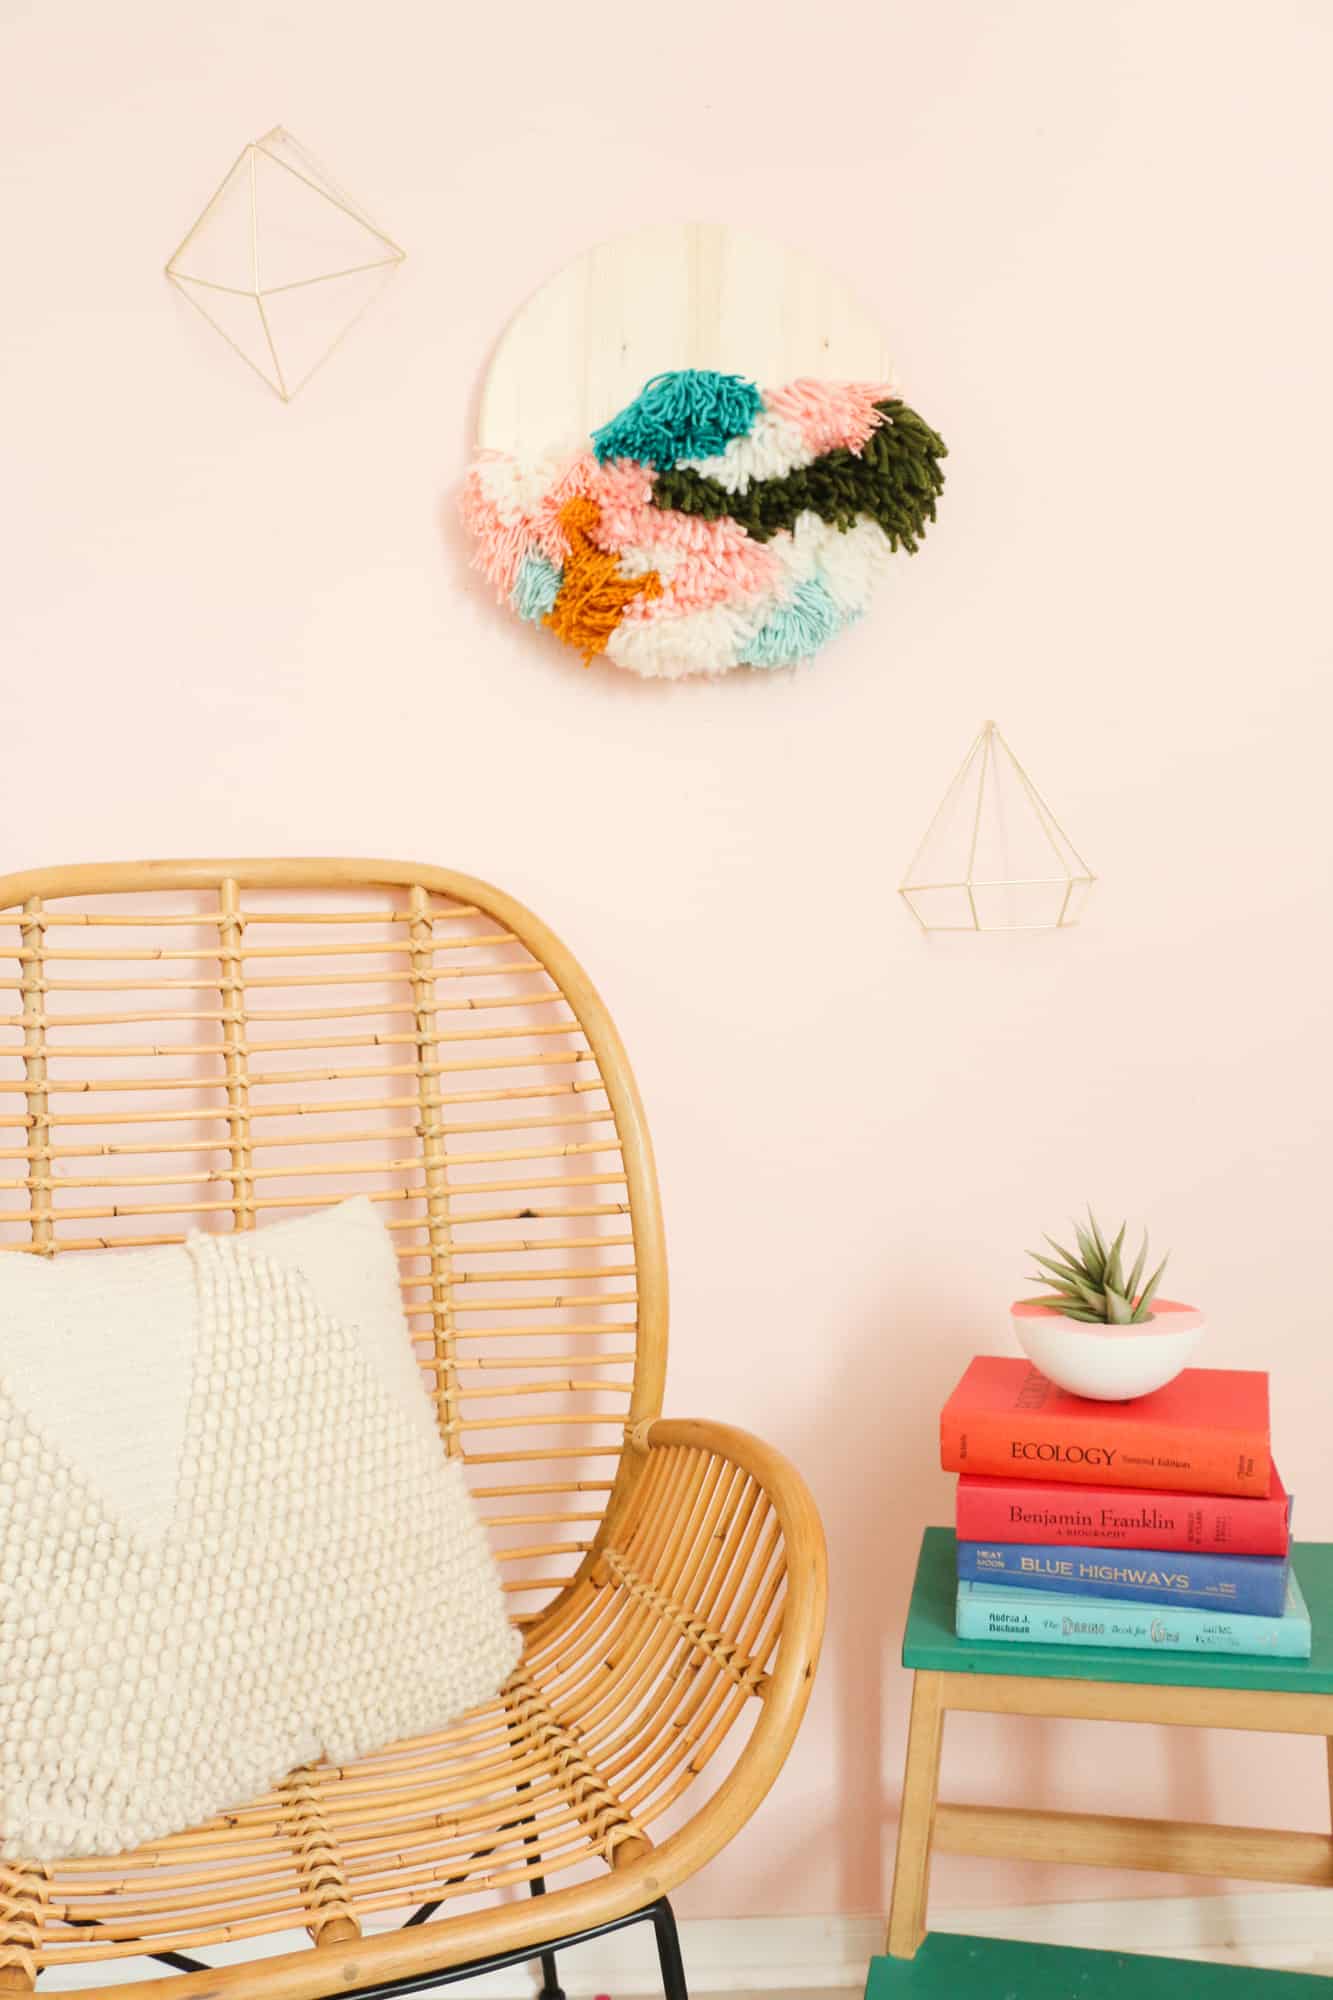
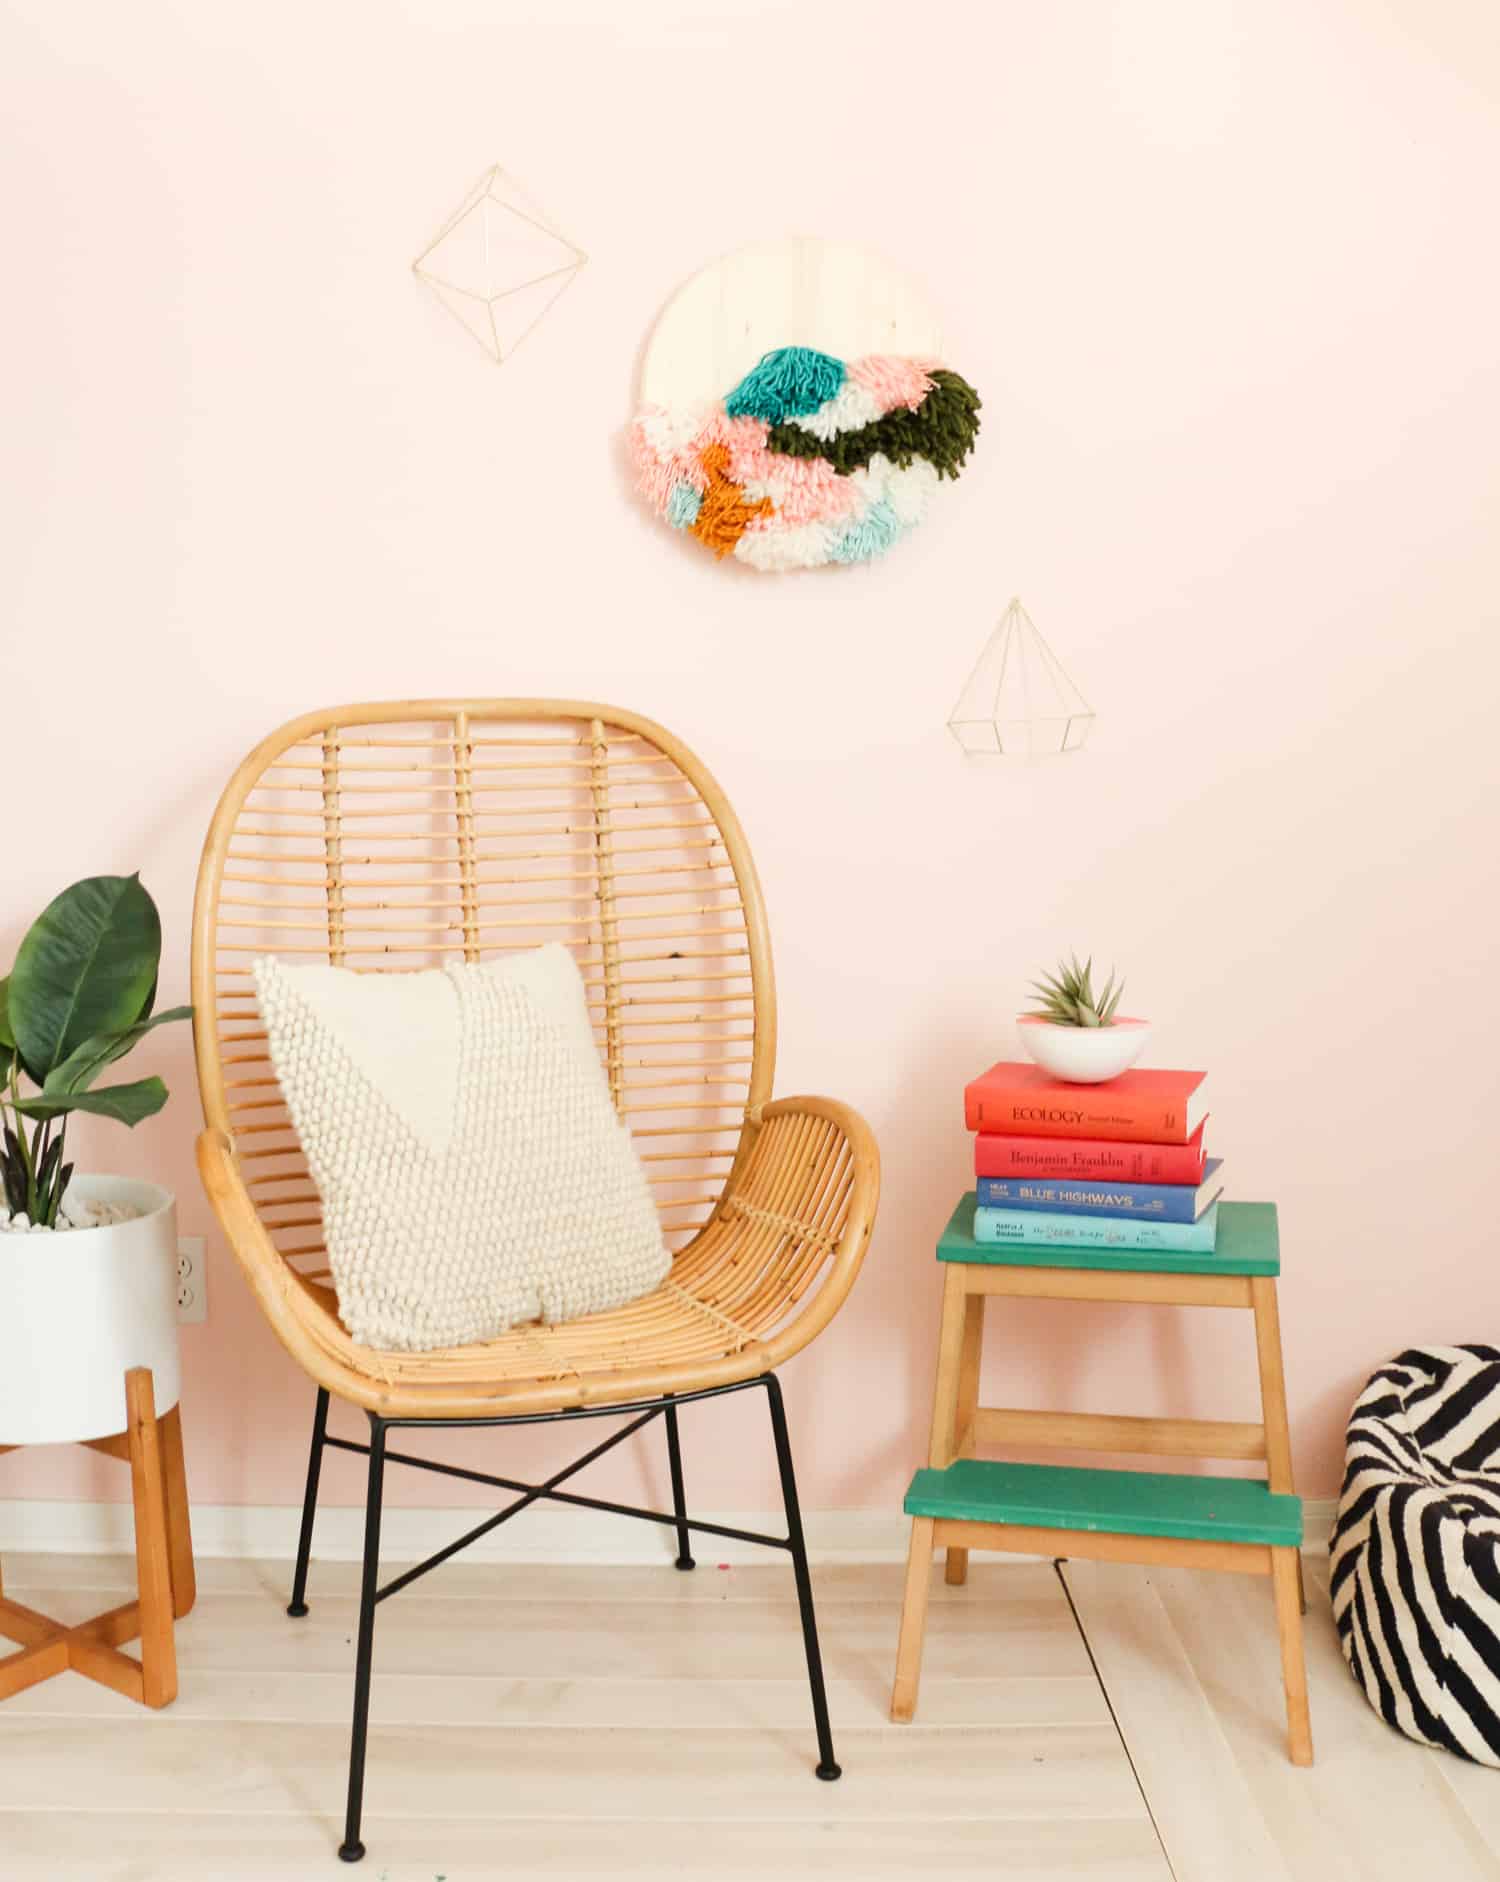
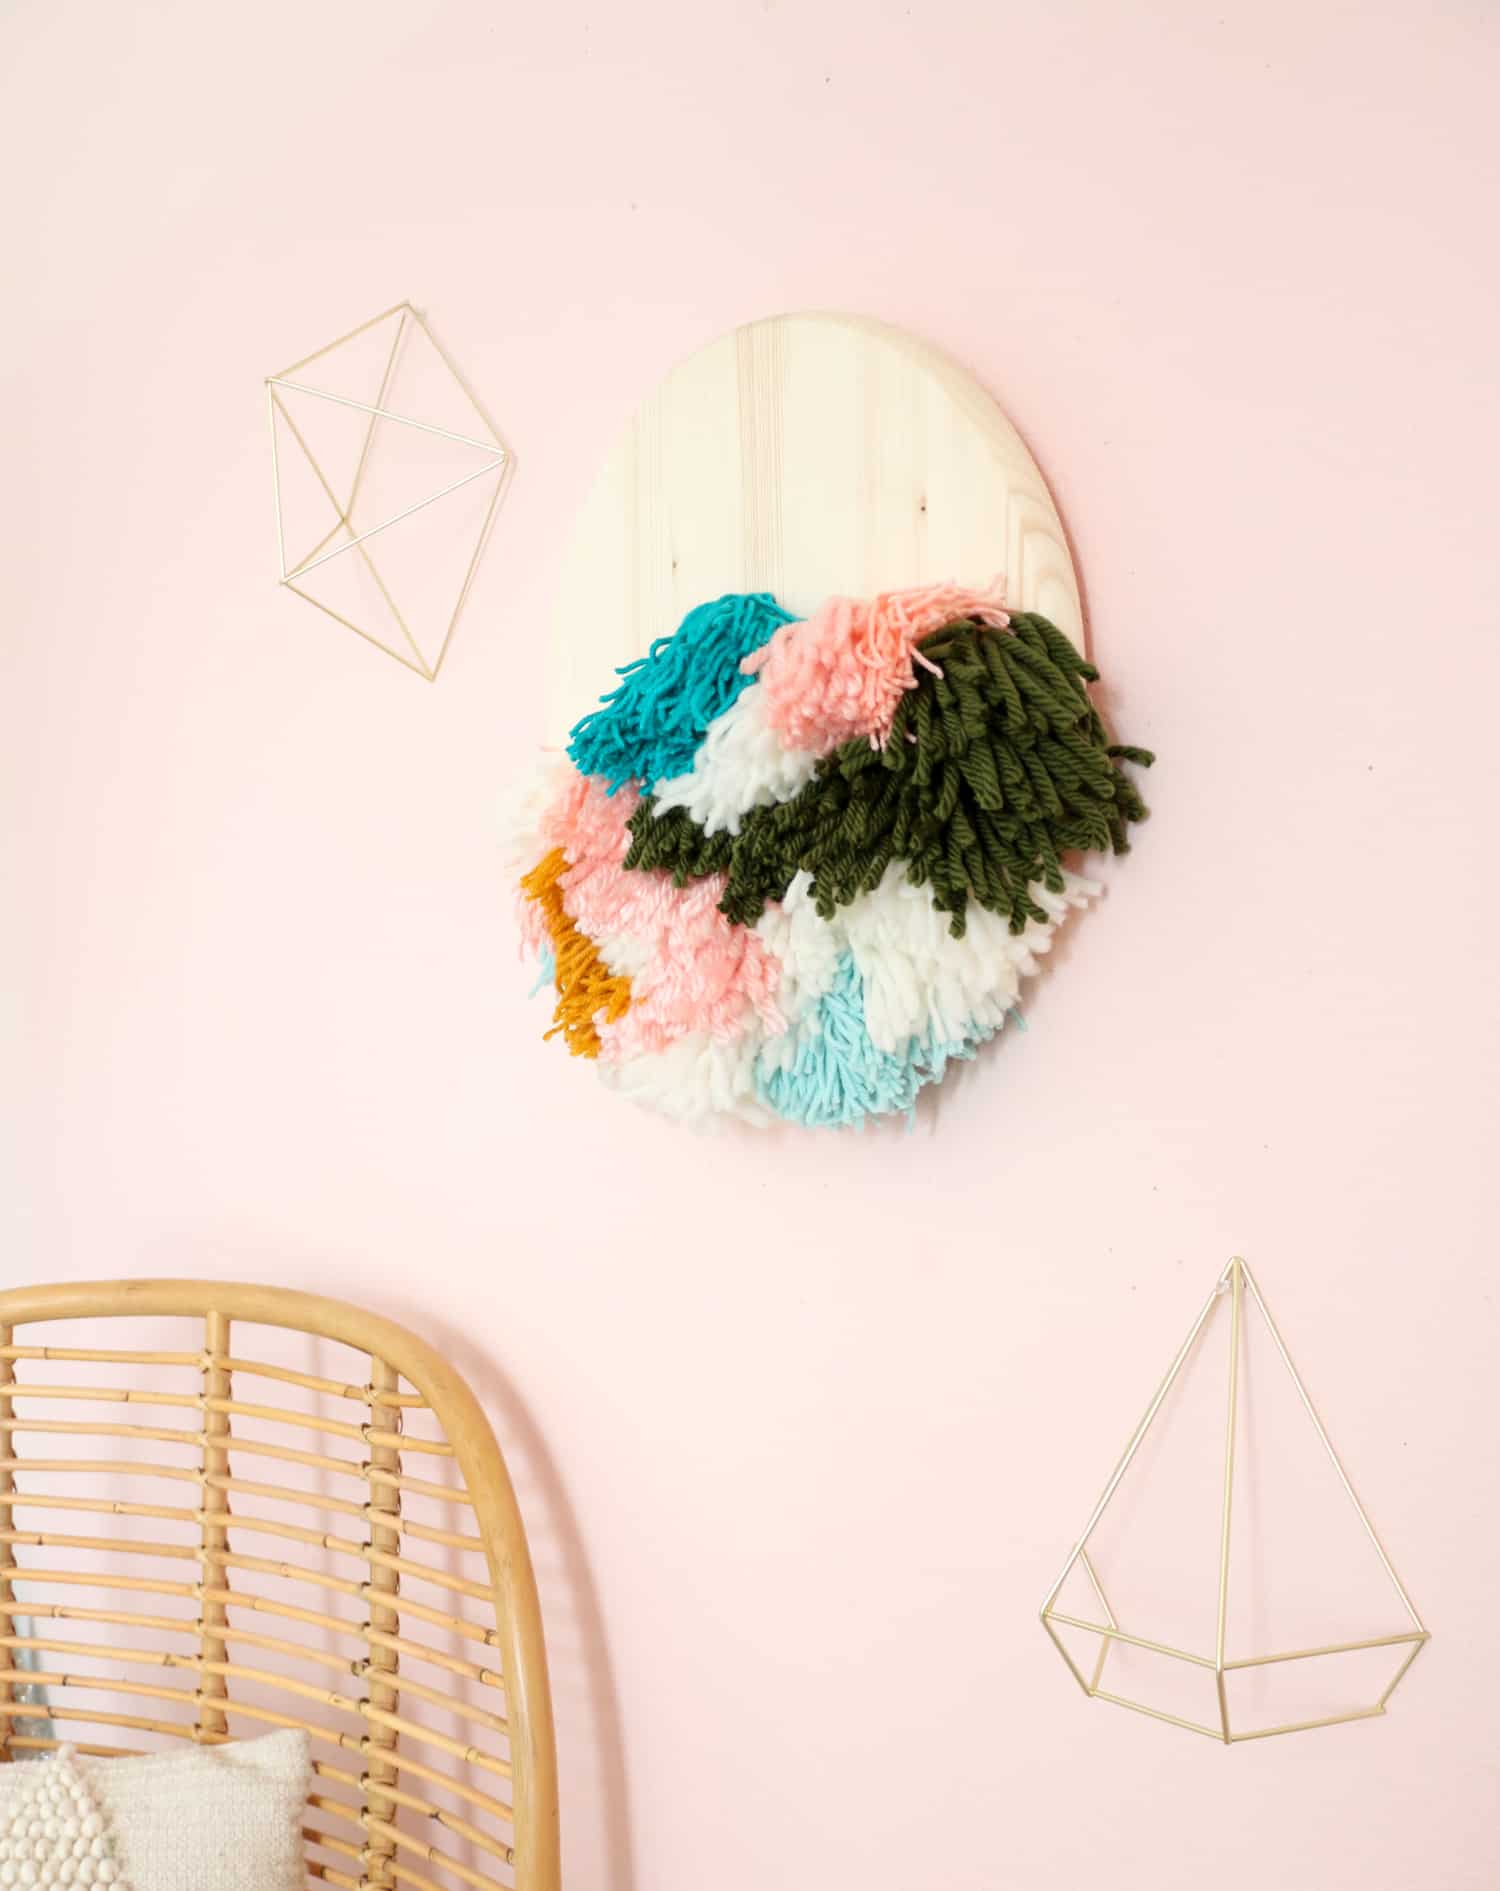 I mean, it really looks like the real thing, doesn’t it? And obviously most don’t have the added wood element, but I love the combination of the yarn against the unfinished wood, so I left it like that. But you can easily fill the entire surface with yarn for a more traditional latch hook look.
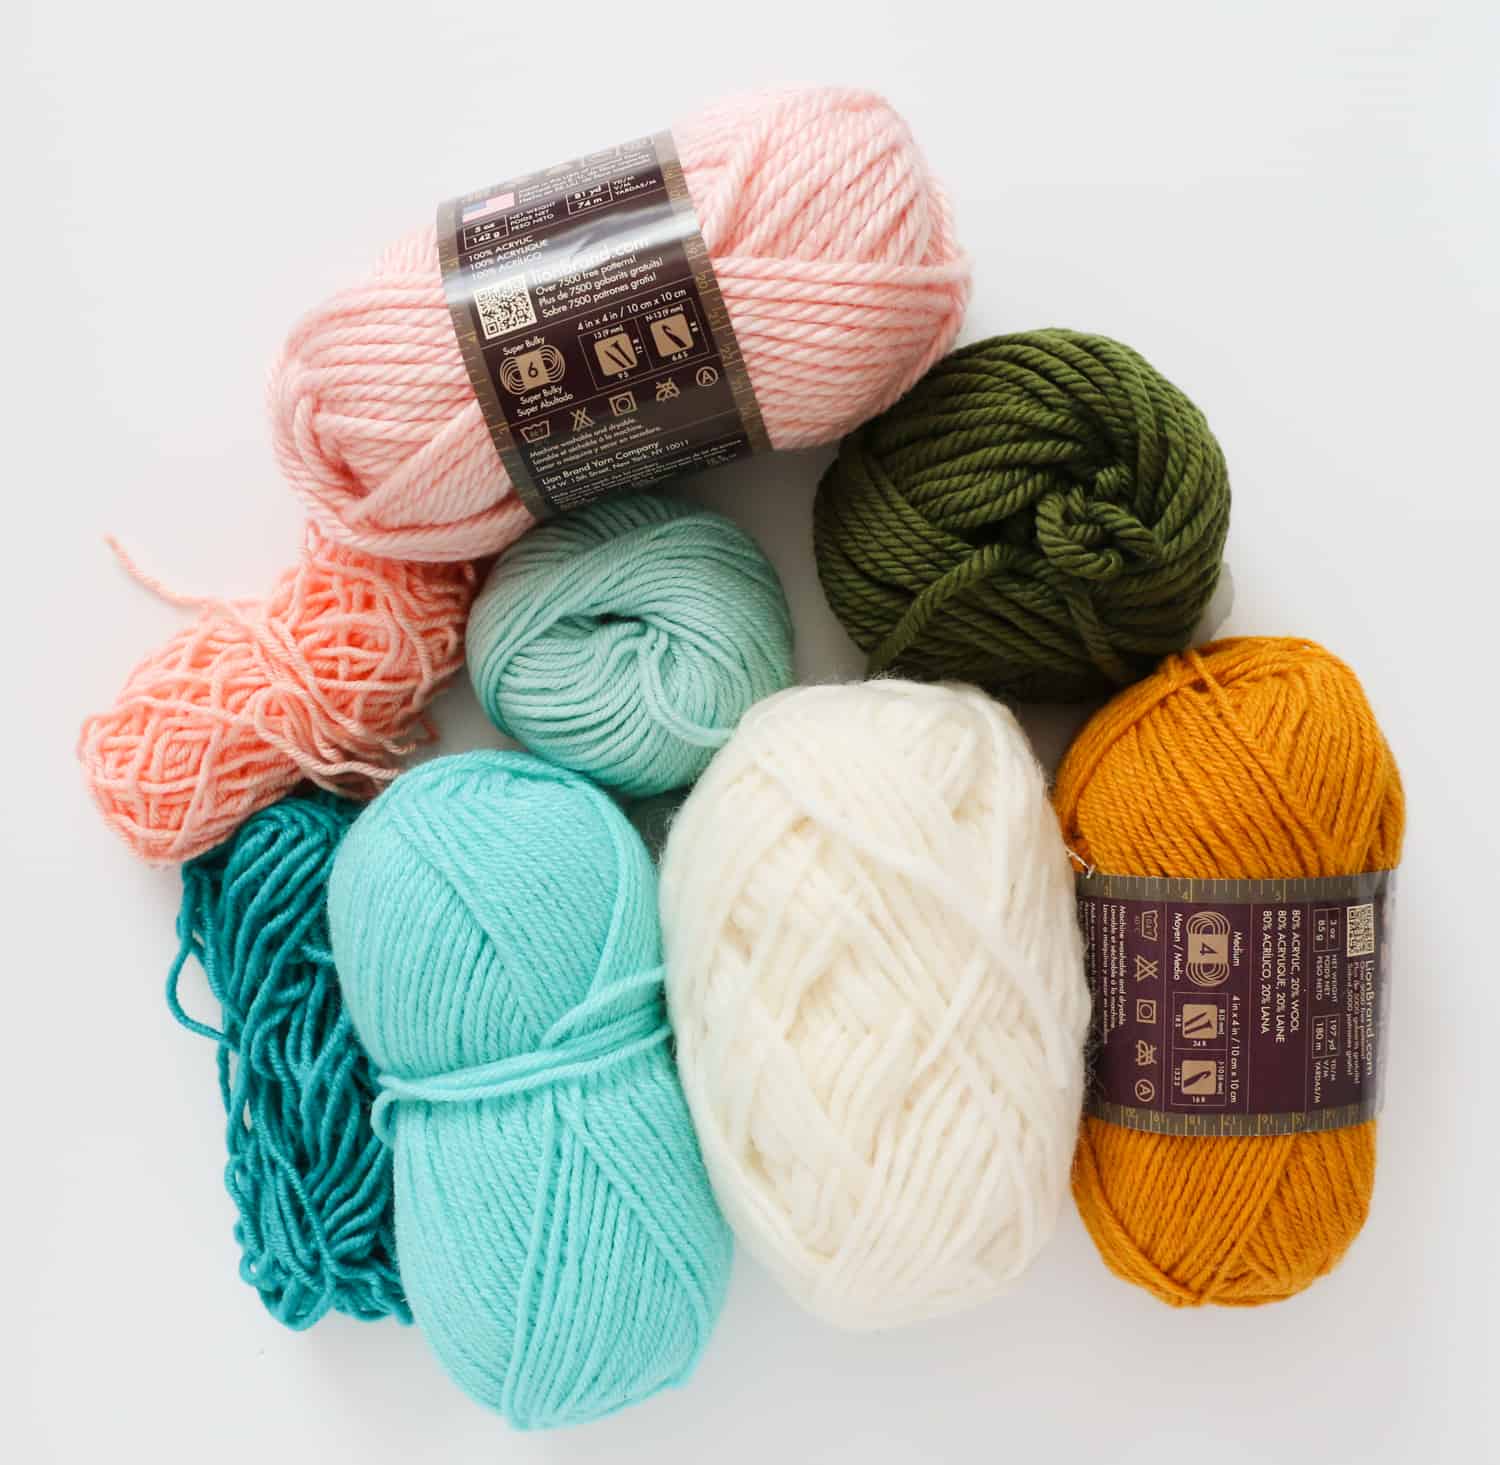
Supplies:
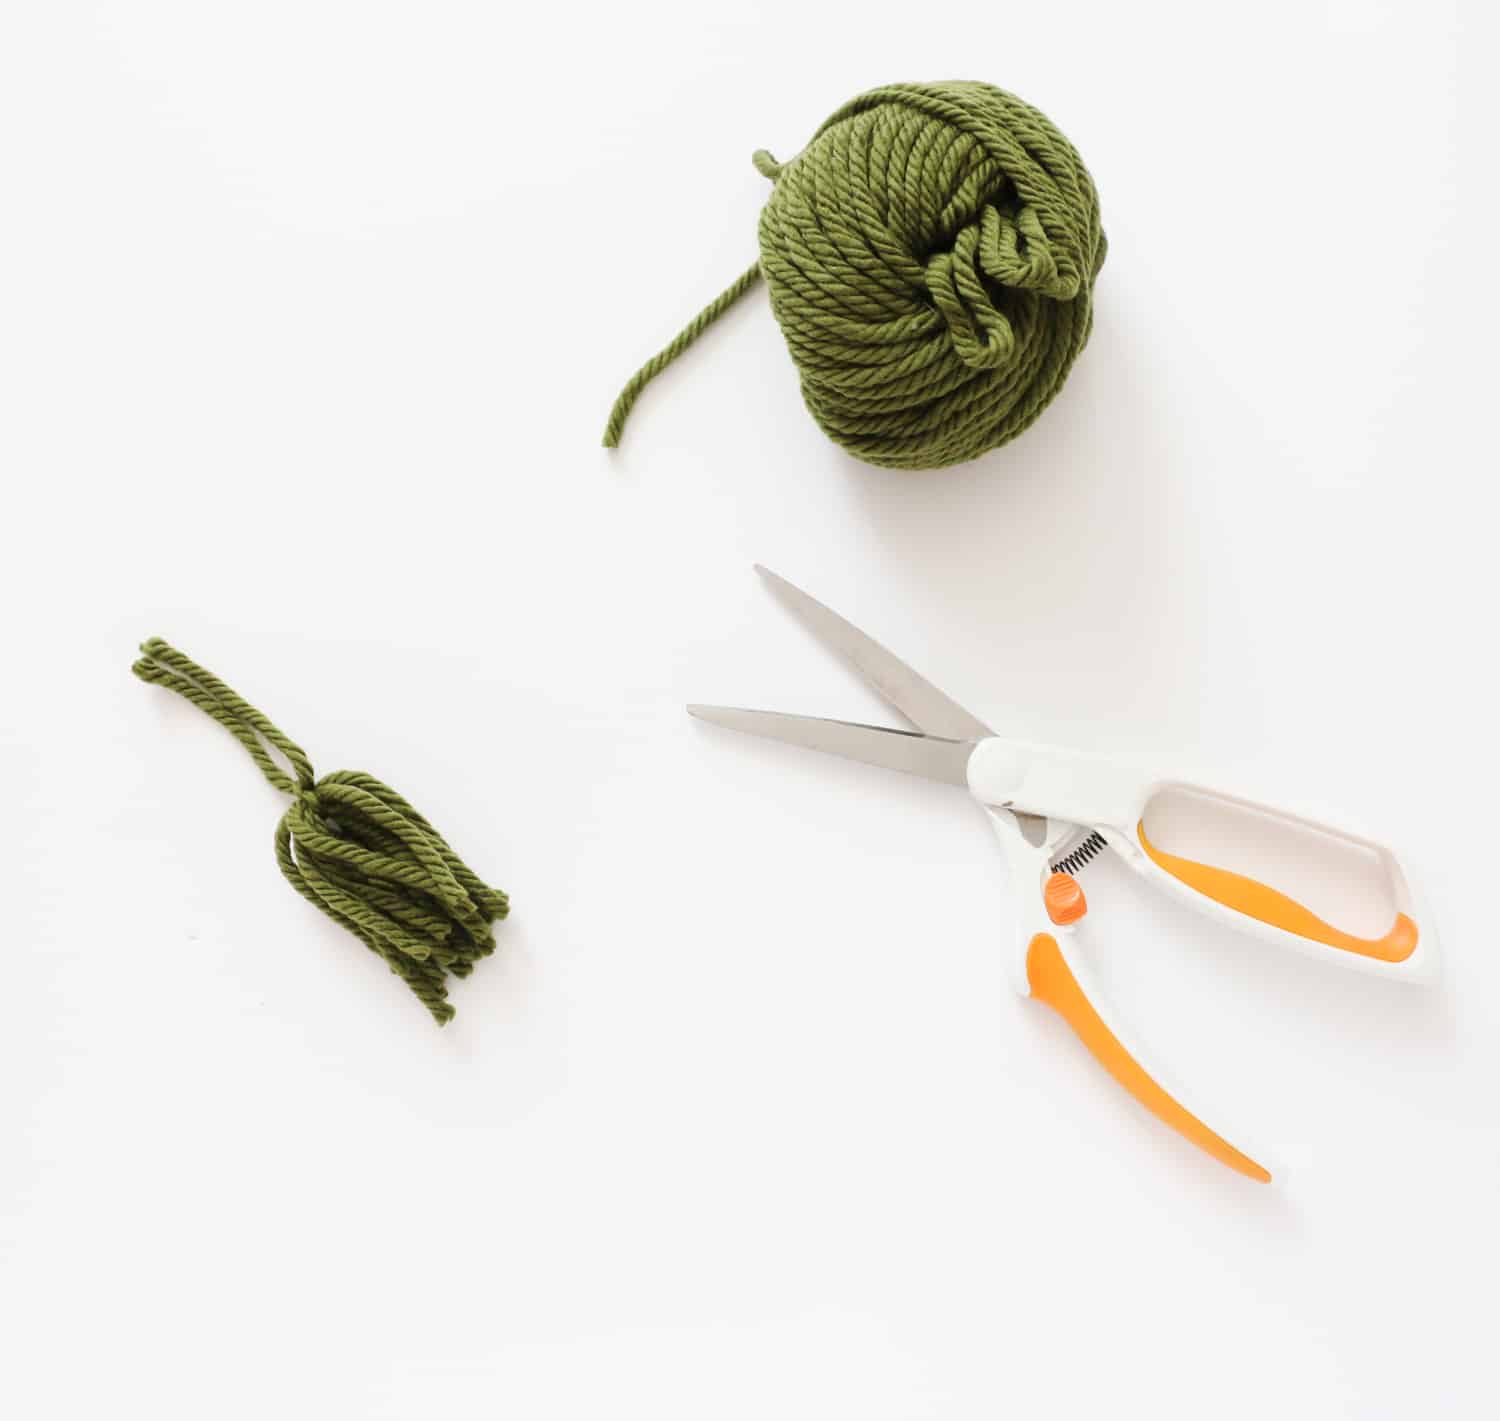
–yarn in your choice of colors (the chunkier the better, wool roving yarn works well too!)
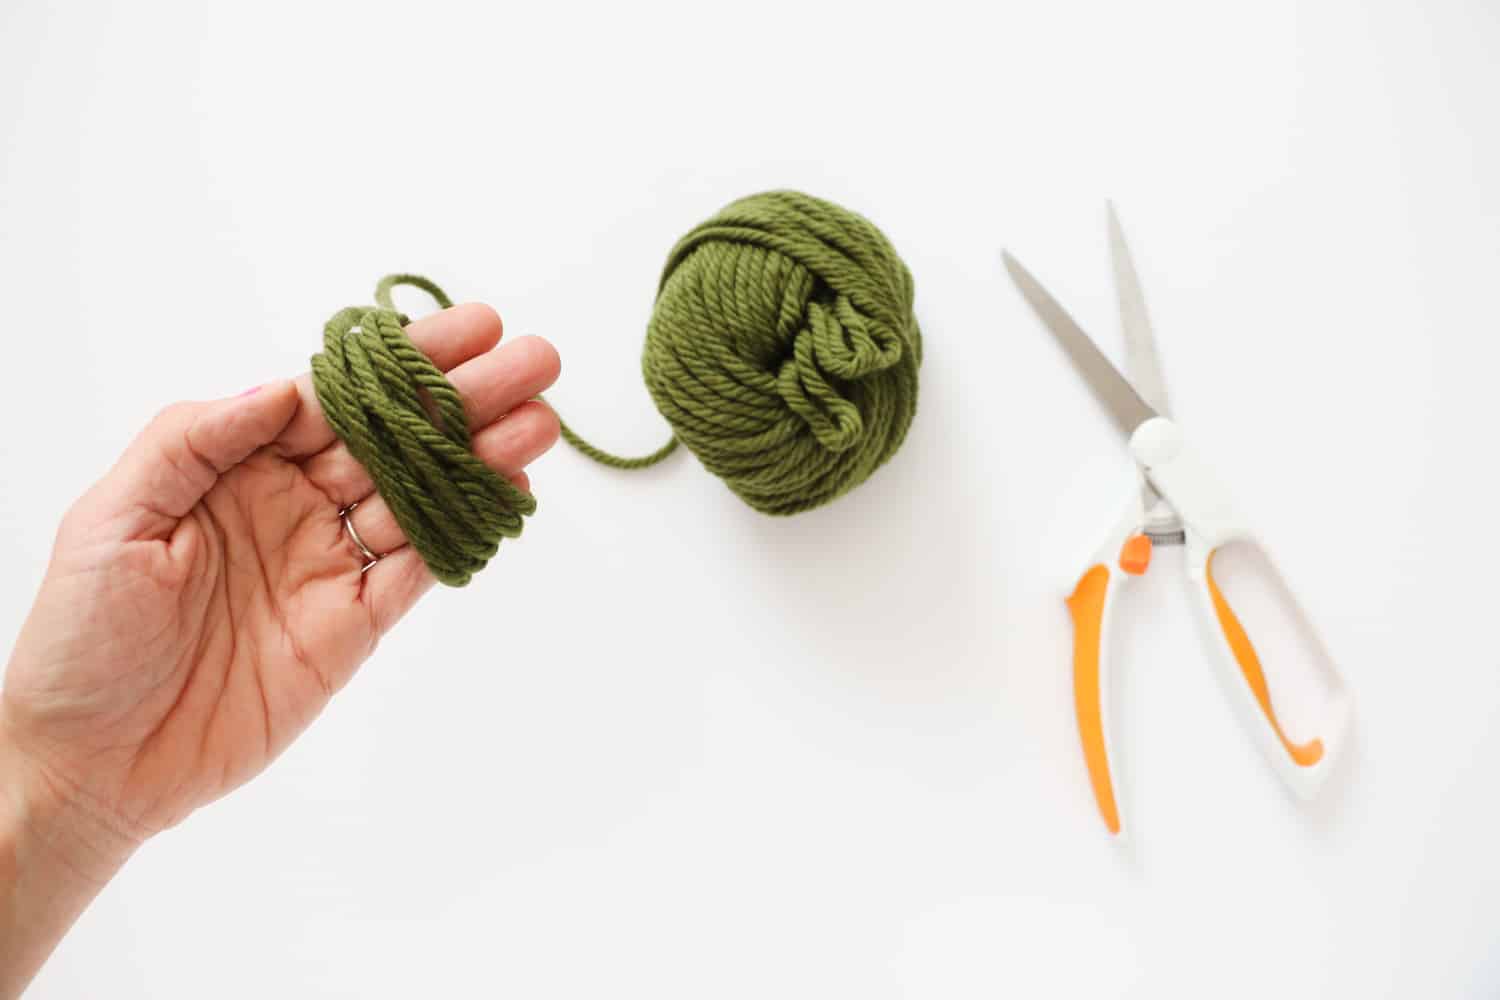
-scissors
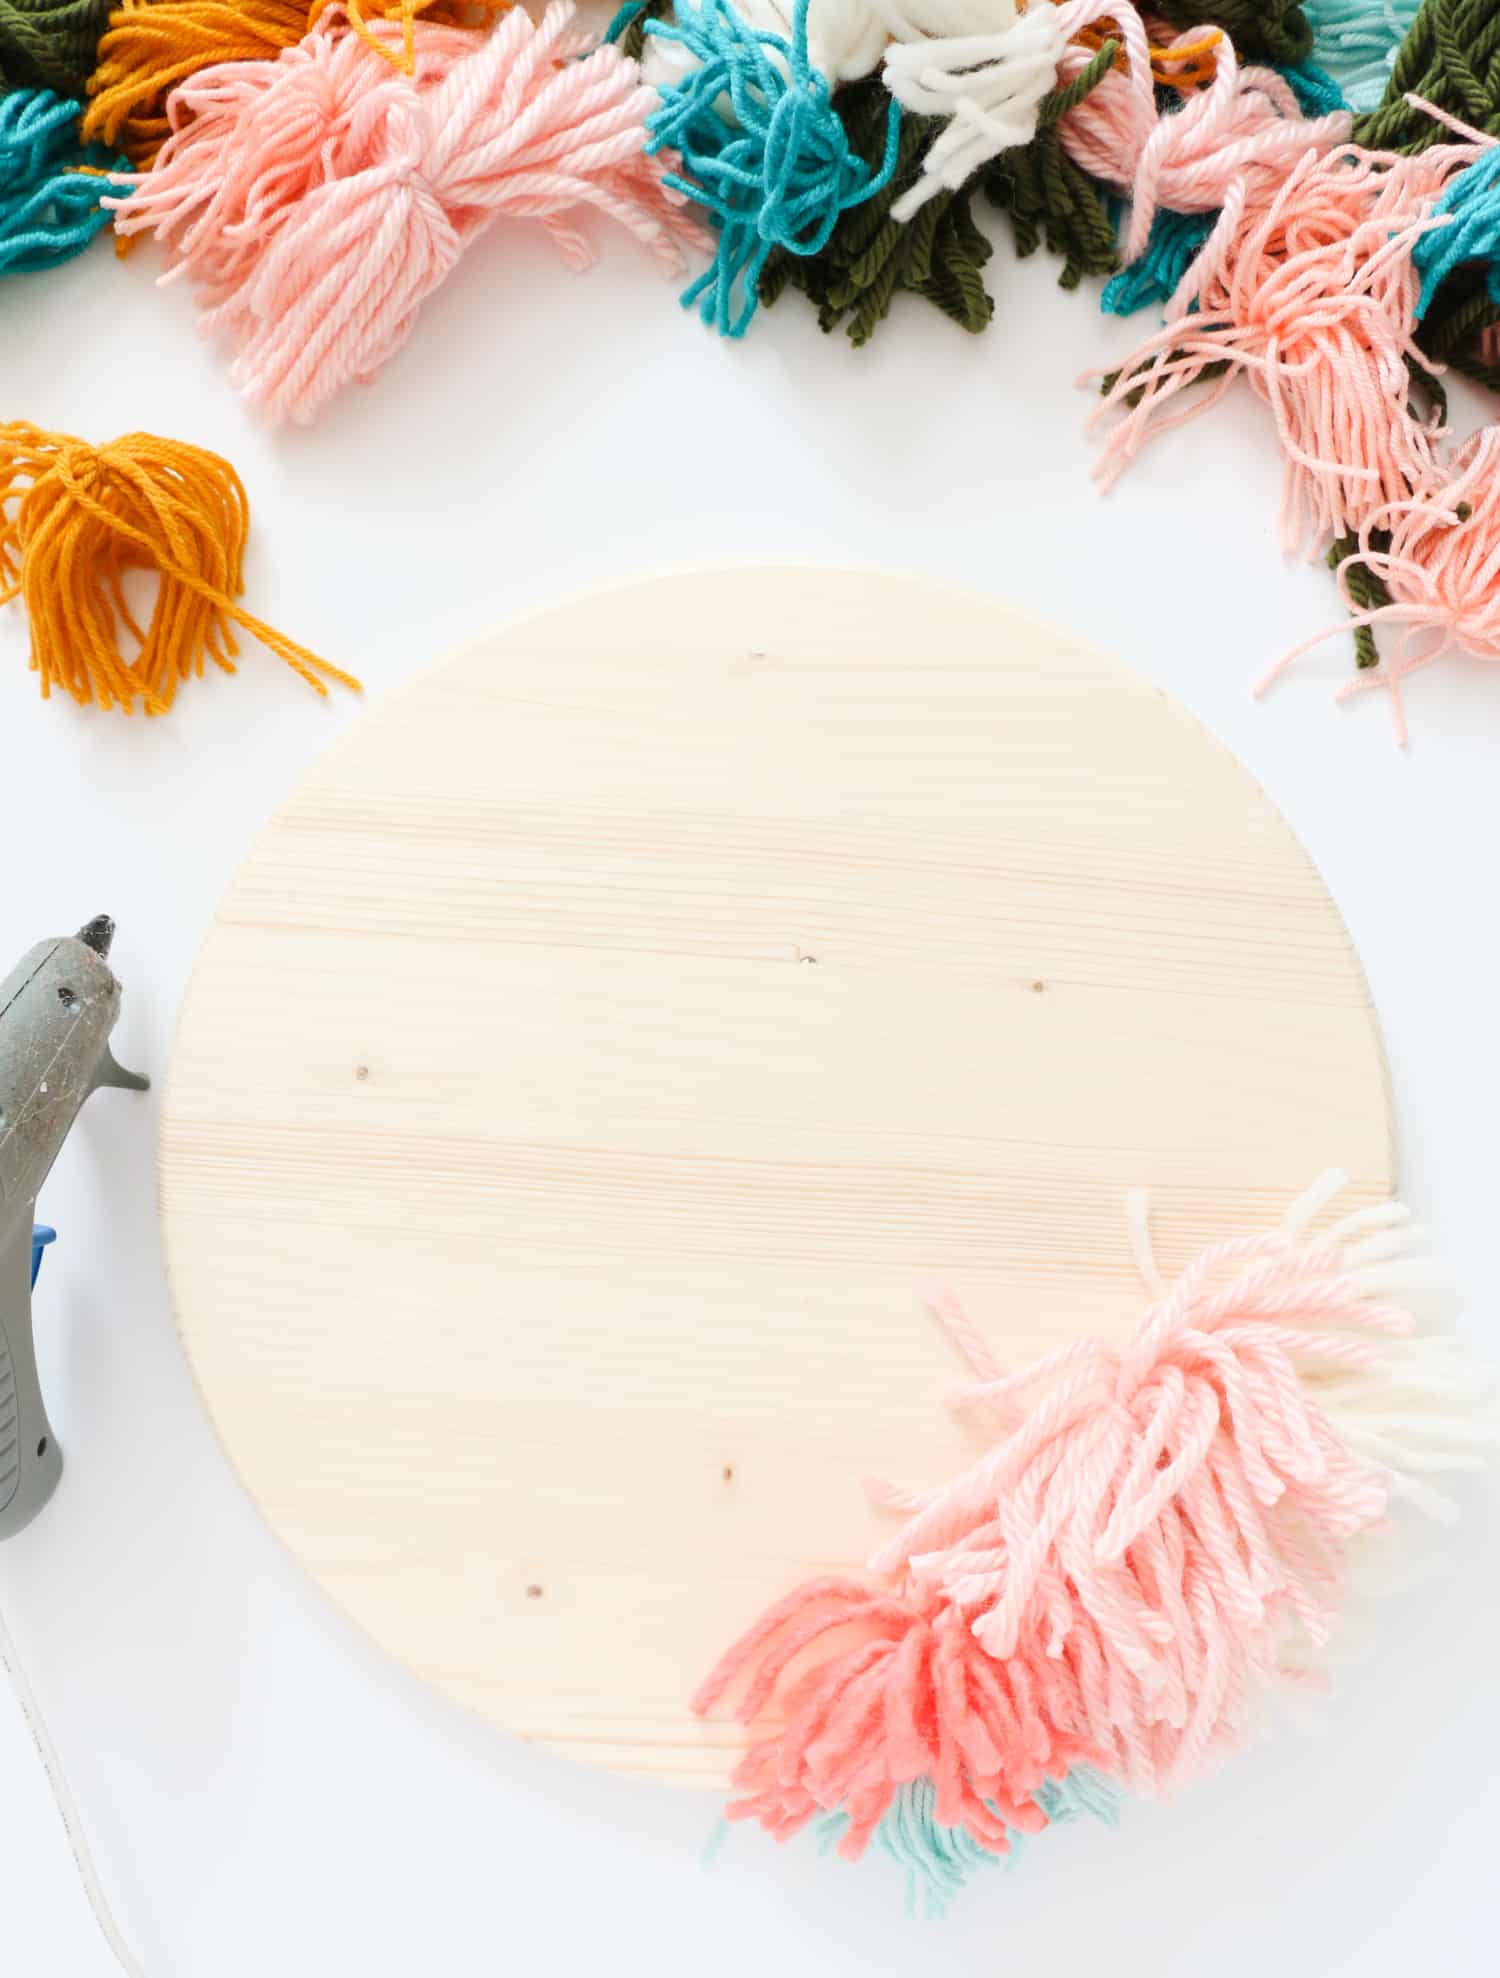
-hot glue gun
-round unfinished wood surface (you can also use the technique on different shaped backing that you can cut out of foam core)
 Step 1: Begin by making all the tassels! The shorter, the better, so that they look like individual strands as they would in a traditional latch hook piece. To do this, wrap the yarn around your four fingers about 10 times. Then carefully remove the yarn from your fingers and tie a 5″ piece of yarn through the loop of yarn strands and cut the opposite side to create your simple tassel.

Step 2: Once you have all your tassels made, it’s time to assemble your wall hanging. To do this, begin at the bottom of your wood round (or any shape that you cut out of foam core), and start laying out your tassels to get the look you like. Once you have all the tassels laid out the way you like, start at the bottom, and begin gluing the top of your tassels down onto your surface.

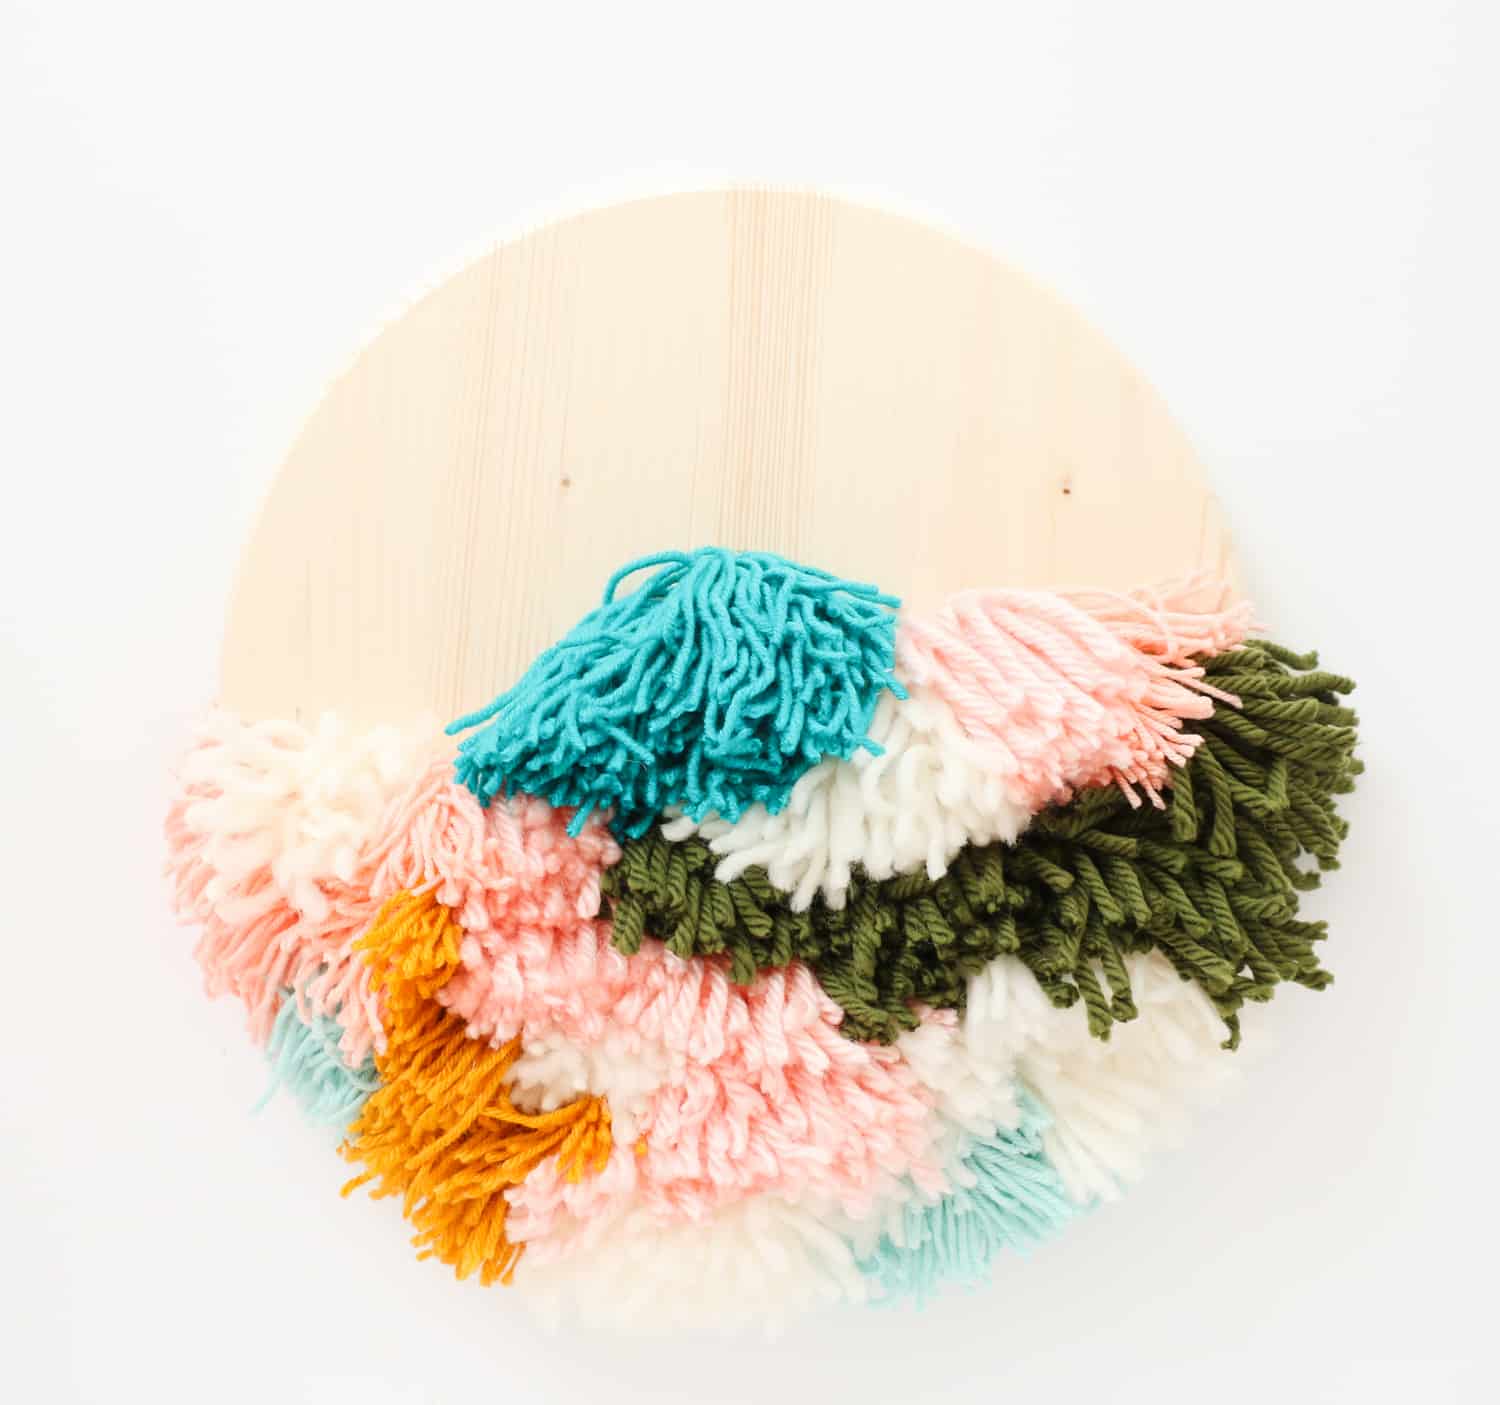 Just simply add a line of glue and then press the knotted end of your tassel onto the glue to secure it. Repeat with all your tassels as you work your way up your surface. I really liked the freeform look of the yarn with the raw wood on top, so I stopped about half way up. But you can also keep going and cover the entire surface with tassels. This would especially be the case if you are doing some other shape out of foam core instead of wood.
Step 3: Once all your tassels are on your surface, use the scissors to trim any long strands and even up the edges to get the full latch hook look. Since the wood round I used was thick, I used the glue to glue the strands of yarn on the edges to the wood so that you wouldn’t see it peeking out from the sides. The final step was to attach a picture hanging bracket to the back with screws so that I could mount it on the wall. If you are using foam core, you can simply hang with removable adhesive strips.
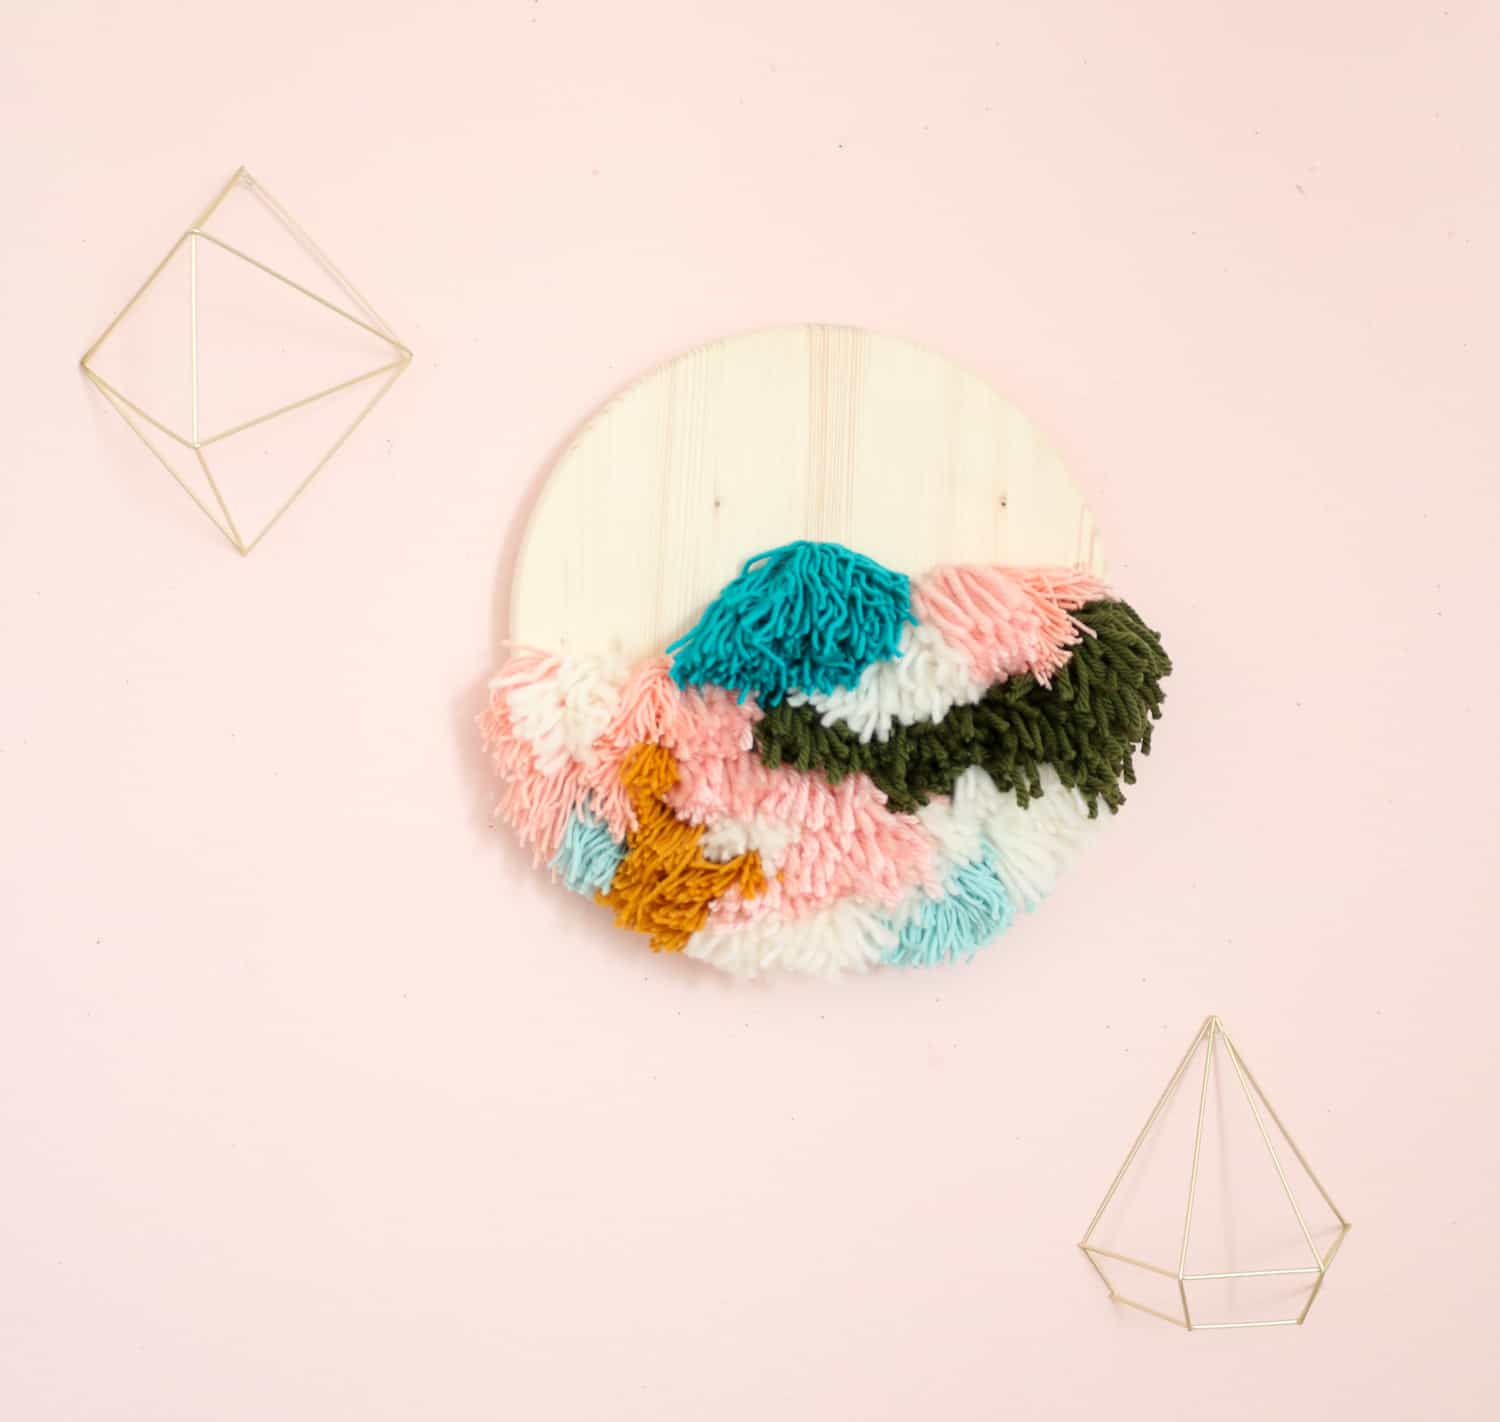
 I am kind of obsessed with this new piece and can’t believe it only took about an hour to make start to finish. That is sooo much quicker than traditional latch hooking. I can’t wait to try a really large piece for above my mantel next! Maybe I’ll try my hand at this latch hook rug next time! xo. Kara

While I do knit and crochet, it’s always so fun to do some quicker projects like this. Love your hack for it! I bet my kids would have fun trying this one on their own (maybe with some help glueing, for my youngest) this summer. Thanks for the fun idea!
– Lori
www.Etsy.com/shop/parkbgallery
This is such a cute and easy idea, I’d love to make one of these for my girls rooms.
Ha, I SO agree – I also don’t have the patience for most yarn-related projects! I love knitted things, but they just take sooo long, I end up getting distracted with other projects. It once took me 18 months to knit a scarf!!
– Mike, www.thecraftygentleman.net
I love how simple this DIY is, anyone can do it! The outcome is so cute as well. Thanks for the tutorial!! 🙂
Charmaine Ng | Architecture & Lifestyle Blog
http://charmainenyw.com