 Today, I want to share the DIY part of how we refreshed our top deck on a budget. We knew this was the first space we wanted to focus on because we wanted to complete it quickly so we could enjoy time outdoors with our kiddos right away.
We didn’t want it to be a “dangerous DIY zone” for our kids, so we did a lot of work before we moved and the rest really quickly after we moved. The transformation is dramatic, but the steps, supplies and cost were pretty minimal—which I will share below!
When we were house shopping, porches were one of the MOST important things on
“must have” list. Since our previous home did not have a porch or deck (and our first home before that had two), we were able to compare and we realized we really want to be PORCH PEOPLE. I
f you’ve followed me for a long time, you know that my husband and I are not super outdoorsy, and not into camping. That said, we realized that the outdoor spaces of our home are hugely important to us and could add a LOT to our quality of life and our children’s early experiences with nature.
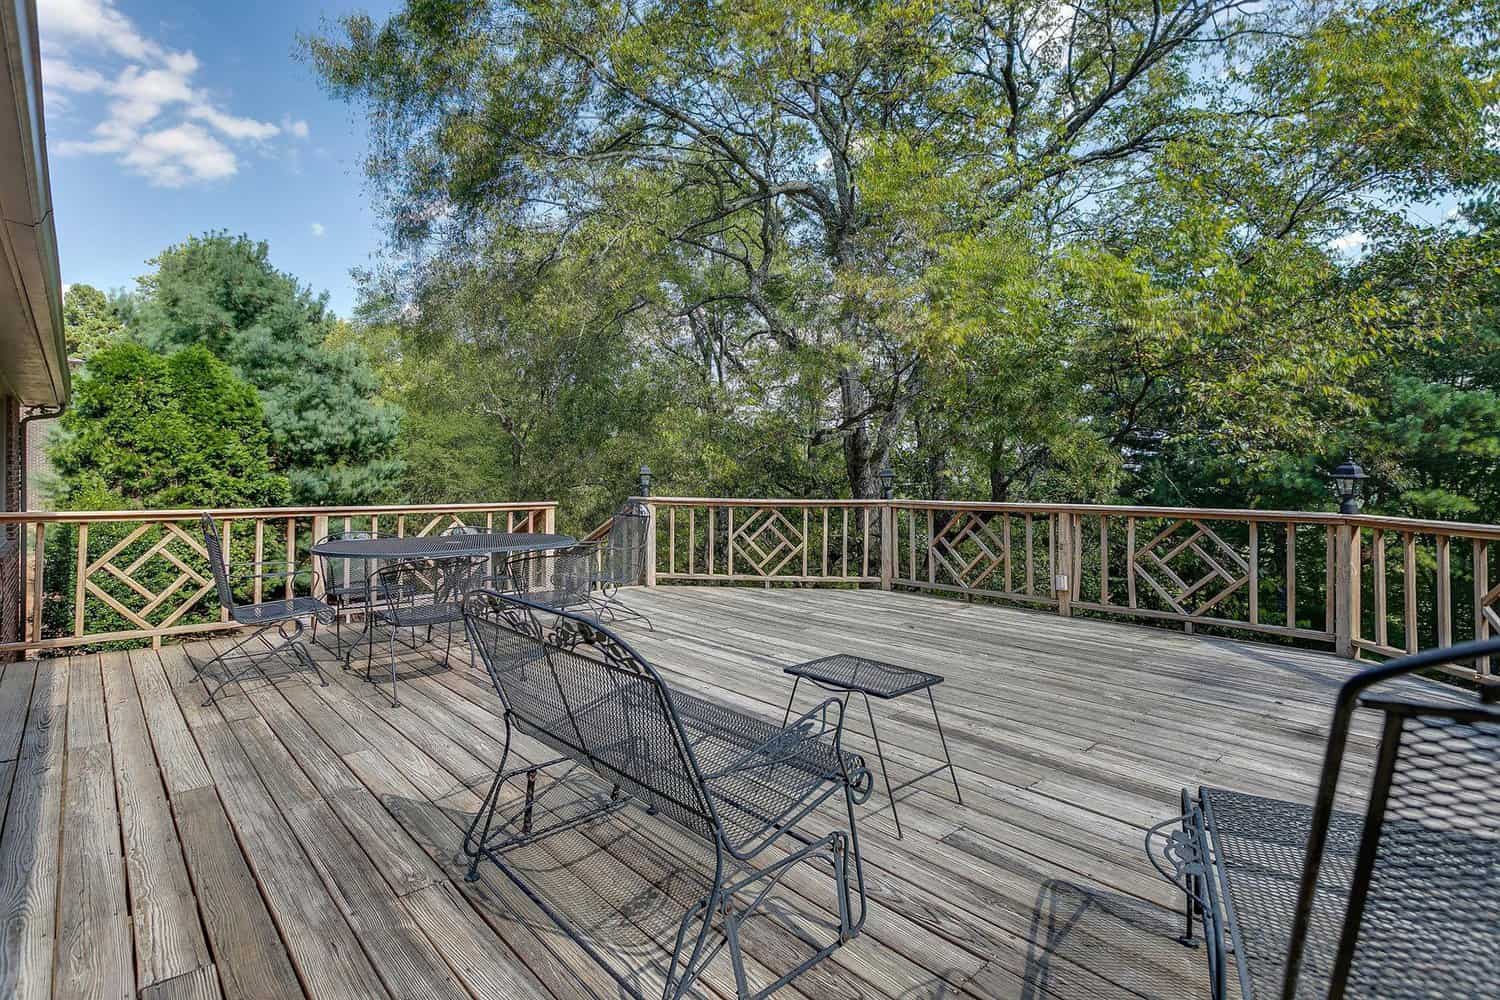
First, let me show you what we started off with. Here’s a photo of how it looked when we first viewed the home. (You can see more before pics in my 2020 project post).
 Our home is built on a hill, so the front of our home looks like one story and the back looks like three stories (there’s a large unfinished basement under our basement).
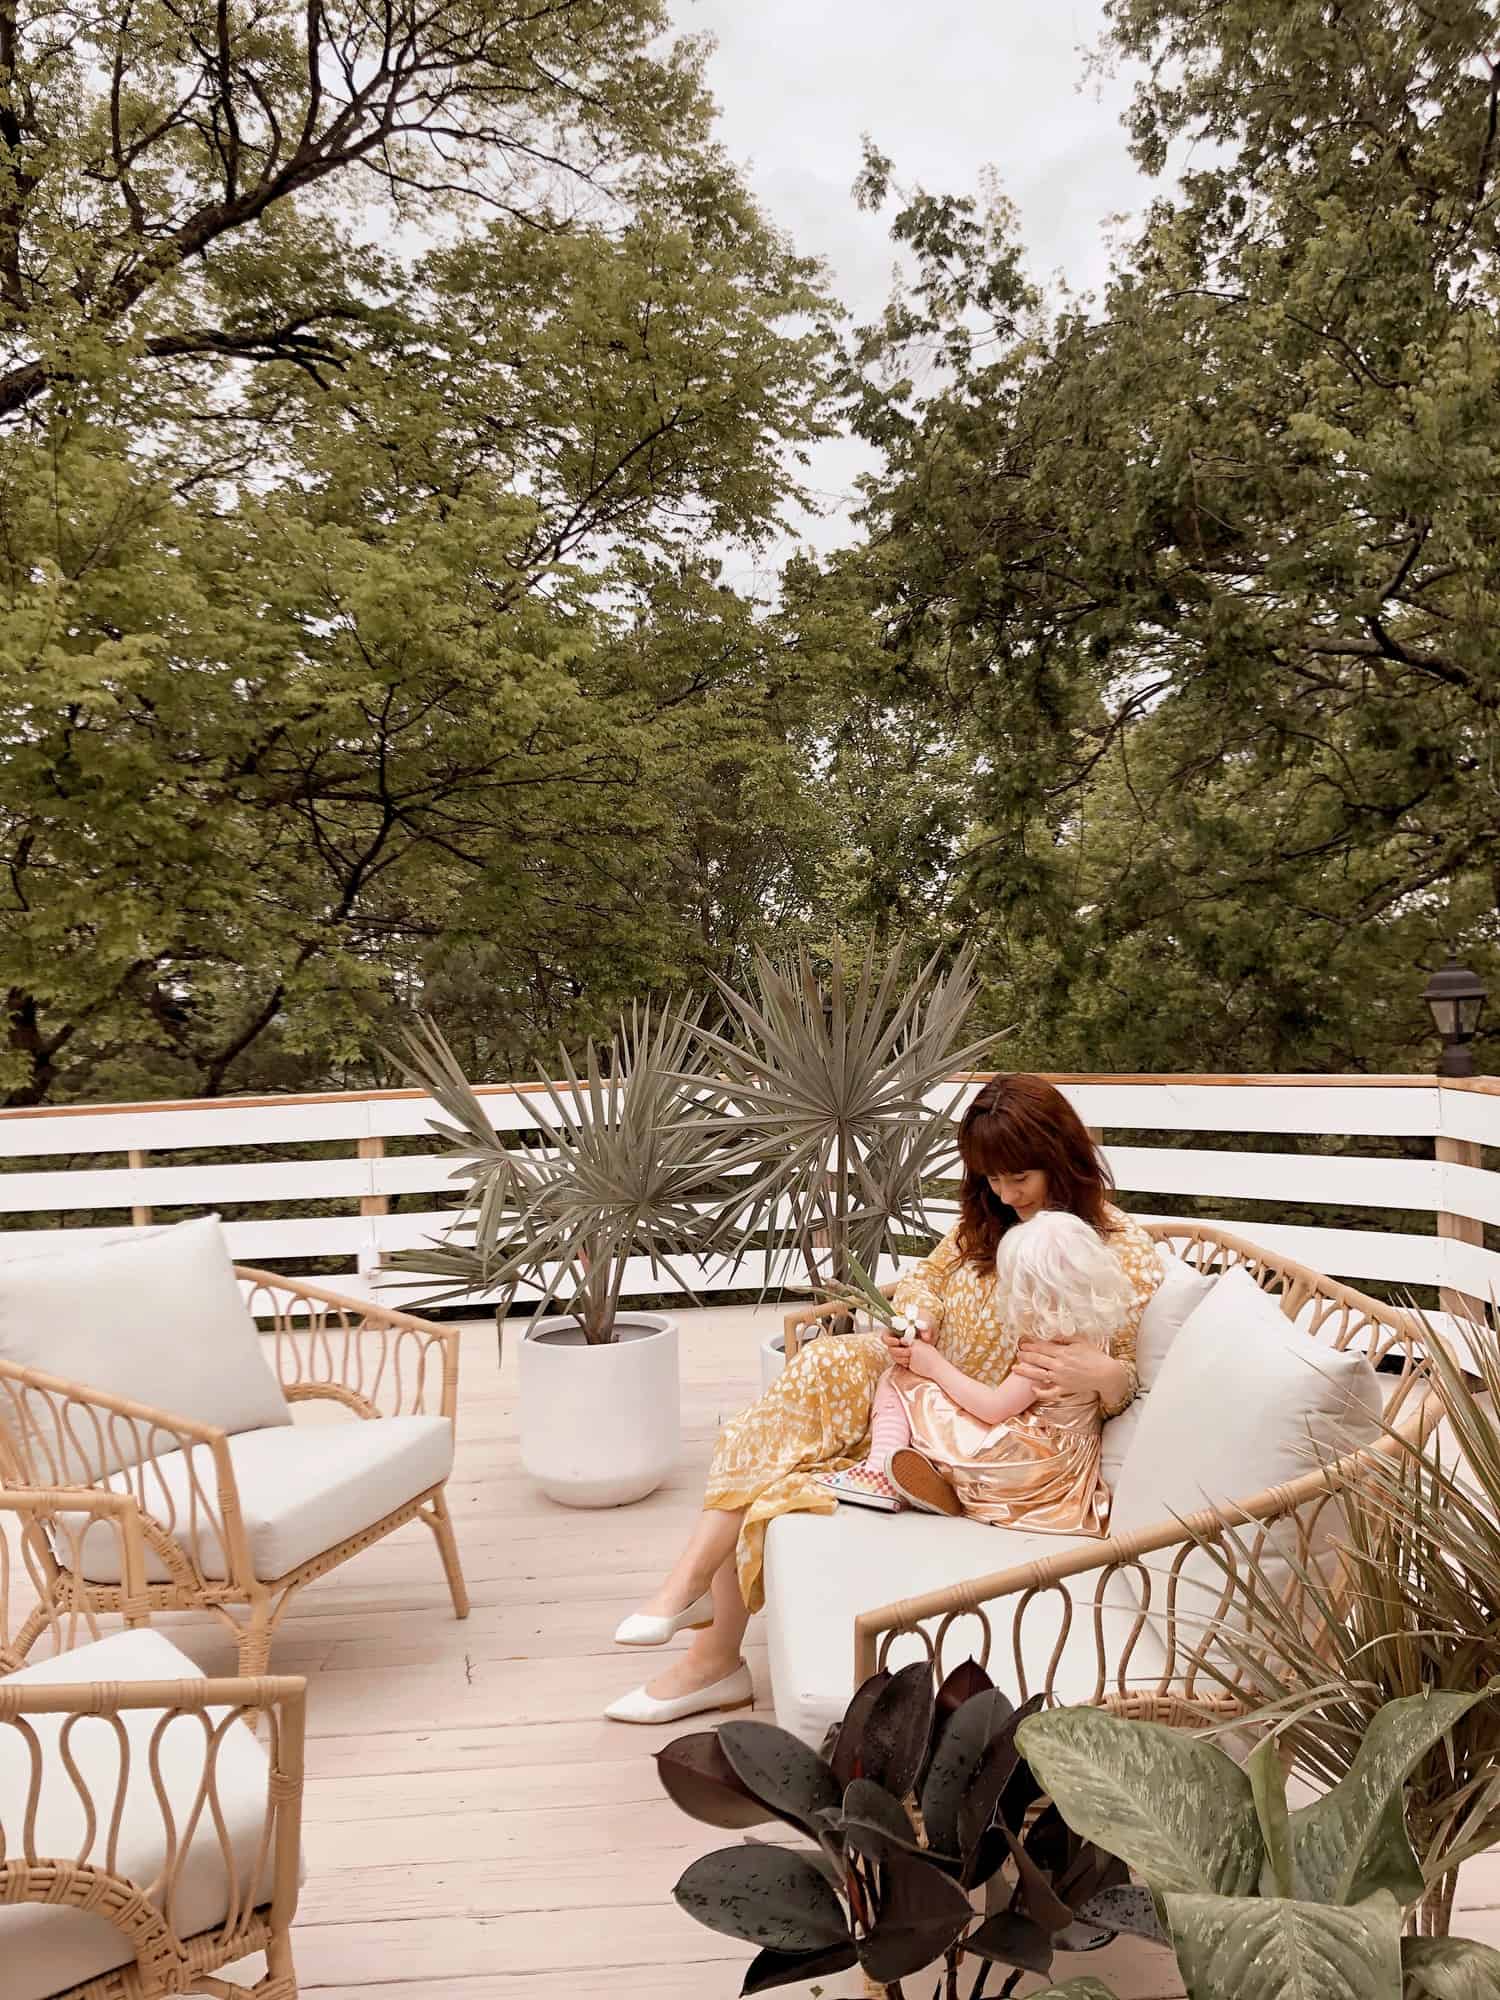
So today I’m sharing the top deck, which connects to our kitchen and living room. As you can see in this photo, it backs up to a lot of mature trees, which is one of our favorite things about the home! It feels like we’re sitting in the forest on our own back porch.
Why budget?
The reason is that we don’t know how our plans to do an addition within the next 1-2 years will affect this deck (we haven’t got into the design process yet), but we know it is likely that these decks will be removed.
So for the time being, we wanted to use and improve the existing deck, while only investing minimal money. This is very much a phase one project for us.
How much did it cost??
Here’s a cost breakdown for the upper deck:
–Stain (in the color Heather) $170
–Primer (for covering wood knots on new rails) $23
–Paint (untinted white for rails) $25
-Lighting $240
-Lumber for rails $550
Total: $1,008
In the words of Larry David … “pretty, pretty, pretty good.”
(I realize I’m leaving out a few things like painting supplies and nails, but this gives a good ballpark idea of the cost.)
Replacing the rails.
The first thing we decided to do was replace the rails. I know some of you really loved the diamond-shaped rails, but we didn’t. It also wasn’t safe for our family (priority number one!), since there were large gaps that our children and small dogs could fit through.
So we took care of this first thing (before we moved in). Collin (aka “some guy named Collin”) removed the decorative railing and replaced it with 6-inch wide by 8 feet long boards. We wanted a very simple, modern look and since metal railing was out of budget, this was the best choice for us.
Painting and stain.
I knew I wanted to paint the rails white and do white accents. What can I say, I love white! We’re planning to paint our exterior brick white soon, so I want to tie it all together.
For the floor of the deck, I initially planned on just leaving it once we power washed it, but my friend talked me into staining it. Finding a stain was a WHOLE thing. We got a few samples that were VERY wrong. And we tried to get the same product my sister used (which turned out beautiful, you’ll see) and what we ended up with looked like white paint. It looked HORRIBLE. I went to bed super upset.
My poor husband was so upset too. We felt we had ruined our deck. The next morning we decided to just do the same product (it’s a solid stain, so it basically looks like paint) in a darker white … either a beige or greige so it wouldn’t be SO bright. We picked Heather and it magically looked 10000000 times better than plain white. I was SO relieved!
A note about painting the brick.
The brick of our home was supposed to be painted this month, but since our painter is traveling from Kentucky (I’ll explain more on why we hired someone from out of state later), we all decided it was best to delay our project until things are safer.
Safety first. I’m not sad about it—just excited for it to happen when it’s the right time. 🙂 We have SO many house projects to do right now (including still unpacking boxes) that the things that were delayed due to COVID stuff truly have not been a big deal.
Lighting.
There were six black lanterns that we wanted to replace and better match with the mid-century modern style we are going for. We chose white because it blends in. I didn’t want it to be a big statement. I chose these lanterns, and these.
Furniture and decor.
We have a full tour post coming up soon, so I won’t go into extreme detail here, but the furniture is mostly from Article. Since we have little kids, the way we plan to use our deck is very different day to day. Sometimes we bring a lot of toys out or their tricycles, sometimes we want to spread out a picnic blanket or break out our water table.
For this reason, we didn’t want to overfill the space, so we added a seating area, a dining room table, a cart that can be used as a plant stand or a serving table for dinners and a few plants. In my old life, I would have filled the porch with 175 more plants, but the new Elsie is happy with about 15 plants. Done and done!
Before I go, I’ll show you before pics of the bottom deck, because I’d love to hear your suggestions!
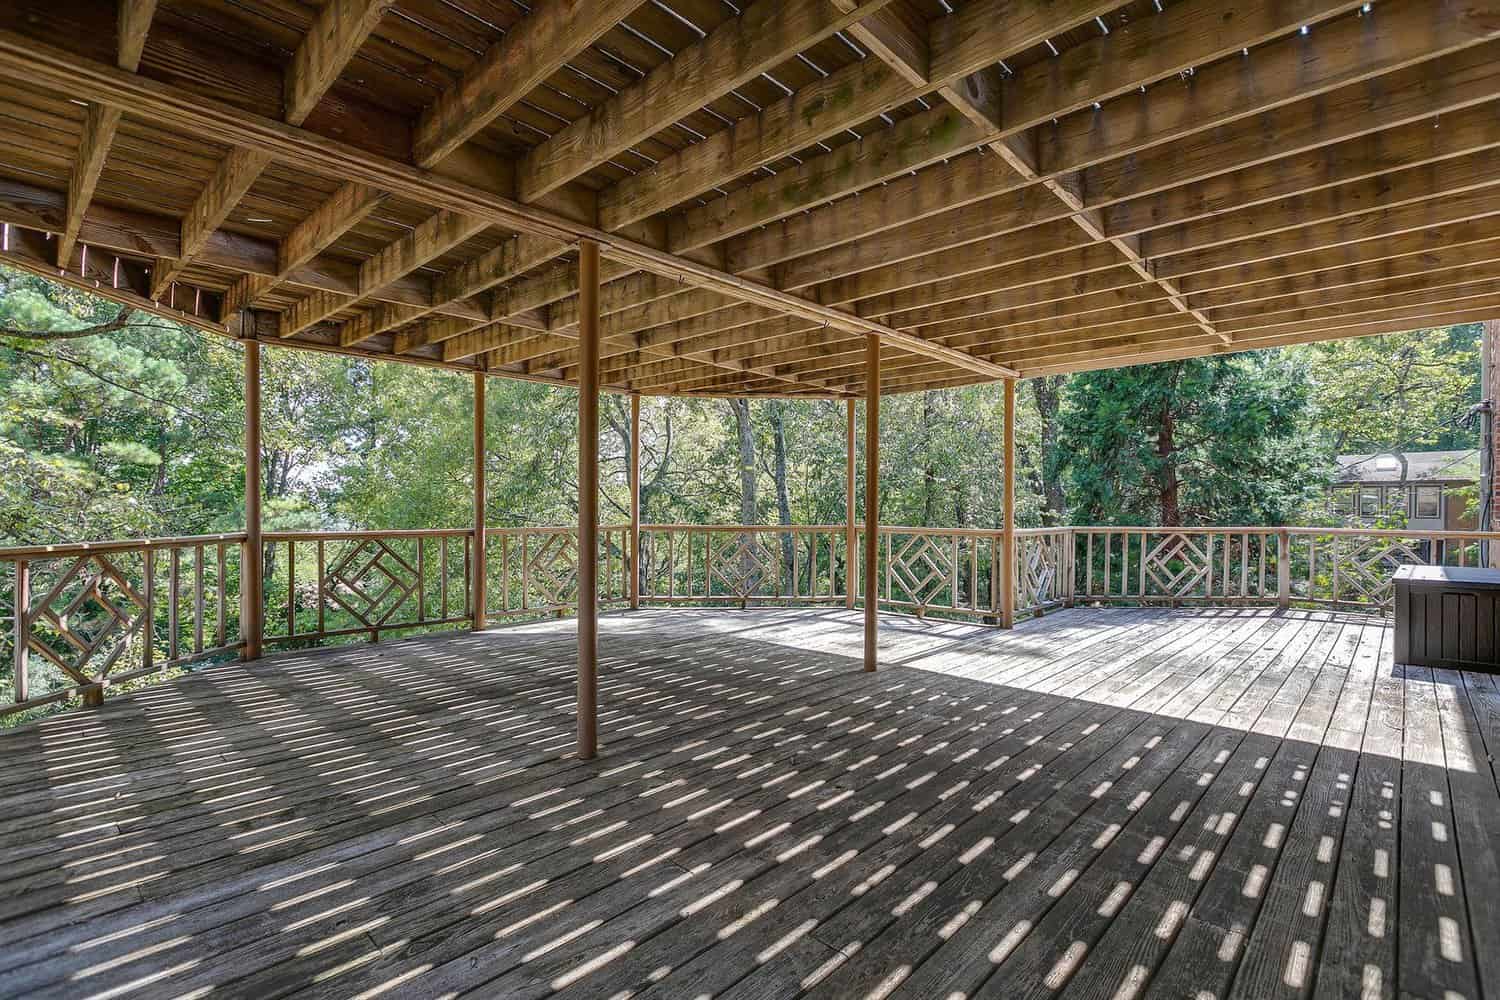 (The box in that corner is not a hot tub—it’s just a storage box!)
We painted this deck and did the rails the same way as the top deck (as well as the stairs to match). So far, my big plan is to get a large swing (maybe a daybed swing) for the center between those two bars in this photo.
Besides that, I thought it would be fun to add a set of chairs, a small bistro table and maybe a coffee table or side table beside the large swing. I would also like to add some hanging plants and some hanging twinkle lights.
Any other ideas or suggestions?? I haven’t really started on this one yet, but I’ll be working on it quickly now that we’ve completed the top deck. 🙂
Thanks so much for reading! It’s so much fun sharing our journey with you! xx- Elsie
Hi I absolutely loved the seatings, furnitures and the plants pot place out there.
Could you let me know from we’re did you purchase these outdoor furnitures from ?
Thank you in Advance
“Porches were one of the MOST important things on “must have” list” – Amen sister! I’m looking at houses now and it just gets shut down if there is no porch or outside vibe. Love what you did at a great cost : )
I absolutely love the seating! Where can I get a similar set? Also? Is it metal or rattan?
Hi! The exact set is linked in the post. It looks like rattan, but it is more weather resistant than rattan. 🙂 XX
I can’t wait to see the full tour. What an astonishingly beautiful deck, even before changing anything!! ♥
It looks beautiful!
New Post: The Birth Story of Matias
The minute I saw the lower balcony, I was thinking twinkle lights all over. I imagine the area as a dance floor for when you have gatherings at your home.
Awe thank you! That sounds magical!
Hey everyone! Our children have not been climbing on our deck rails at all, but if they do in the future we will modify our plan. That’s just part of parenting and safety in general.
As of right now this deck has been safe and a big improvement for our family. 🙂
When you do the full tour post can you list the types of plants you used? I love the look of the plants you have, and am working on trying to incorporate more real plants around my house and patio. but am a plant novice and have zero idea of what different types of plants are called. And I’m pretty sure describing to the nursery that I’m looking for a spiky looking palm plant Is probably not going to get me very far hahaha!
Hi Amber! Yes, good point! I can do that :))
Presumably you live in the US as you’re referencing inches, but in Australia, that balustrade does not come close to meeting minimum building standards in regards to safety and design. The design is easily climable for smaller children, and I would suspect that the overall height is inadequate too
A balustrade, especially at the height you describe, is not something you should try to DIY on the cheap, you should be encouraging people to engage licensed professionals who understand the building regulations in their areas, for their own safety, as well as meeting the building code if they’re looking to sell in the future.
Agreed. The horizontal balusters make a ‘ladder’ for children to climb up and over the railing. At three storeys high….. well, you don’t even want to think about it. At the very least, I would use some clear perspex sheets on the inside of the railing to block the climbable surfaces. Safety first!
I was going to say that if safety was your first consideration, I am surprised you went with horizontal railings. It looks great, but when I looked into doing that for my own deck because I love the look, I was strongly advised against it for safety of small children. But hopefully your girls wont climb the railings
While the deck refresh is lovely I have to agree with Matthew about the deck railings. As a mother of 3 (adults now) and an early childhood educator I know that most children are natural climbers. Those railings invite climbing perhaps not by your children but not all children could resist climbing those railings.
I’m sure y’all are on it, but adding some plastic or other roof/draining system so you can use it even in weather and have the water run off in a place you want it to go. They are fantastic spaces I know you’ll use them all the time!
Haha “some guy named Colin.” I literally say that to myself now every time y’all mention him. Love the deck! The new railings are perfect! I’ve been wondering, do y’all have a yard too, like below the bottom deck? Is that one actually a middle deck with one below it, since you mentioned there was another story below your basement?