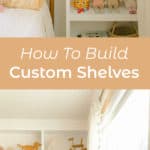
 Hello hello! We get a lot of questions about the many (many!) custom shelves Collin has built, so today’s post is all about tips for planning, measuring, building them and finishing them off to look as professional as possible!
So, first I will show you a few custom shelves we’ve done and after that I will pass it over to Collin to give you some tips!
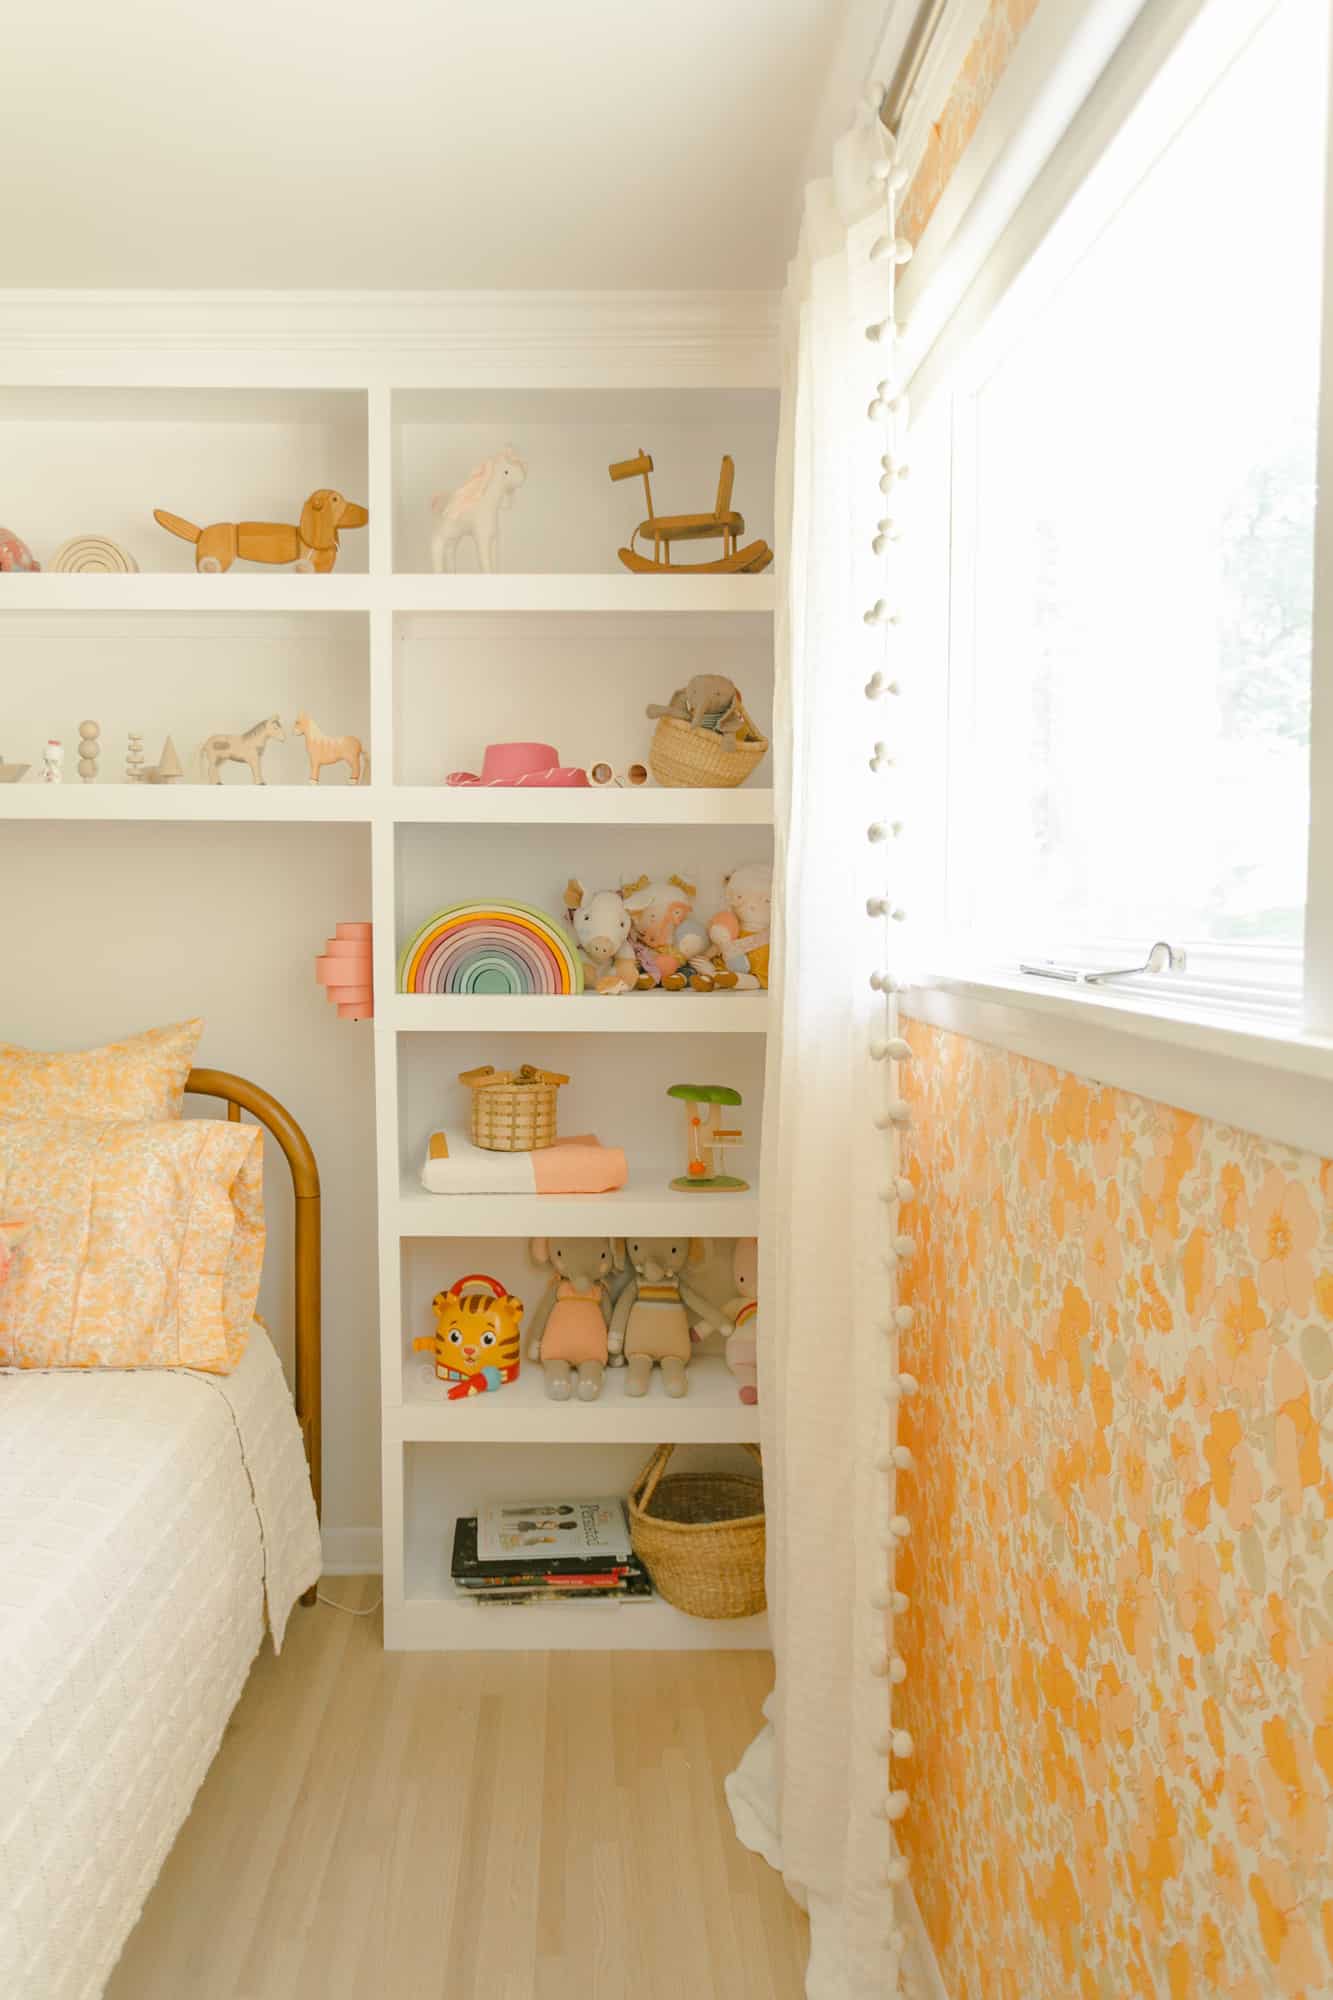
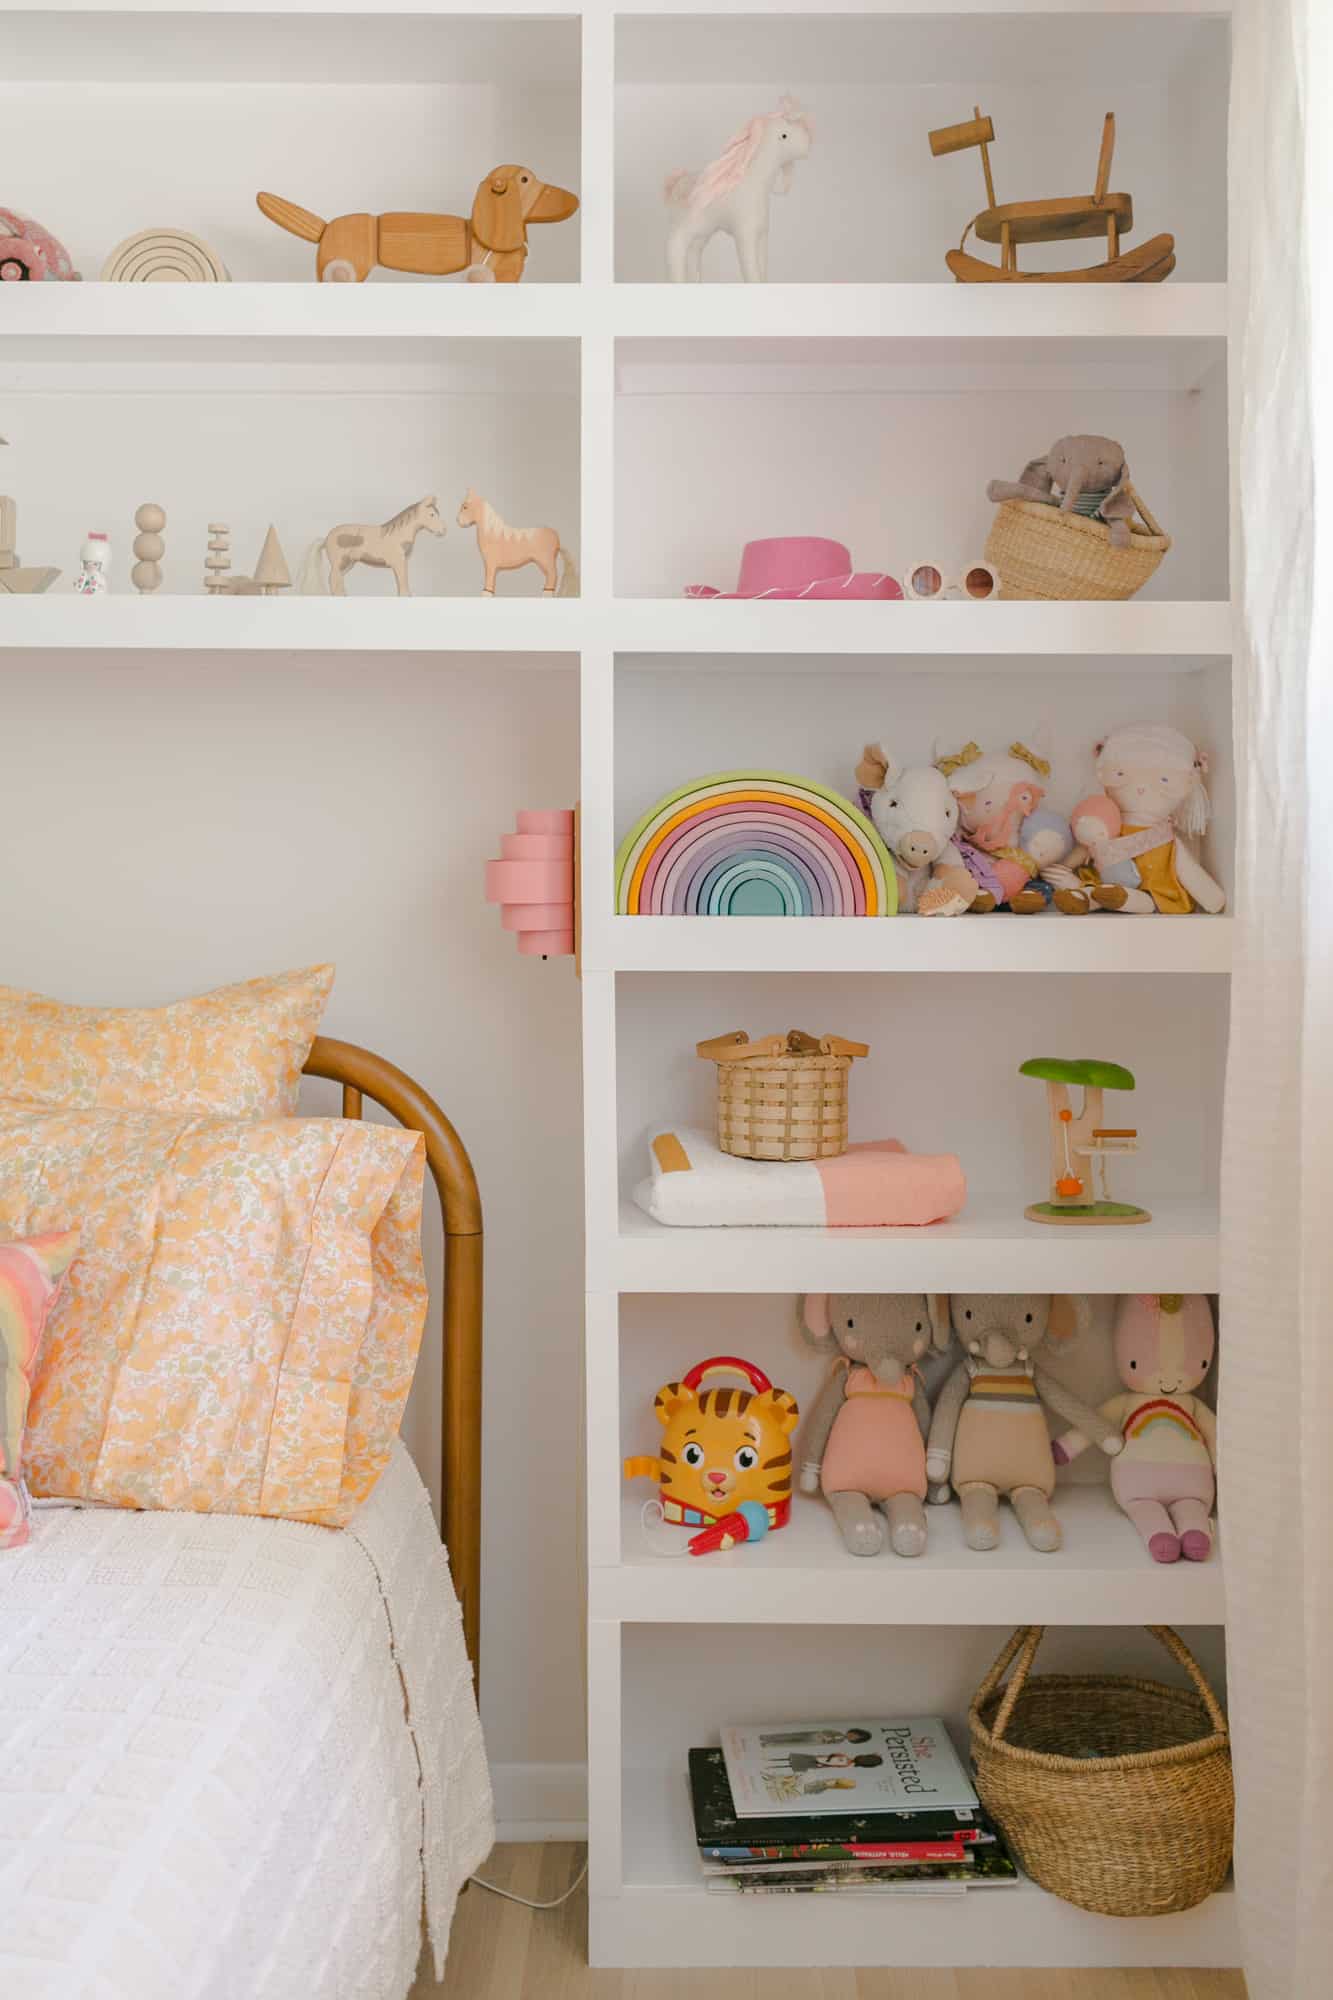
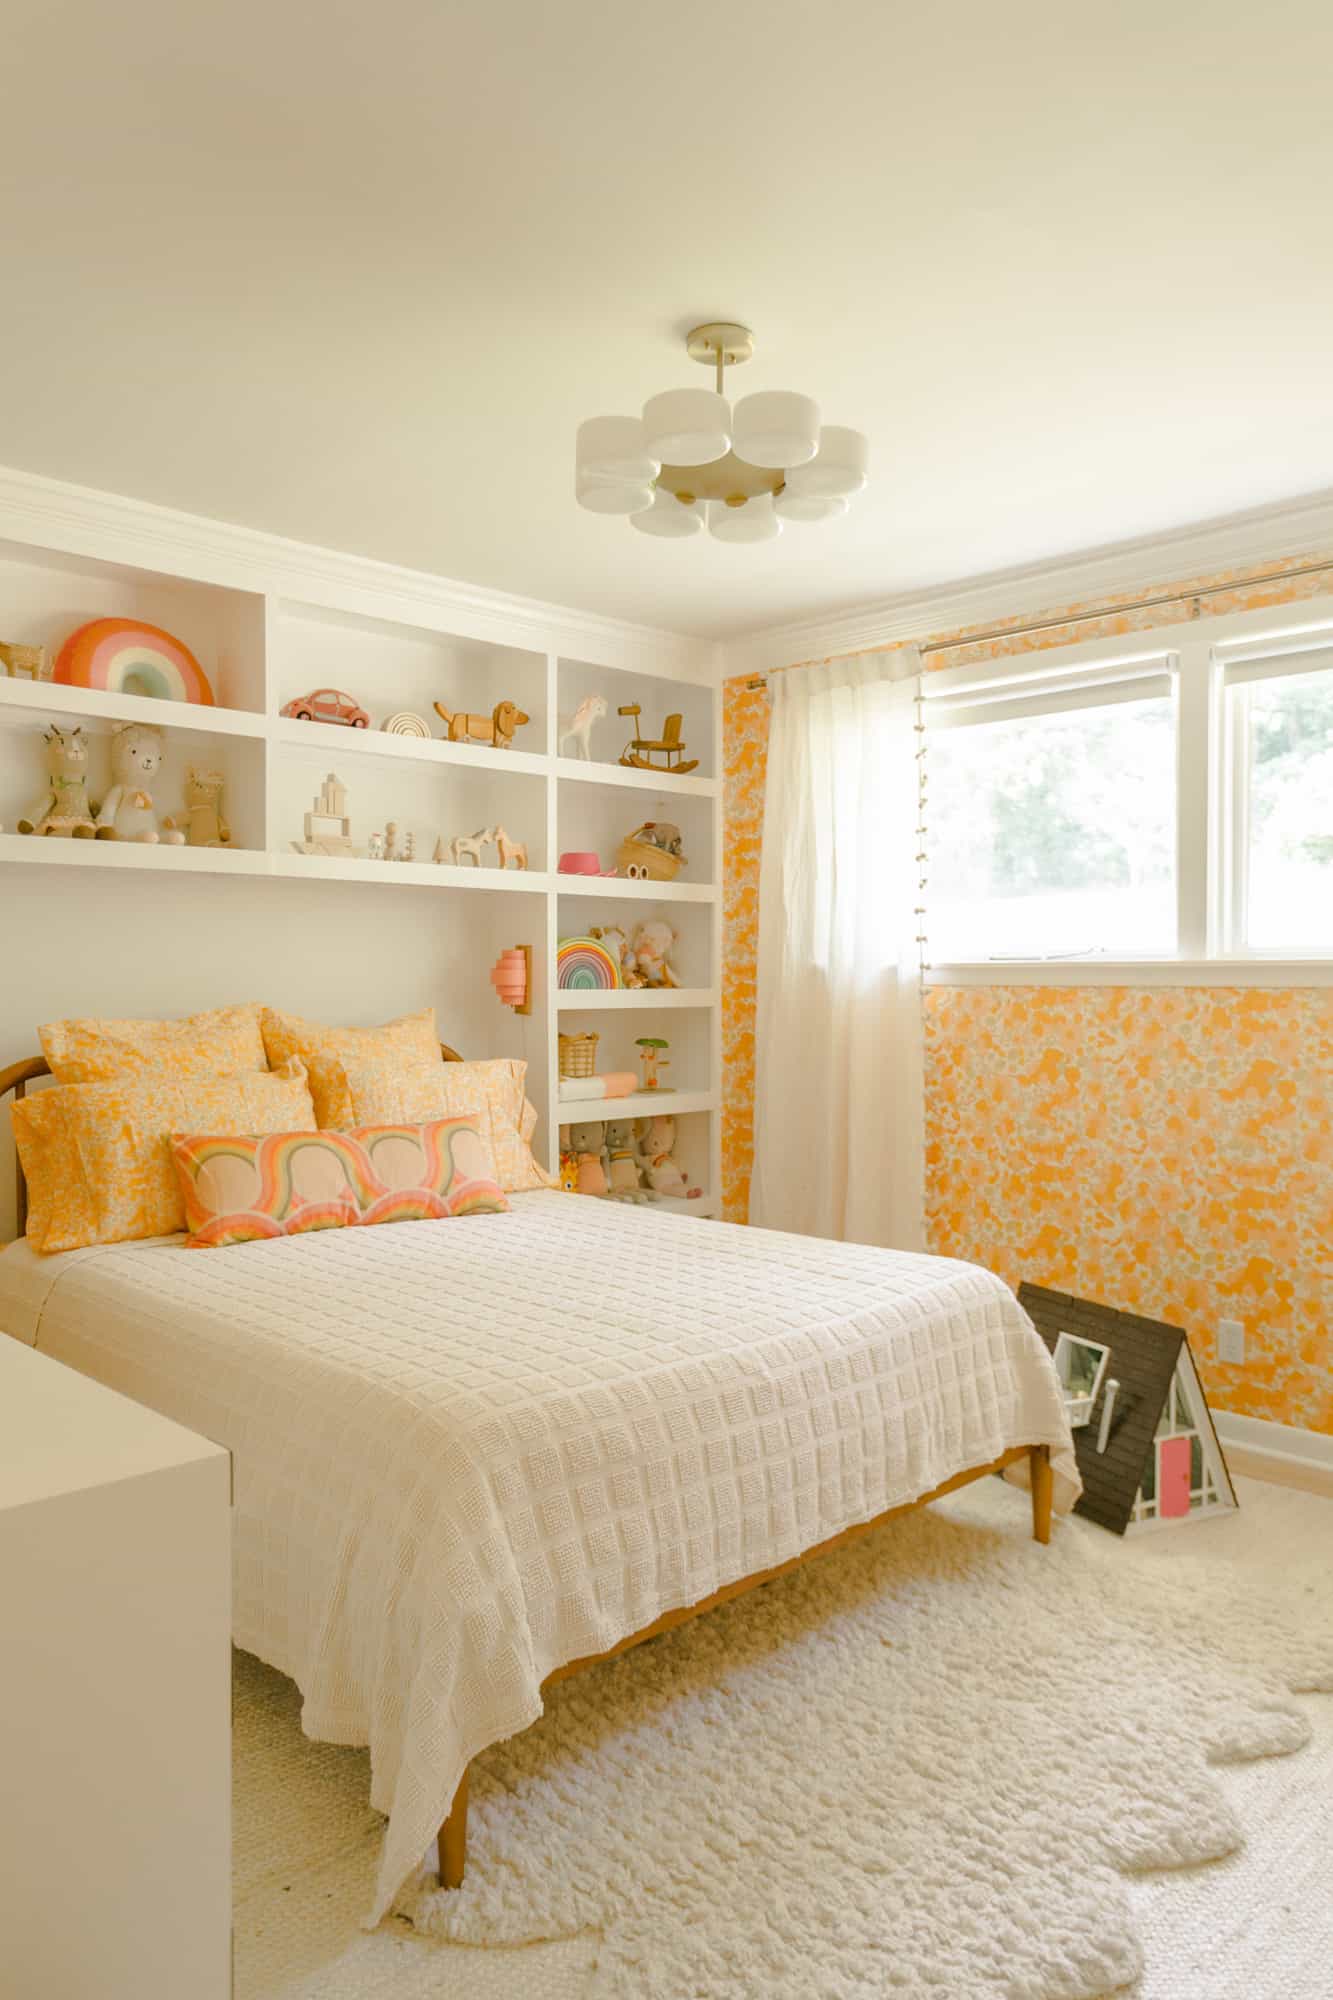
These shelves (above) were built custom in Nova’s bedroom. The room lacked storage for toys, but was also very visually plain. We decided to do built-ins around the bed (which is queen size) that could double as storage as well as a way to add wall sconces to use as bedside lights.
We’re extra proud of these shelves because if you look along the top, Collin removed the original trim and refitted it, making it look as if the shelves had always been a part of this room.
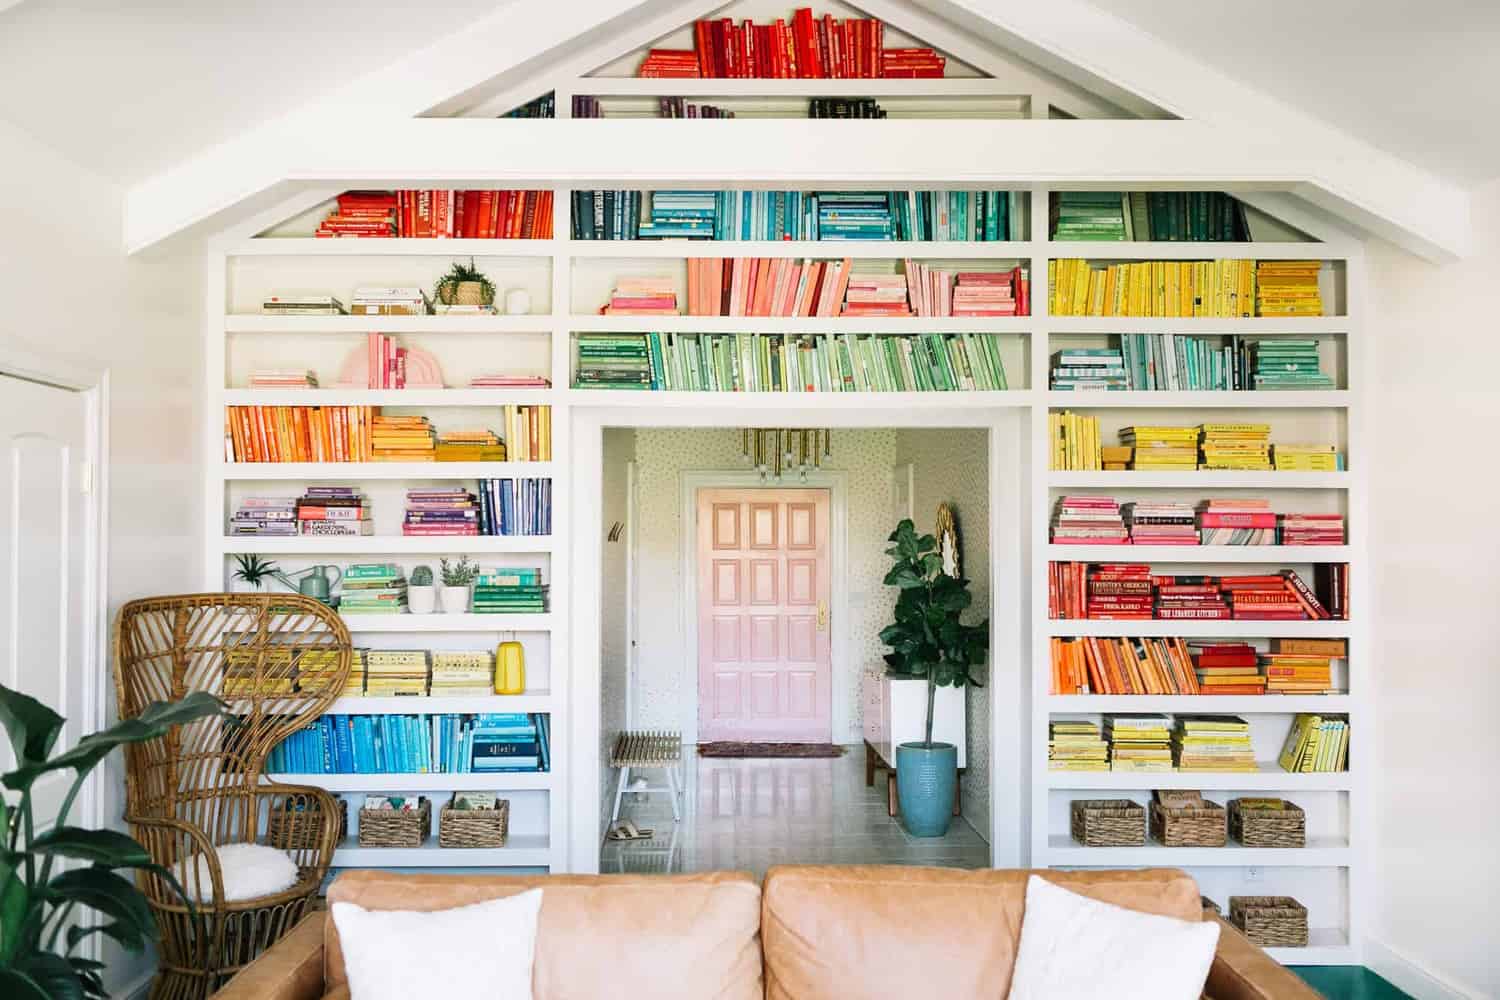 These “rainbow” bookshelves This room was also kind of boring before we added these and they really made the room. This was Collin’s second time to do floor to ceiling shelves (I think … pretty sure the first time was here).
Another really great use of shelves and customizing is redoing closets—see a whole post on that here.
There is also a great example of small and large shelves added in this room.
 Tips for Custom Shelves
Tips for planning: The most helpful thing you can do to when you’re planning out your shelves is to get some painters tape and place pieces of tape on the wall you’re building them onto help you visualize properly—so you can get the proper shape and spacing.
This will also help you in figuring out how many of each piece of wood you will need and what lengths of boards. Most boards come in 6′ or 8′ pieces, and seeing the shelves in tape form can help you from creating too much waste and also save you money.
Tips for measuring: After you have the tape up and can properly visualize the shelves, it’s time to start measuring. You’ll want to make sure all of your taped lines are even and equally spaced on the wall, so once you start measuring you can either move the tape to where it is perfectly even or mark the wall with a pencil.
You’ll also want to grab a stud finder and a long straight edge and mark all of the studs in the wall.
Tips for Building: My tips for building are to think of it in these four steps:
1. Attach all support boards to wall.
2. Attach all actual shelf boards to support boards.
3. Attach all trim boards.
4. Caulking, wood filling, painting! Also, my favorite screws for attaching the support boards to the wall are these 2.5″ star bit wood screws and for areas where you don’t have a stud to mount to, these drywall toggle anchors are the best!
Tips for finishing for a professional look: To achieve the most professional and clean look, be really meticulous when measuring and cutting the trim boards as well as caulking all cracks. Gaps and improper caulking is what will make your shelves look really “homemade,” so take your time with this part.
Another tip is to buy pre-primed boards, that way you don’t have to worry about the knots in the wood eventually bleeding though the paint (and believe me … THEY WILL.). Lastly, if you’re building floor to ceiling shelves and the room has crown moulding, you’ll have to remove the crown moulding on that particular wall.
My final tip is to take the extra time and add it back onto the shelves like I did Nova’s room (pictured below). It really sends it over the top and looks extremely clean and professional and properly “built in.”
Tips for painting: The best option for painted shelves, especially when there are cabinet doors involved, is a hard dry paint.
Follow this tutorial for best results—it is so worth the extra steps! Also, mini paint rollers will save your life!! It will make painting go by so, so much faster and look way more professional.
 Thanks so much for reading. If you feel like custom shelves might be in your future, don’t forget to Pin this post to reference later! xx- Elsie + Collin
This post leaves me with more questions. A thorough step-by-step would be appreciated. You say “attach” but how? And what hardware do we need? I second the other commenters who have asked for more details/instructions please!
I agree. The title should have been “tips and tricks for building your custom shelves” has opposed to how to build custom shelves. This post left so many questions. I’d love to see any updated post with more precise instruction.
Helpful tips but how do you actually build them?
Thanks so much for this post – Like everyone else who commented, I love the tip about putting painter’s tape up on the wall!
Do you think Collin could give us a more in-depth post on how he constructed one of the built-ins with specs/drawings? I definitely want to add some to my kiddo’s room, but I’m intimidated by the details (where to add support boards, should the shelf go all the way across the up/down board? or should there be a support board on the inside? trim – ahh! Finding studs that seem to disappear half way down the wall in a 100 year old house, etc.) Love you!
I love these tips – especially about using painters tape to help visualize how it will end up looking! We’re going to build some shelves in our living room, but seeing Nova’s room has me thinking about doing something similar in our bedroom!
xoKaelen | Darling Marcelle
This is great info for starting with built ins. Do you have any advice for building around outlets so you can still utilize them?
Hi! We never move outlets (or vents) if we can help it, we plan around them.Sometimes we put holes deep in the shelves to run cords. if you need to. XX!
I love this room! I was thinking about getting that ceiling light and was wondering if it gives off a good amount of light. I will be using
it in a 10×12 room that has limited natural light and it will be the only overhead light in the room. Thoughts?
Thank you.
Thanks for these tips! I think the tip about using painters tape to plan your space is especially helpful! I would love to see more detailed diy instructions for custom shelves – I know the measurements would be different depending on each person’s space, but it would be really helpful for first timers to see the whole construction process and learn step by step how to build the shelves. Love all these inspiration photos!
Perfect timing as we just bought our first home and are dreaming about a built-in bookcase! The step that is not completely clear to me is how you attach the support boards to the wall and the shelves to the support boards. The end results looks so clean that I do not understand how you’ve made the attachments. Could you elaborate please? (a photo or schematic would help)
Hmmm, might consider it for my youngest daughter’s room in the future. Beautifully done!
PS: do I really spot a Nova doll in her room? How adorable! ❤️
Wow I love these! I wish we all had a Collin in our lives that could help us with projects like these, LOL.