 This past Christmas, I made a pop-up card as a part of my gift to my husband. I’ve loved making simple pop-up cards since high school and it dawned on that we don’t have a tutorial for this on our blog.
Since then, I’ve been meaning to remedy that and I finally made the time to put together this little tutorial on how to make a simple pop-up card.
 There are so many ways you could customize this for any holiday or as a fun birthday card. The pop-up card I made for Trey for Christmas had a simple pop-up version of the NYC skyline, as I got him a trip to NYC as his Christmas gift.
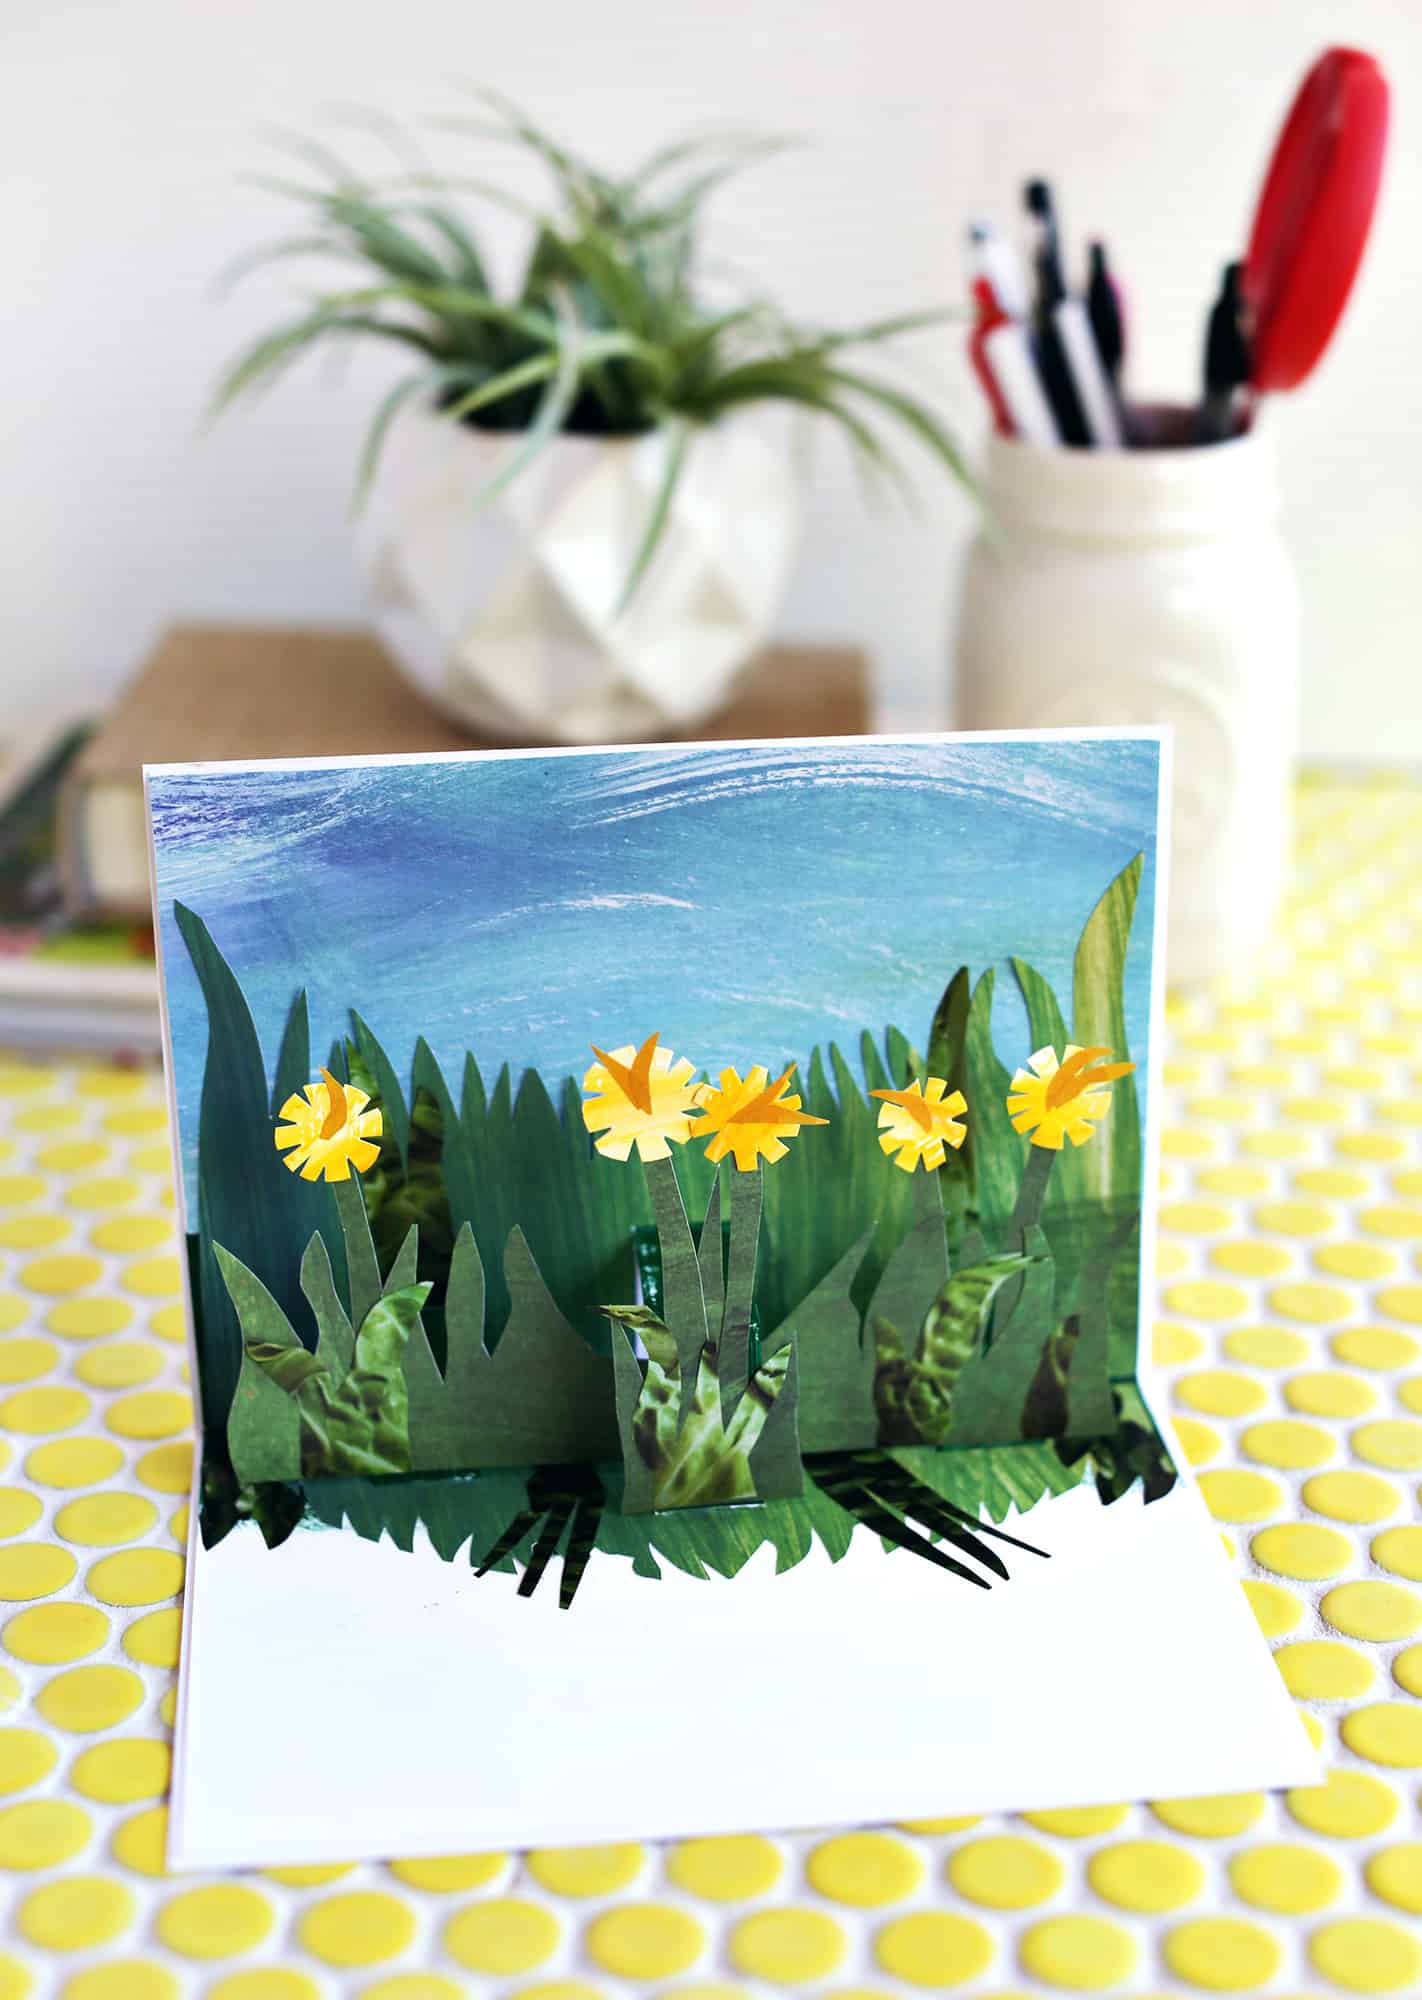
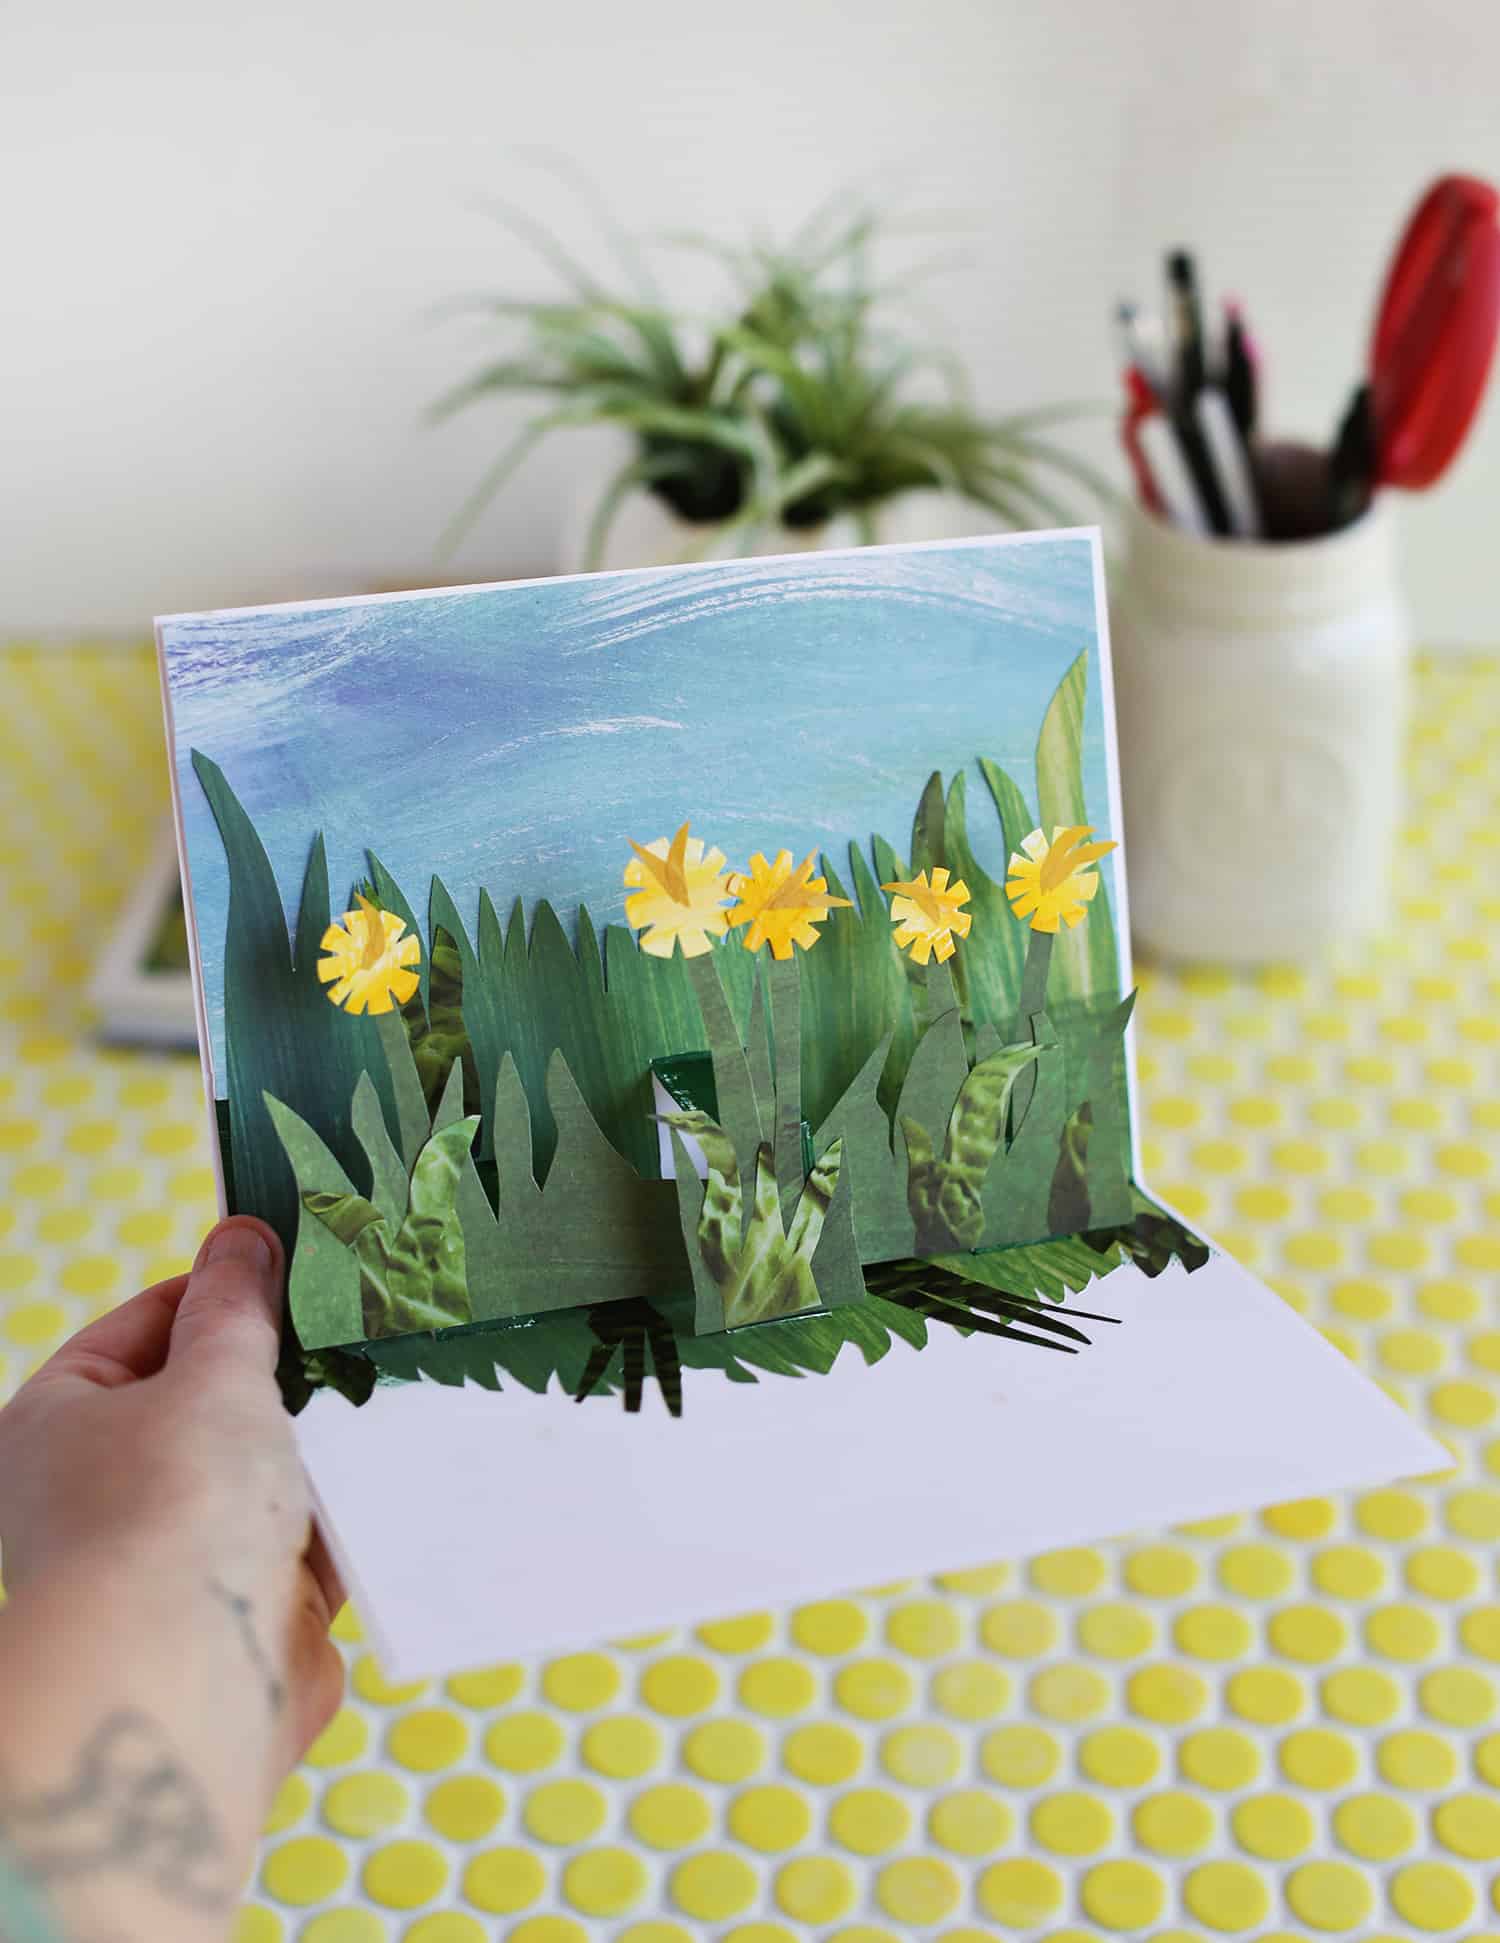
Anyway, as you can see I did kind of a spring flowers theme for this one. I’m planning to mail it to my nieces, hopefully it makes them smile.
 Supplies:
-paper
-scissors
-glue or glue stick
-collage papers or photos
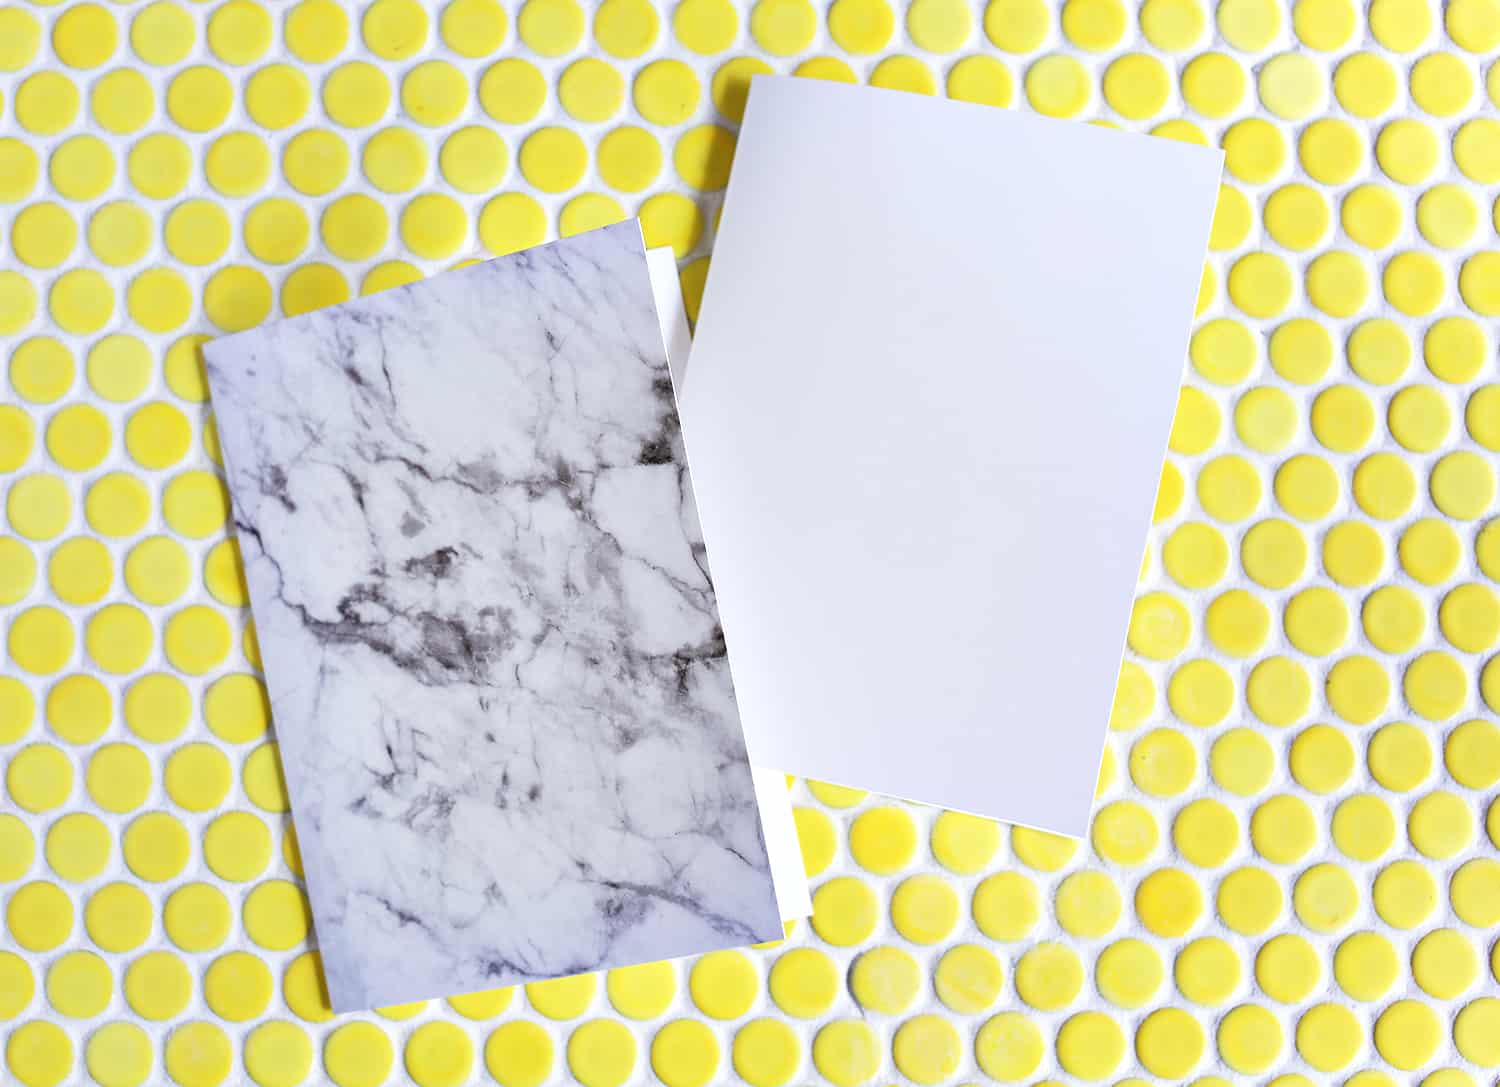
Step One: Create a card that fits inside your outer card. The outer card can be something you already have that you bought or you can make both. But you want one card to fit snuggly inside the other.
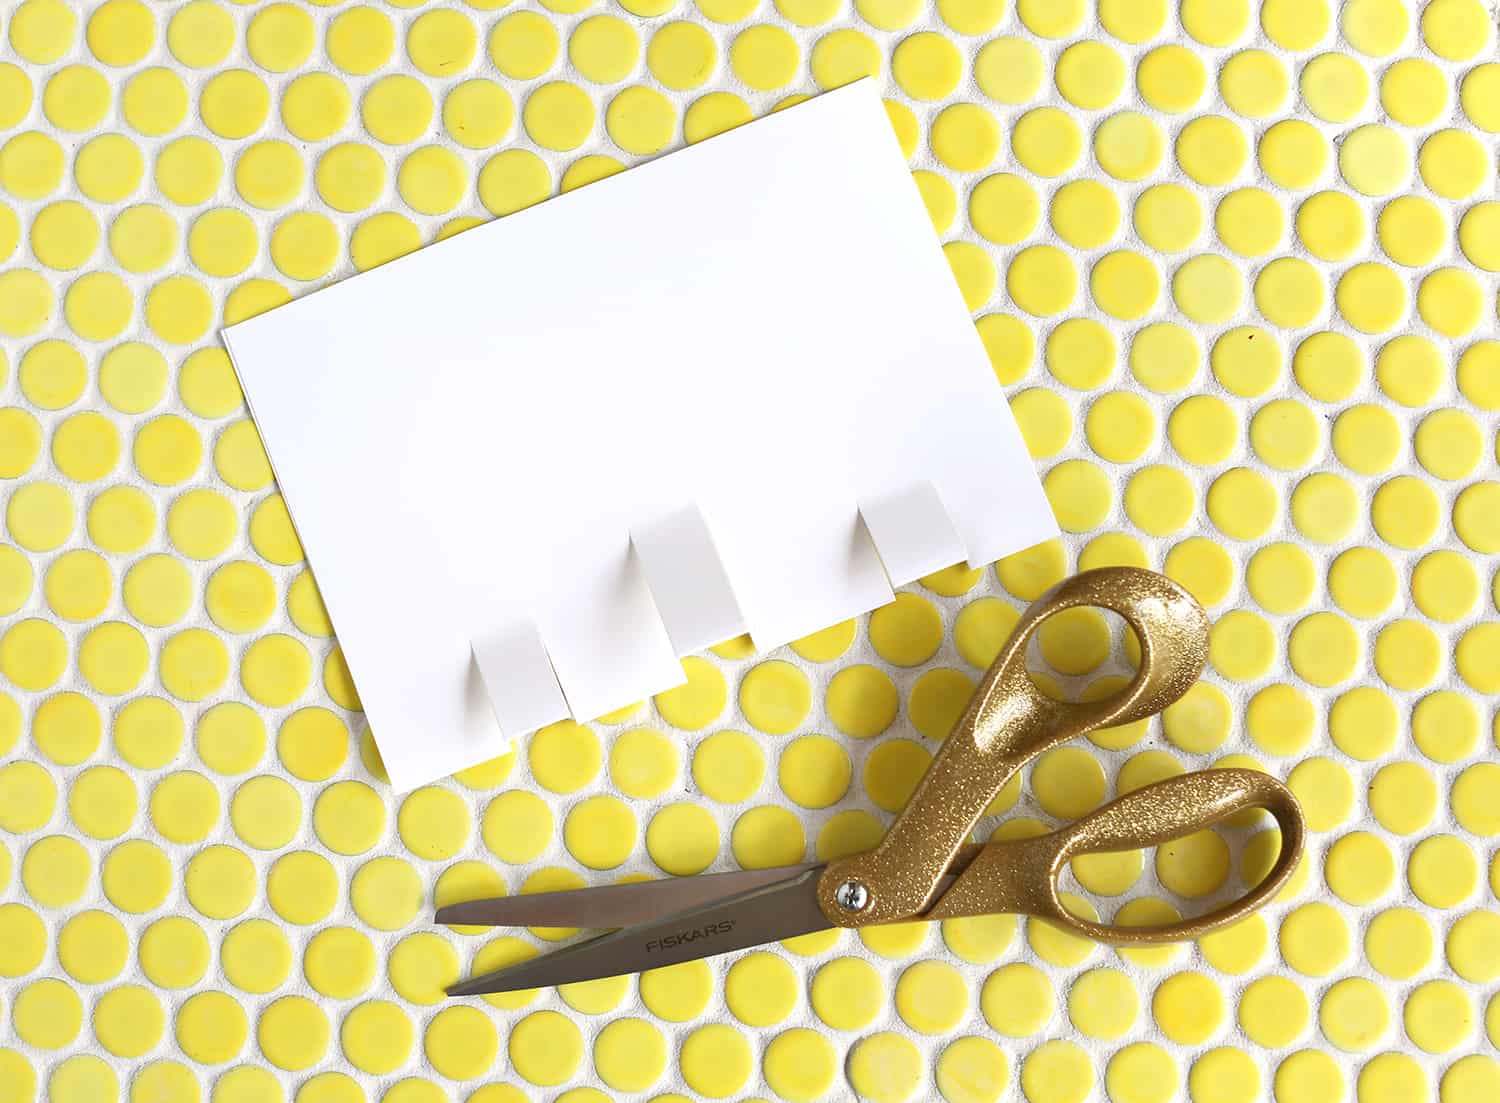 Step Two: Cut tabs to hold your pop-up elements. You can have one main tab or multiples. I made three as the outer two are for one layer and the middle one is larger for a second layer.
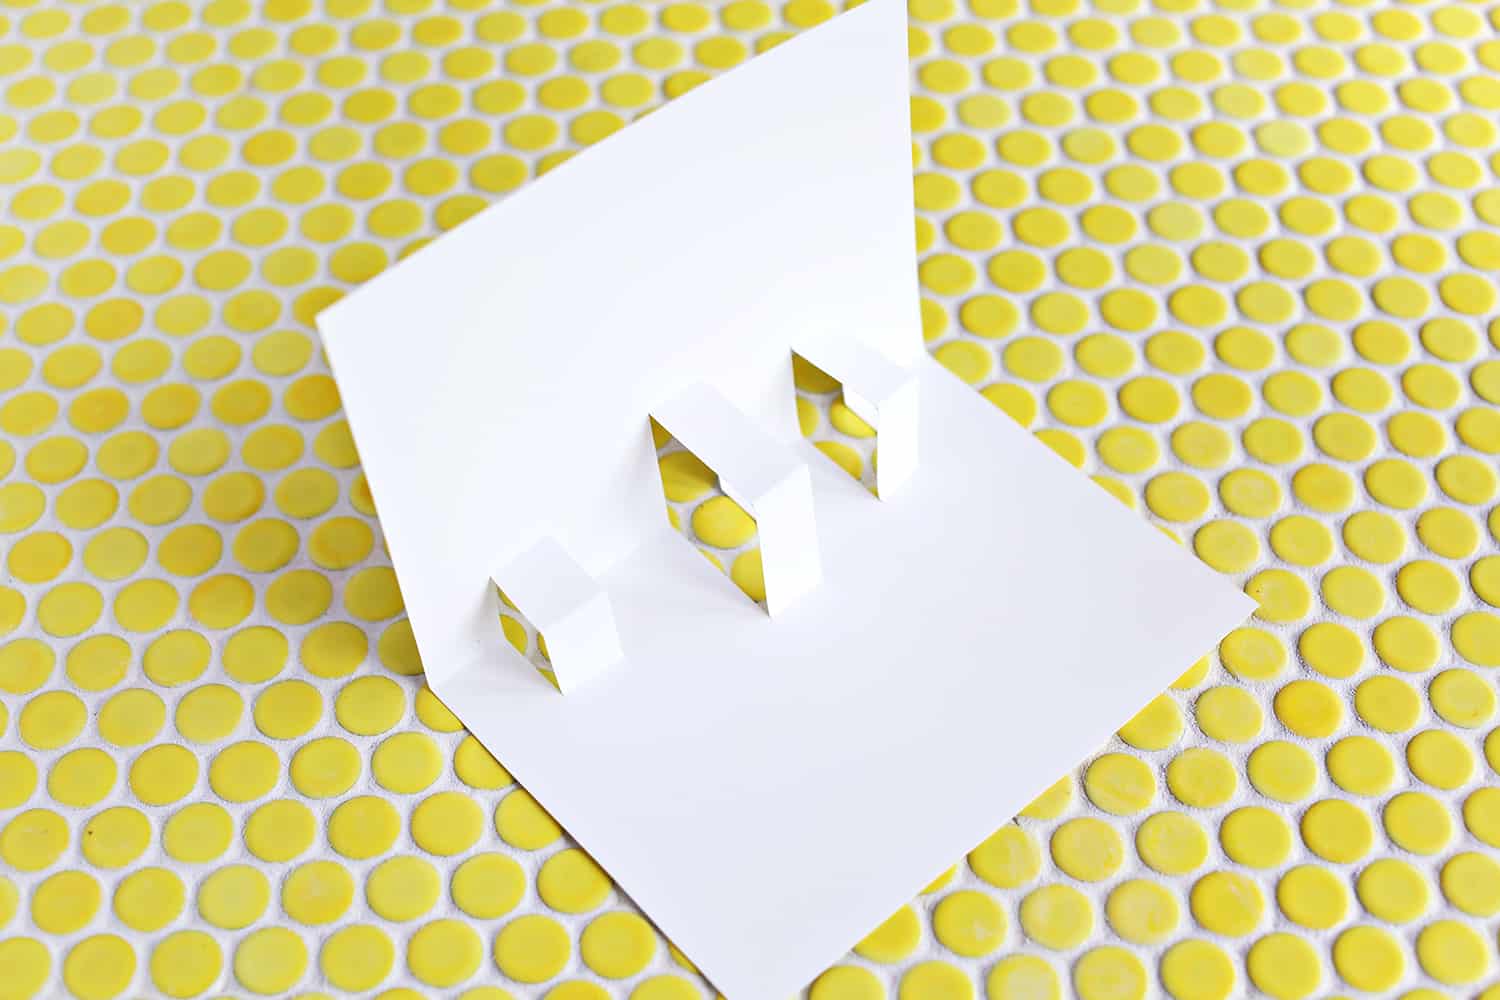 Here you can see the tabs once they are folded in, this is where we will eventually add our collage or photo pieces.
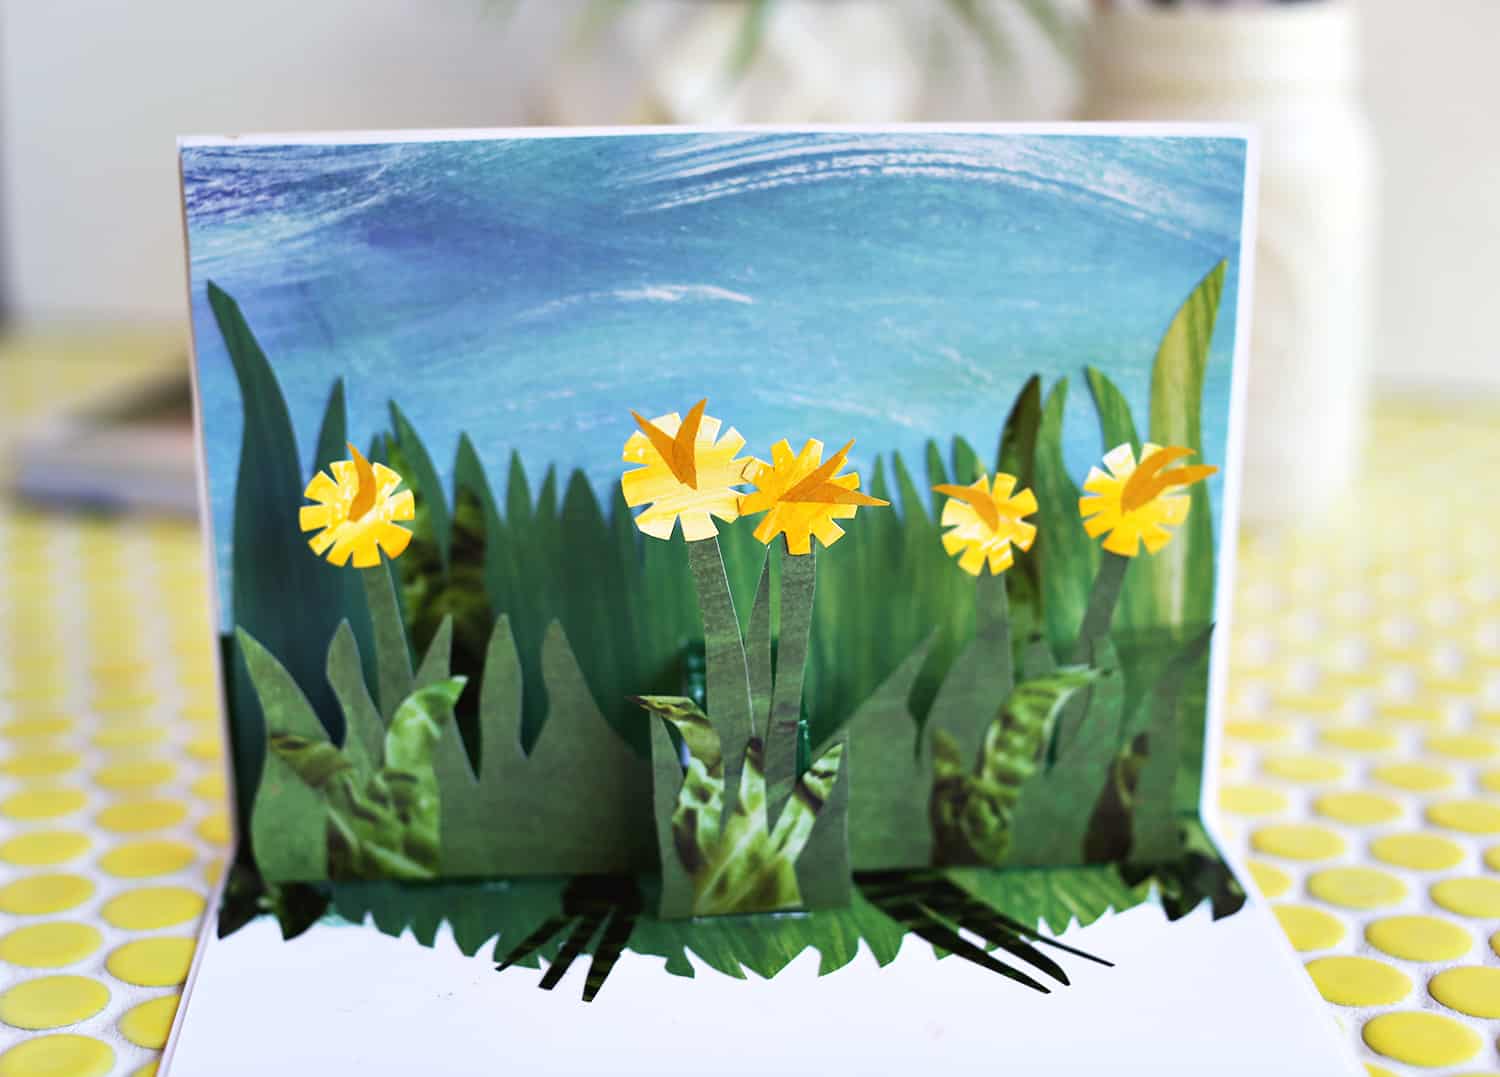
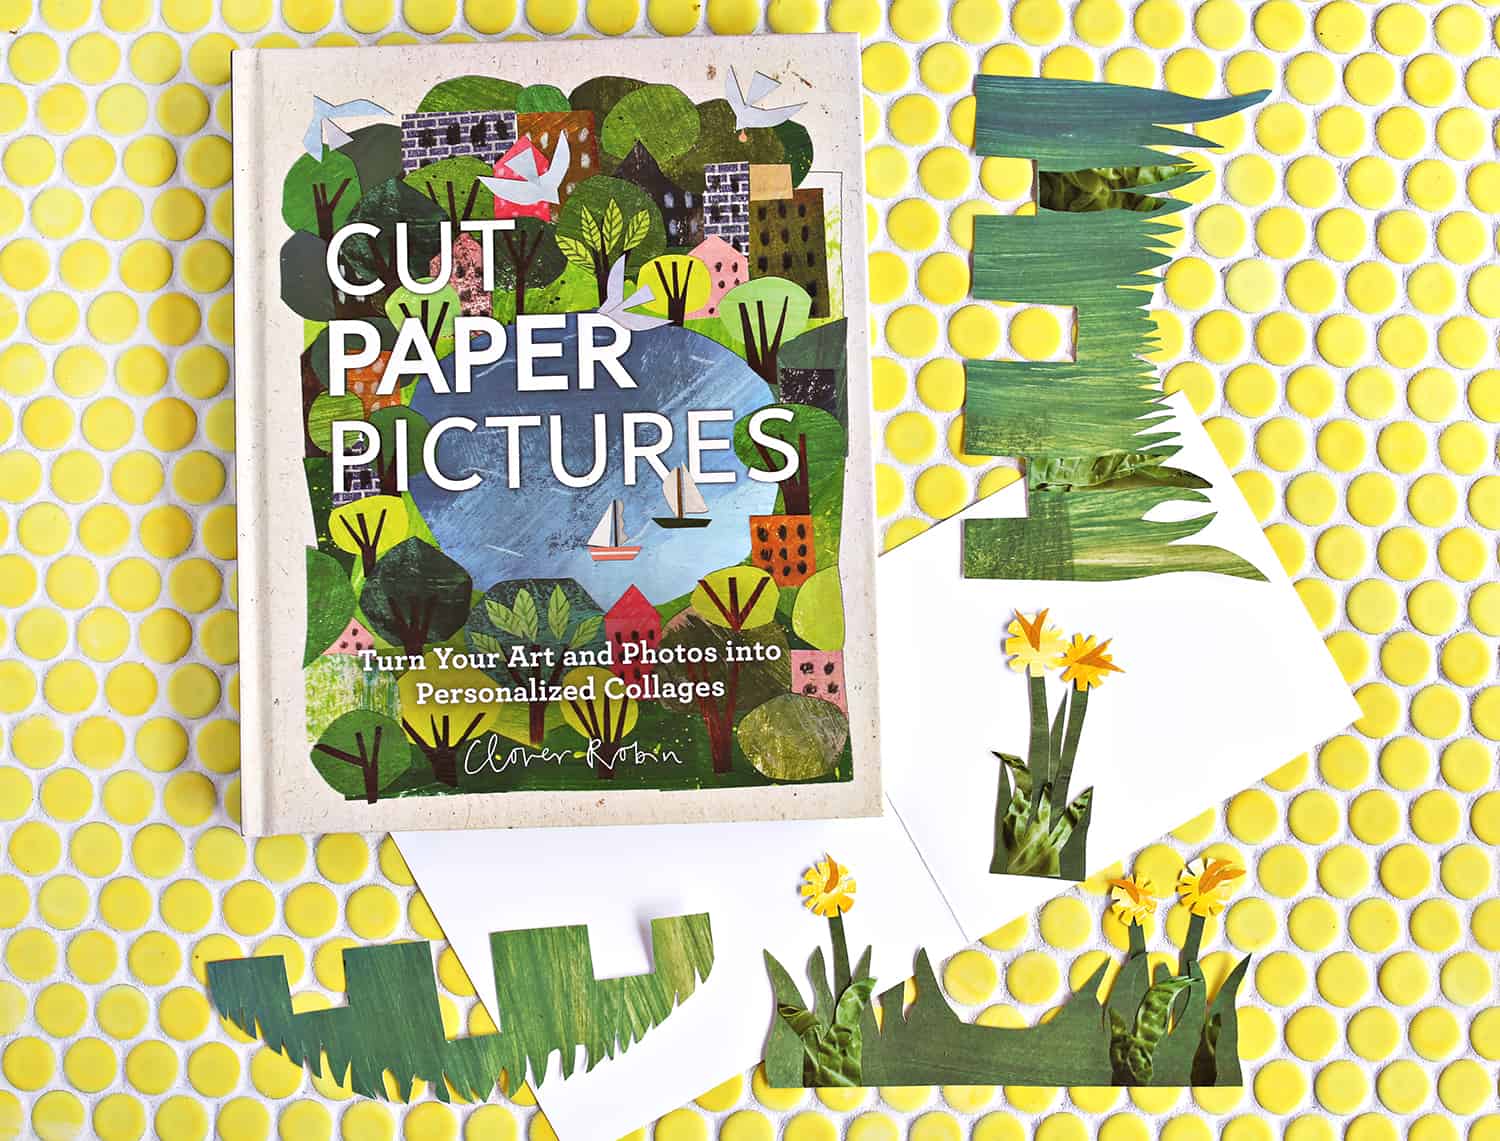 Step Three: Create the inside elements for your card—the pieces that will pop up.
I have been loving this collage book, Cut Paper Pictures. I love making collages, and that’s the look I did for this simple pop-up card.
But you don’t have to make collage pieces, you could cut out simple shapes from colored paper or use photos for the inside elements of your card.
One note: Make sure the inside elements you create won’t hang off the edge of your card once it’s closed. Just place them on the tabs to see before the next step.
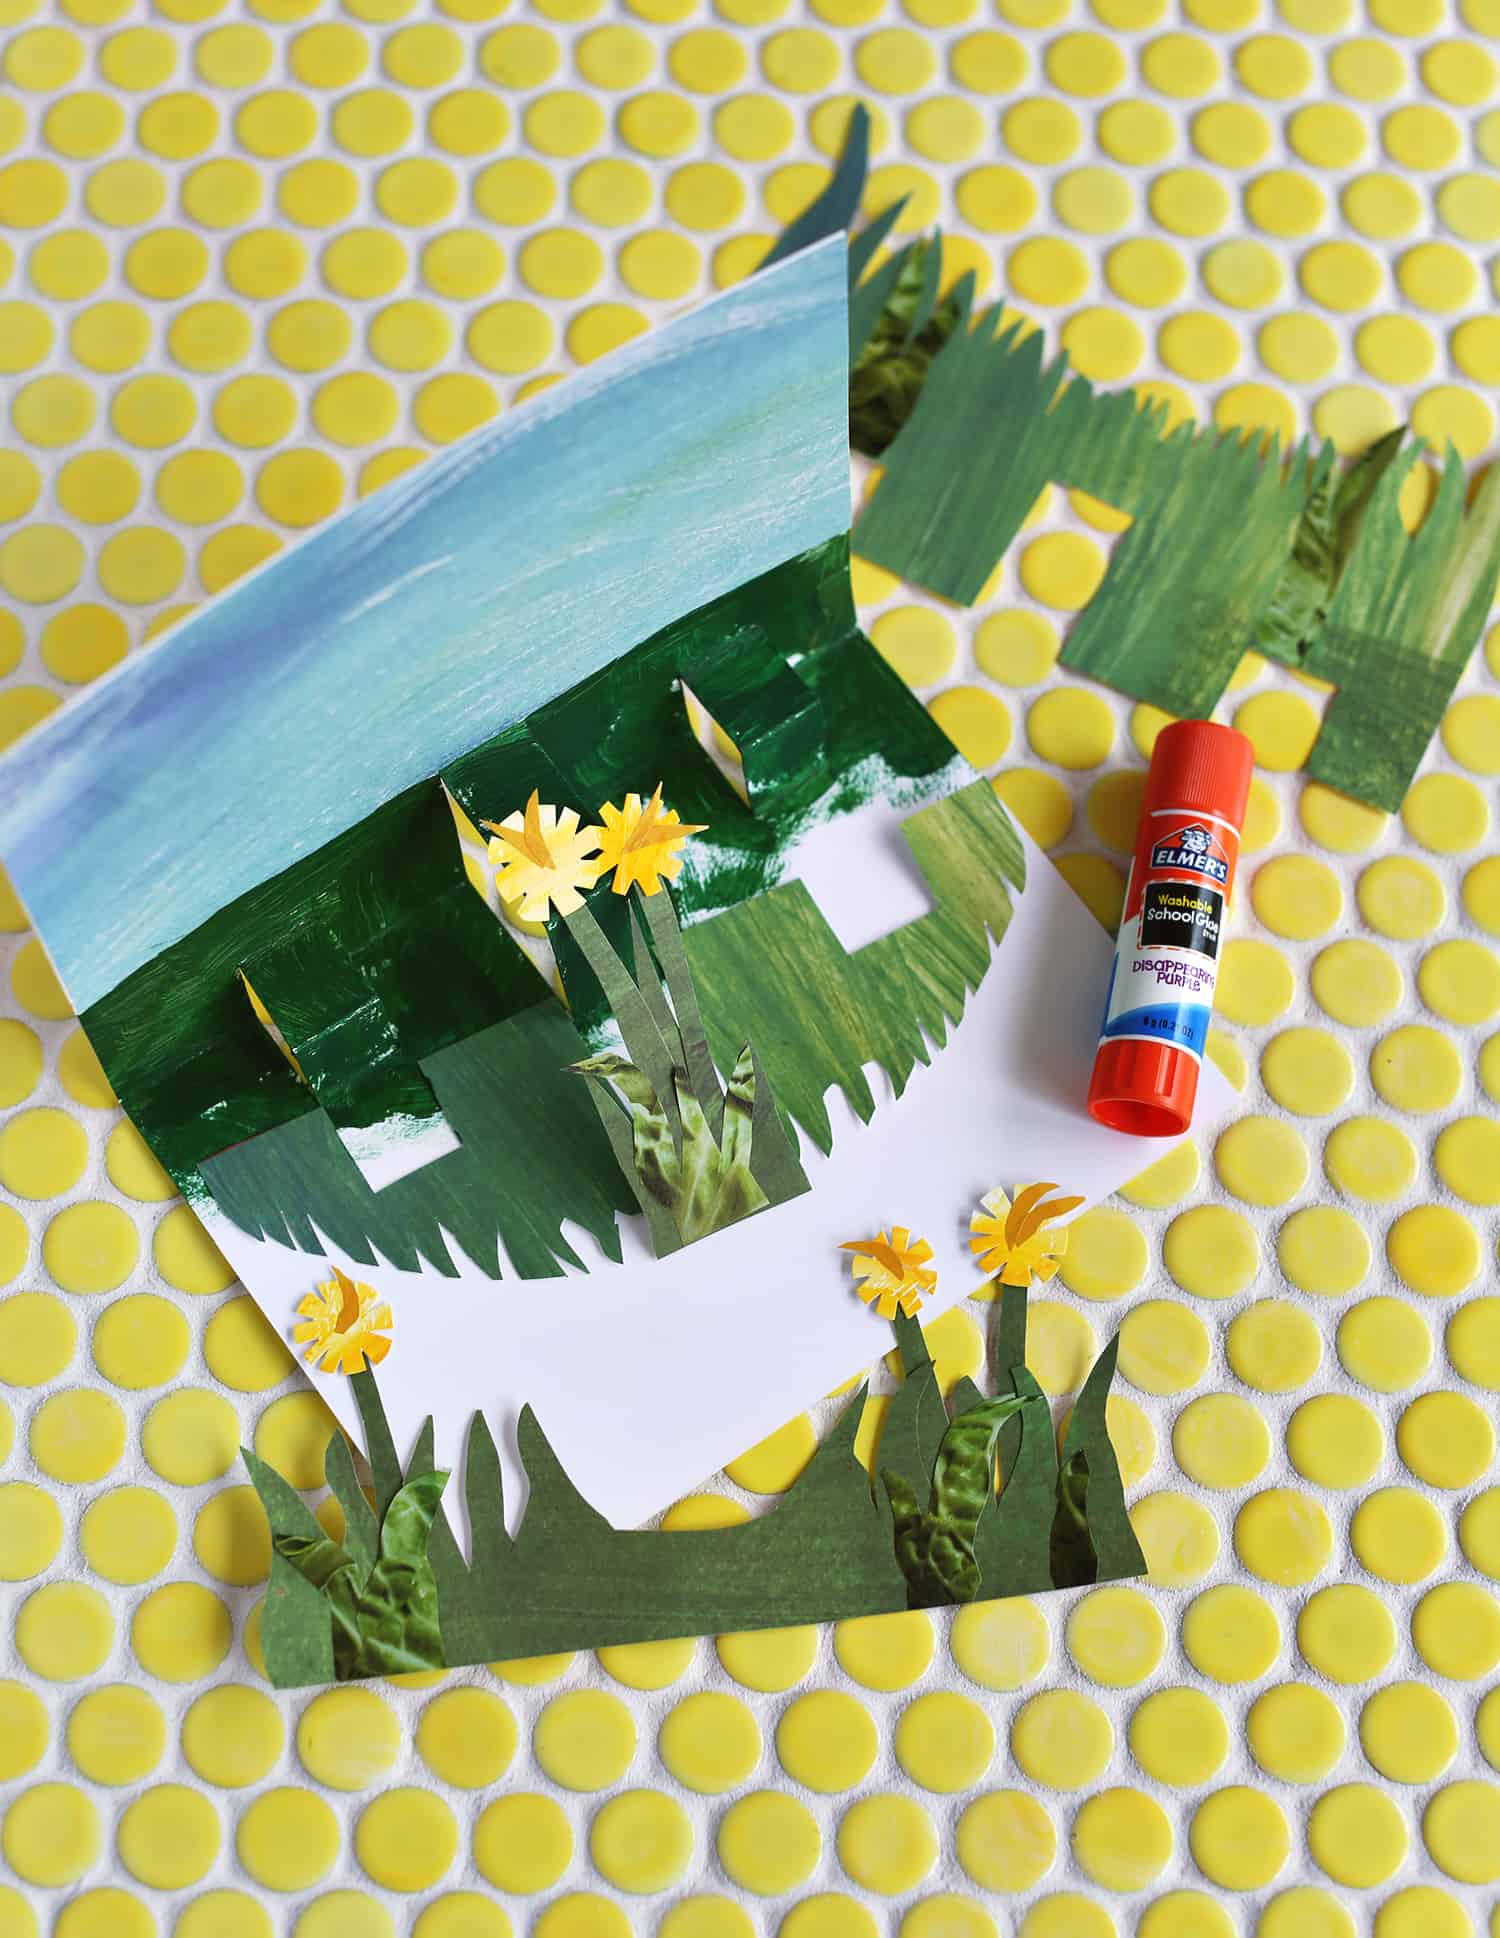 Step Four: Assemble the card. I like using a glue stick or something light here as the dry time is much faster and the papers are less likely to wrinkle with the moisture from the glue.
Once all the pieces are in place, glue the inside card to the outer card, careful not to glue down the tabs.
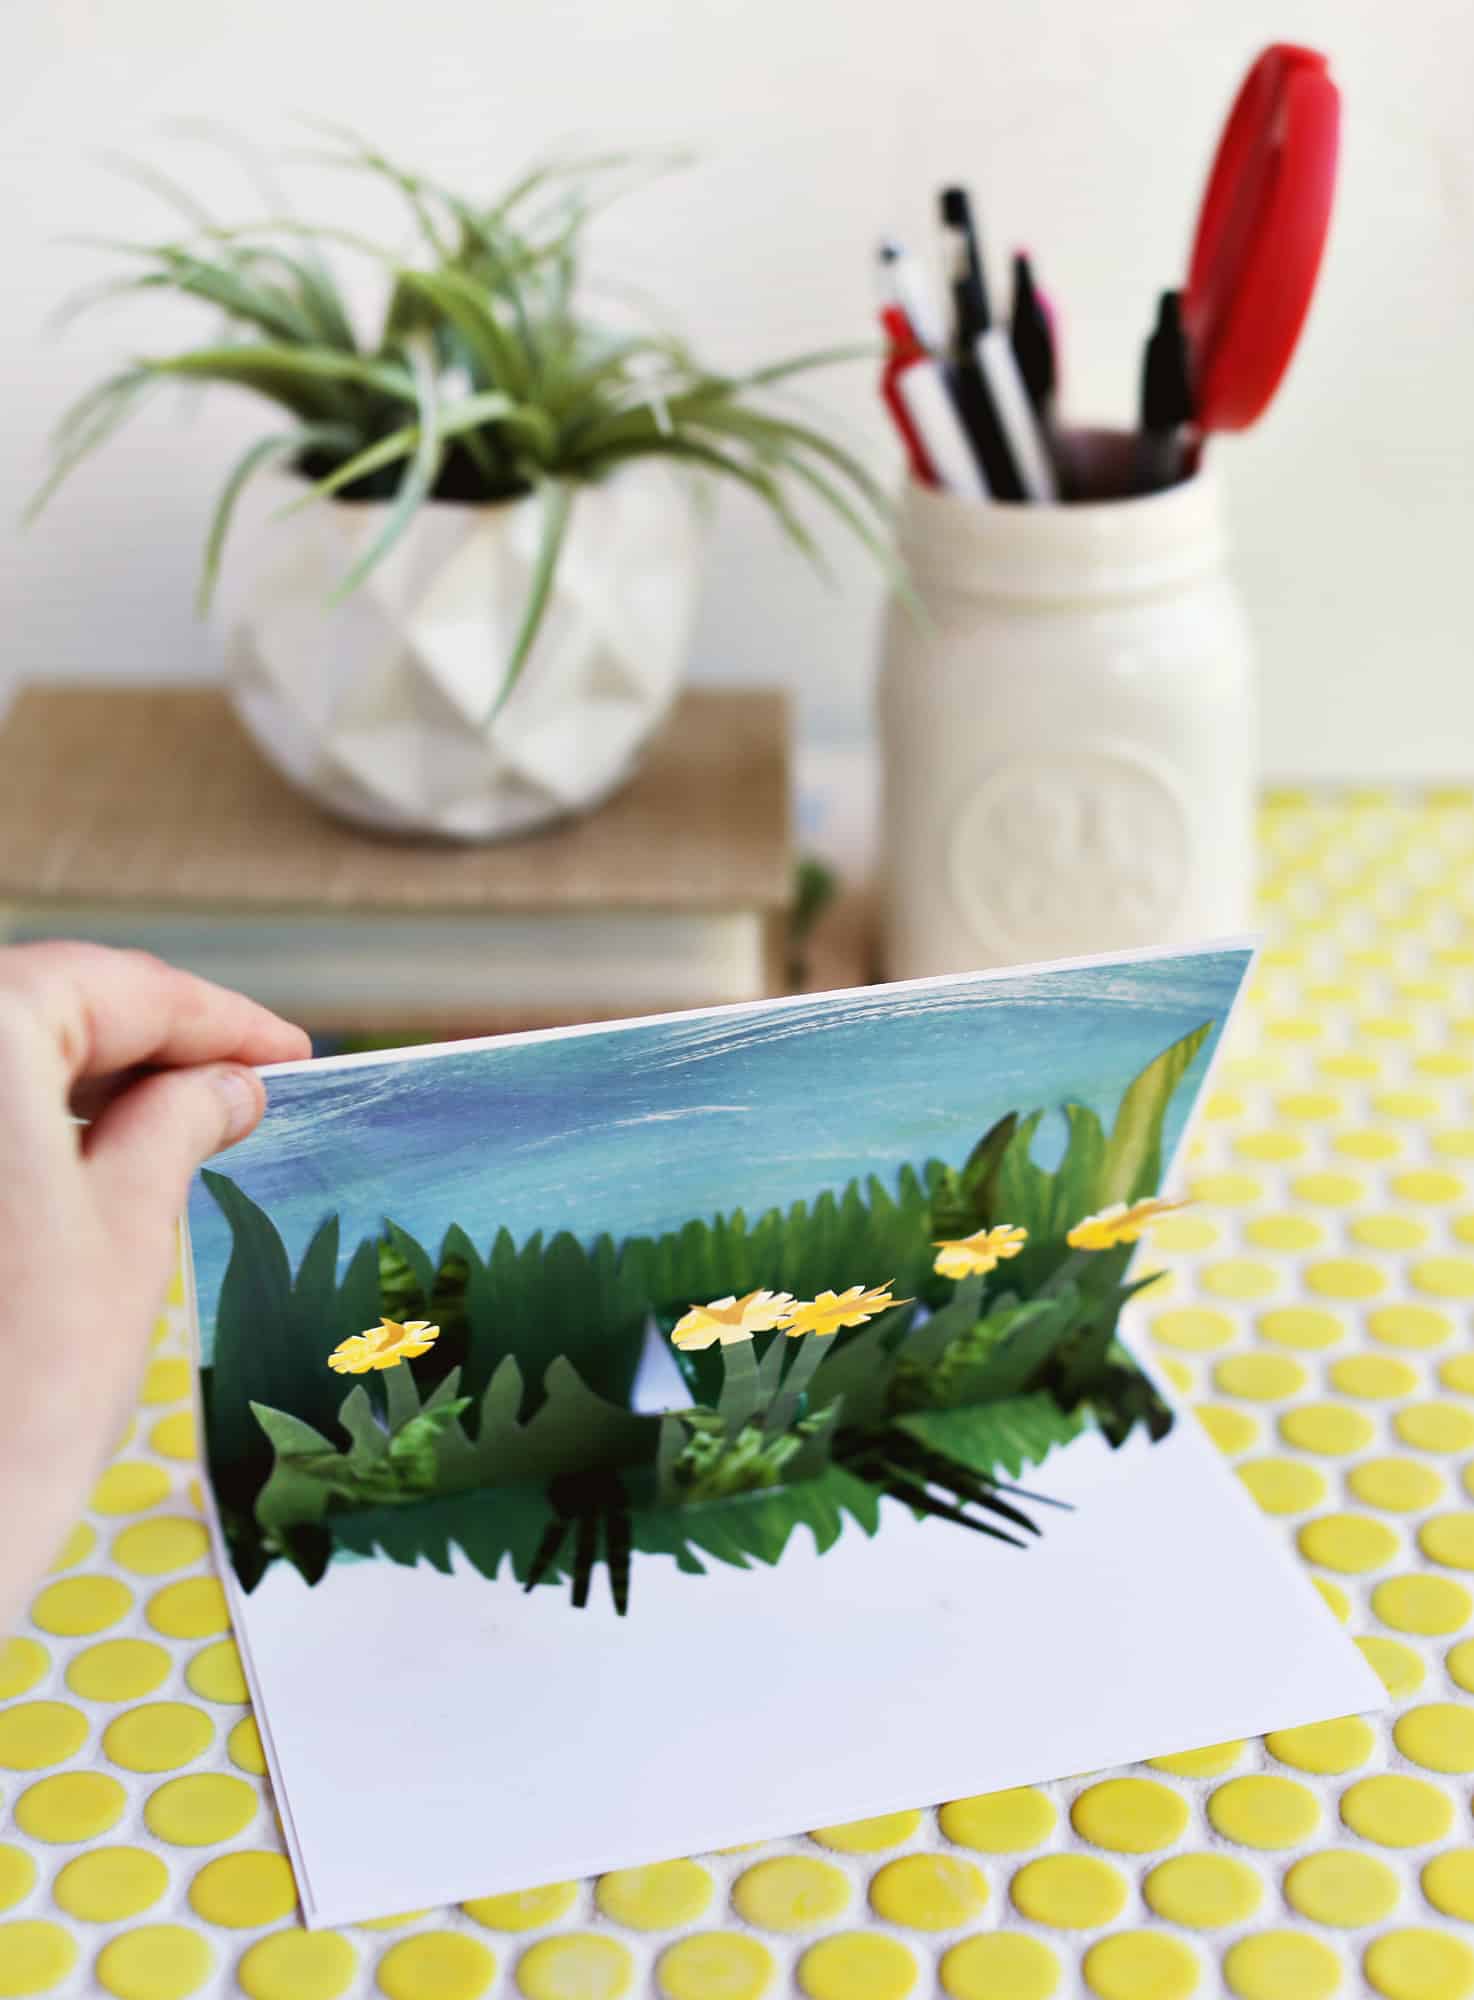 Once the card is dry, you’re ready to add a message to the inside and mail or deliver it. Simple, right? You can totally get elaborate with the inside design, but the mechanics of making the pop-up card are very simple.
 Thanks for letting me share this super simple tutorial for making a pop-up card. Like I mentioned, I’ve loved making these since high school. It’s something lots of different ages can do and you need very few supplies—such a fun little craft. Enjoy! xo. Emma
Love this post? Sign up for our newsletter for more ideas!

Get creative ideas for recipes, crafts, decor, and more in your inbox!
 Get the How-To

Supplies
- paper
- scissors
- glue or glue stick
- collage papers or printed photos
- scissors
Instructions
- Create a card that fits inside your outer card. The outer card can be something you already have that you bought or you can make both. But you want one card to fit snuggly inside the other.
- Cut tabs to hold your pop-up elements. You can have one main tab or multiples. I made three as the outer two are for one layer and the middle one is larger for a second layer.
- Create the inside elements for your card—the pieces that will pop up. Make sure the inside elements you create won’t hang off the edge of your card once it’s closed. Just place them on the tabs to see before the next step.
- Assemble the card. I like using a glue stick or something light here as the dry time is much faster and the papers are less likely to wrinkle with the moisture from the glue. Once all the pieces are in place, glue the inside card to the outer card, careful not to glue down the tabs. After the card is dry, you’re ready to add a message to the inside and mail or deliver it.
Awesome, simple explanation !! Thank you, been thinking of this for ages, now I have the method I’m going to start with our grandson’s 18th !!
Thank you for this tutorial! I made a pop-up card years ago as a kid and couldn’t remember how. This is more helpful than other tutorials without pictures. I didn’t even realize I could use photos and was having a hard time because I don’t draw well, but that’s a great tip!
dope
Love this idea!!
yall aint nothing like me fr🗣🔥💯
Thanks so much for posting this. I made a mother’s day card for my mom using these instructions and the Cut Paper Pictures book!
OMG… LOVE this hand made card idea… surprisingly so simple!!!
Hey! I have that Cute Paper Pictures’ book right in front of me…..I checked it out from the library right before the quarantine! It is so inspiring. Thank you for these instructions. Perhaps I will make a pop up card for my husband for our anniversary in May. Thanks, Emma! ?
Yay! I was planning to find a tutorial for pop up cards for Mother’s Day cards and this “popped up” in my feed, today! Thanks 🙂
Wowww!! You’re so creative!! I can’t stop pinning your content! I have to try this soon 😉
xx
Eli
Curly Style
How easy and beautiful.