Cake pops are probably one of my favorite treats since I first started making them in 2012. They are the perfect little bite-sized indulgence!
If you’ve never made cake pops before (or it’s been a while), I’m going to share a step-by-step guide to make them with a cake mix and frosting.
Related: Check out our Oreo Cake Pops, Birthday Cake Pops, Halloween Cake Pops, Christmas Cake Pops, Chocolate Cake Pops, Dessert Archive and 15+ Best Cake Recipes for more ideas!
These are a classic cake pops—no special equipment or molds are needed, but I’ll share a few tips and supplies that can be helpful.

What’s the Trick to Making Cake Pops?
You can use any flavor cake mix: chocolate, vanilla, red velvet, yellow, etc. Be sure to check your cake mix to ensure you have whatever other cake ingredients the mix recommends for baking.
You will also need one container of store-bought frosting. I like to use anything with a simple texture like vanilla, chocolate, or strawberry.
I would avoid things like German chocolate (which has a texture to it since it contains coconut flakes).

1. Bake the cake according to the package instructions and allow to fully cool.
2. Spoon the baked cake into a large mixing bowl. Add 2/3 of the container of frosting.
In my experience, using the full container makes the cake pops a bit too soft and harder to work with once we dip them in chocolate. But, this is how you get cake pops to stick together—with frosting.
3. Use your (clean) hands to mix together the frosting and cake. The cake pop batter is going to be pretty soft, but moldable.
4. Form your cake pop batter into small balls (about 3-4 tablespoons each). You don’t want them to be too big, just so they easily fit in the palm of your hand.
 Once you have formed all your pops (a standard size cake will make around 35-40 cake pops), put them in the refrigerator for 1-2 hours or the freezer for half an hour.
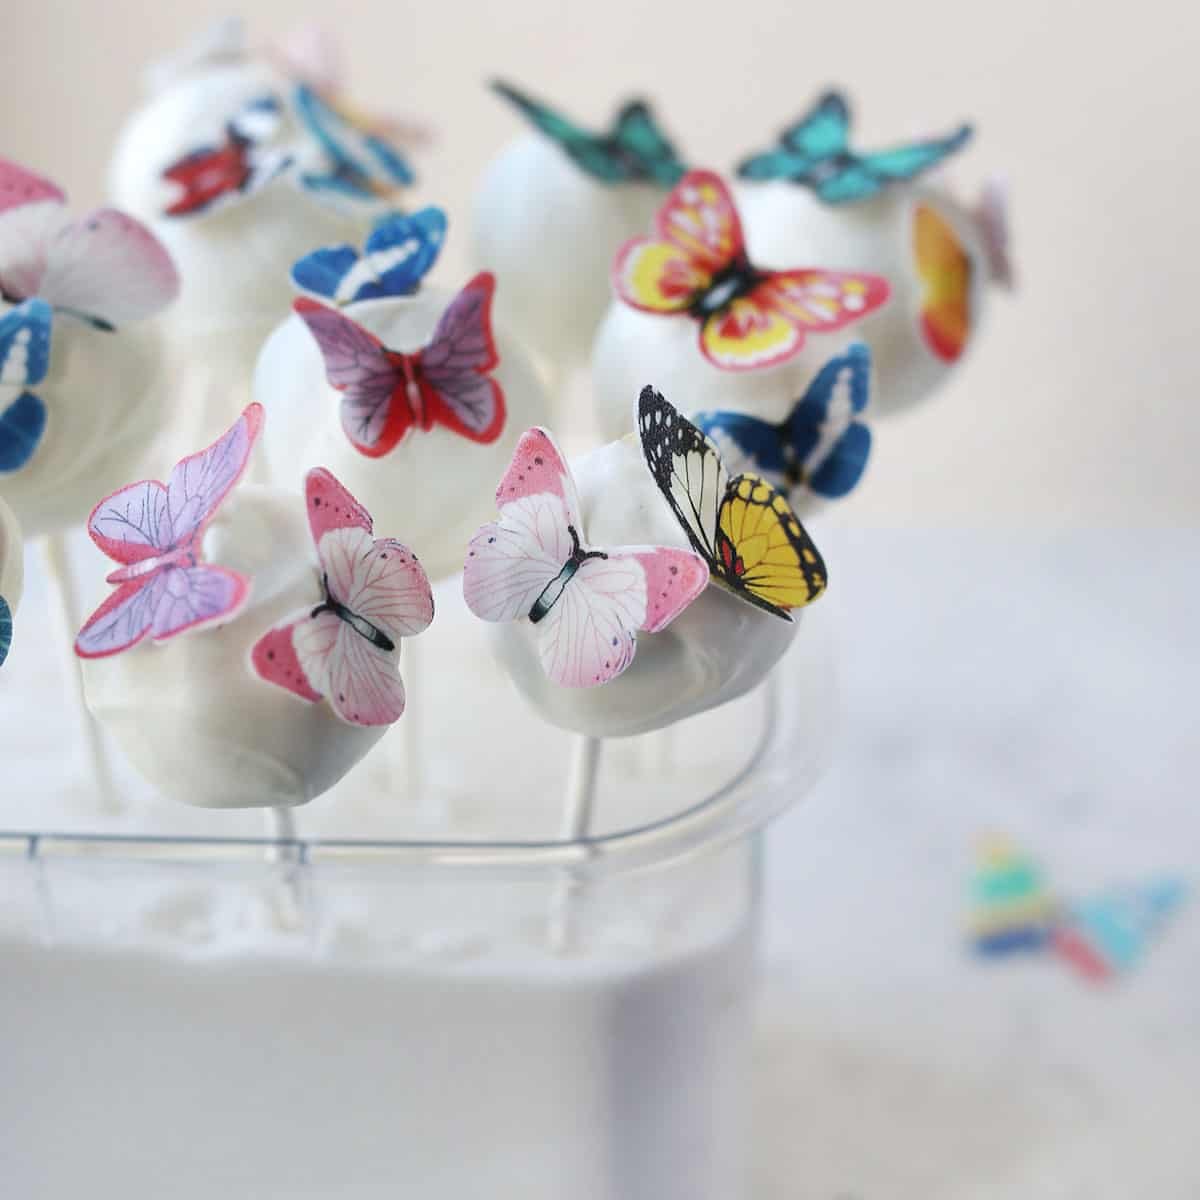
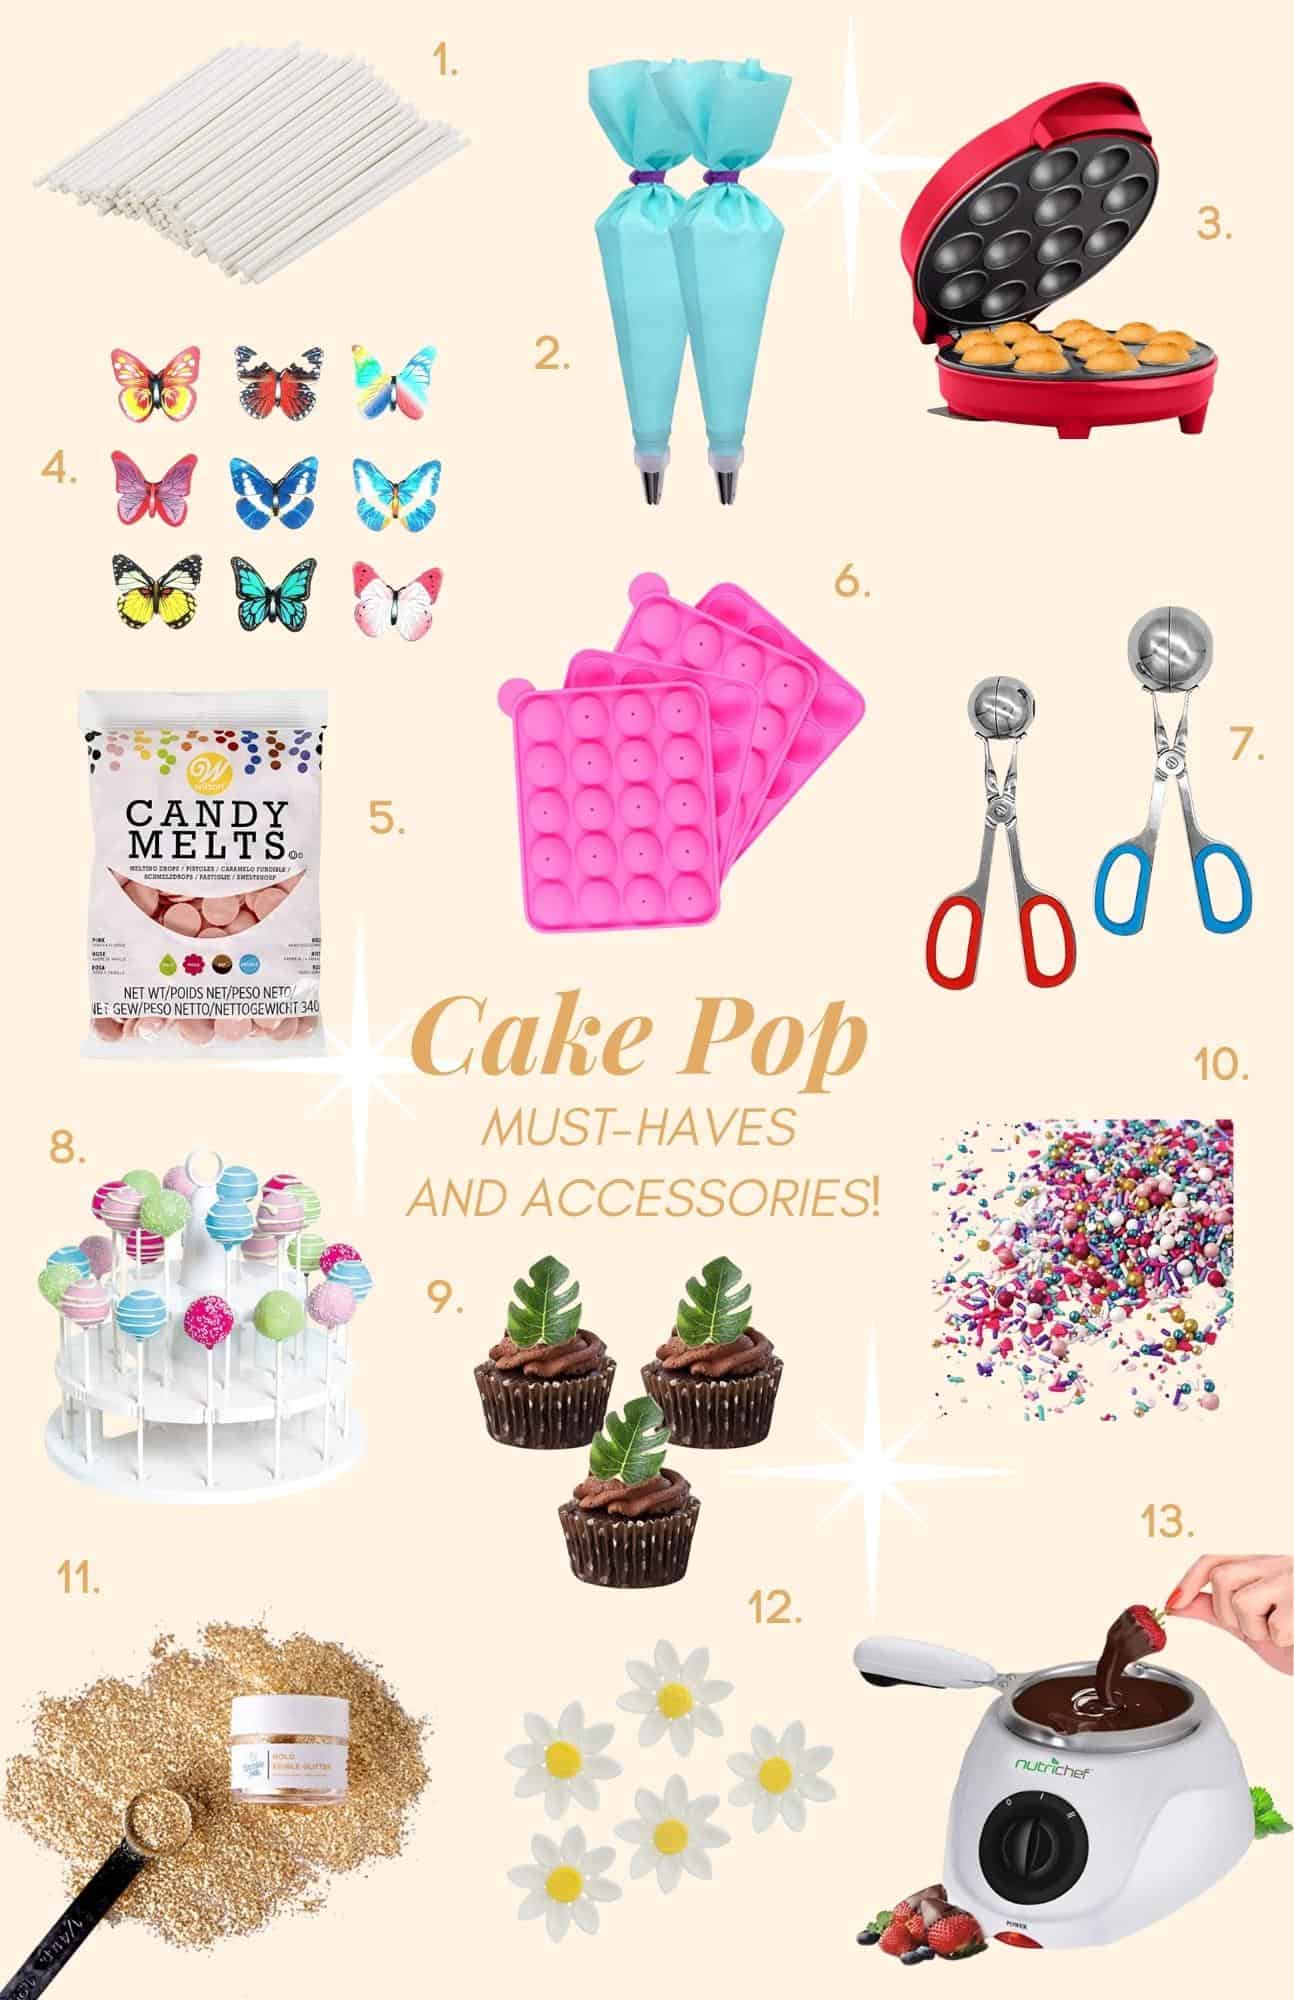
5. Get your candy melts and any other supplies ready like cake pop sticks, sprinkles or other edible decorations (like these butterflies) you want to use.
I think candy melts work best for cake pops, but you can also use chocolate chips instead.
The mixture will be a little thicker and slightly harder to work with (but still OK). And, the shell around the cake pops will be thicker once the chocolate sets.
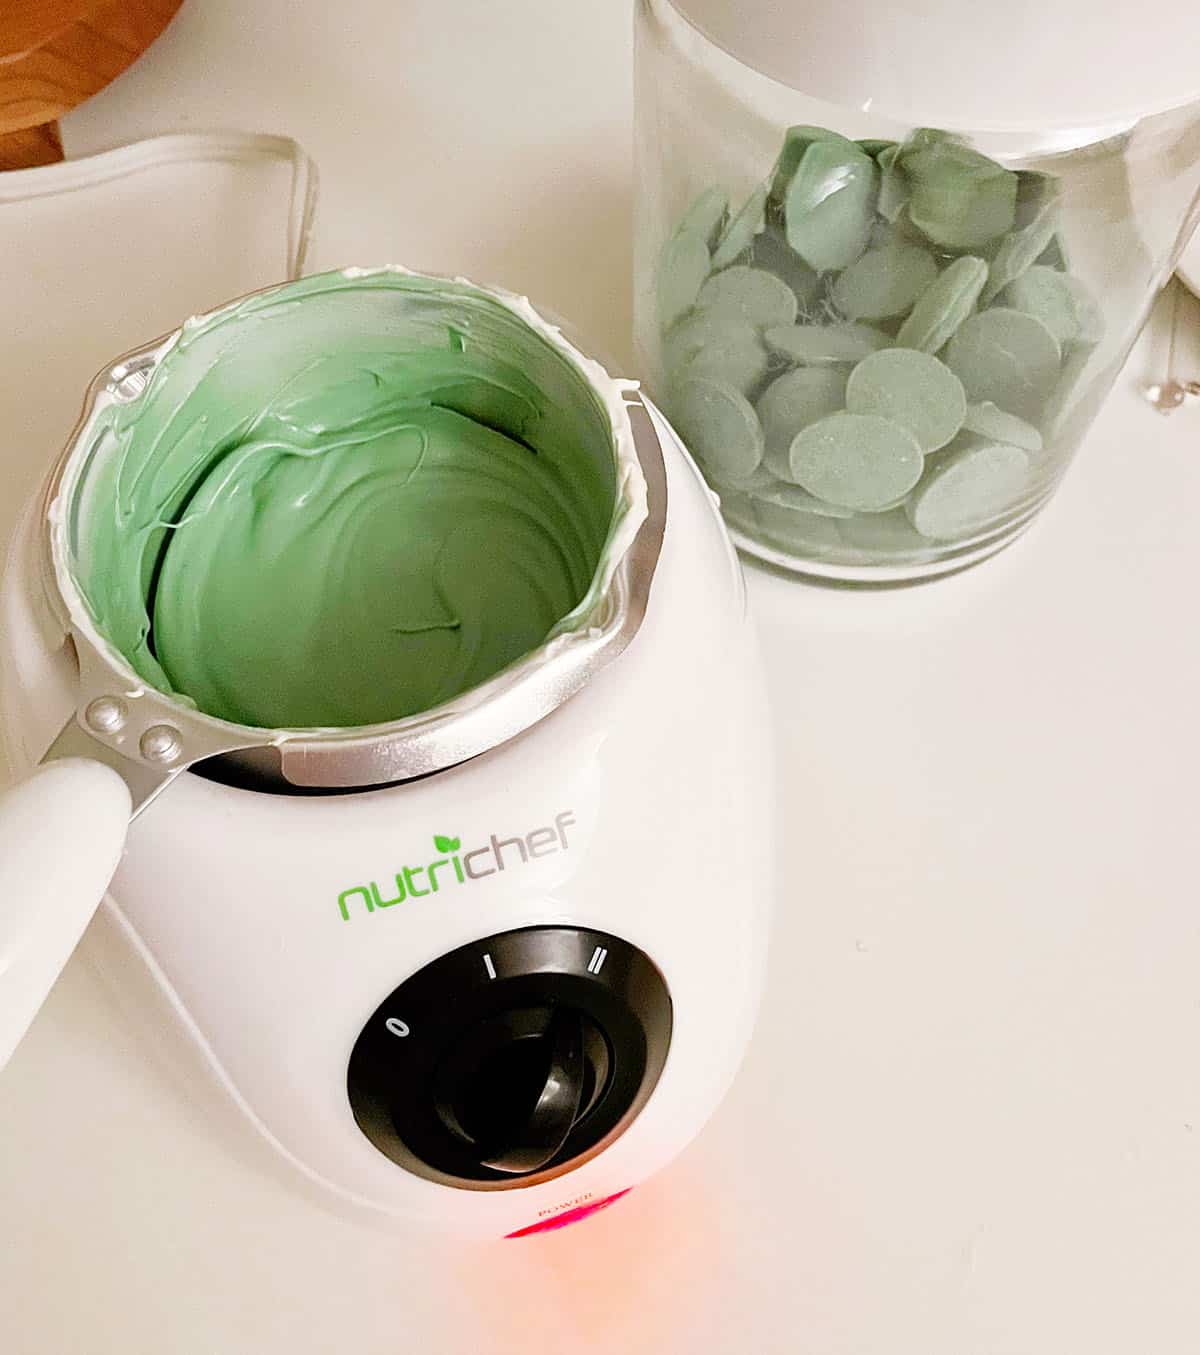
I usually melt candy melts in the microwave in 30-second increments. You could also use a double boiler or a chocolate melter like the one in the photo below.
If you need to thin your candy melts, you can stir in a teaspoon of canola or vegetable oil once melted.
6. Dip the cake pop stick in the melted chocolate.
7. Push the stick 2/3 through a cold cake pop.
8. Dip the pop in the melted chocolate.

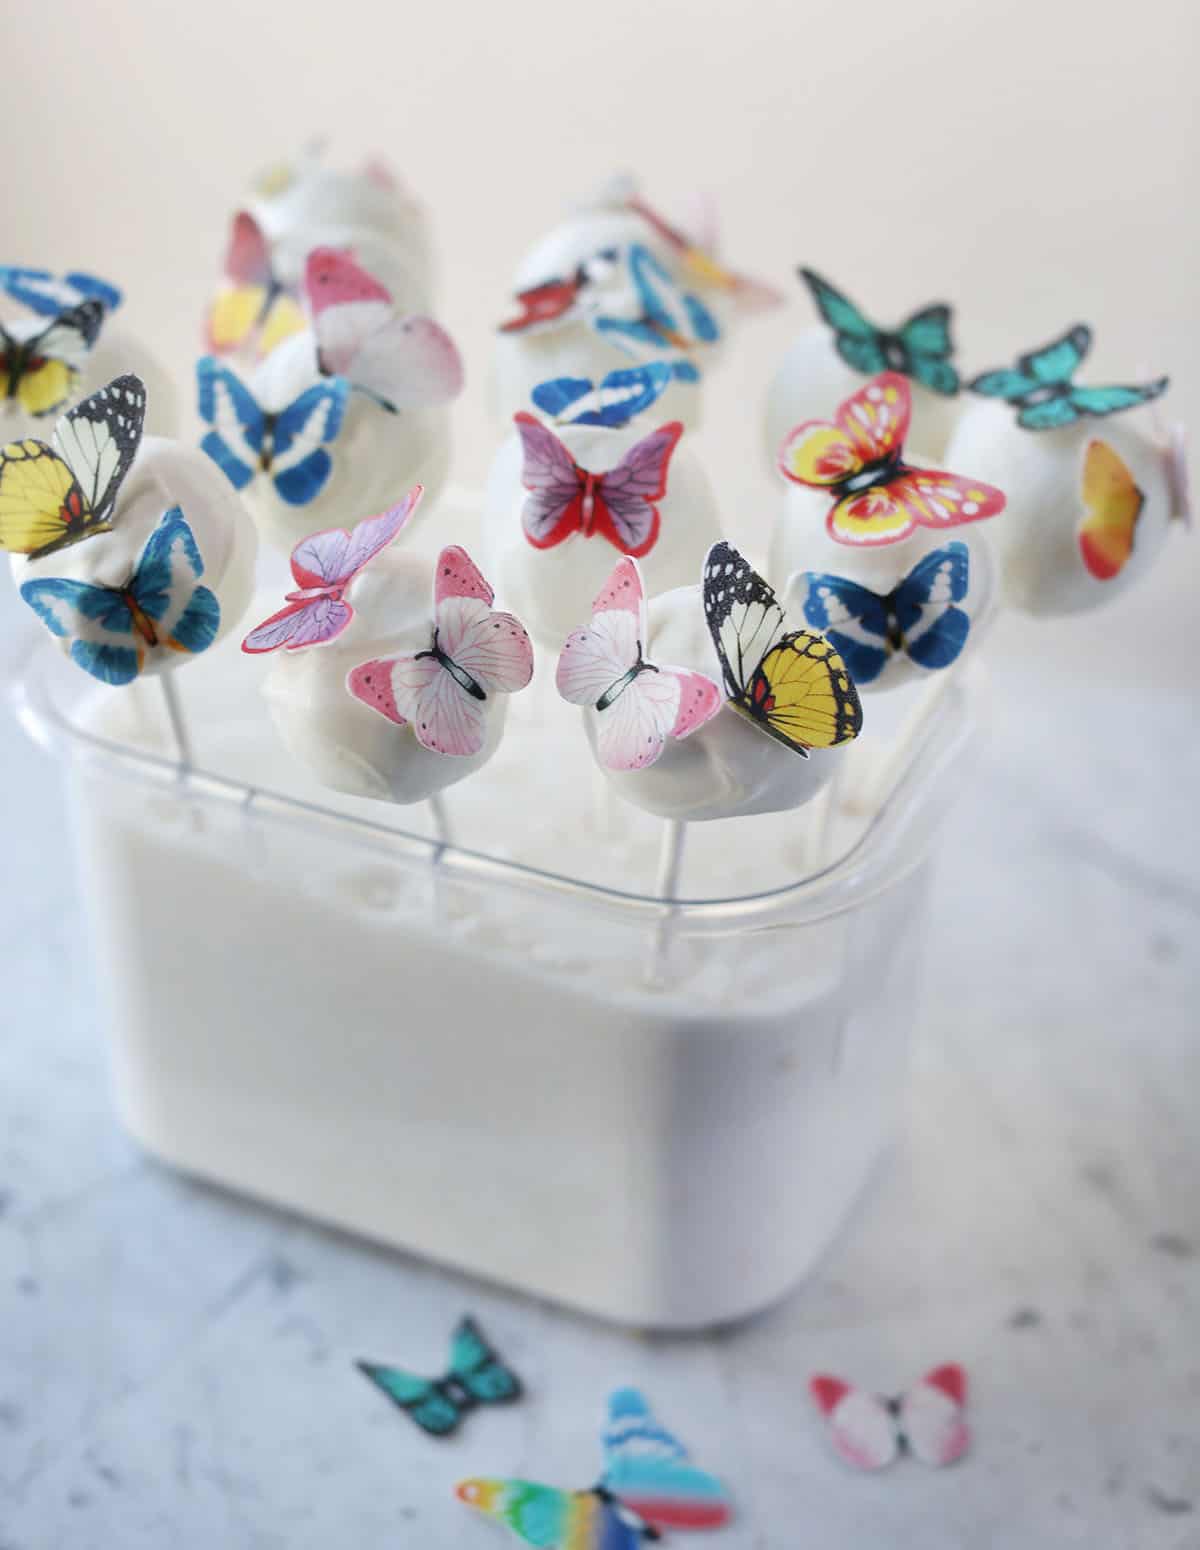
9. Allow any excess chocolate to drip off the pop. Then, store the cake pop upright while it sets (unless you don’t mind a flat bottomed cake pop).
You can do this a number of ways, but I like to stick the pops into a container that is filled with granulated white sugar.
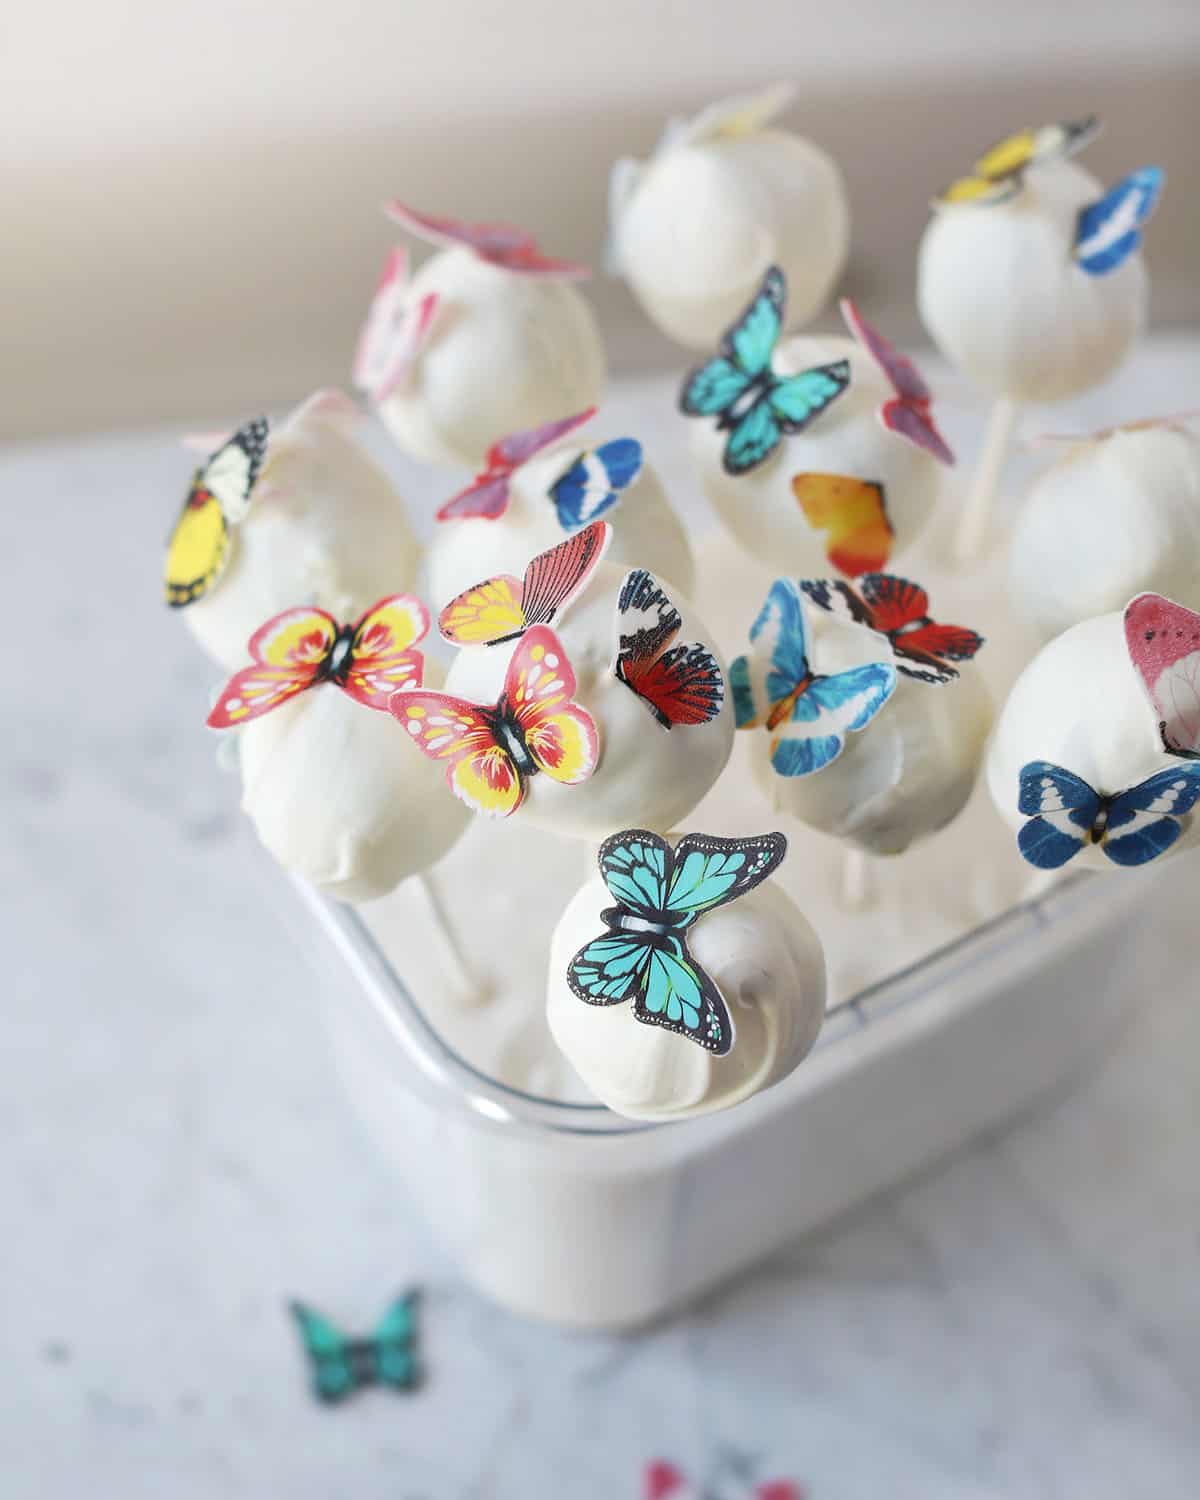
You can decorate your cake pops all sorts of ways! I like to drizzle on a bit more chocolate after I’ve dipped all the pops, just to add some texture.
Or I will add sprinkles or other edible decorations, like these edible butterflies. Once the chocolate is set, these are ready to eat.
I tend to keep cake pops pretty simple as far as the decorating goes. But, if you want to make more elaborate shapes or different cake pop looks, then I recommend checking out the Bakerella site. Angie is the queen of cake pops!
1 / 2 / 3 / 4 / 5 / 6 / 7 / 8 / 9 / 10 / 11 / 12 / 13
If you like cake pops, try making Cakesicles too!
Get our FREE recipe guide with our most popular recipes of all time!

Free Popular Recipe Guide
Our top 25 recipes of all time!
 Get the Recipe

Ingredients
- 1 box cake mix (any flavor)
- 1 container frosting (store-bought)
Instructions
- Bake a cake from a cake mix (any flavor). Allow to fully cool.
- Spoon the cake into a large mixing bowl and add 2/3 a container of frosting.
- Use your clean hands to mix together the frosting and cake.
- Form your cake pop batter into small balls, about 3-4 tablespoons each. You don’t want them to be too big, just so they easily fit in the palm of your hand.
- Once you have formed all your pops (a standard size cake will make around 35-40 pops), put them in the refrigerator for 1-2 hours or the freezer for half an hour.
- While those are in the refrigerator, melt the candy melts and get your other supplies ready.
- Dip the end of cake pop stick in the melted chocolate.
- Push the stick 2/3 through a cold cake pop.
- Dip the pop in the melted chocolate.
- Allow any excess chocolate to drip off the pop.
Notes
Nutrition
Notice: Nutrition is auto-calculated, using Spoonacular, for your convenience. Where relevant, we recommend using your own nutrition calculations.

Wow, this guide is amazing! 😍 I’ve tried making cake pops before, but your step-by-step tips make it so much easier. I especially love the decorating ideas with edible butterflies. Definitely bookmarking for next weekend
super helpful and inspiring!
The blog post “How To Make Cake Pops” on A Beautiful Mess offers a comprehensive guide to crafting delicious and visually appealing cake pops at home. It includes step-by-step instructions, tips, and creative ideas to help you perfect your cake pop-making skills. For those looking for an effortless way to enjoy these treats, Candy’s Cake Pops provides a convenient solution. You can Order cake pops online through our website, Candy’s Cake Pops, and explore our range of Custom cake pops that are perfect for any occasion.
My baby wanted cake pops
for her 4th birthday. It was my first time making cake pops and I knew right where to turn for the recipe. Super easy to follow and I so appreciated the tips like dipping the stick into the chocolate first…game changer! My daughter helped and loved it.
Love making cake pops!
AMAZING! mouth-watering recipe. I will definitely try this recipe for my sister. I’m sure she would like it.
Nice info Bro!! Thanks for sharing https://www.themakemoneyonlinepro.com/
Tried these at work a couple of times, they are amazing indeed. Perfect lighter version of the good old cupcake!
My 9 year old daughter is starting a neighborhood bake club, and this is the first recipe they’re making today! They are having a blast. Didn’t realize how easy these were to make!
I am going to make these cake pops for my sons 3 year old bday party and I am going to attempt to make the characters of the show yo gabba gabba. I do have a question, what kind of sticks are you using? I really like yours cause they have a base to them.
I just tried making these and the cake pop has a horrible consistency, it almost tastes like its raw. The chocolate never melted to enough of a consistency where you could actually dip them. This recipe definitely needs some tweaking!
better yet…replace the oil in the cake mix with butter…replace the water with milk and add a box of instant pudding mix..makes the cake denser and more brownie like….bake..cool, crumble….now, to mix it easier, melt your can of frosting..pour it in..then shape…also, to make your sticks stay in place better…put a little bit of the melted candy chocolate on the tip if the stick when you put it in.
NEVER freeze your cake pops before dipping in chocolate..as, later on it will thaw, and crack your decorated pop…
Do you use 2 cups of frosting for half of the cake mixture shown, or 2 cups for entire cake mixture?
thanks! these look delicious. I’m thinking about getting some white cake with red and blue food coloring and making patriotic cake pops tomorrow. =)
It looks delicious, perfect for dessert!
those look yummy!!!! can’t wait to try them:)
This is the first time I comment on your site, but I’ve been keeping up with your work for about a few months. I admire the passion with which you write the articles and hope someday I can do the same. Love
Can you freeze the cake pops after they are frosted?
Hello all, I am making money at home completing surveys online. So far i have made around 267$ this month. It is not that much, but it helps with some bills. Try it out and see if it can work for you: http://www.cashcrate.com/1381620 They also have a great program for referring people to their website as well.
i love cake pop it’s very interesting cake for my baby
I’m making these tonight with one of my girlfriend
‘s
I’m super stoked.