 Just wanted to share a project I recently completed—painting my old upright piano. I shared about this on Instagram, but I got this piano about two years ago from Craigslist (for FREE, I just had to have to moved). When I got it tuned, the gentleman who tuned it let me know that it was in very poor condition and has some issues that would cost a lot more to fix than the instrument is worth. I don’t even play piano, I just have a few people in my life who do. So, although this was disheartening news, it wasn’t necessarily that surprising. I mean, a lady who doesn’t play piano got a free one off the internet and turns out it’s not worth much—go figure. 🙂
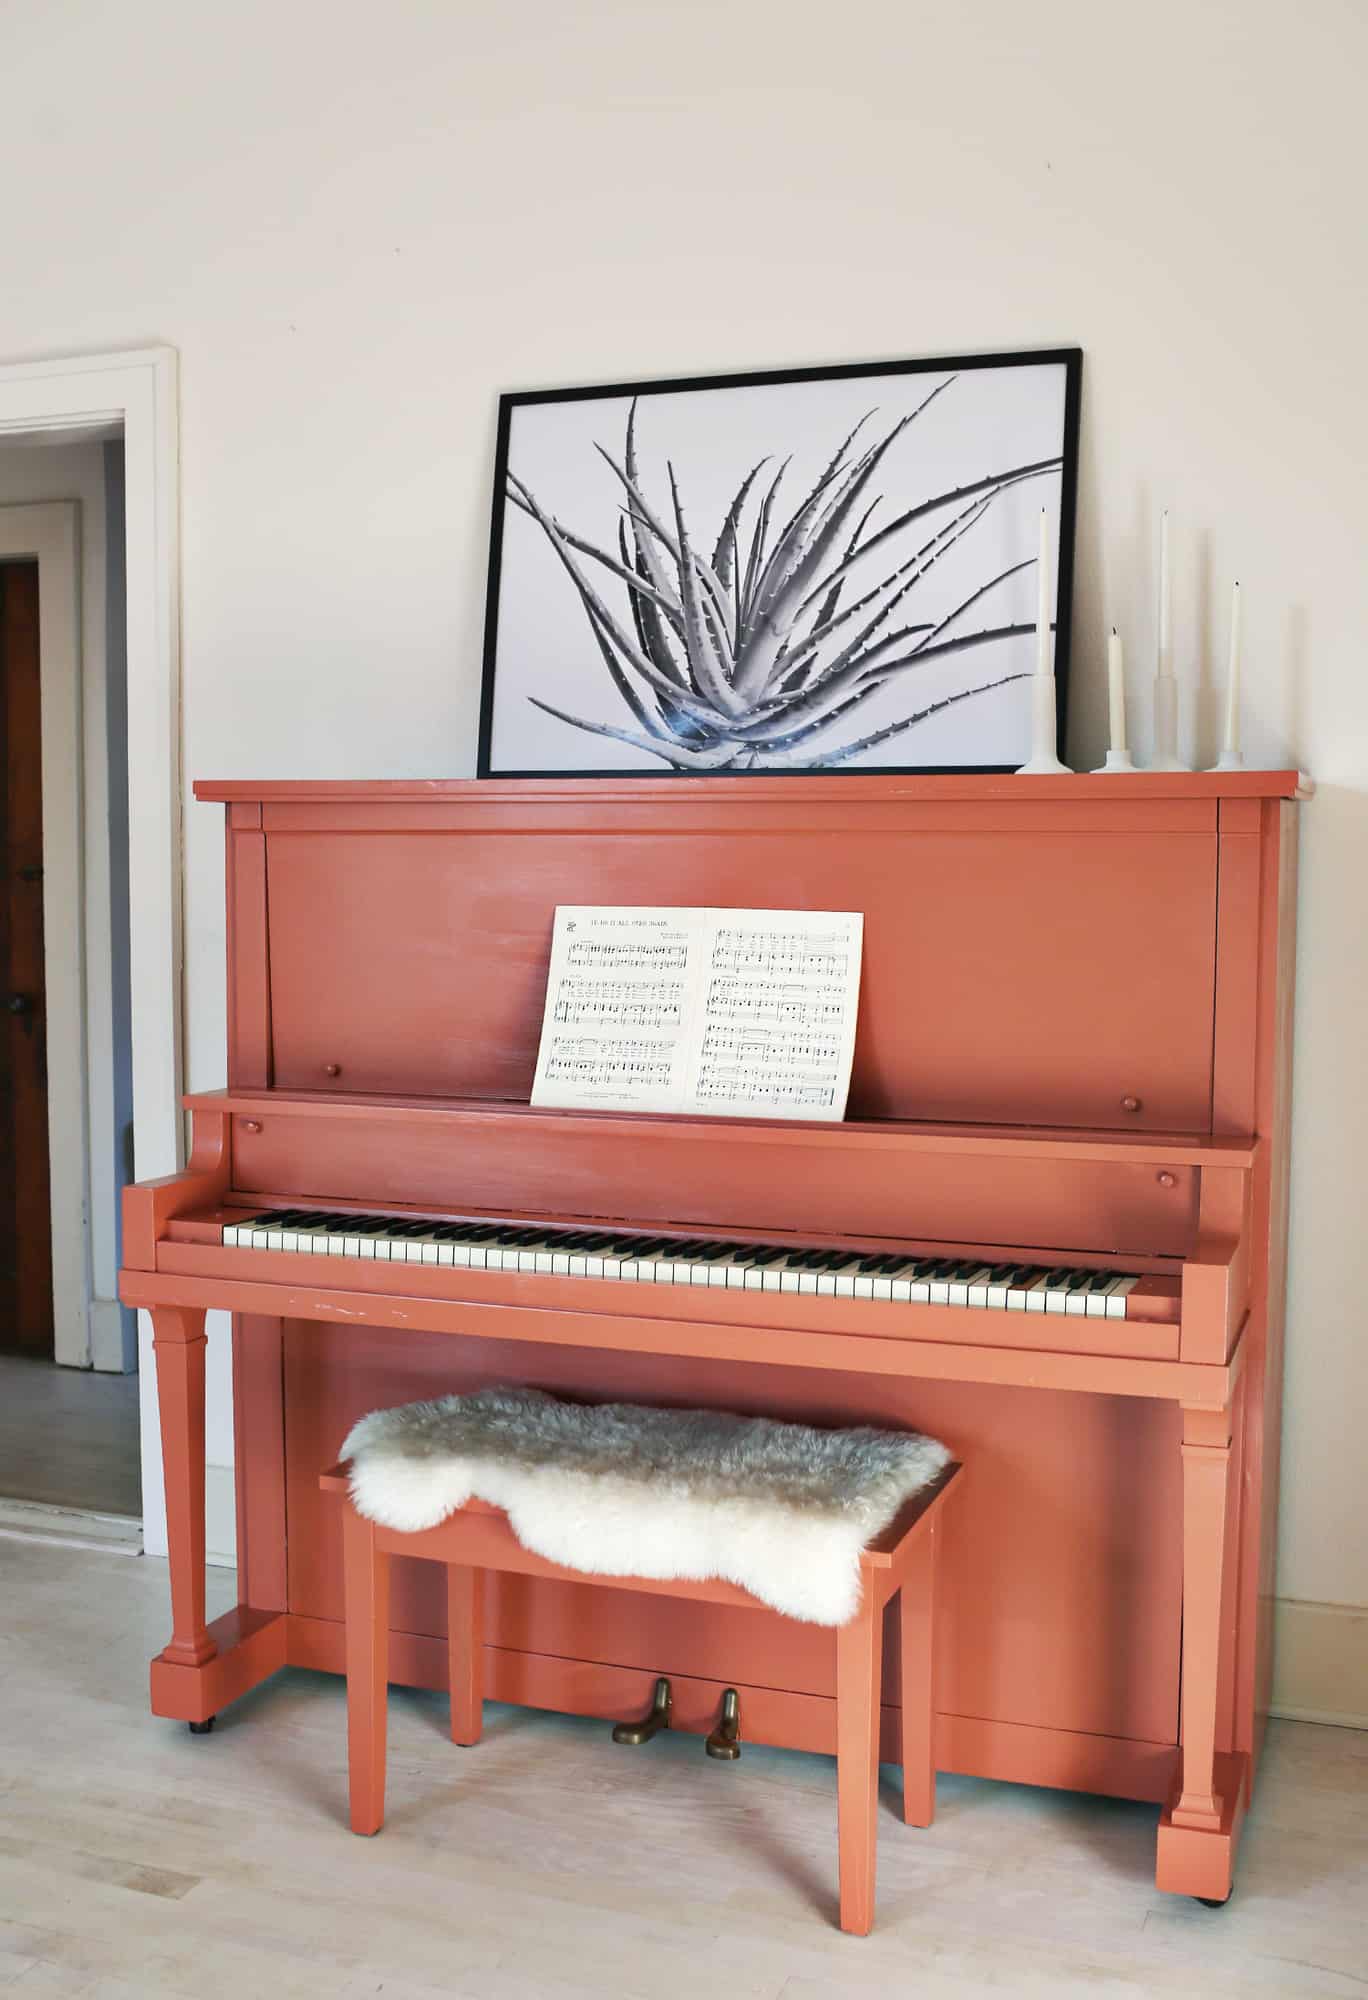 I was considering paying to have to hauled off, but then I thought, why not keep it at least a few more years and just think of it as more of a decor item than an instrument? You can technically play this piano, but it has a few dead keys and some issues like that. Anyway, once I started thinking about it as a decor item, that really changed my perspective! And that’s when I made the decision to paint it. I used Elsie’s tutorial for painting kitchen cabinets because I wanted the paint to last and not be sticky. The whole project took two days and less than $50. I’m really happy with how it turned out!
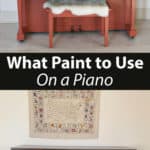
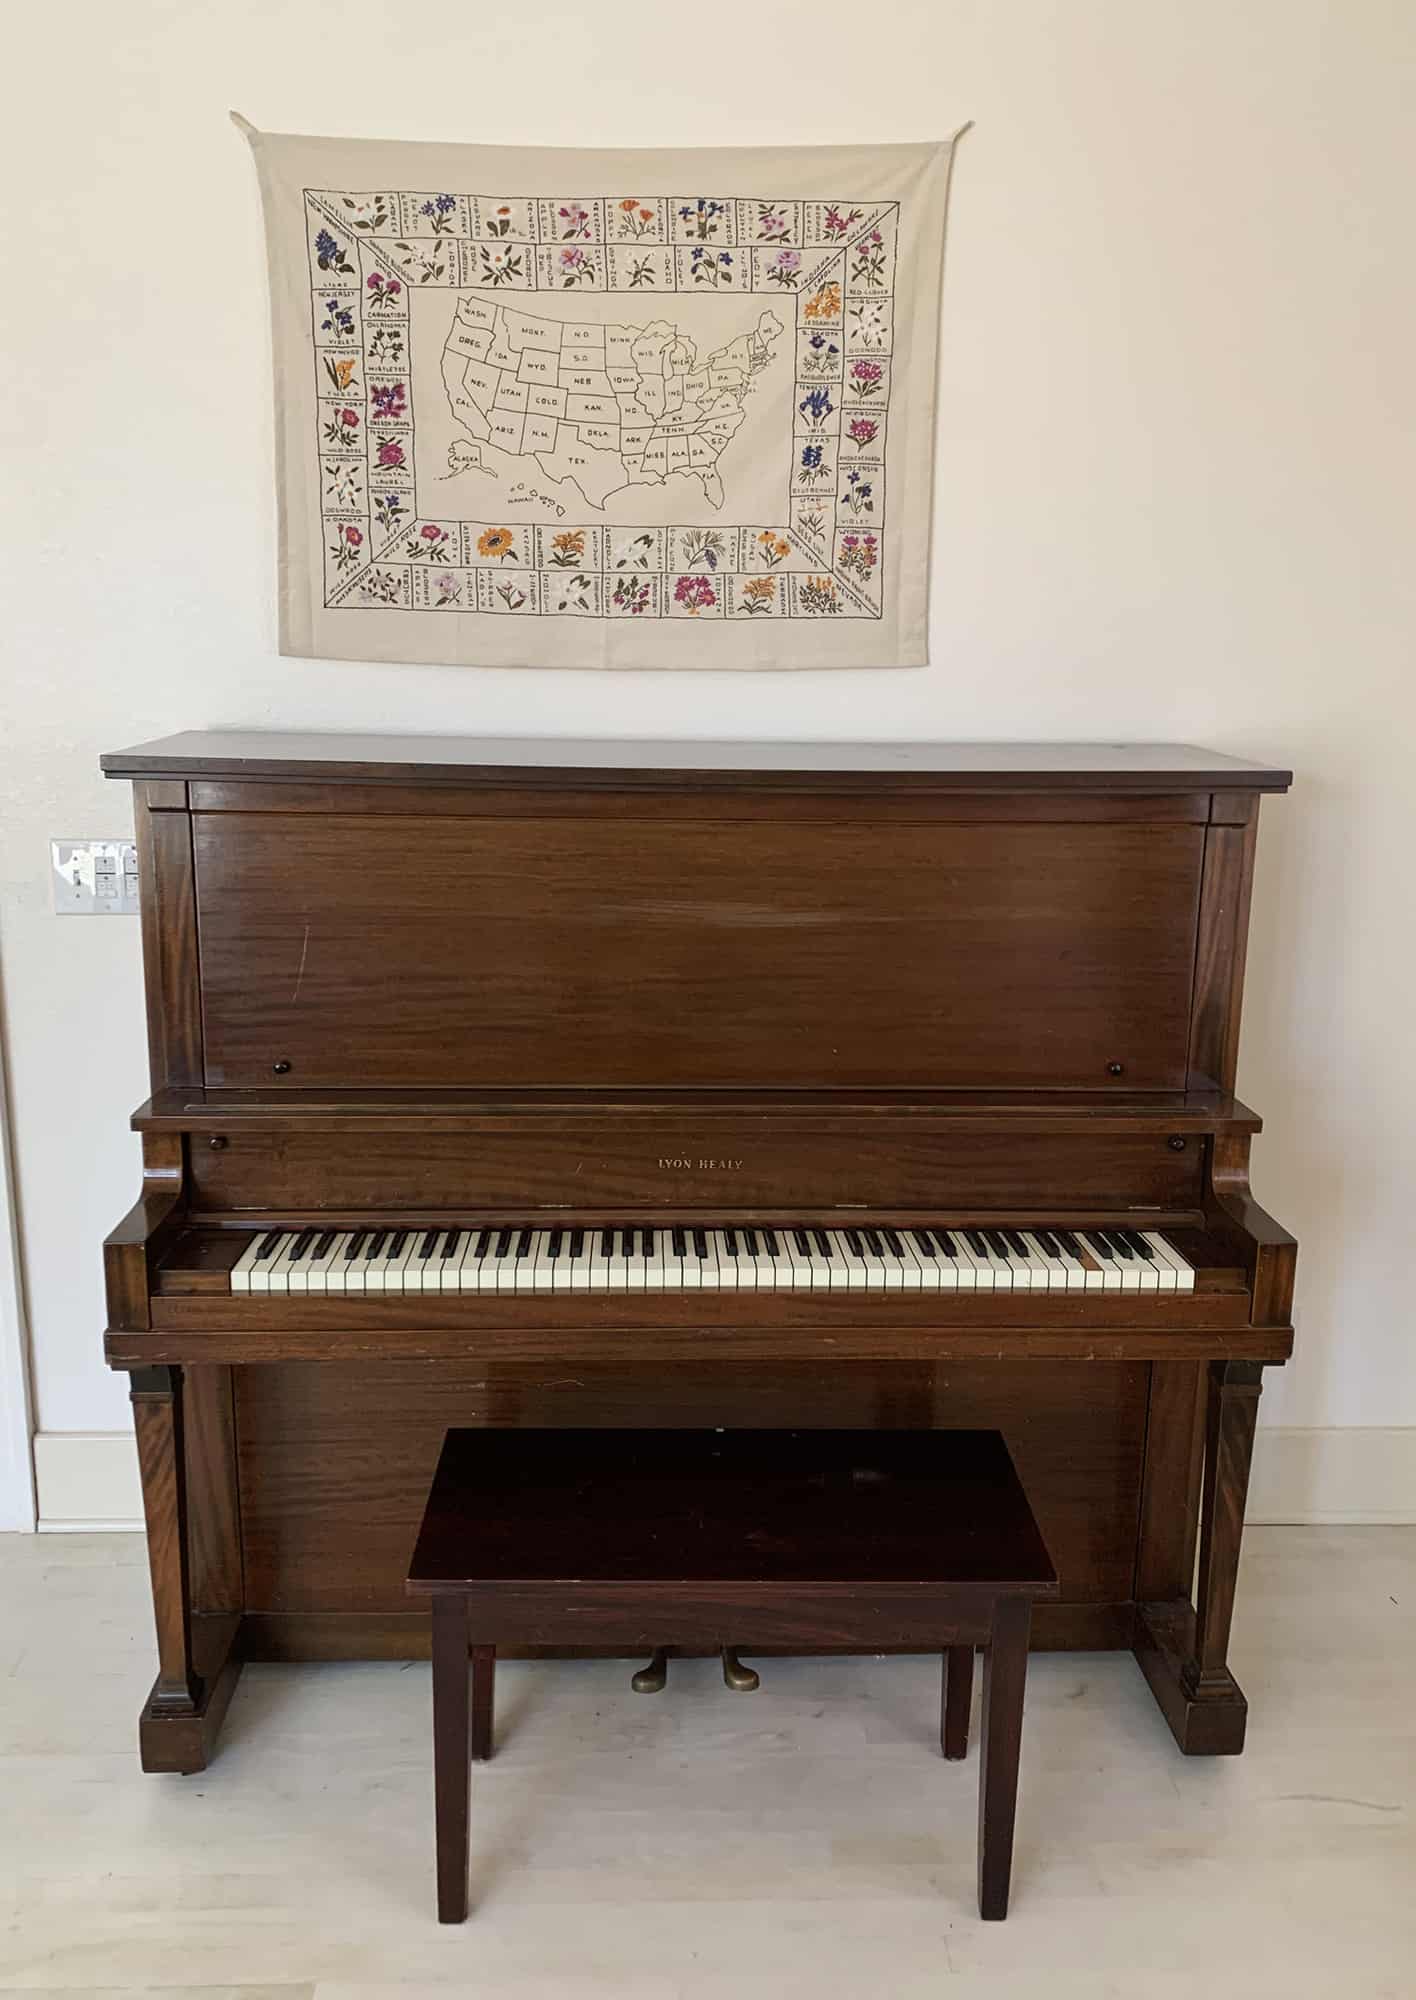 Here was the piano before. And no, the bench didn’t match. Like I said, it was FREE. 🙂
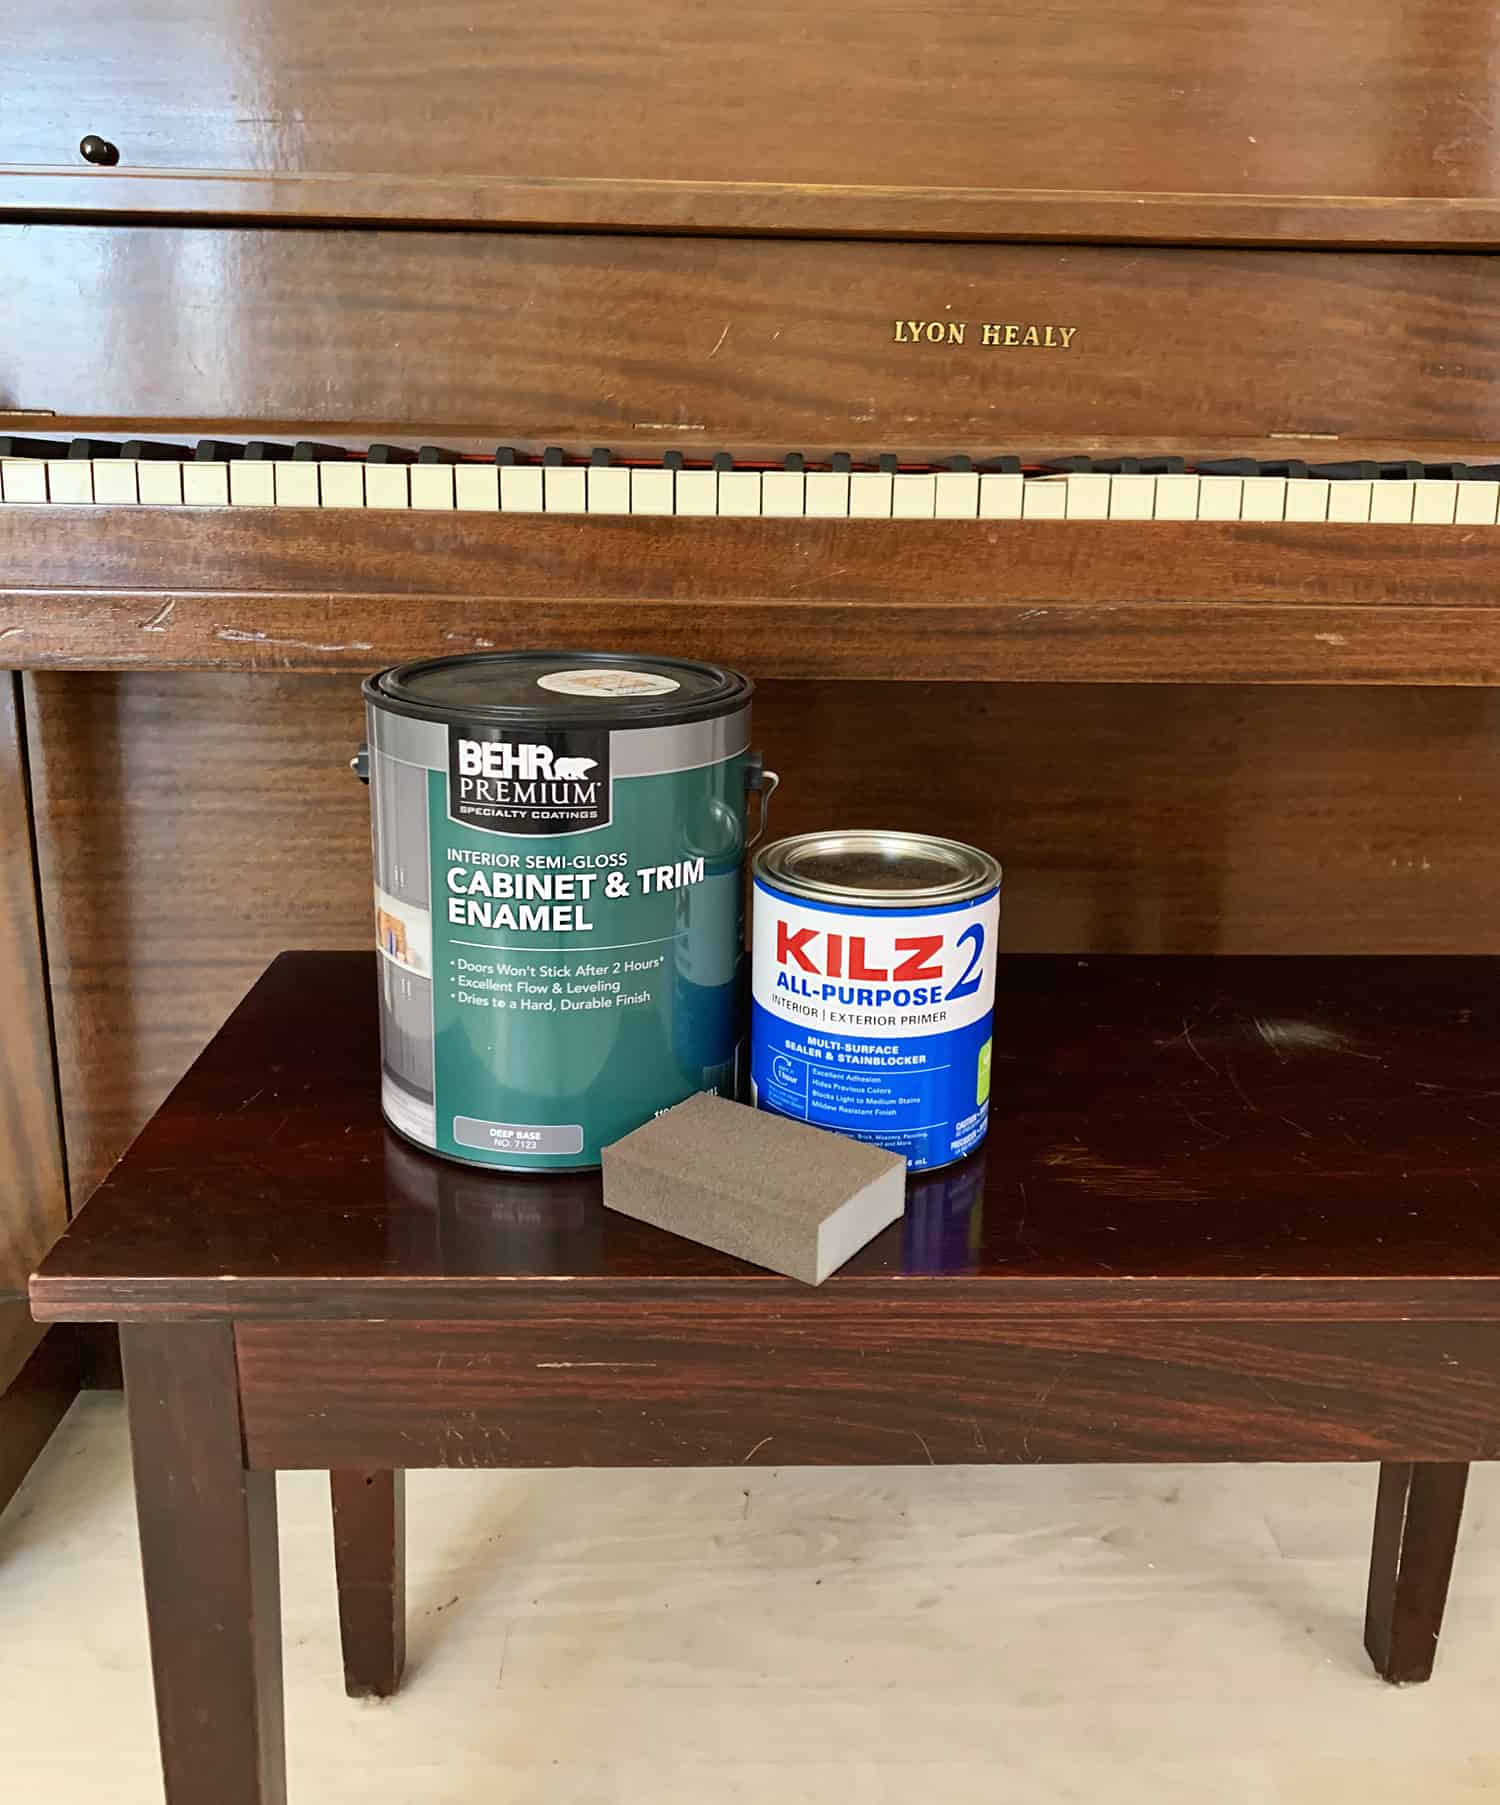 Supplies:
–Cabinet & Trim Enamel Paint (I used Behr “Terra Cotta Urn” PPU2-12)
–Primer
–Fine sanding block
–Degreasing all-purpose cleaner + rag
–Paint brushes + drop cloth
–Painter’s tape
I think what really made this project turn out so well was the fact that I used cabinet paint instead of latex interior wall paint. Just make sure you paint in a well ventilated area, as the fumes are a bit worse than standard wall paint. Generally speaking, you should always paint in a well ventilated area.
 Step One: Clean the surface of the piano, removing any dust or grease.
Step Two: Lightly sand the surface of the piano and bench. Run a clean rag over the surfaces after to remove the dust.
 Step Three: Tape off any areas needed. Then prime the surfaces.
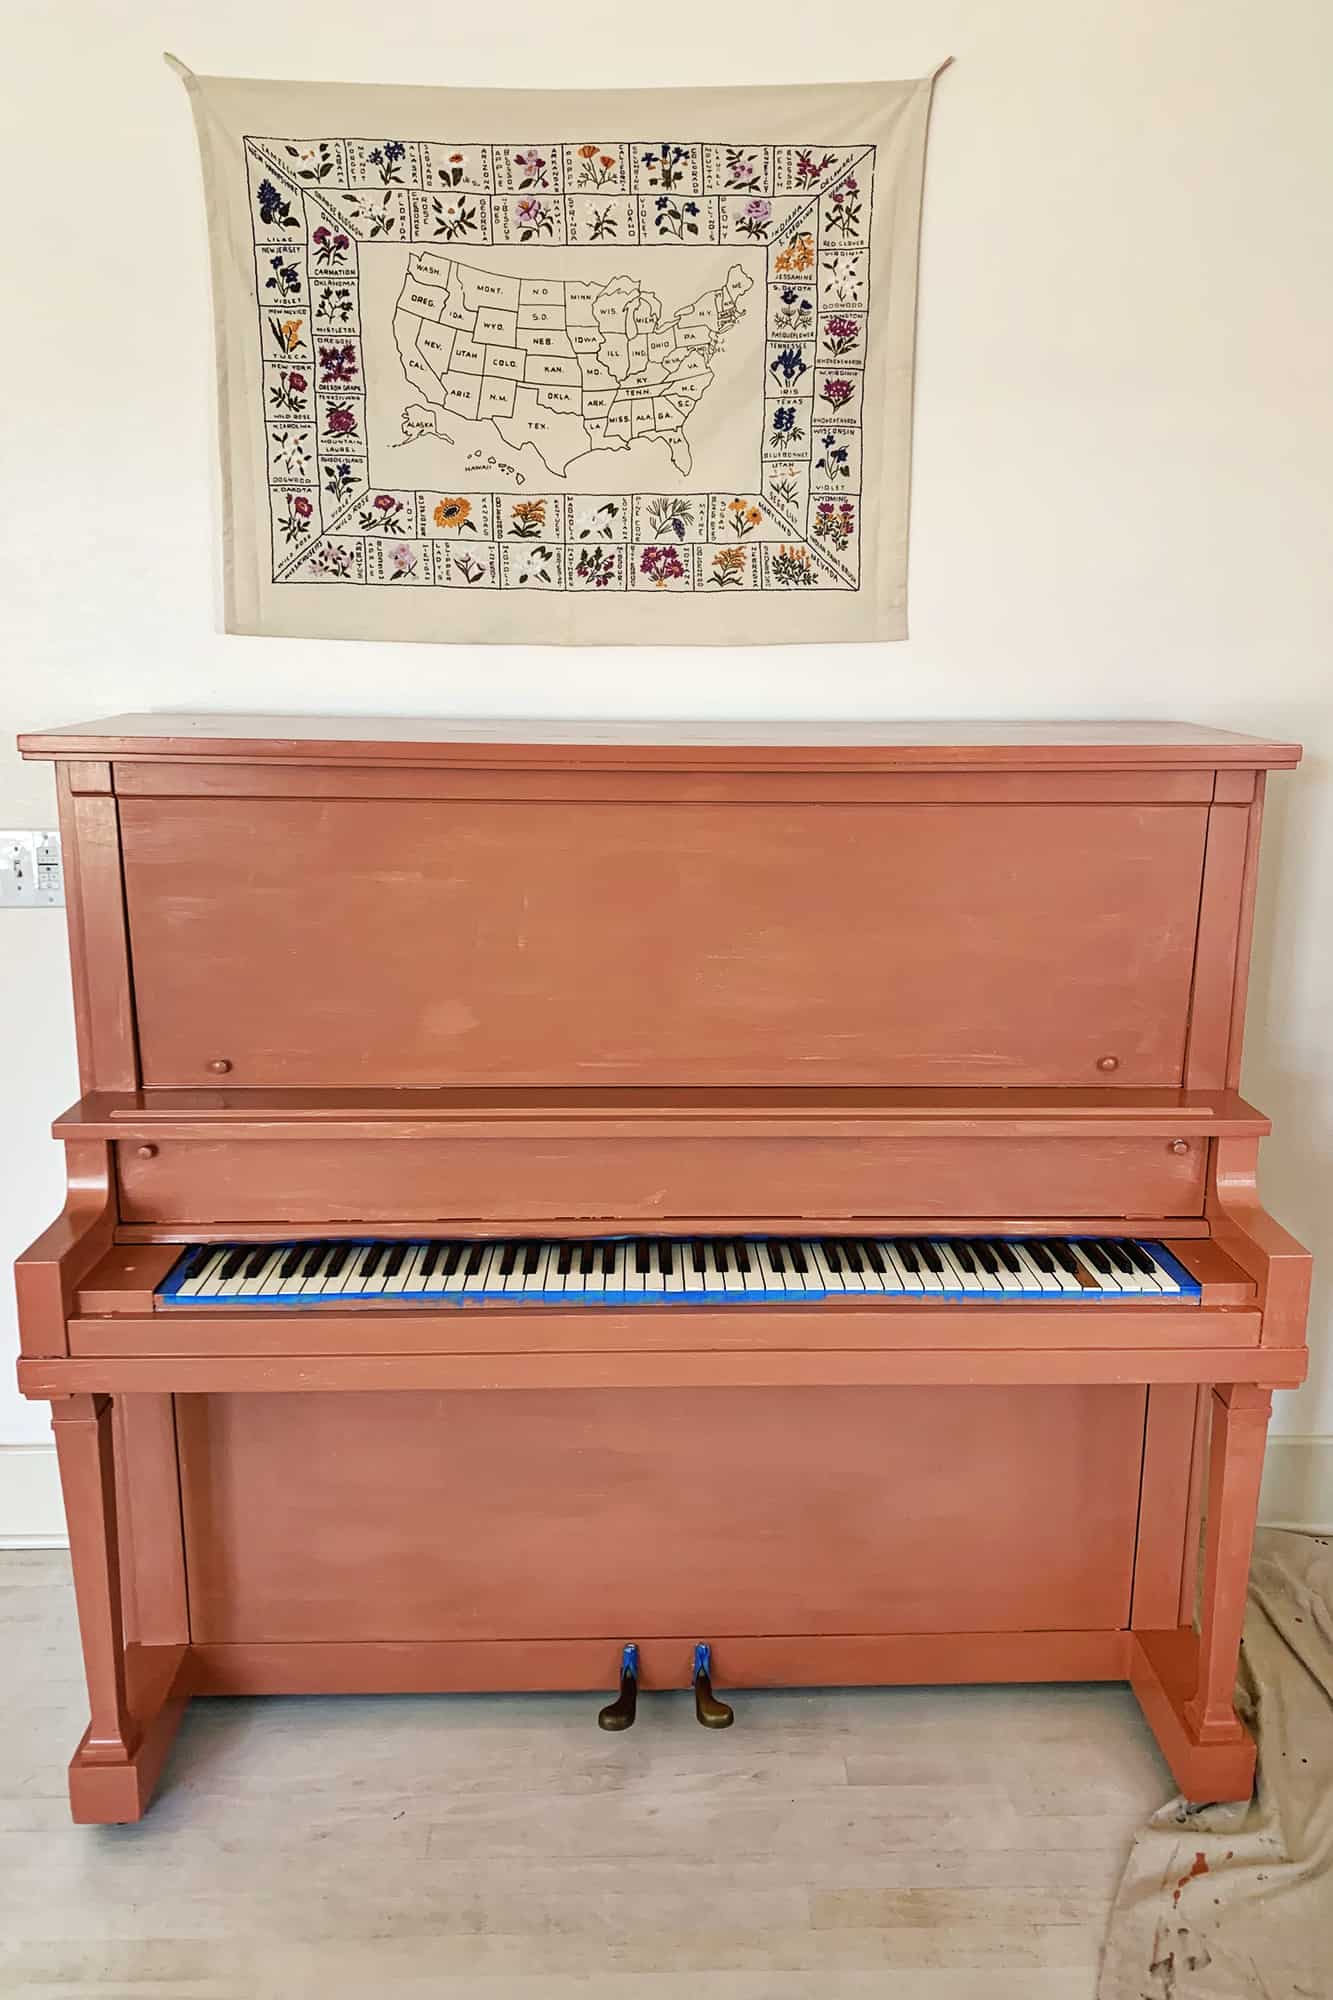 Step Four: Once the primer is dry, paint the surfaces with the cabinet paint. I used two coats, allowing the paint to fully dry between coats.
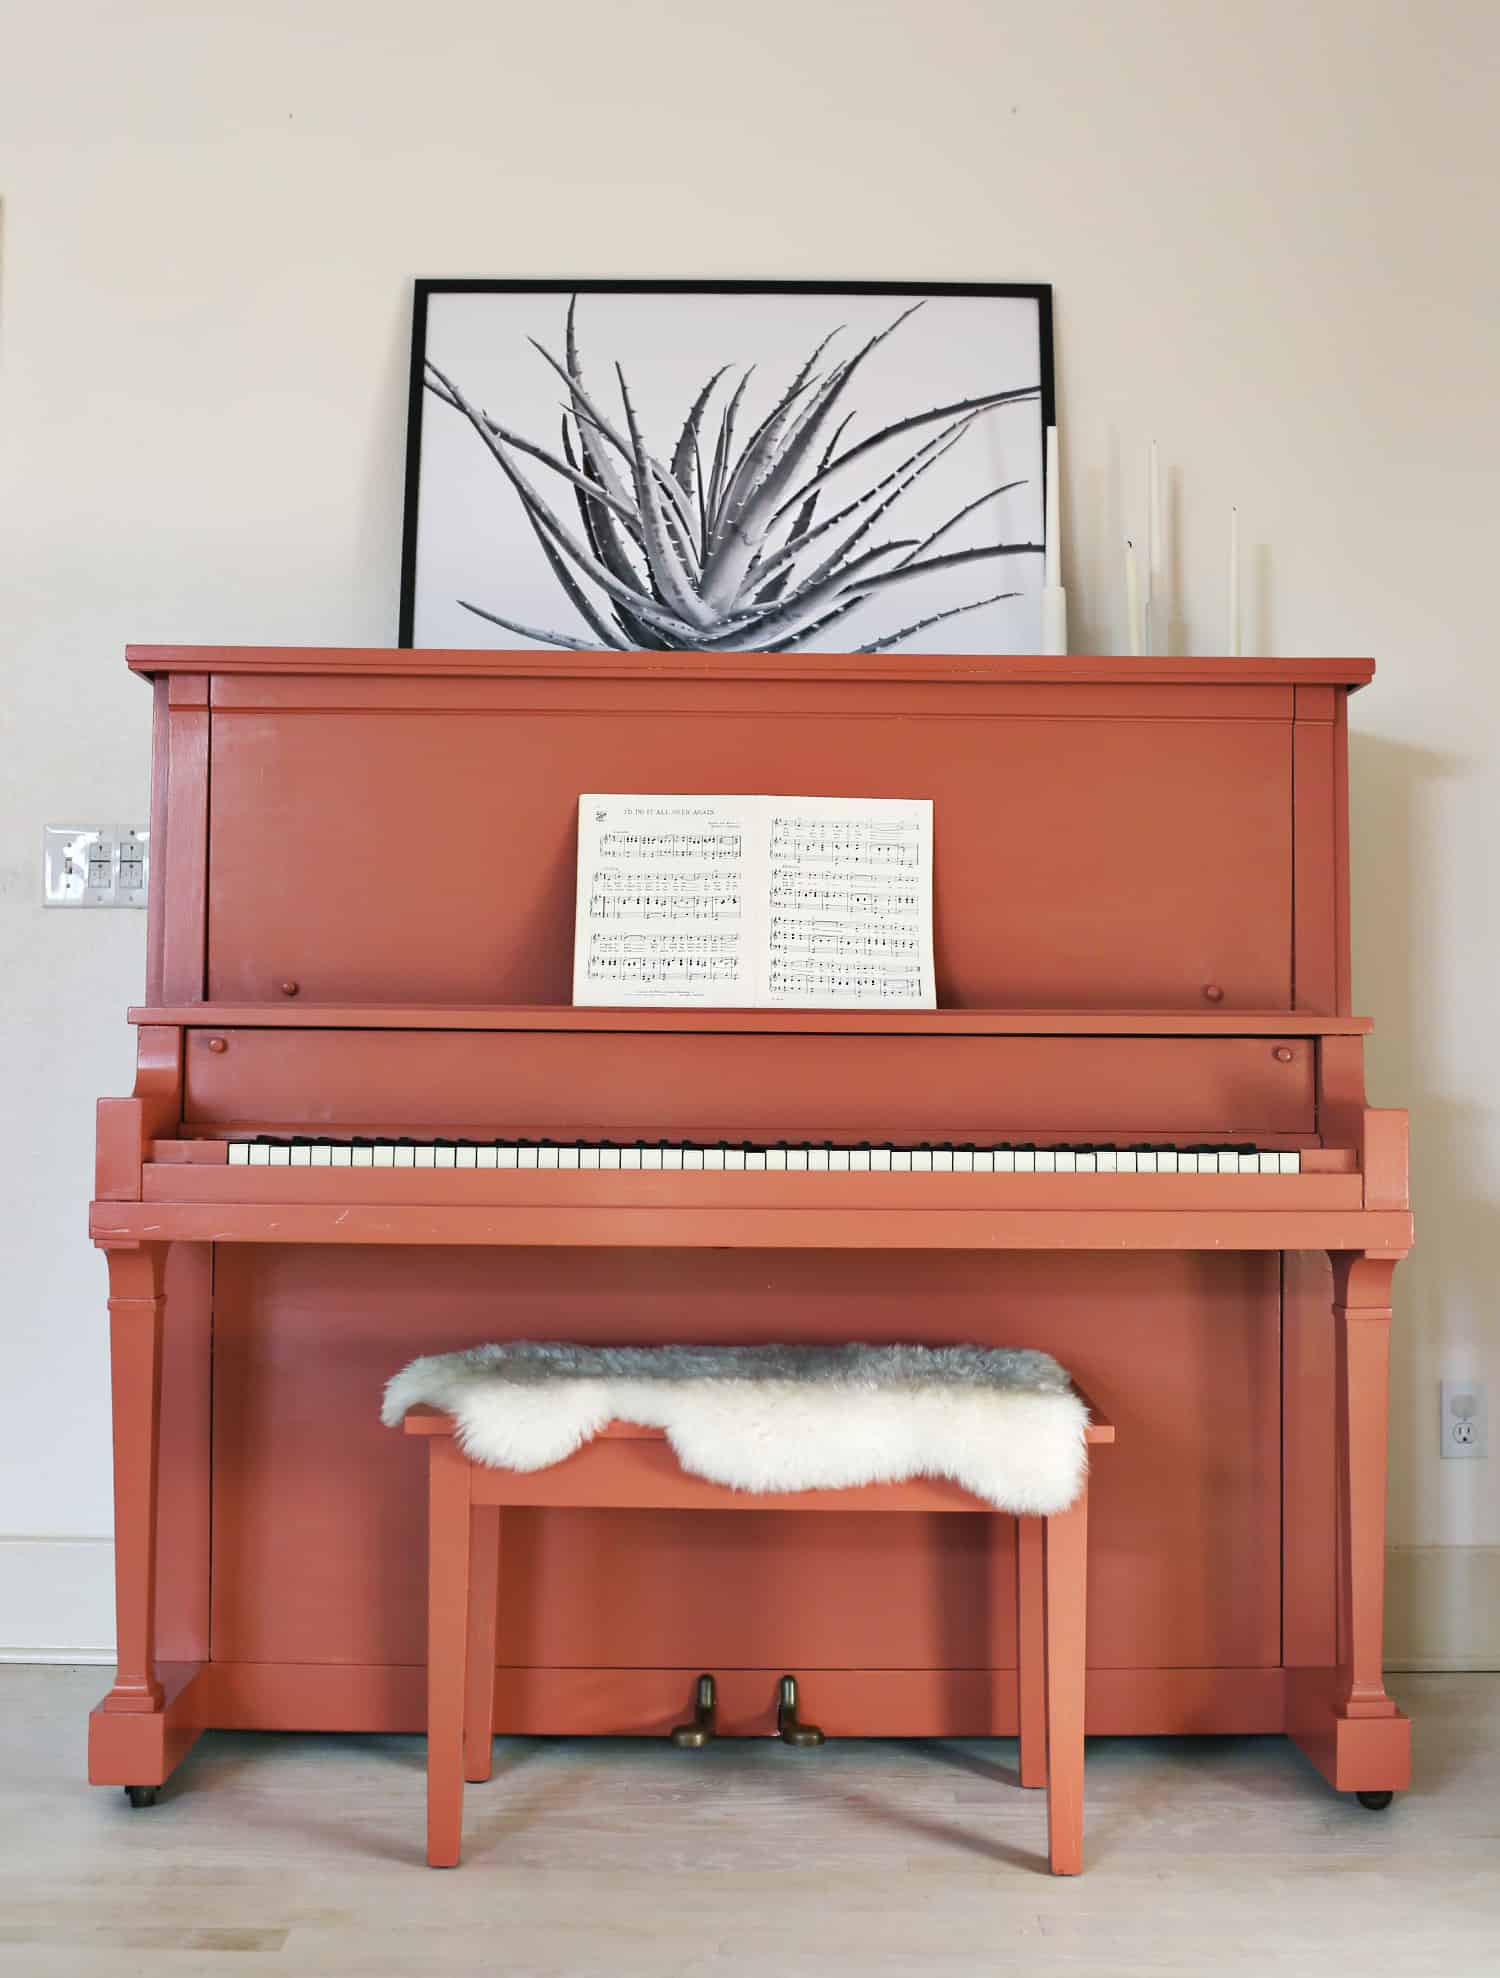
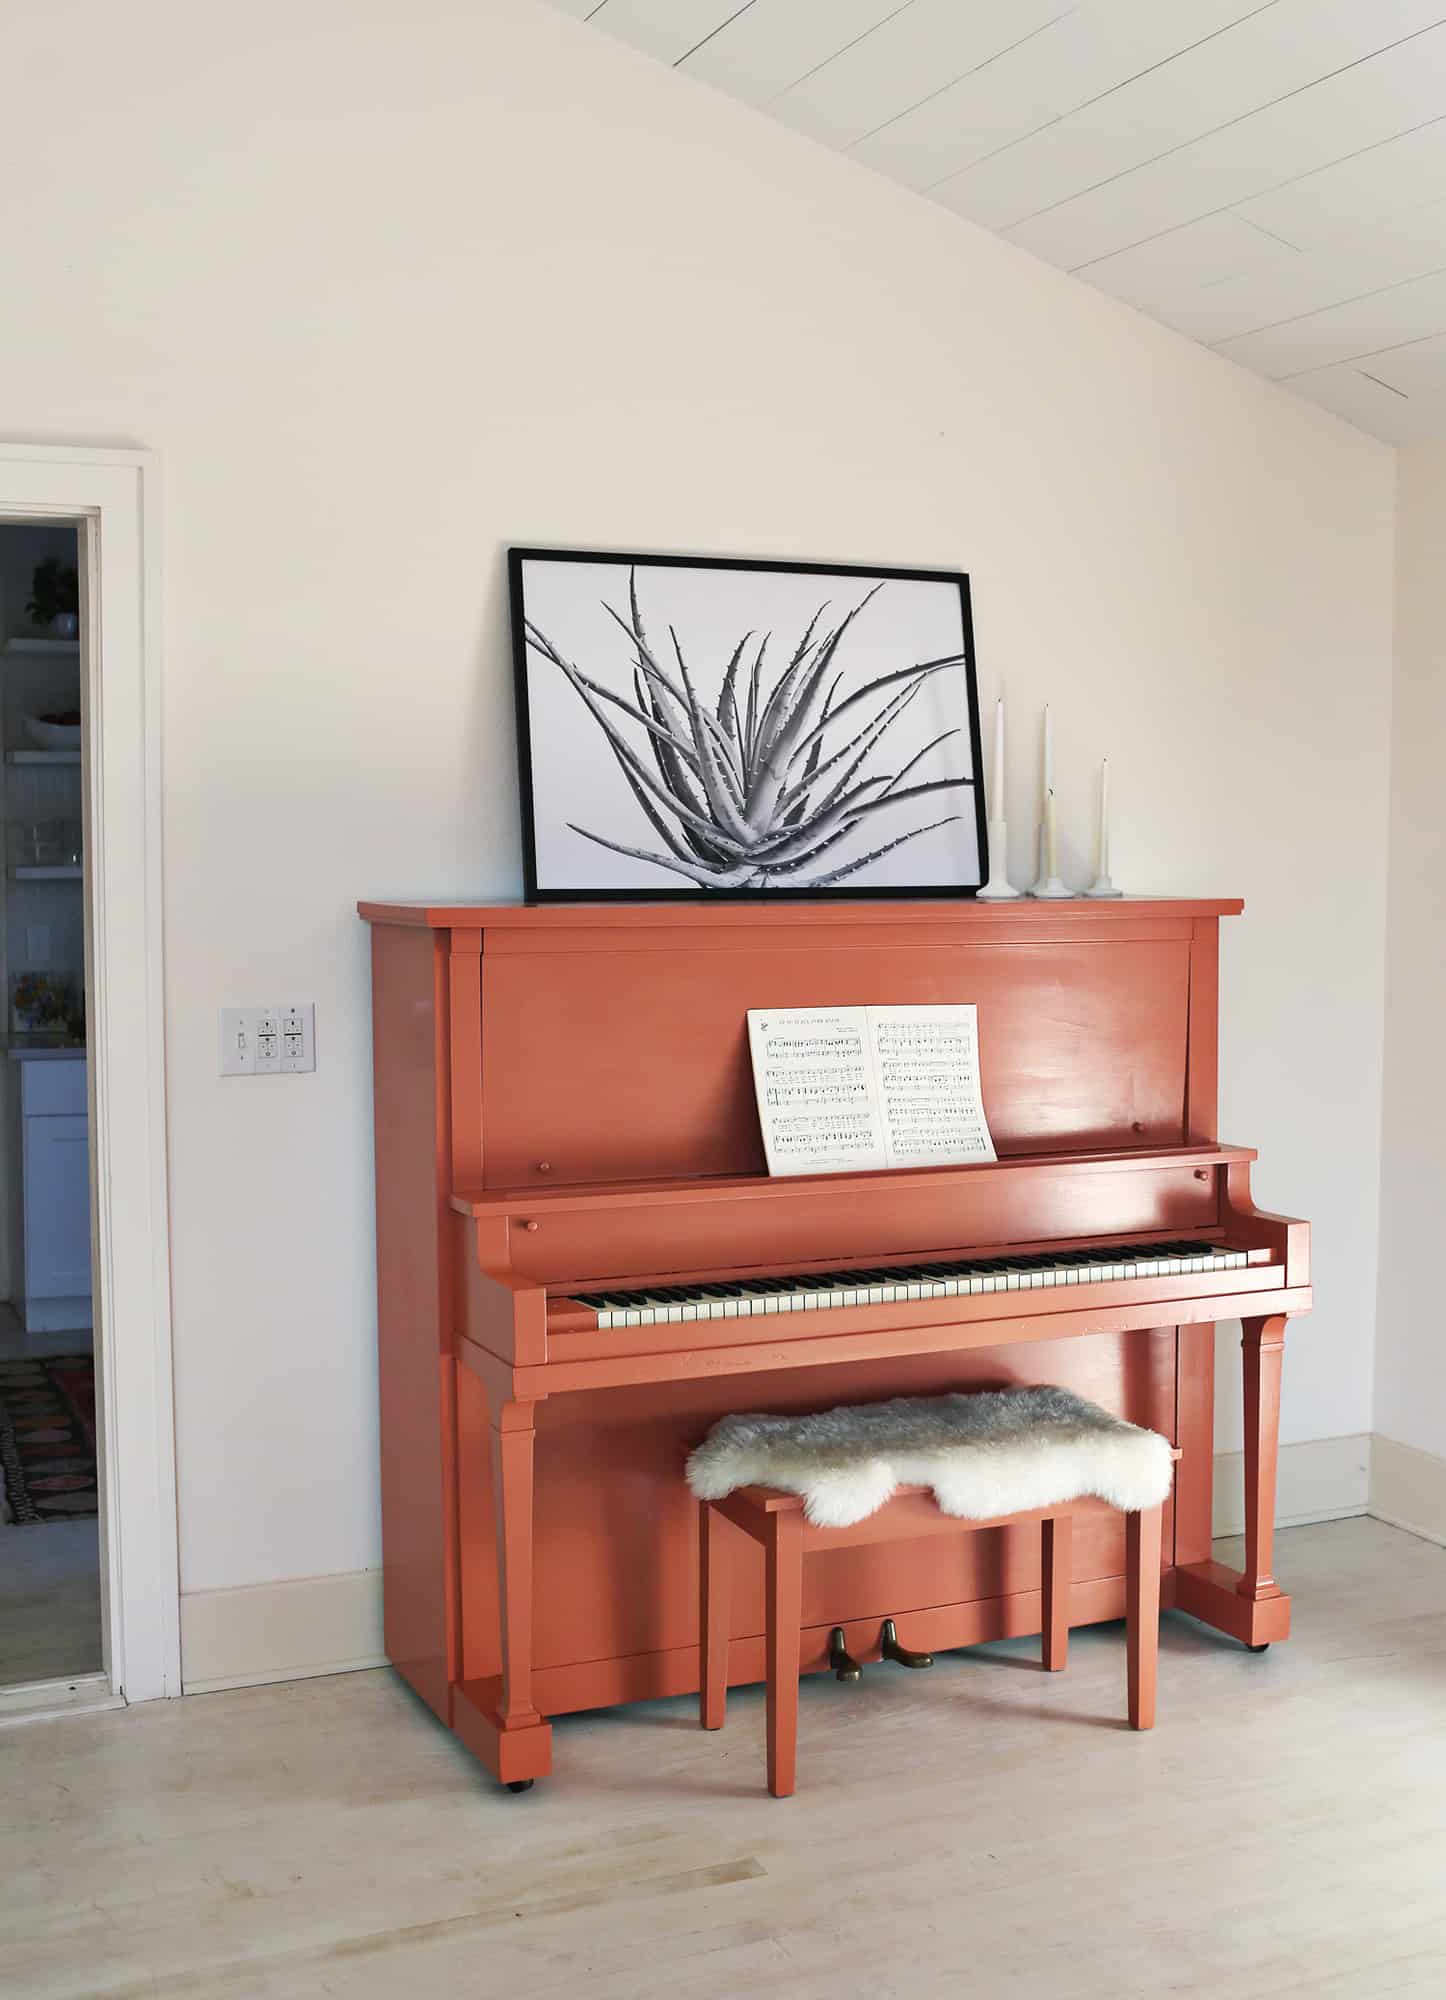 Painting my piano was simple, but a little time consuming to do. However, it only took up one weekend and I am so happy with how it turned out! Thanks for letting me share. xo. Emma
Thank you for the tutorial! I am totally going to paint my piano this month. I want to use the same color as well. Cant wait!
Hello Emma! How long did it take you to sand the piano?
I liked the result afterward. Added it to Pinterest.
Very nicely done! A decor piano in such a bold color is pretty neat!
I was wondering if you all thought that paint would be a good option to paint a table top. My dining table has been stained so so much and we were thinking painting it might make it a little less “high maintenance” with two messy little kids. Thanks!
I think so. This paint (cabinet paint) dries very hard so that’s what I would use on a tabletop that gets used often.
Cute! NB If you are painting an instrument that you do intend to play, be sure not to paint the sound board (the back!)
I just got done sanding an old piano i picked up at a school auction! I decided to whitewash it. Might do some decorative painting on it, but haven’t decided what…
Whitewashing / staining it sounds pretty!
I never would have thought of painting a piano (clearly I’m not very creative), but it looks SO charming and great! So glad that you were able to use it in such a cute way. 🙂
I love it! Did you use a brush or a roller for your final coats? It looks like you can’t see any brush strokes at all!
I used a brush. Thank you! There is one brush stroke I can see IRL that drives me a little nuts, but I’m not perfectionist I must admit.