 Hello, there! I’m Ren. I’ve been a longtime reader of ABM and I’m so excited to be sharing lettering tips on here today. A little about me—I’m the owner of my little home business, NomBox. I make sweets for special occasions and teach workshops on how to decorate cakes and cookies when possible. I hope you enjoy the tips and tricks I have in store for you all. Let’s talk about lettering on cookies. You’ve got this beautiful cookie and you want to write a quote, a date, or names on it. You see those professional looking cookies and you think to yourself, “I could never make that” or “my penmanship sucks!” So, you give up.
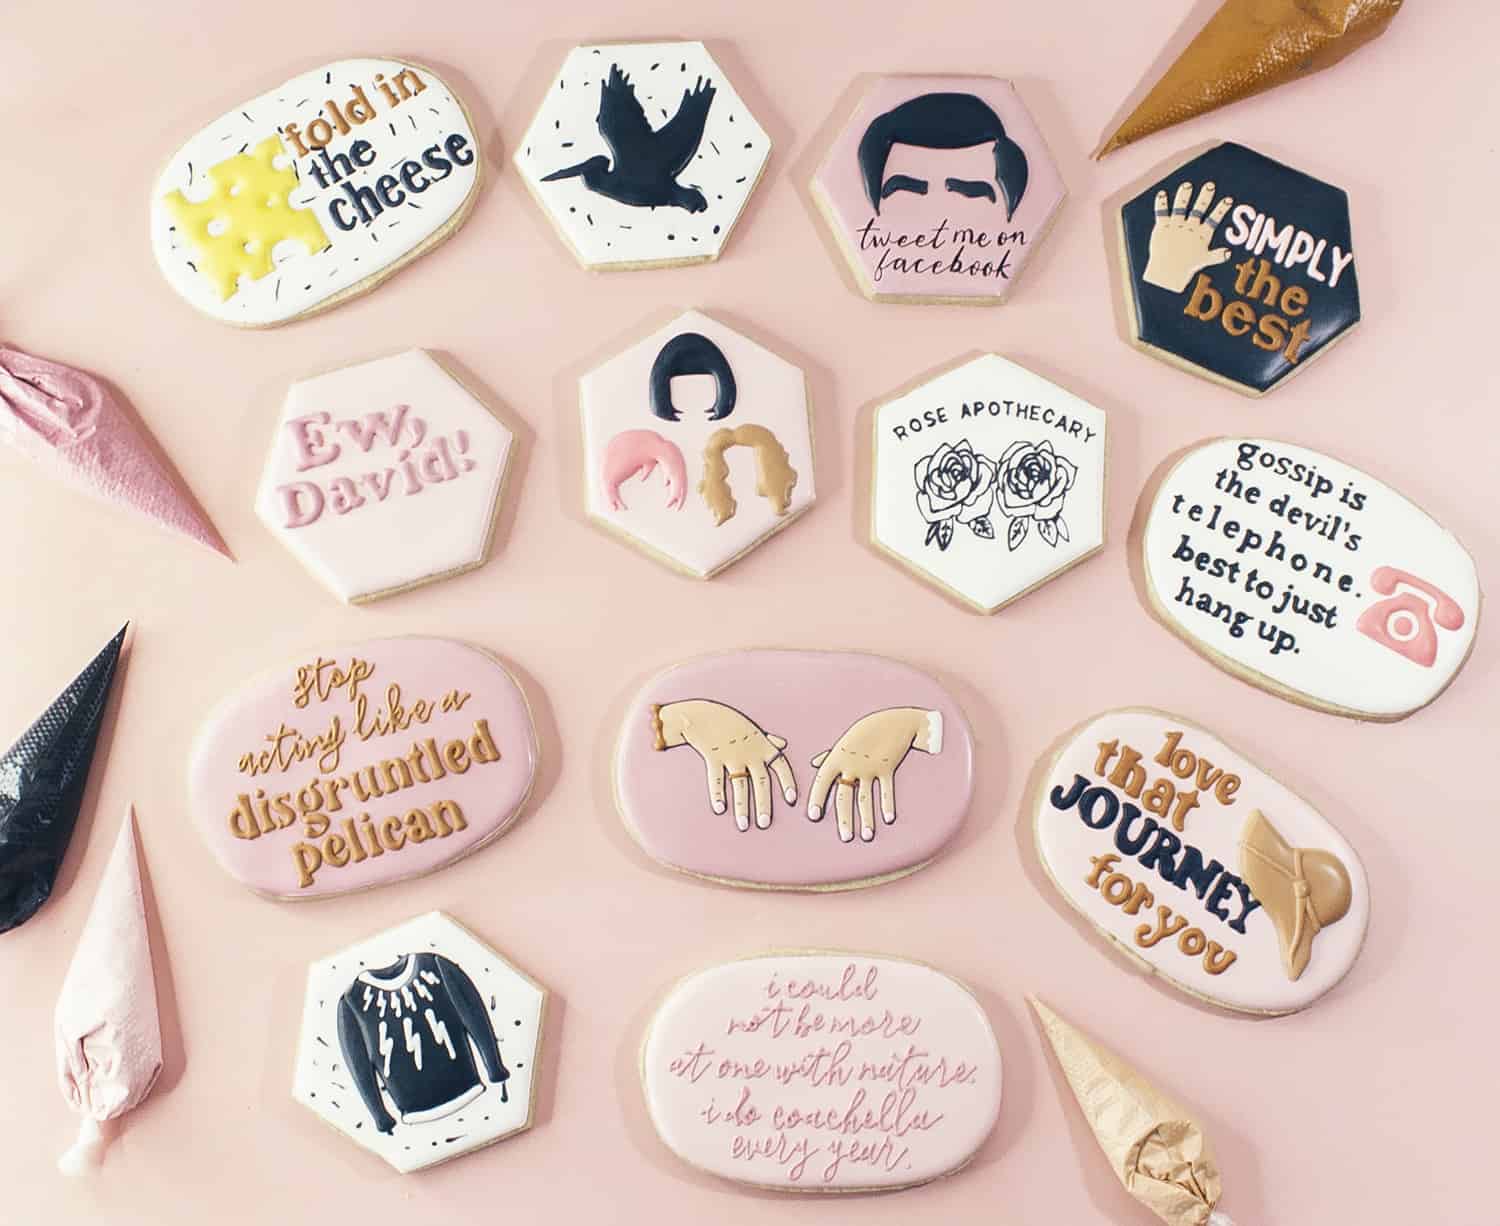
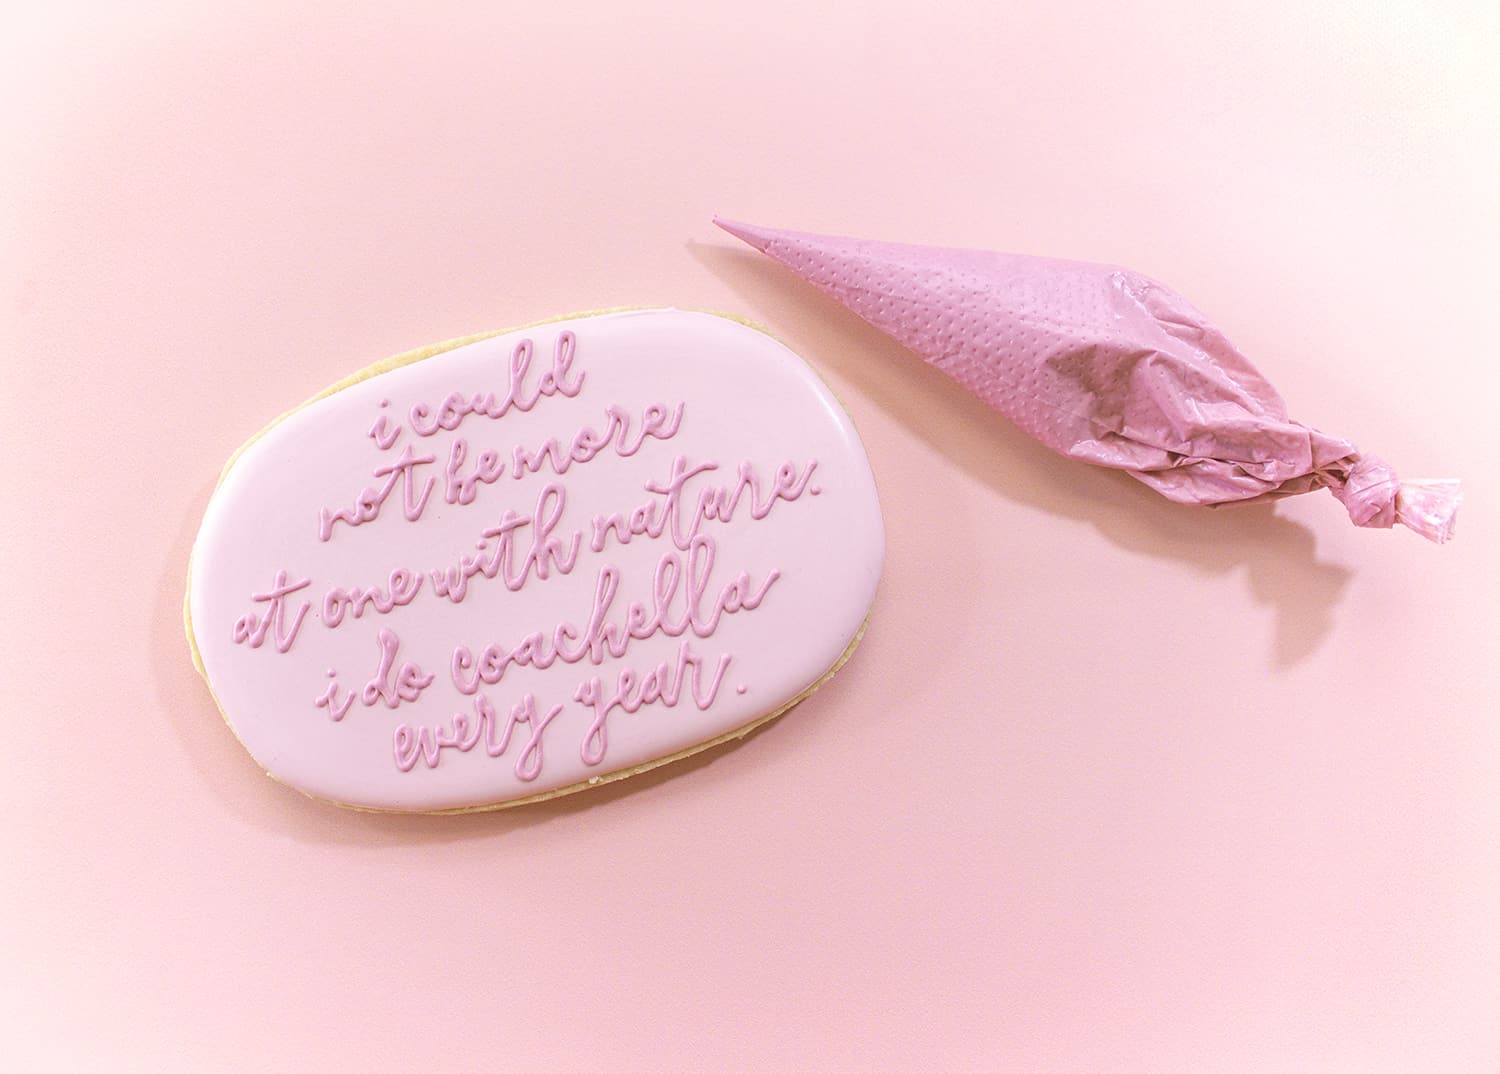
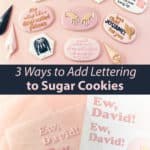
Well, not today! I am going to show you three techniques you can use to add lettering to your sugar cookies with royal icing. You’ll never want to stop lettering your cookies.
 You’ll want to use your favorite royal icing recipe. The consistency I use for lettering is stiff (straight out of the mixer) mixed with a little bit of water. Think toothpaste consistency. Let’s get started on these techniques.
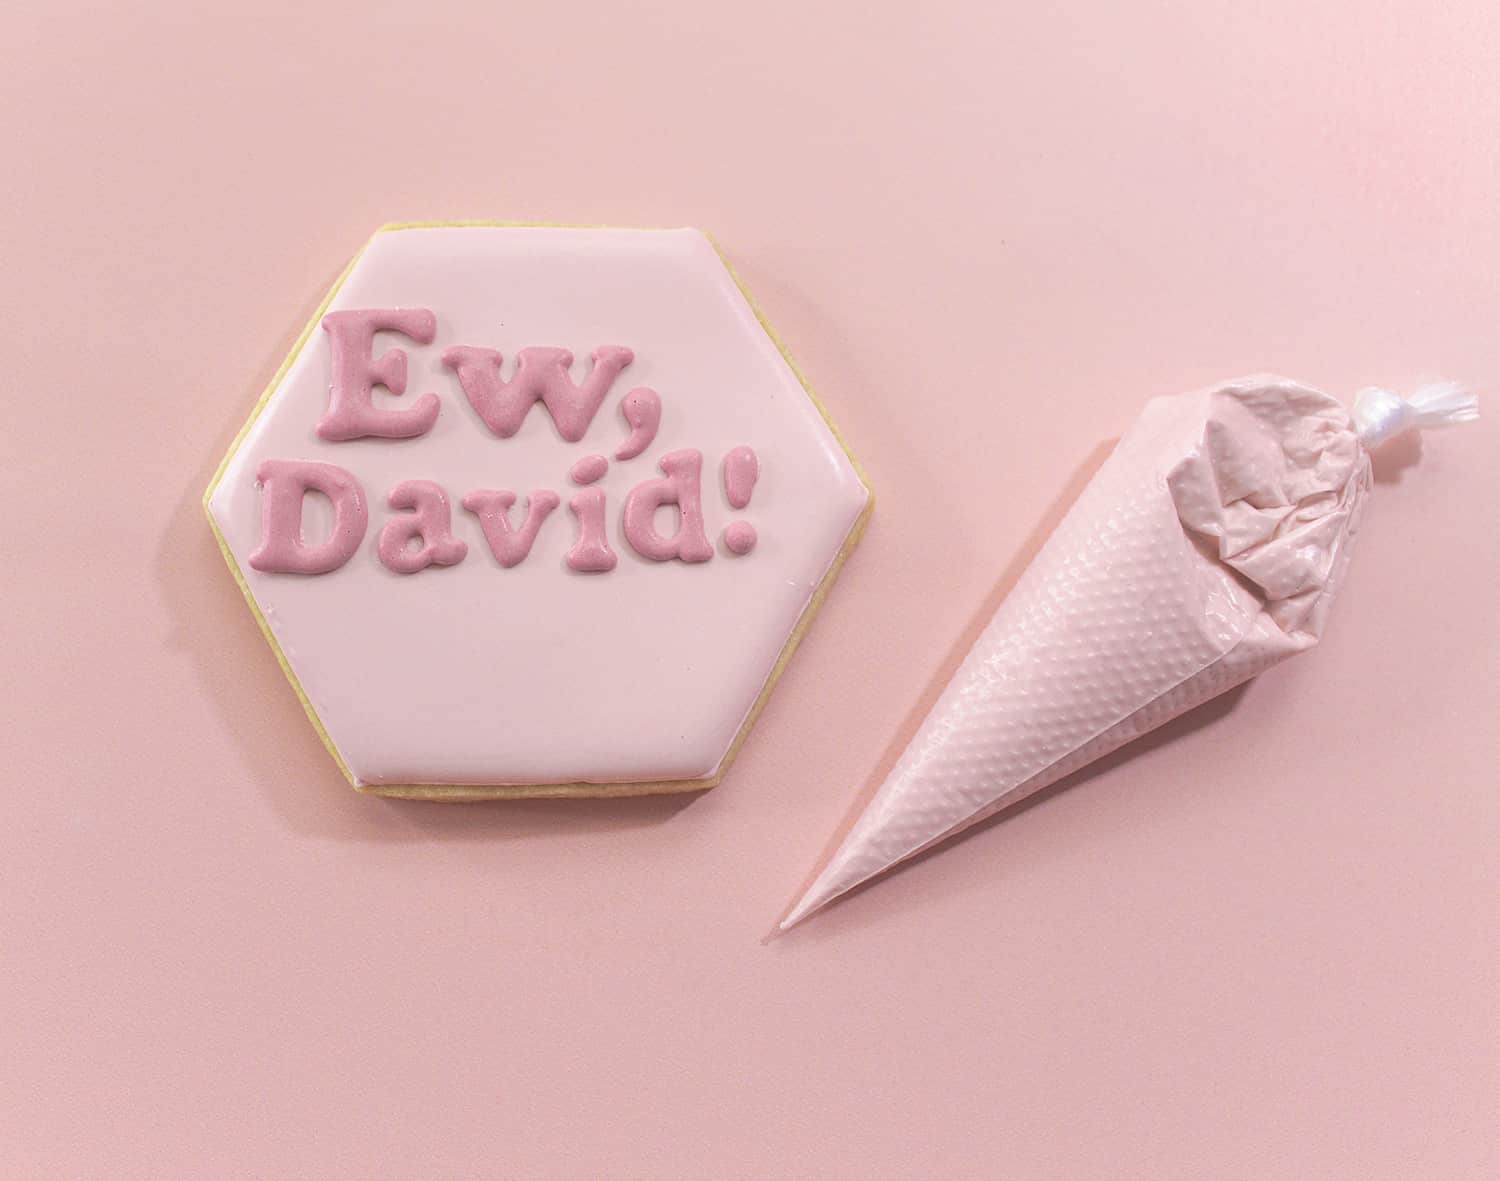
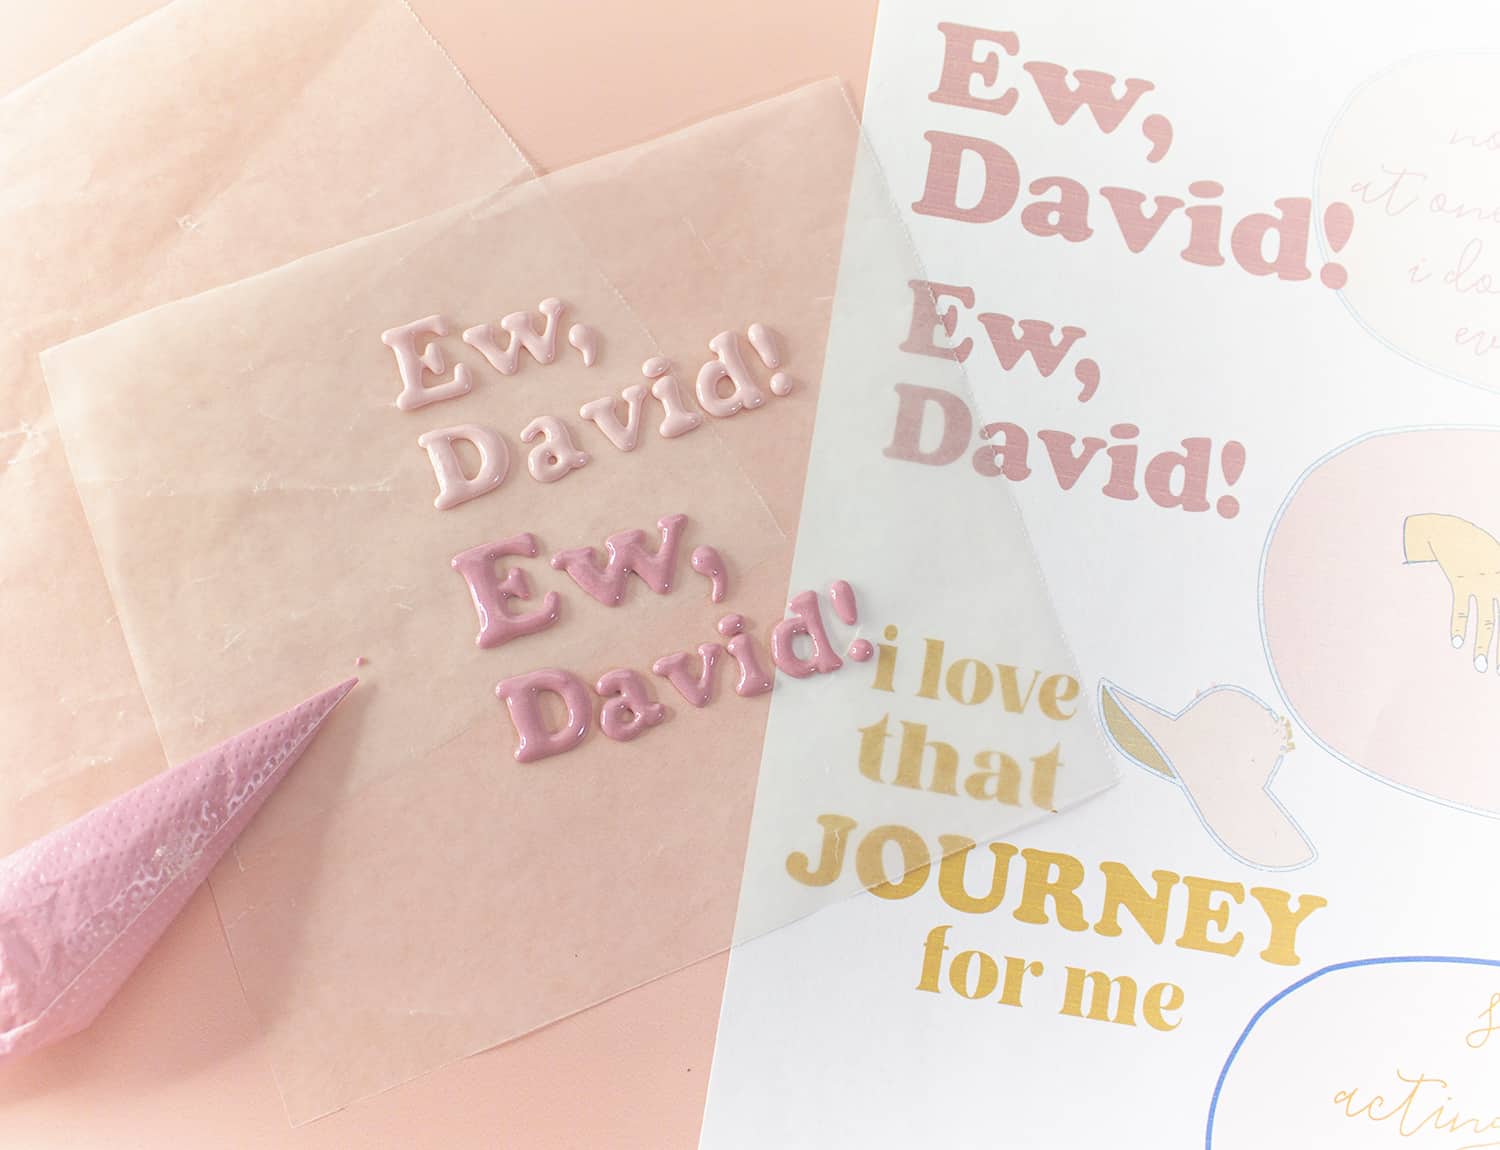
 Method #1 – Wax Paper Transfer
You’ll need: wax paper, lettering of choice, icing piping bag.
 Instructions:
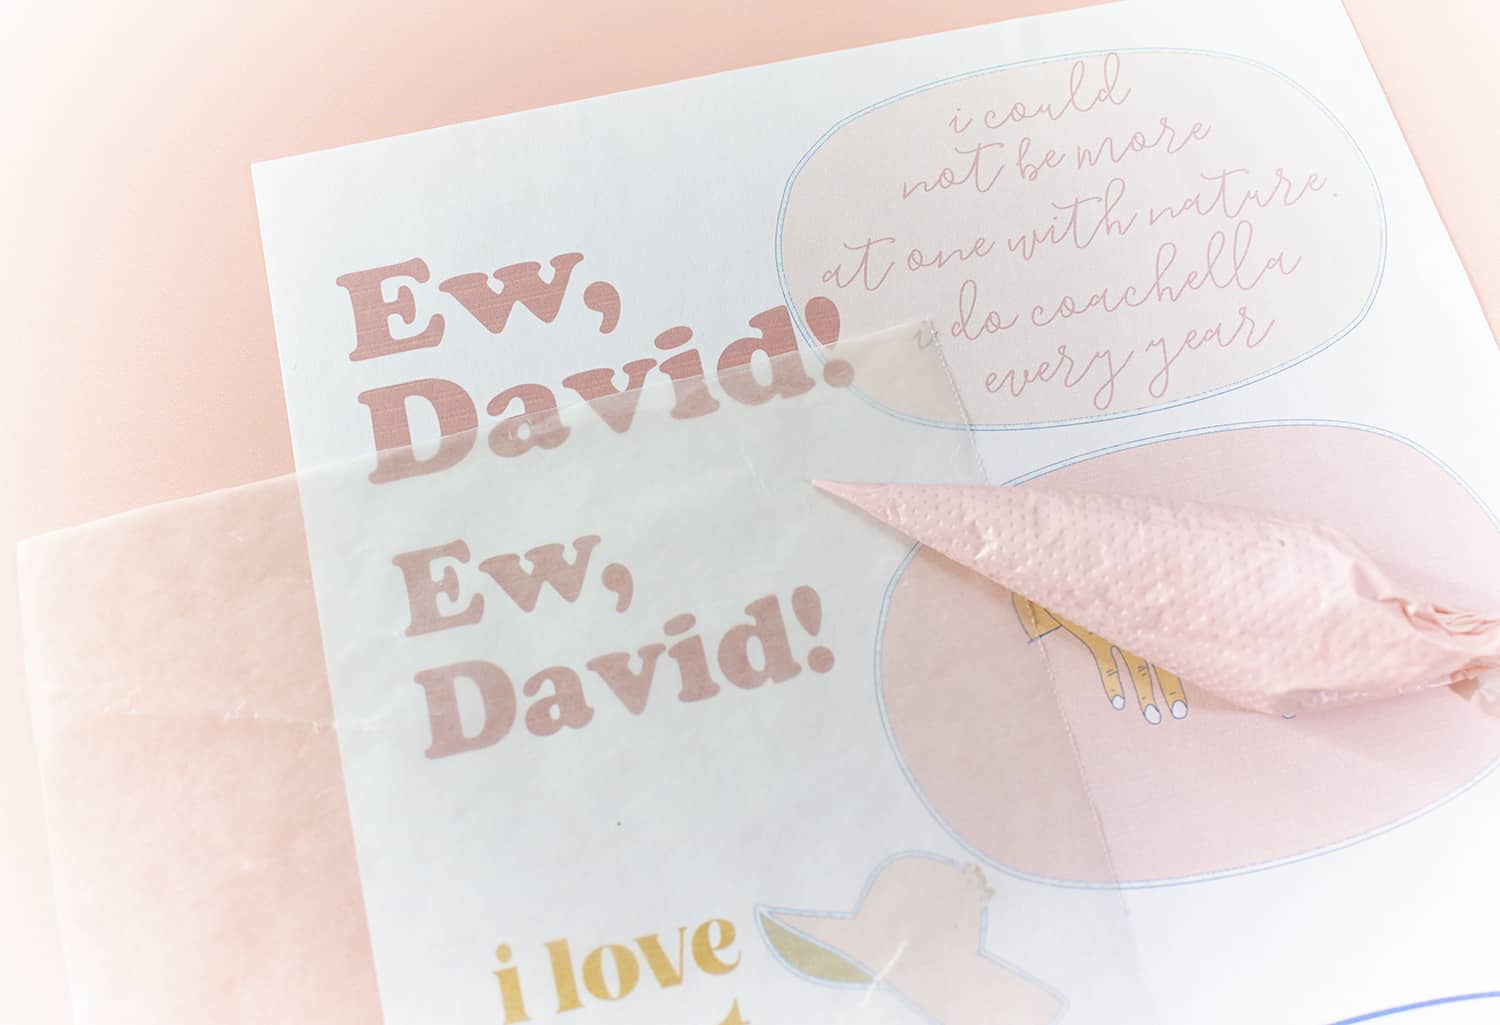
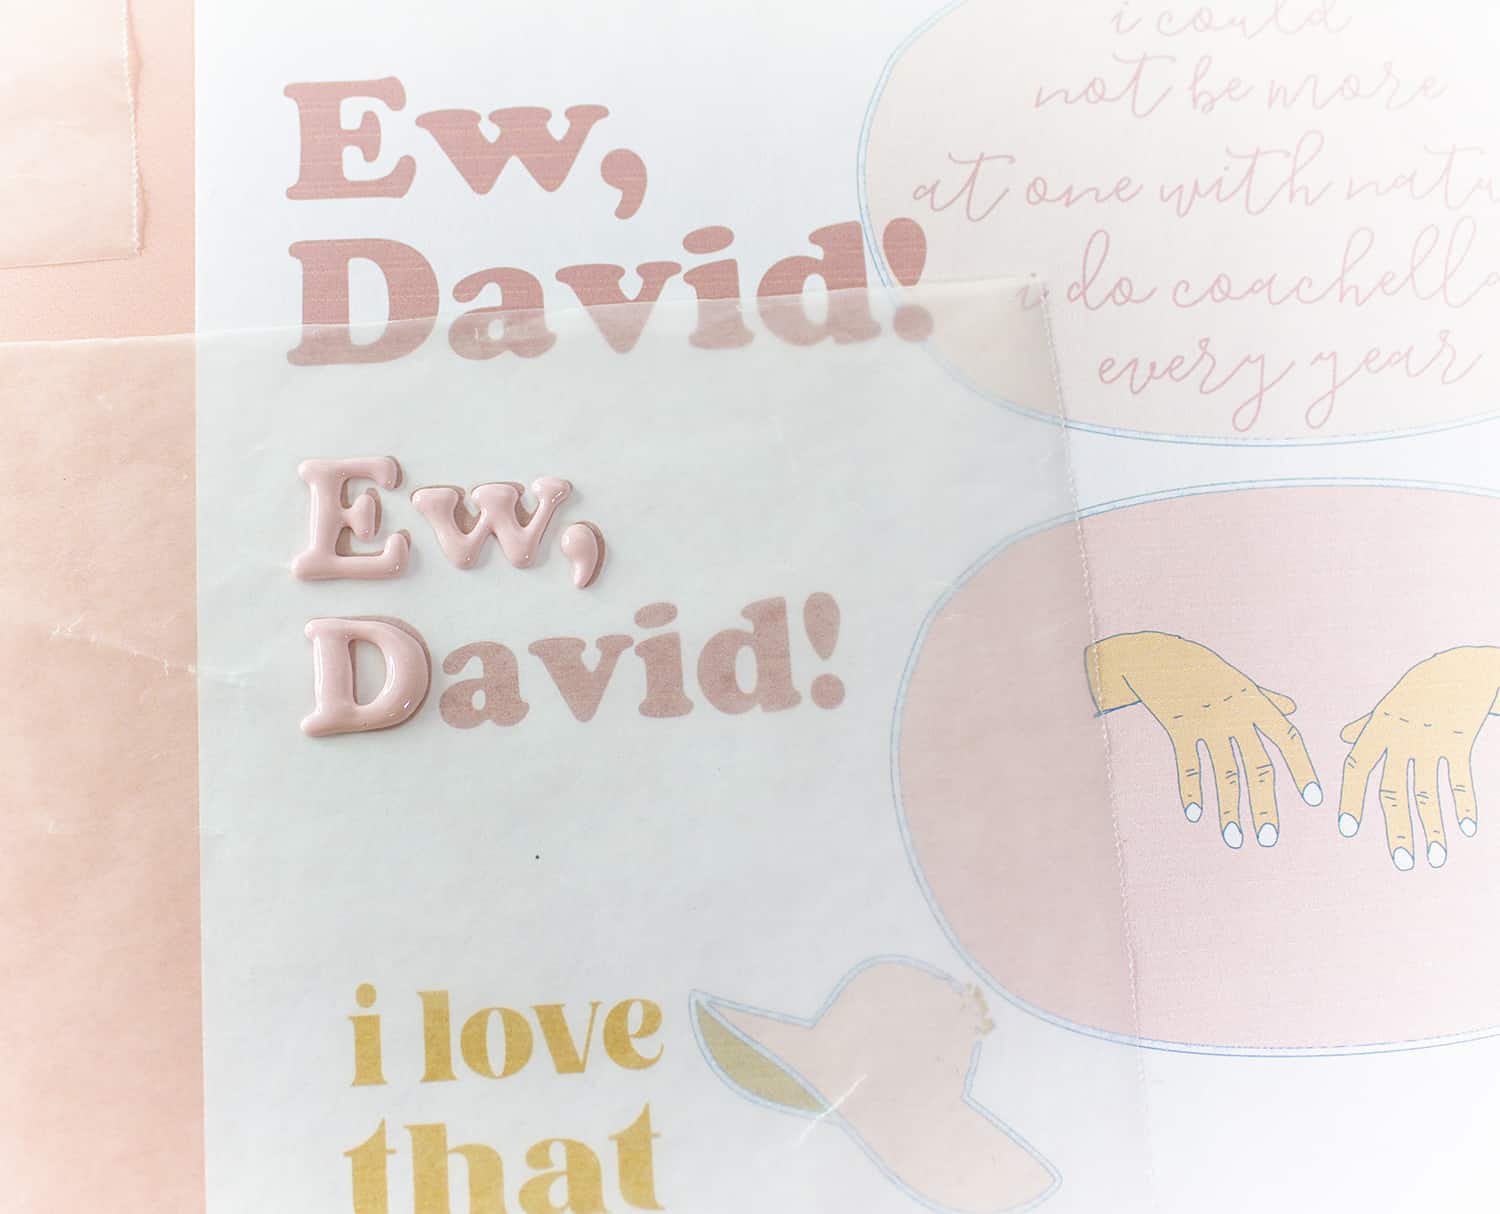
1. Print out a sheet with your letter design.
2. Place wax paper over design sheet.
3. Pipe on top of the wax paper.
4. Set aside until completely dry.
5. Make multiples because they sometimes break.
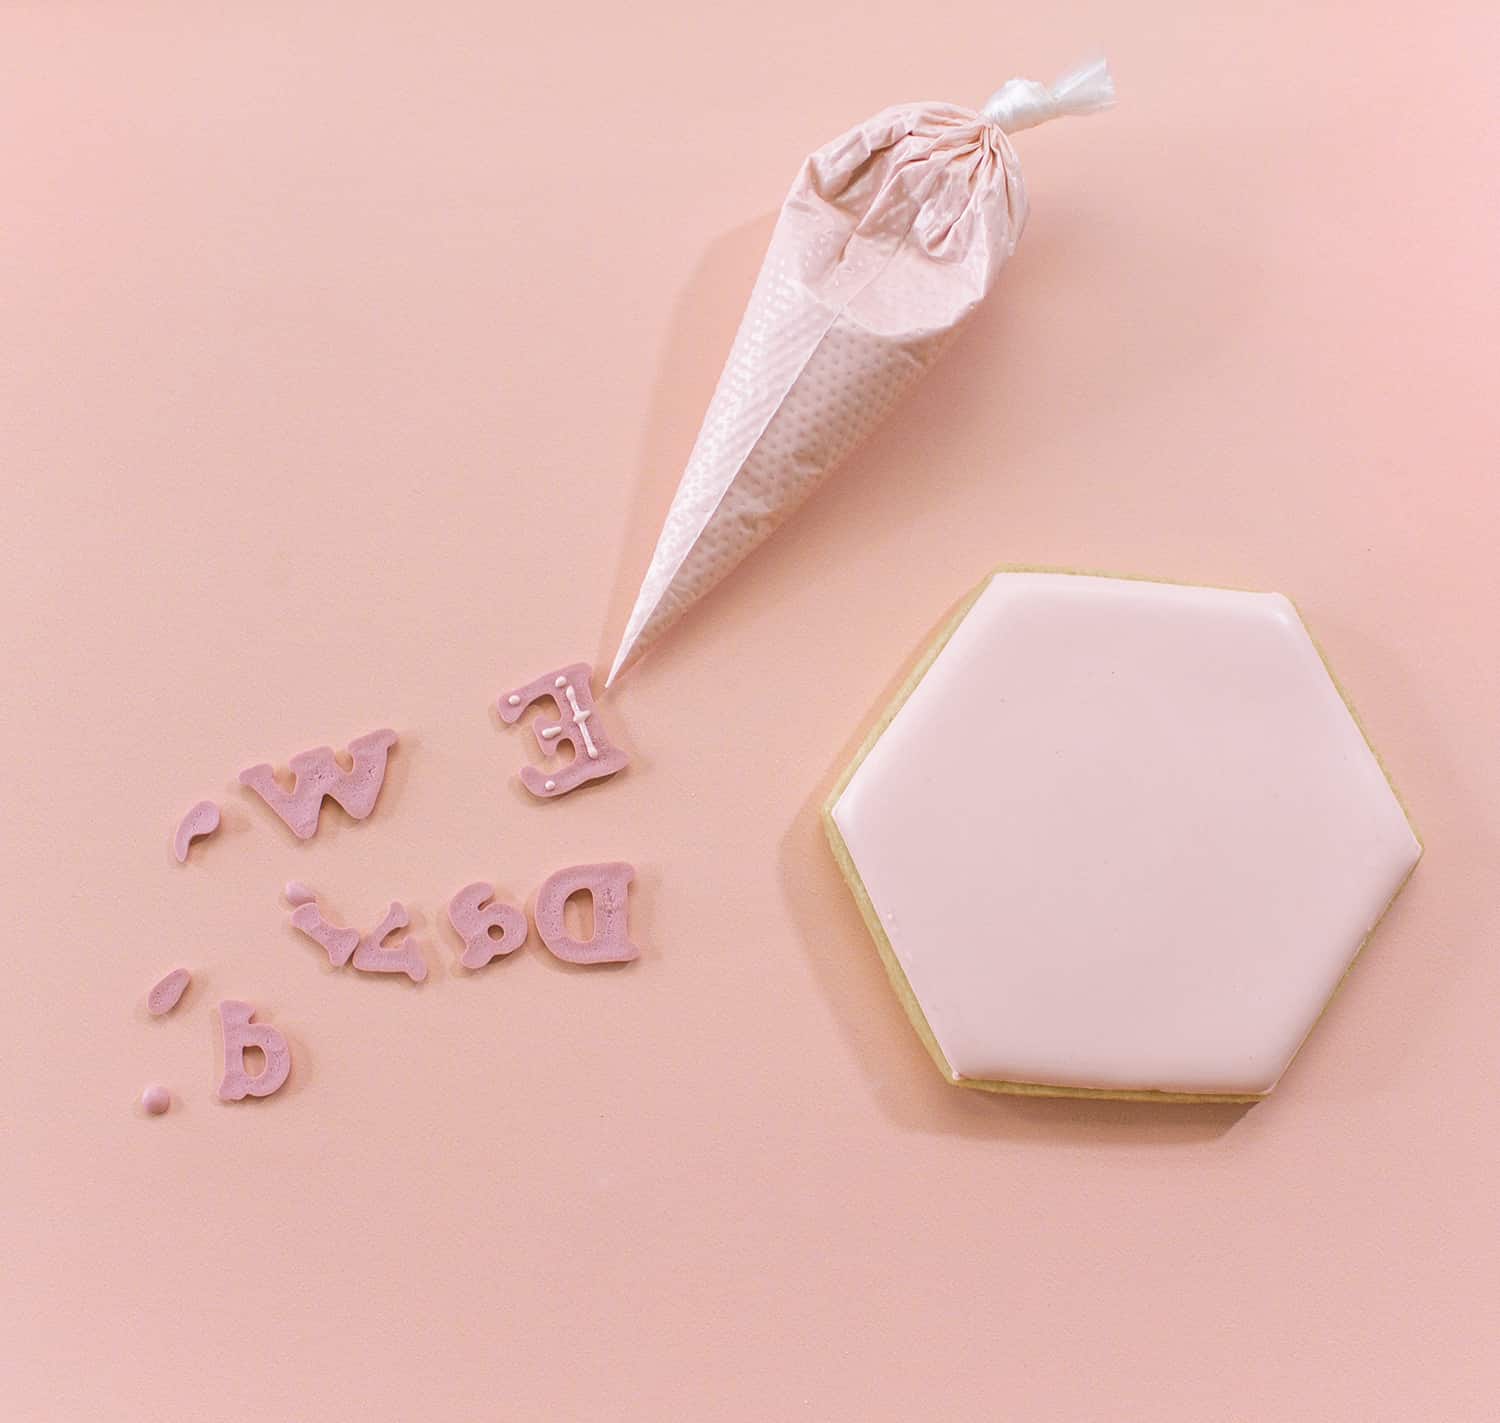 6. Once dry, peel letters off wax paper and apply to cookies with a bit of royal icing.
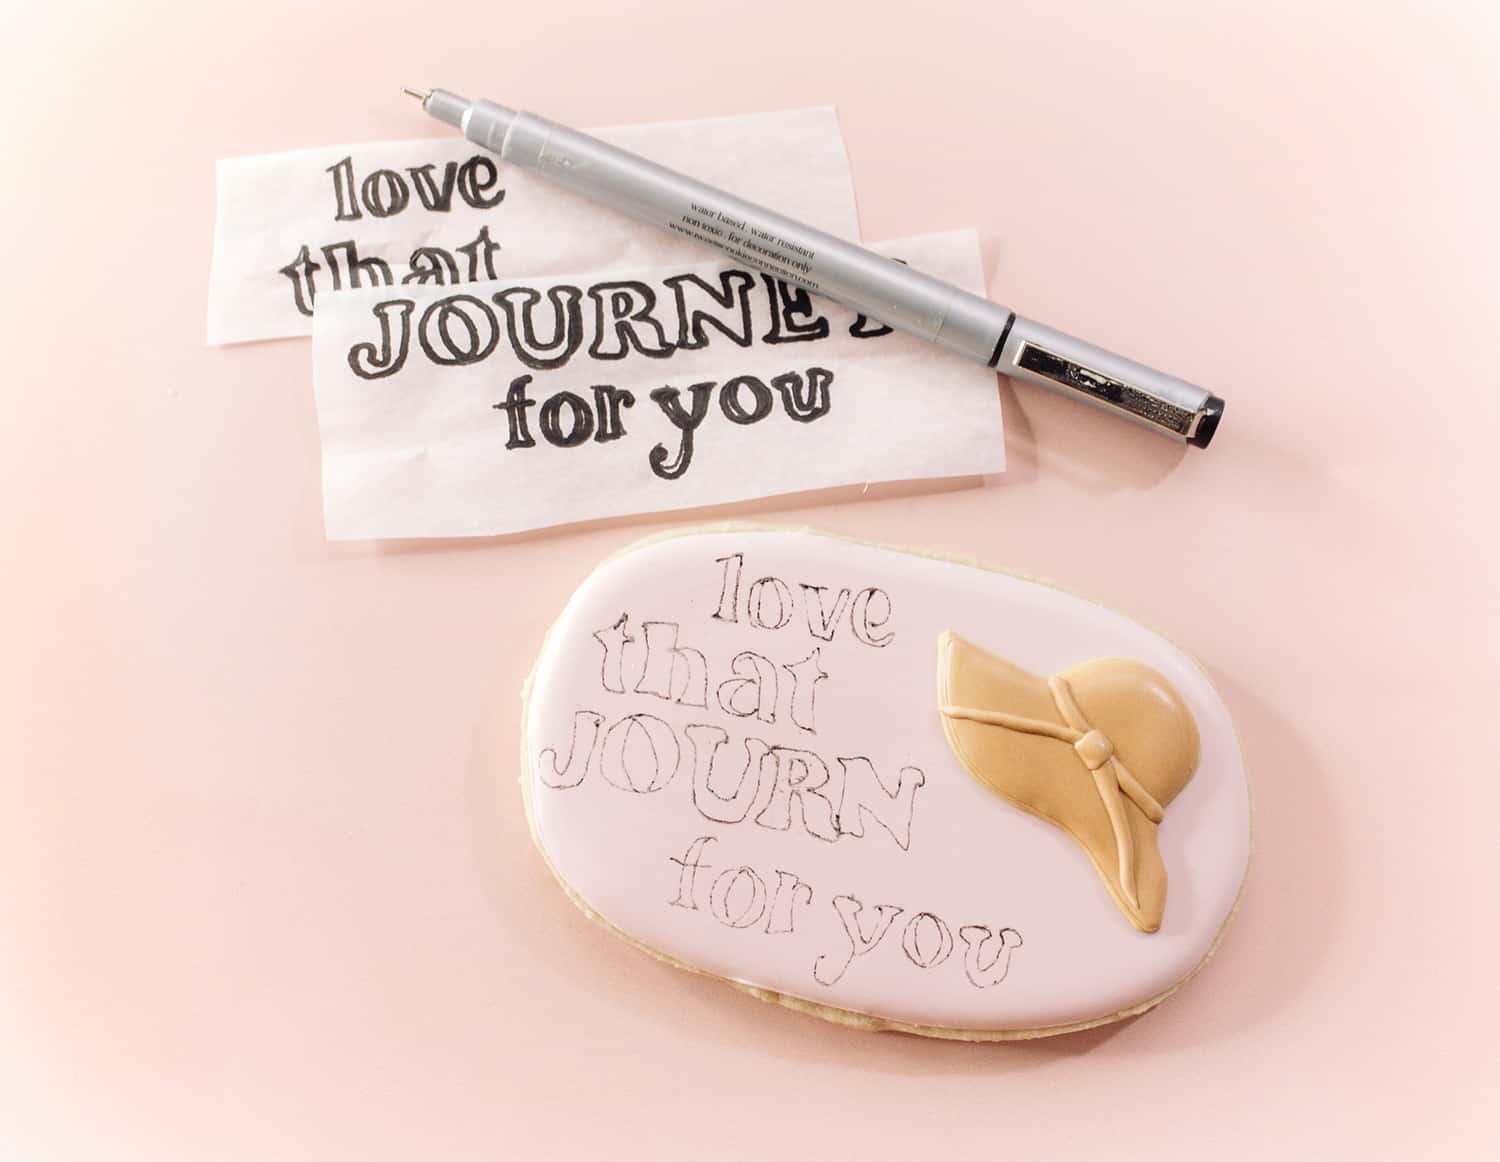
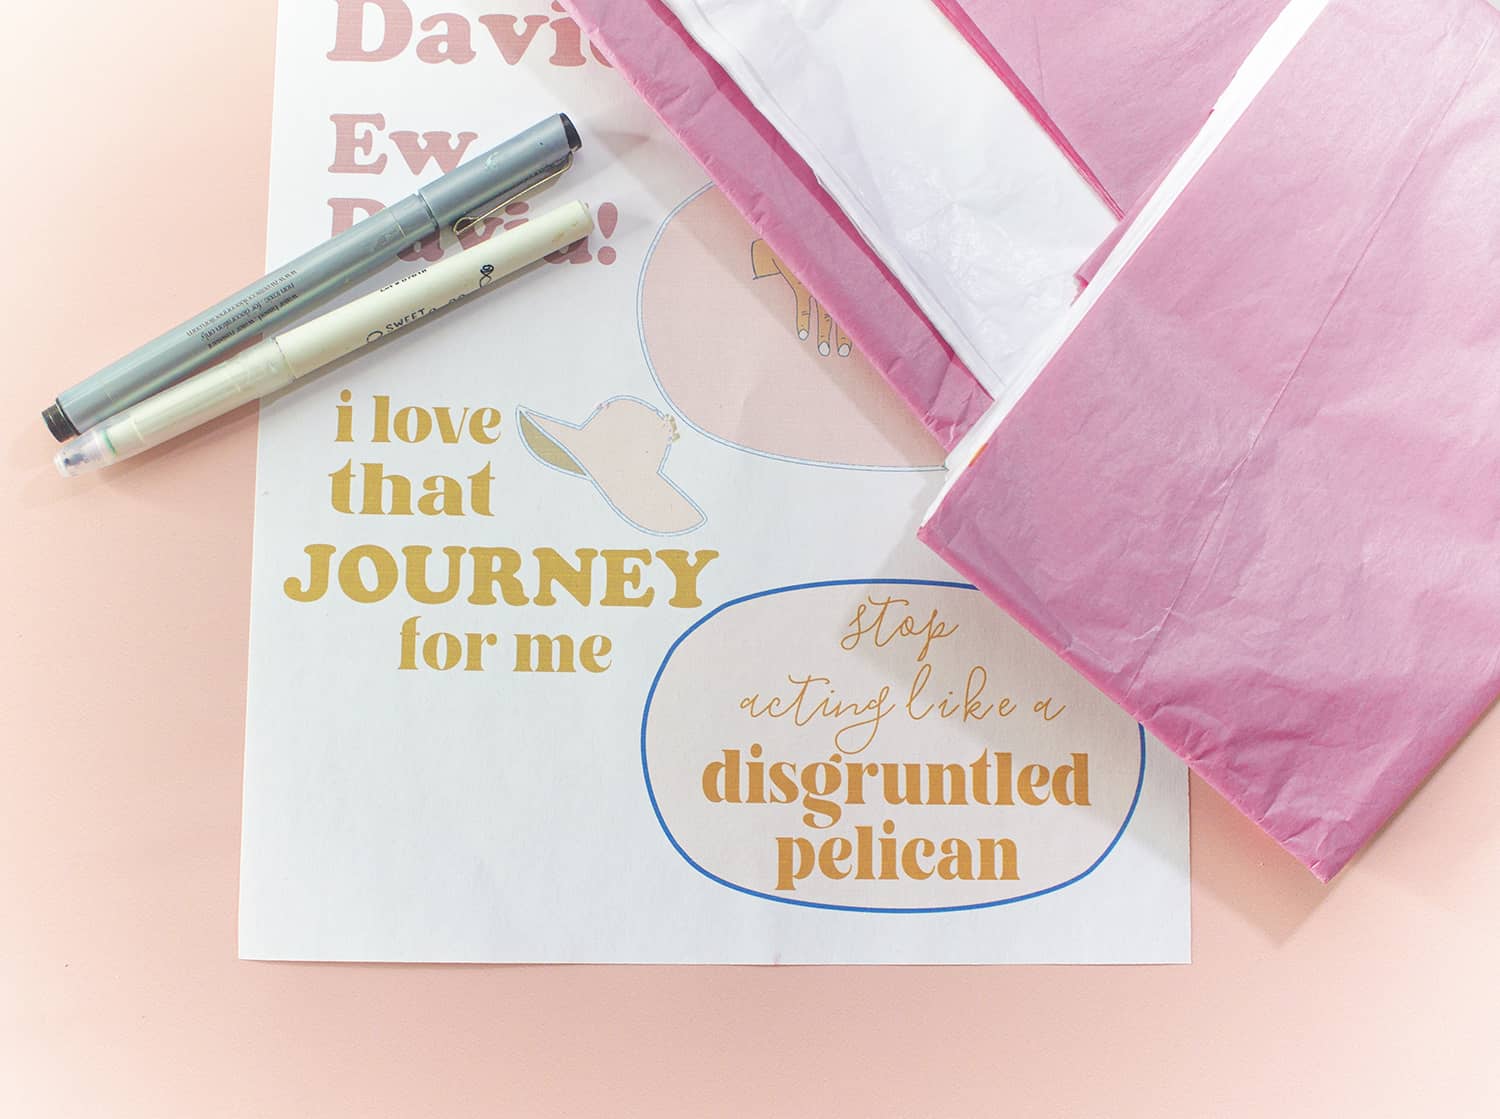 Method #2 – Tissue Paper Transfer
You’ll need: tissue paper (gift kind), edible markers, font design printout, icing piping bag.
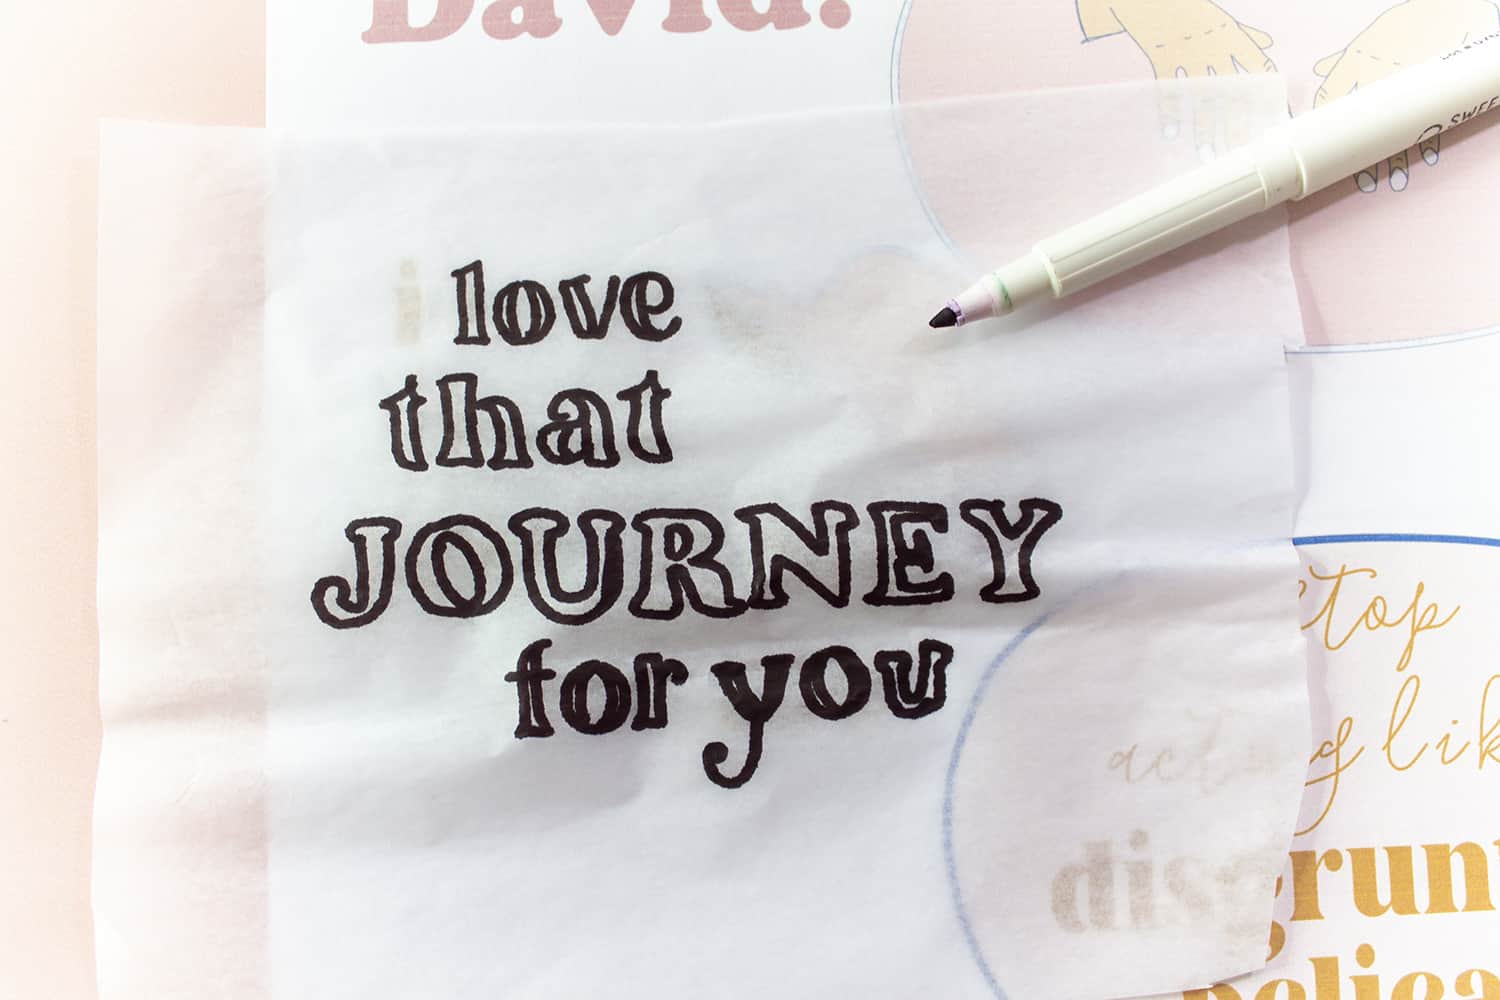
 Instructions:
1. Cut a piece of tissue paper (It’s best to cut it to the shape of your cookie).
2. Place tissue over printout and trace with edible marker (I use a fine point edible marker).
3. Take your traced tissue and set it over a completely dry cookie and trace lightly on the cookie (not necessary but here I use an extra fine point edible marker to get a thinner line).
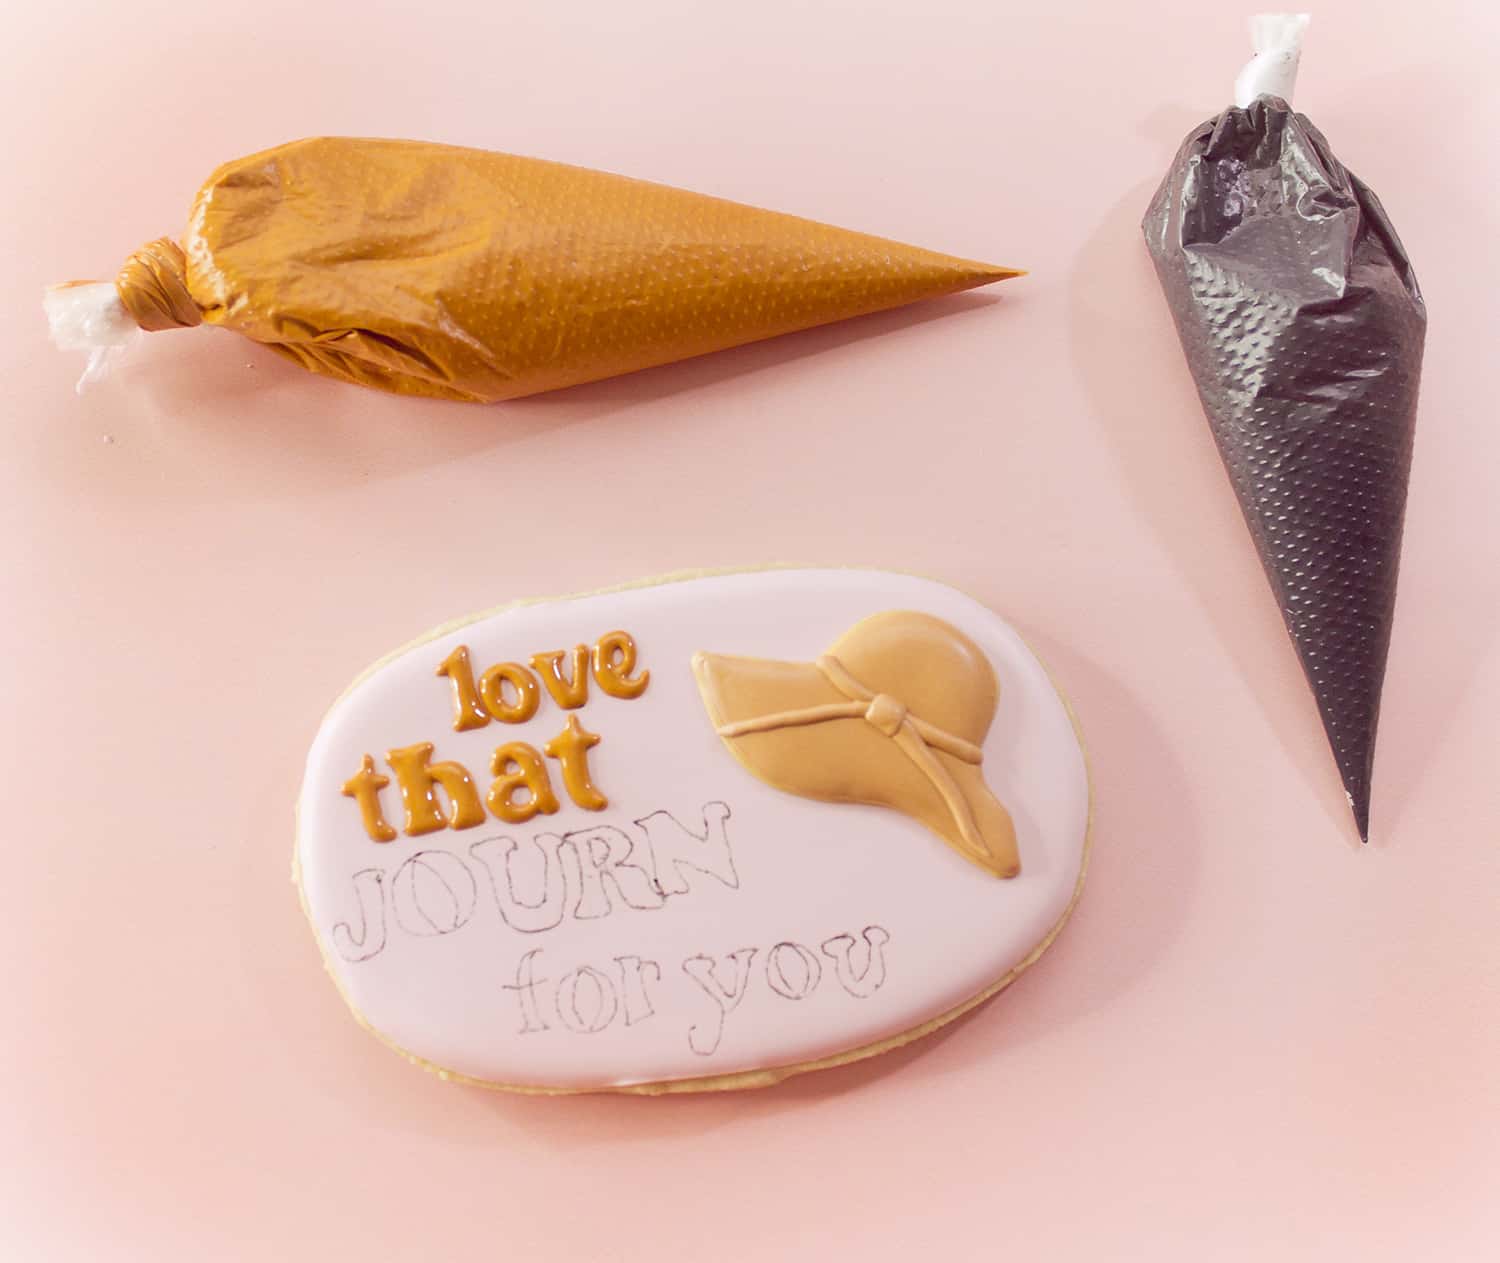
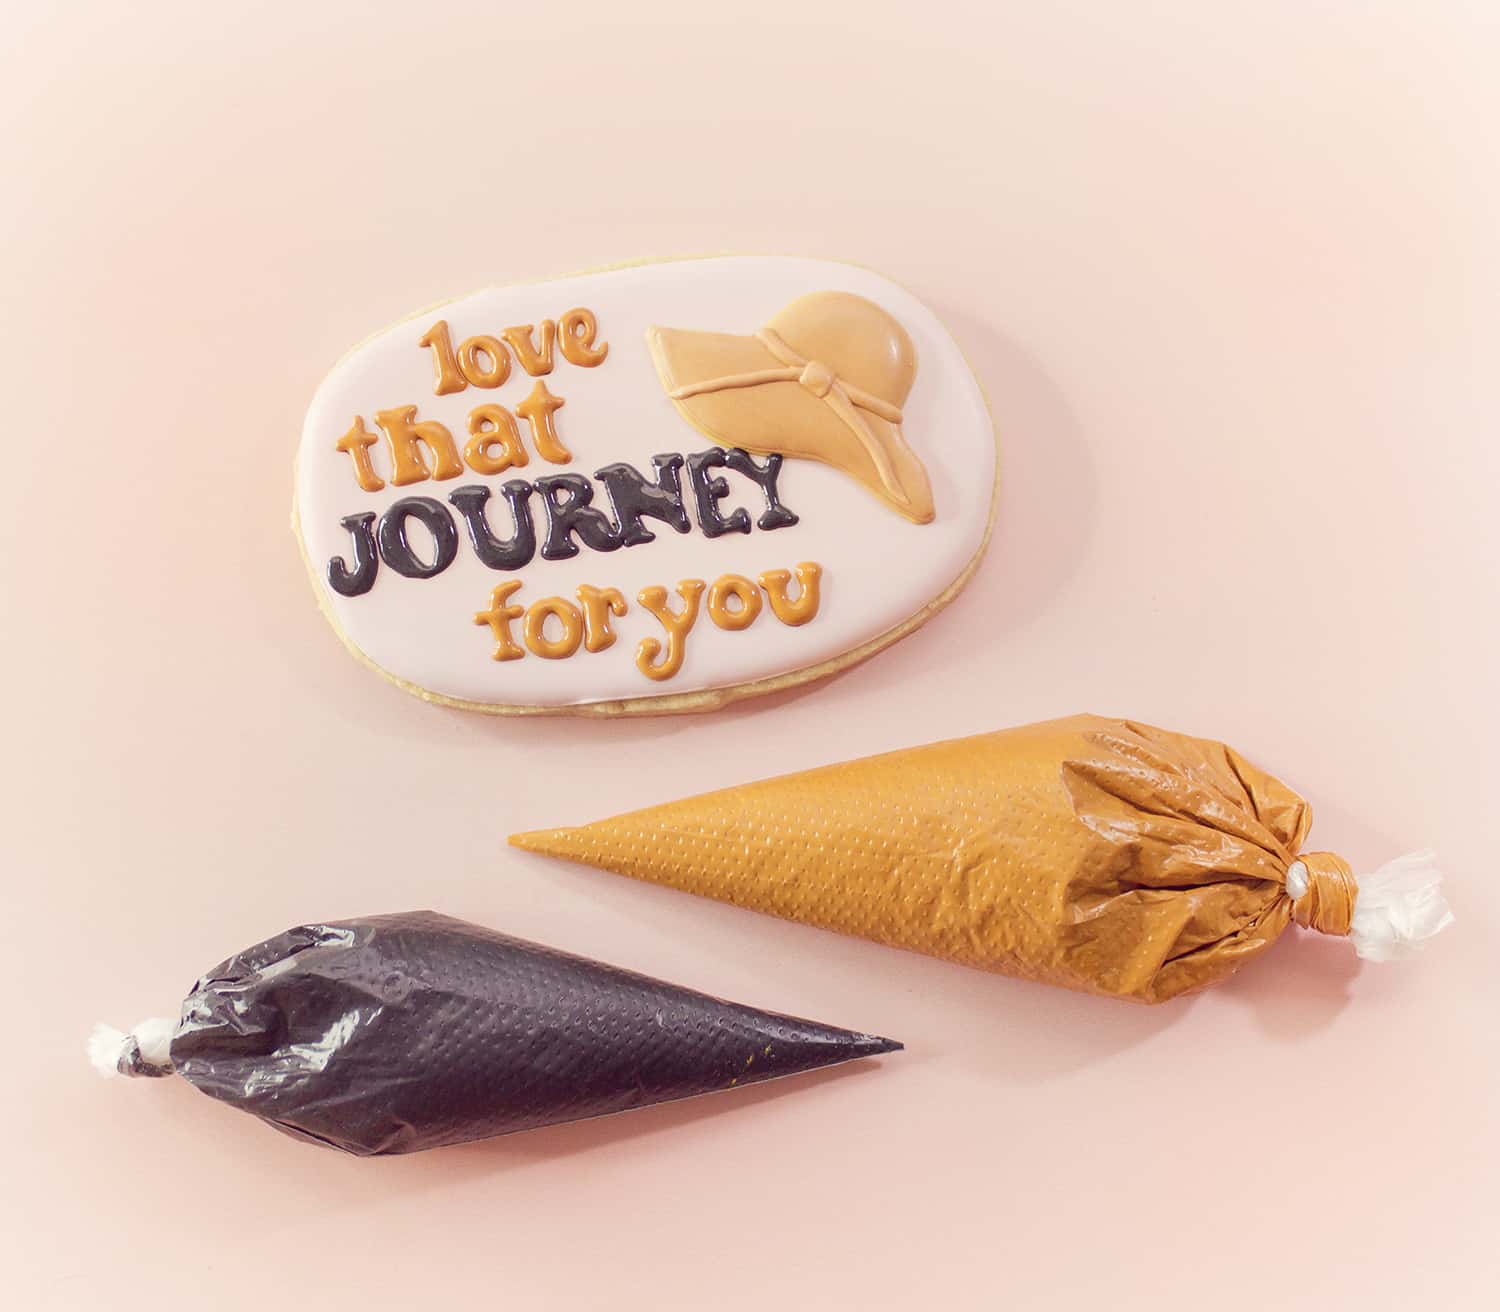 4. Pipe over traced design.
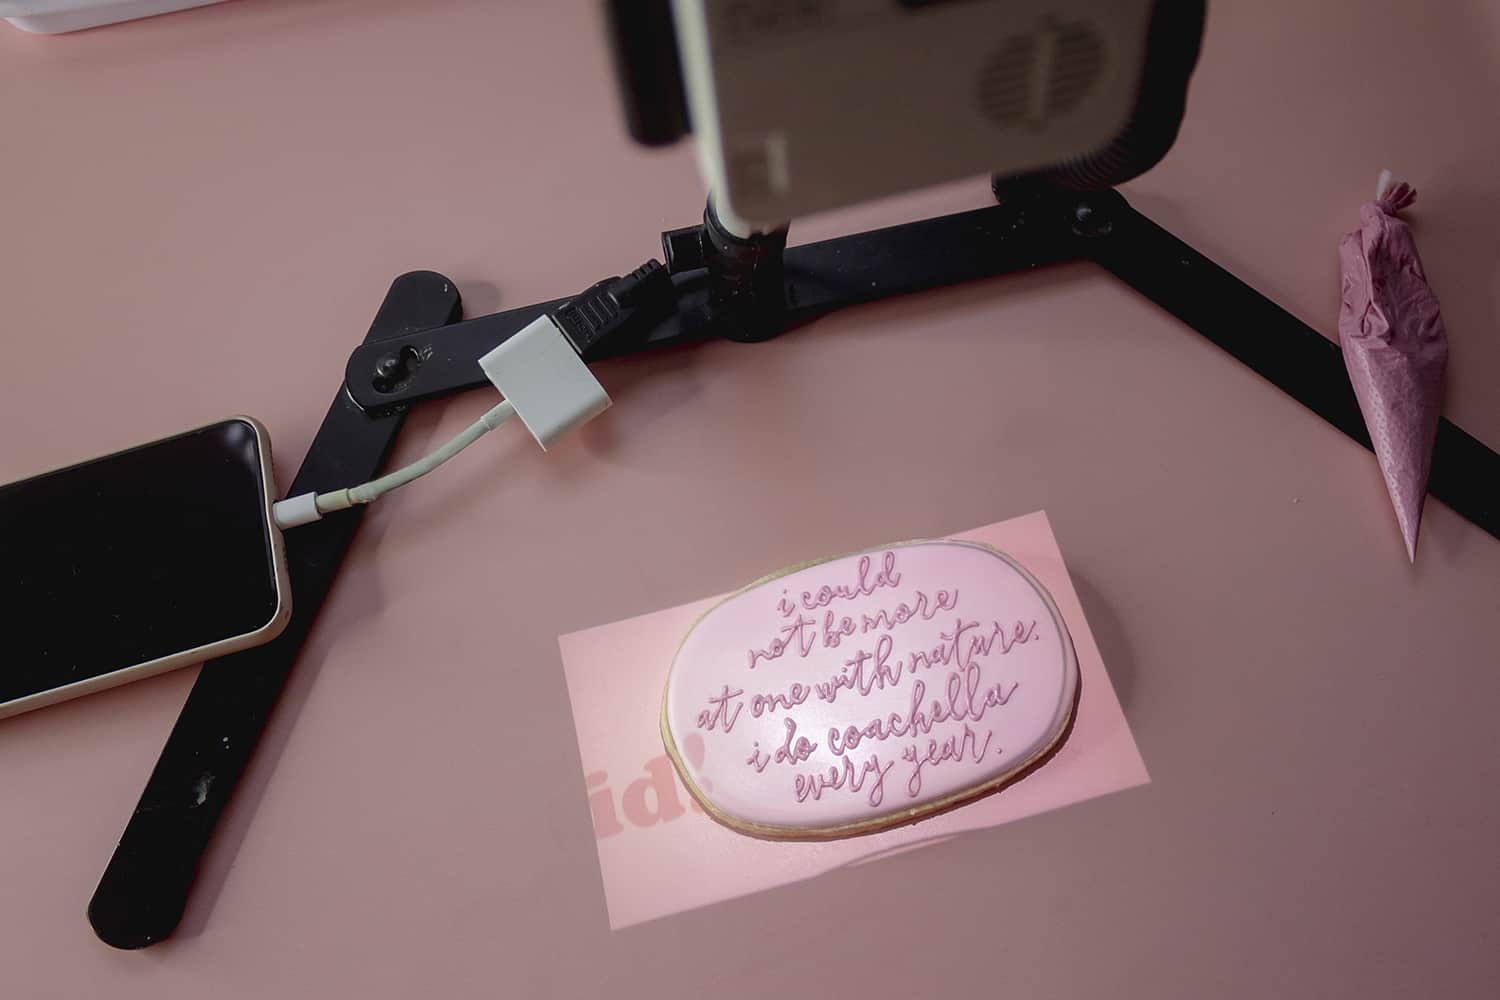
 Method #3 – Projector
This one is a little expensive but totally worth the investment if you find yourself doing this often. This is MOST cookie decorators’ number one trick to beautiful lettering on cookies.
You’ll need: a projector (I use the pico pocket projector), icing piping bag.
 Instructions:
1. Project image of lettering onto cookie.
2. Trace with piping bag onto cookie.
Two steps! That’s why it’s the number one choice for cookiers. Haha.
 I hope you try these techniques and find one that works for you. They really do work and I use all of them still after five years of making cookies. Also, with these same techniques you can also try any silhouette, not just lettering. -Ren
Looking for another cookie decorating tip? Here are 3 ways to add texture to sugar cookies.
Thank-you for this post! I didn’t realize that lettering could be so simple cause my hand writing is terrible. I’m going to attempt the first method for a work career function thankfully its just three letters 😛
I love these cookies so much that it made me want to rewatch the whole show all over again. You guys are simply the best ?
I am just blown away! These are GORGEOUS! Can we get some videos of the lettering process? I bet it would be the most relaxing thing to watch.
These cookies speak to my soul! Love all of these lettering tips, too — so glad you’re here, Ren!
These are so cute!! I could see myself trying the wax paper transfer method, especially since you make it seem so straight forward. Thanks for the tutorial!!
Dying over these!!! Seeing all these quotes just made my day 🙂
These are incredible! Welcome Ren!!!! xx
love these tips… thank you so much Ren!
I’m loving the Schitt’s Creek theme! Just checked out your instagram, and SO many great cookies. I could just keep scrolling & scrolling.
A few days ago I was saying how I can never get my cookies to look as good as the ones on instagram, so thank you for these tips! Also I LOVE these cookies, I may need to recreate the fold the cheese one.