 If you have kids that you love in your life, then you know that they grow up so fast. I swear I just brought Lola home from the hospital last week, but now she’s 3 and sleeping in a big girl bed and acting like she’s in her early 20s most of the time. I realized that while I took the time to take monthly photos her first year of life I hadn’t really printed them out to make a display with them yet—and since I’ve been missing that tiny Lola so much, I thought now would be a great time to put one together. We are partnering with Canon USA on this post and I love how I was able to do this in one afternoon since I could just print all my photos from the comfort of my living room!
Supplies:
–Canon PIXMA G6020 MegaTank
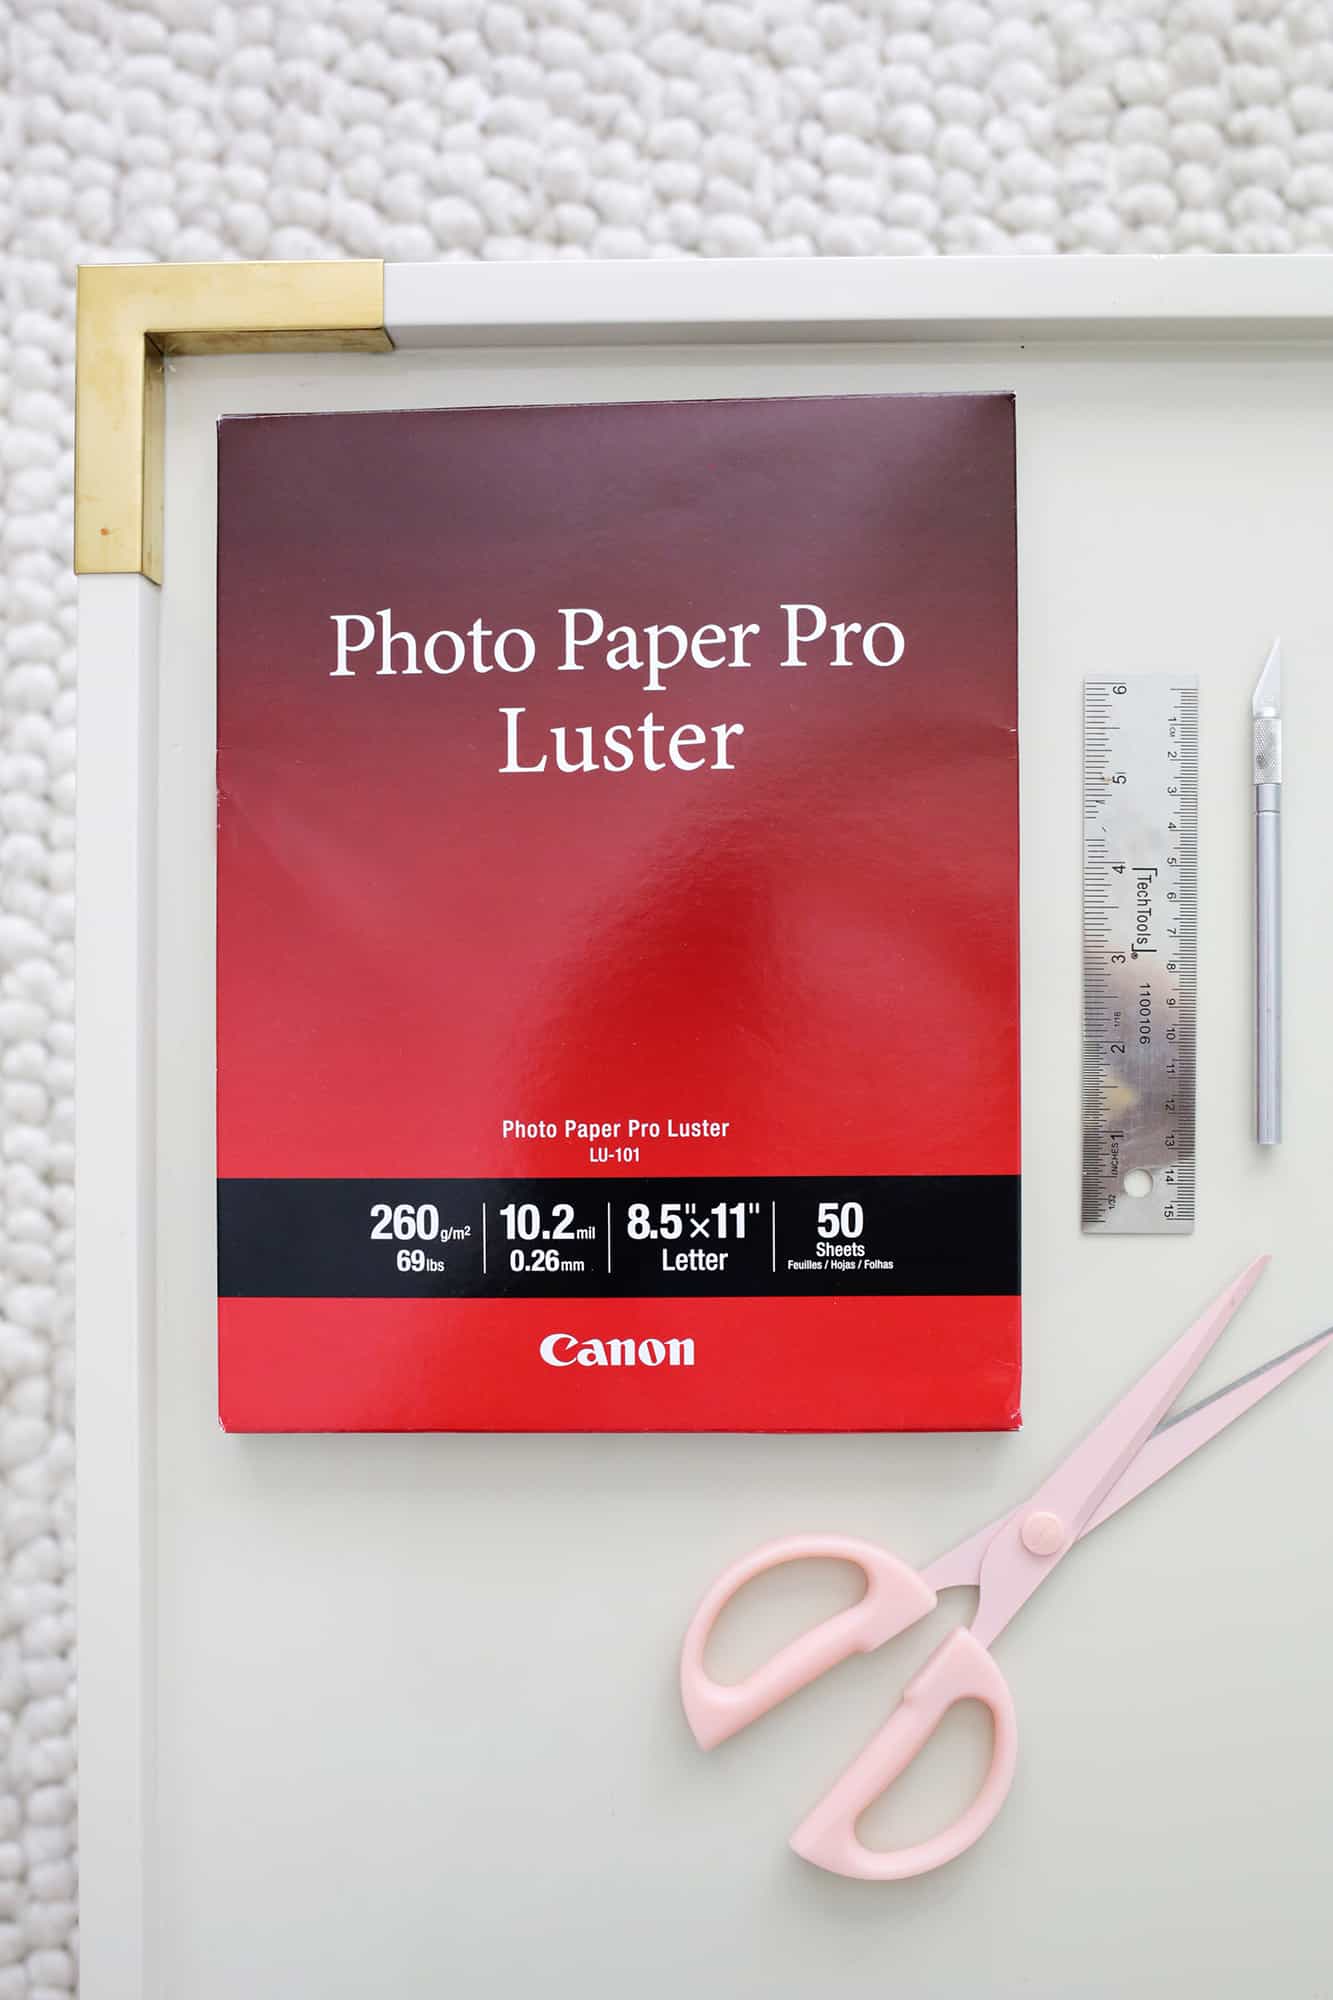
–Luster Photo Paper
-16″ x 20″ frame (or whatever size frame you like but that’s what I used)
-12 photos of your kiddo, one for each month of their first year
-scissors and X-Acto knife, ruler, and cutting mat
-matboard cut to 16″ x 20″
-tape
 First, you’ll want to use whatever photo editing program you like to crop into squares and resize all your 12 photos to be 3.75″ x 3.75″ (the windows we cut into the matboard will be 3.5″ x 3.5″, so you want the photos a tiny bit bigger). I printed four photos per page as well so I could get more than one photo per paper. Printing at home is so easy with Canon products! The PIXMA G6020 MegaTank has a huge ink capacity, so you don’t have to replace the ink cartridges very often, which is one of my favorite features.
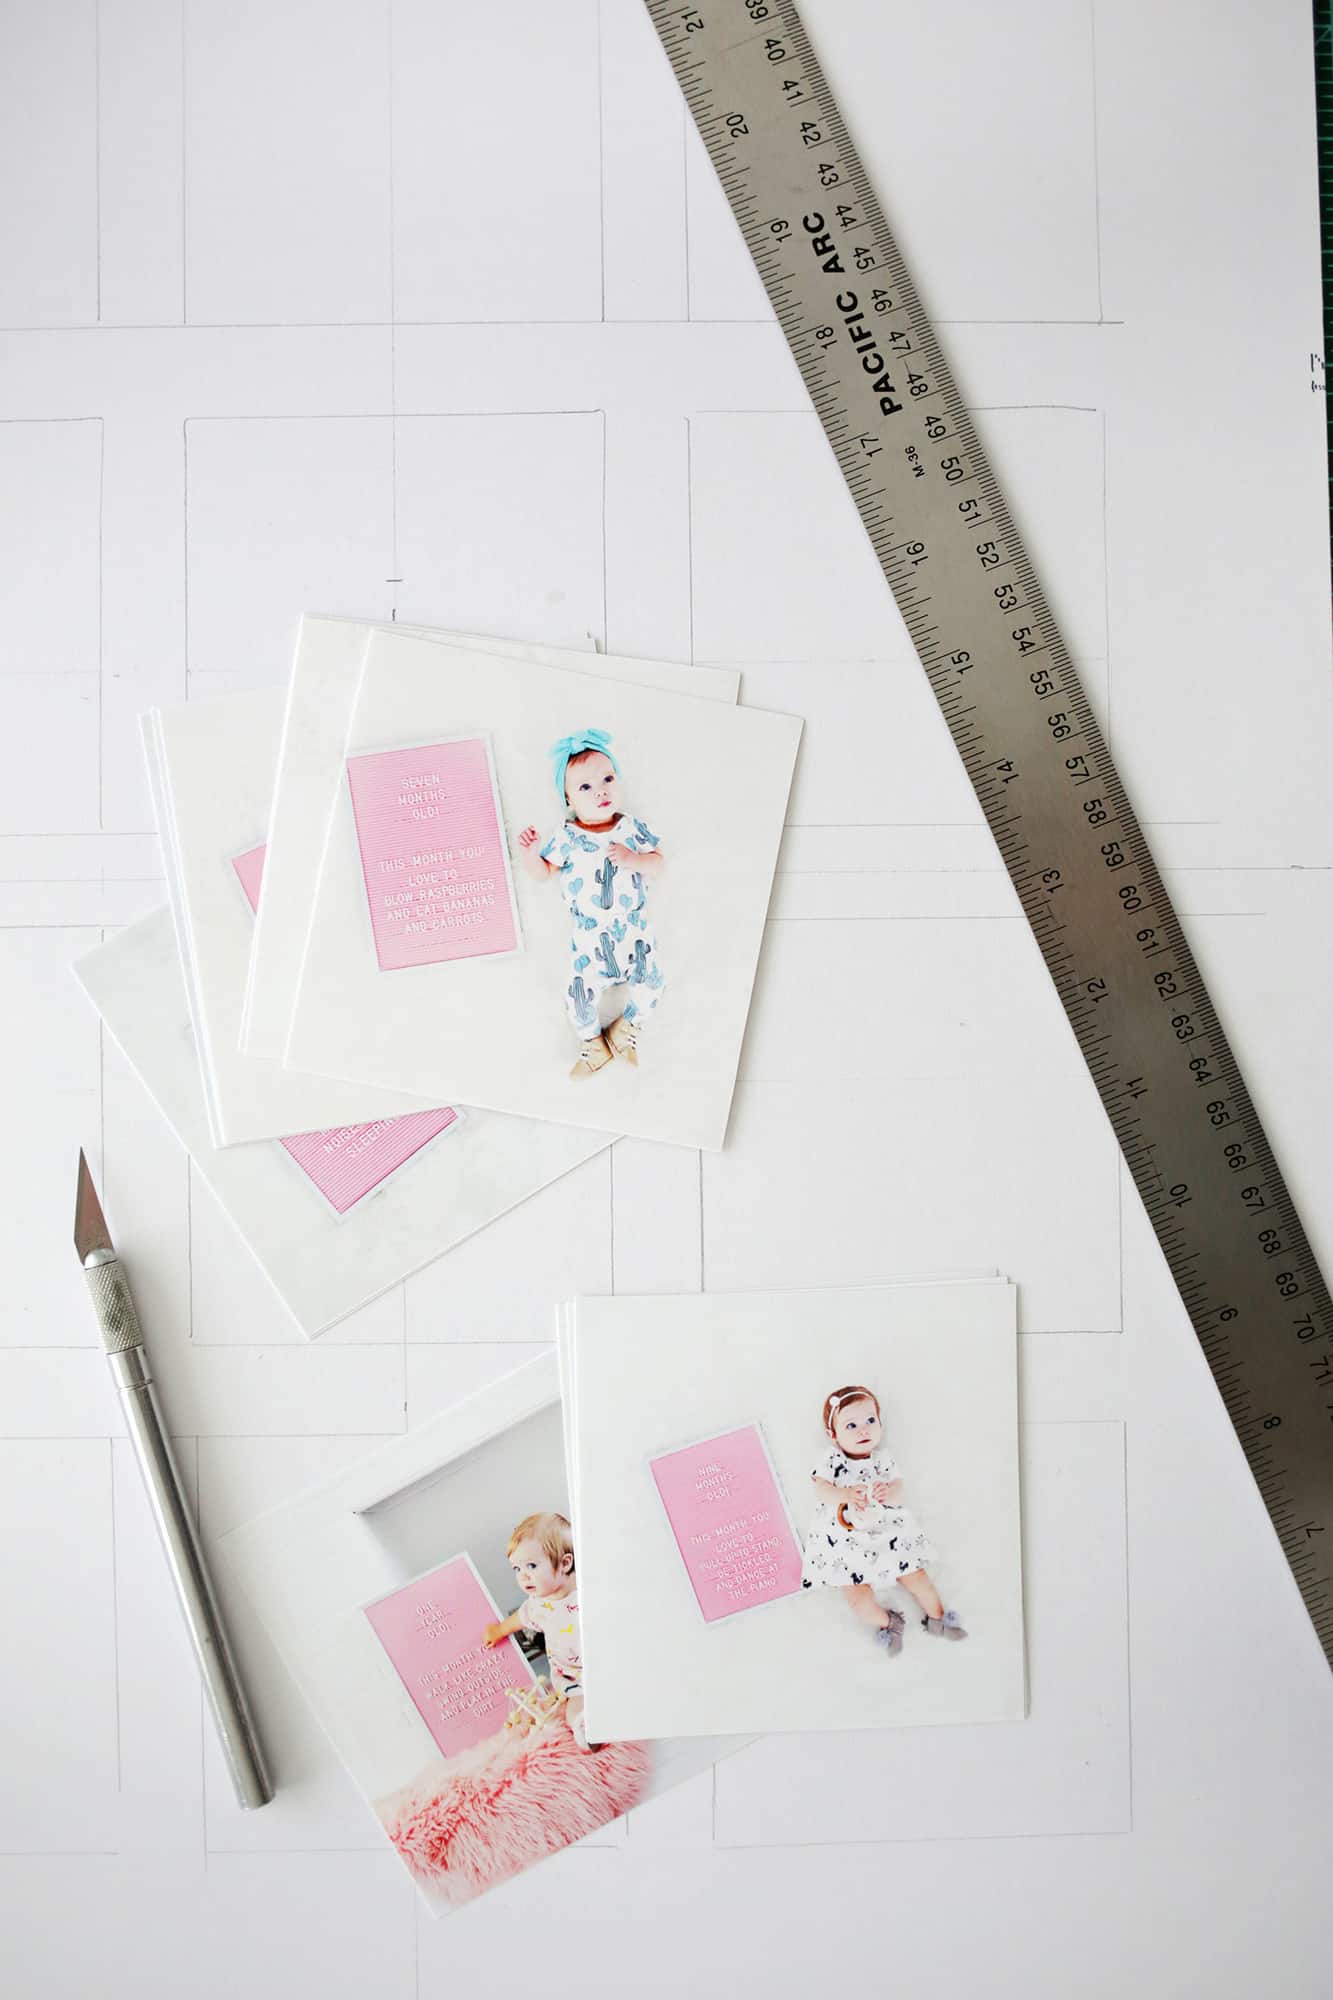 Cut your photos out with scissors or an X-Acto knife and get your 16″ x 20″ matboard ready to cut.
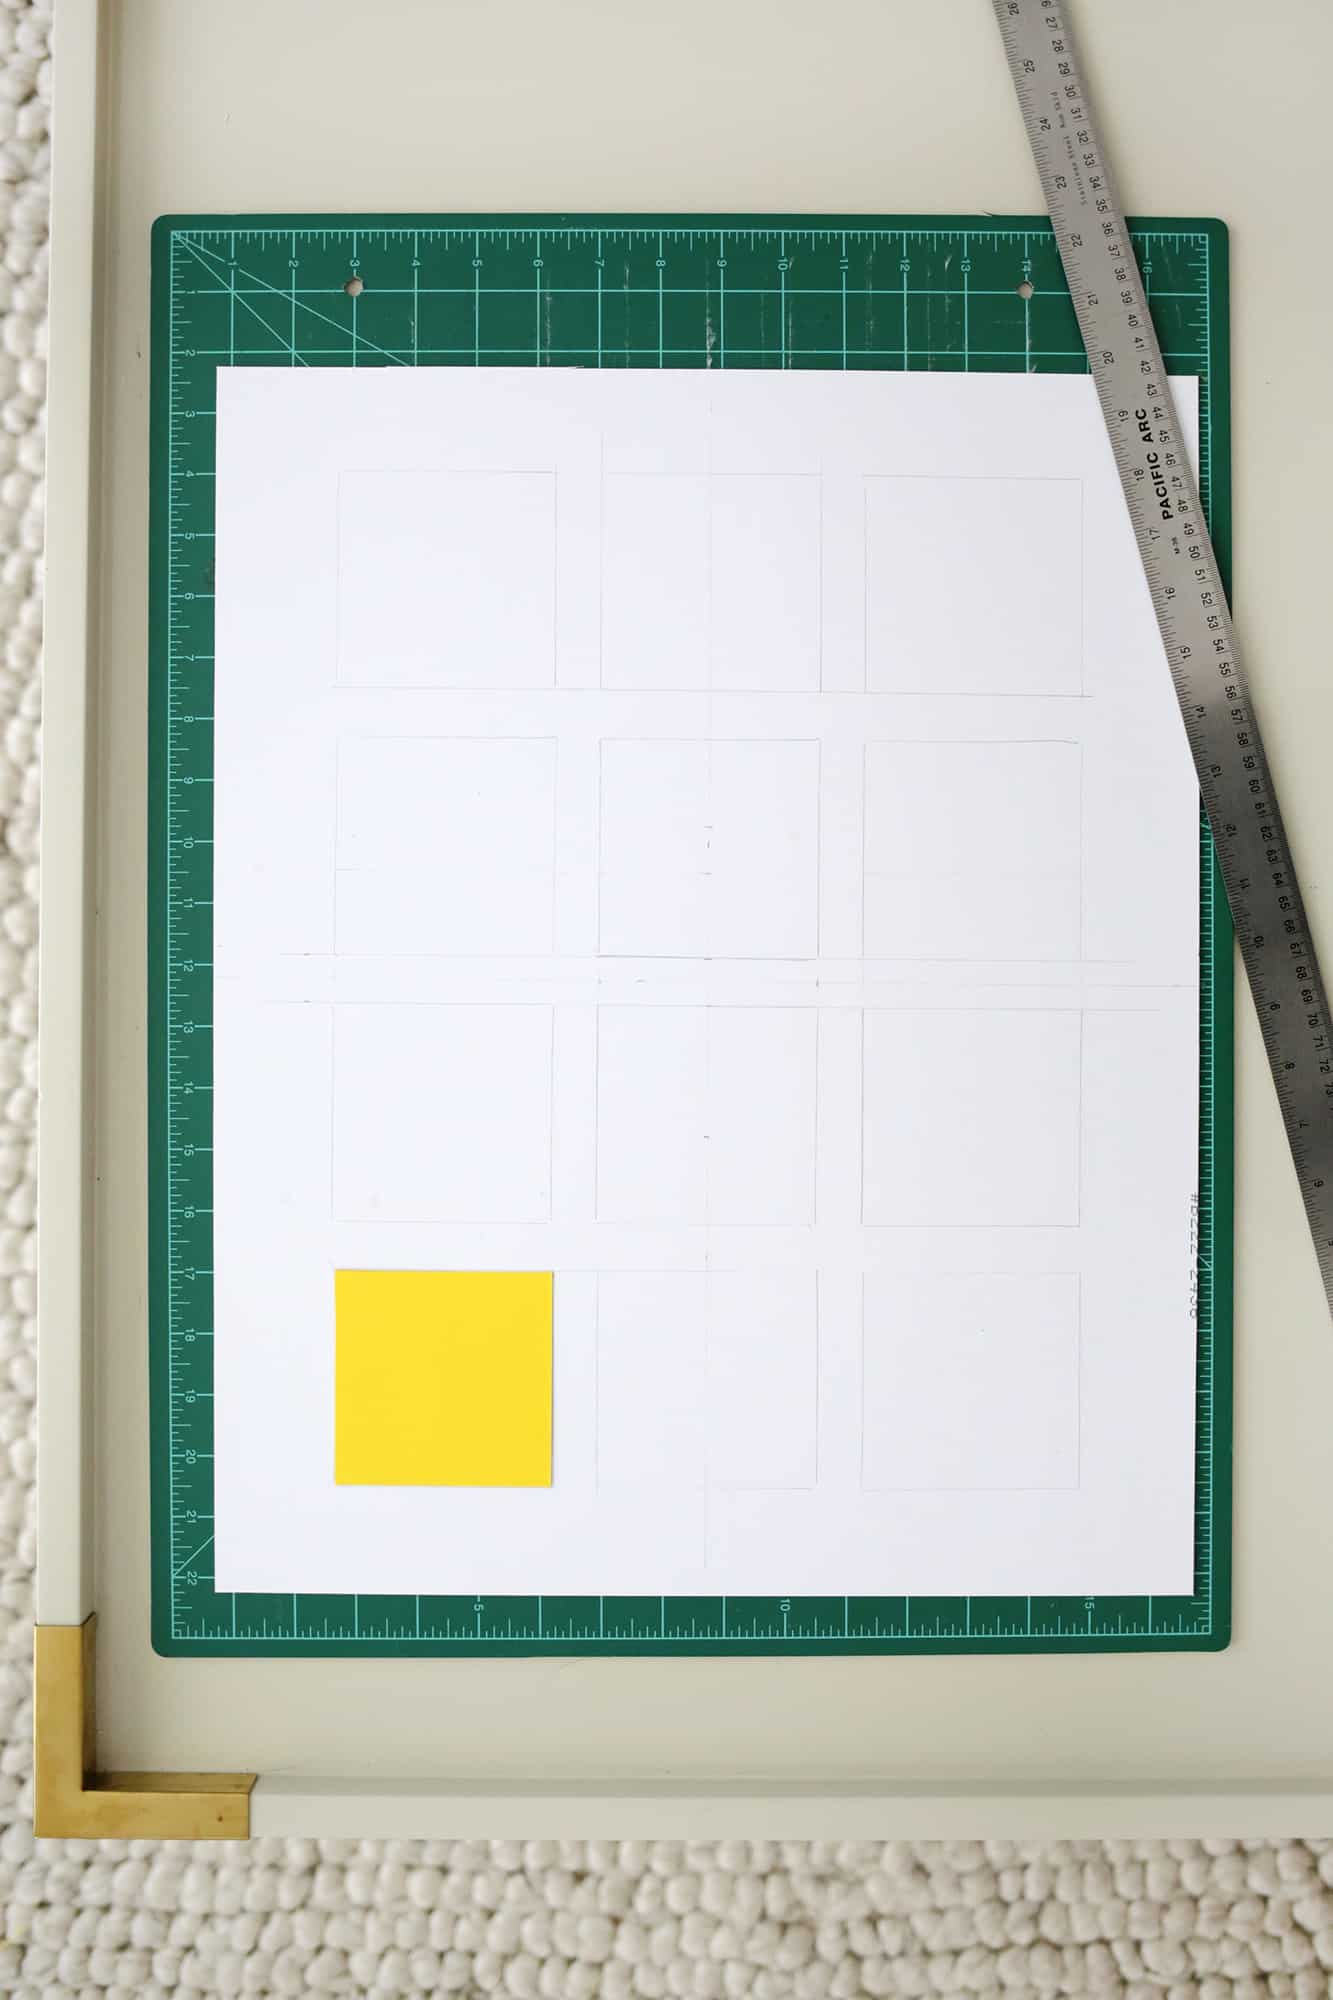 Now we want to space out 12 squares evenly on the back of a 16″ x 20″ matboard. Cut out a 3.5″ x 3.5″ square of paper to be your window template and leave 2″ of blank space on the left and right sides and .75″ between each photo window on your horizontal rows. For your vertical rows, you’ll leave 1.875″ of space at the top and bottom (just get as close as you can to that) and .75″ between each photo window. I found where the exact middle of my matboard was and then measured out from there, but you can also cut 12 windows out of paper instead of one and arrange them that way until they are even and then trace the windows for cutting.
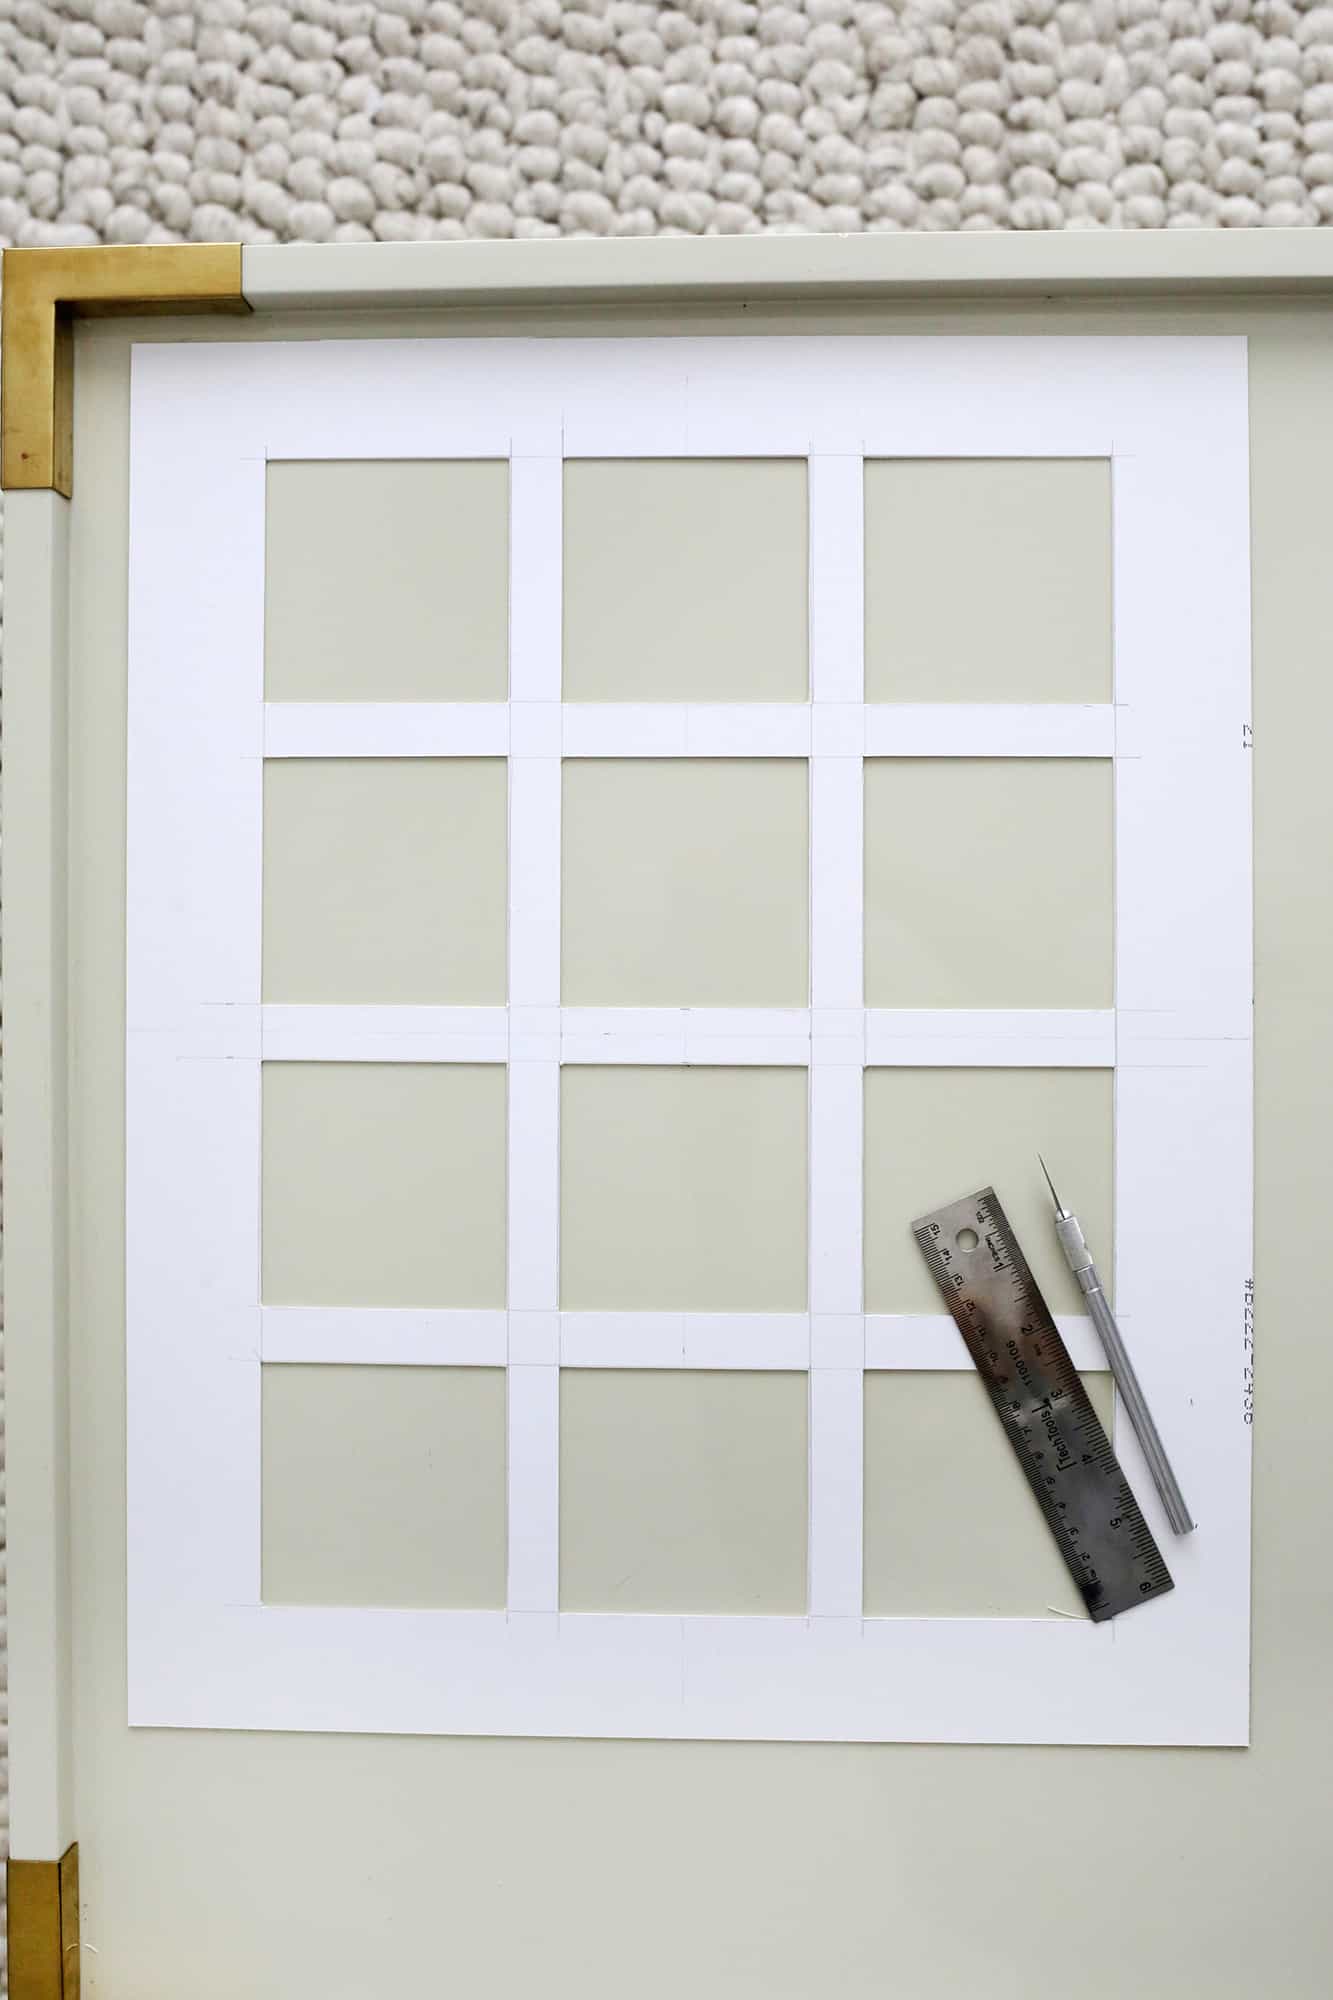 Once your windows are traced, use an X-Acto knife to cut each window out (with a ruler and cutting mat underneath).
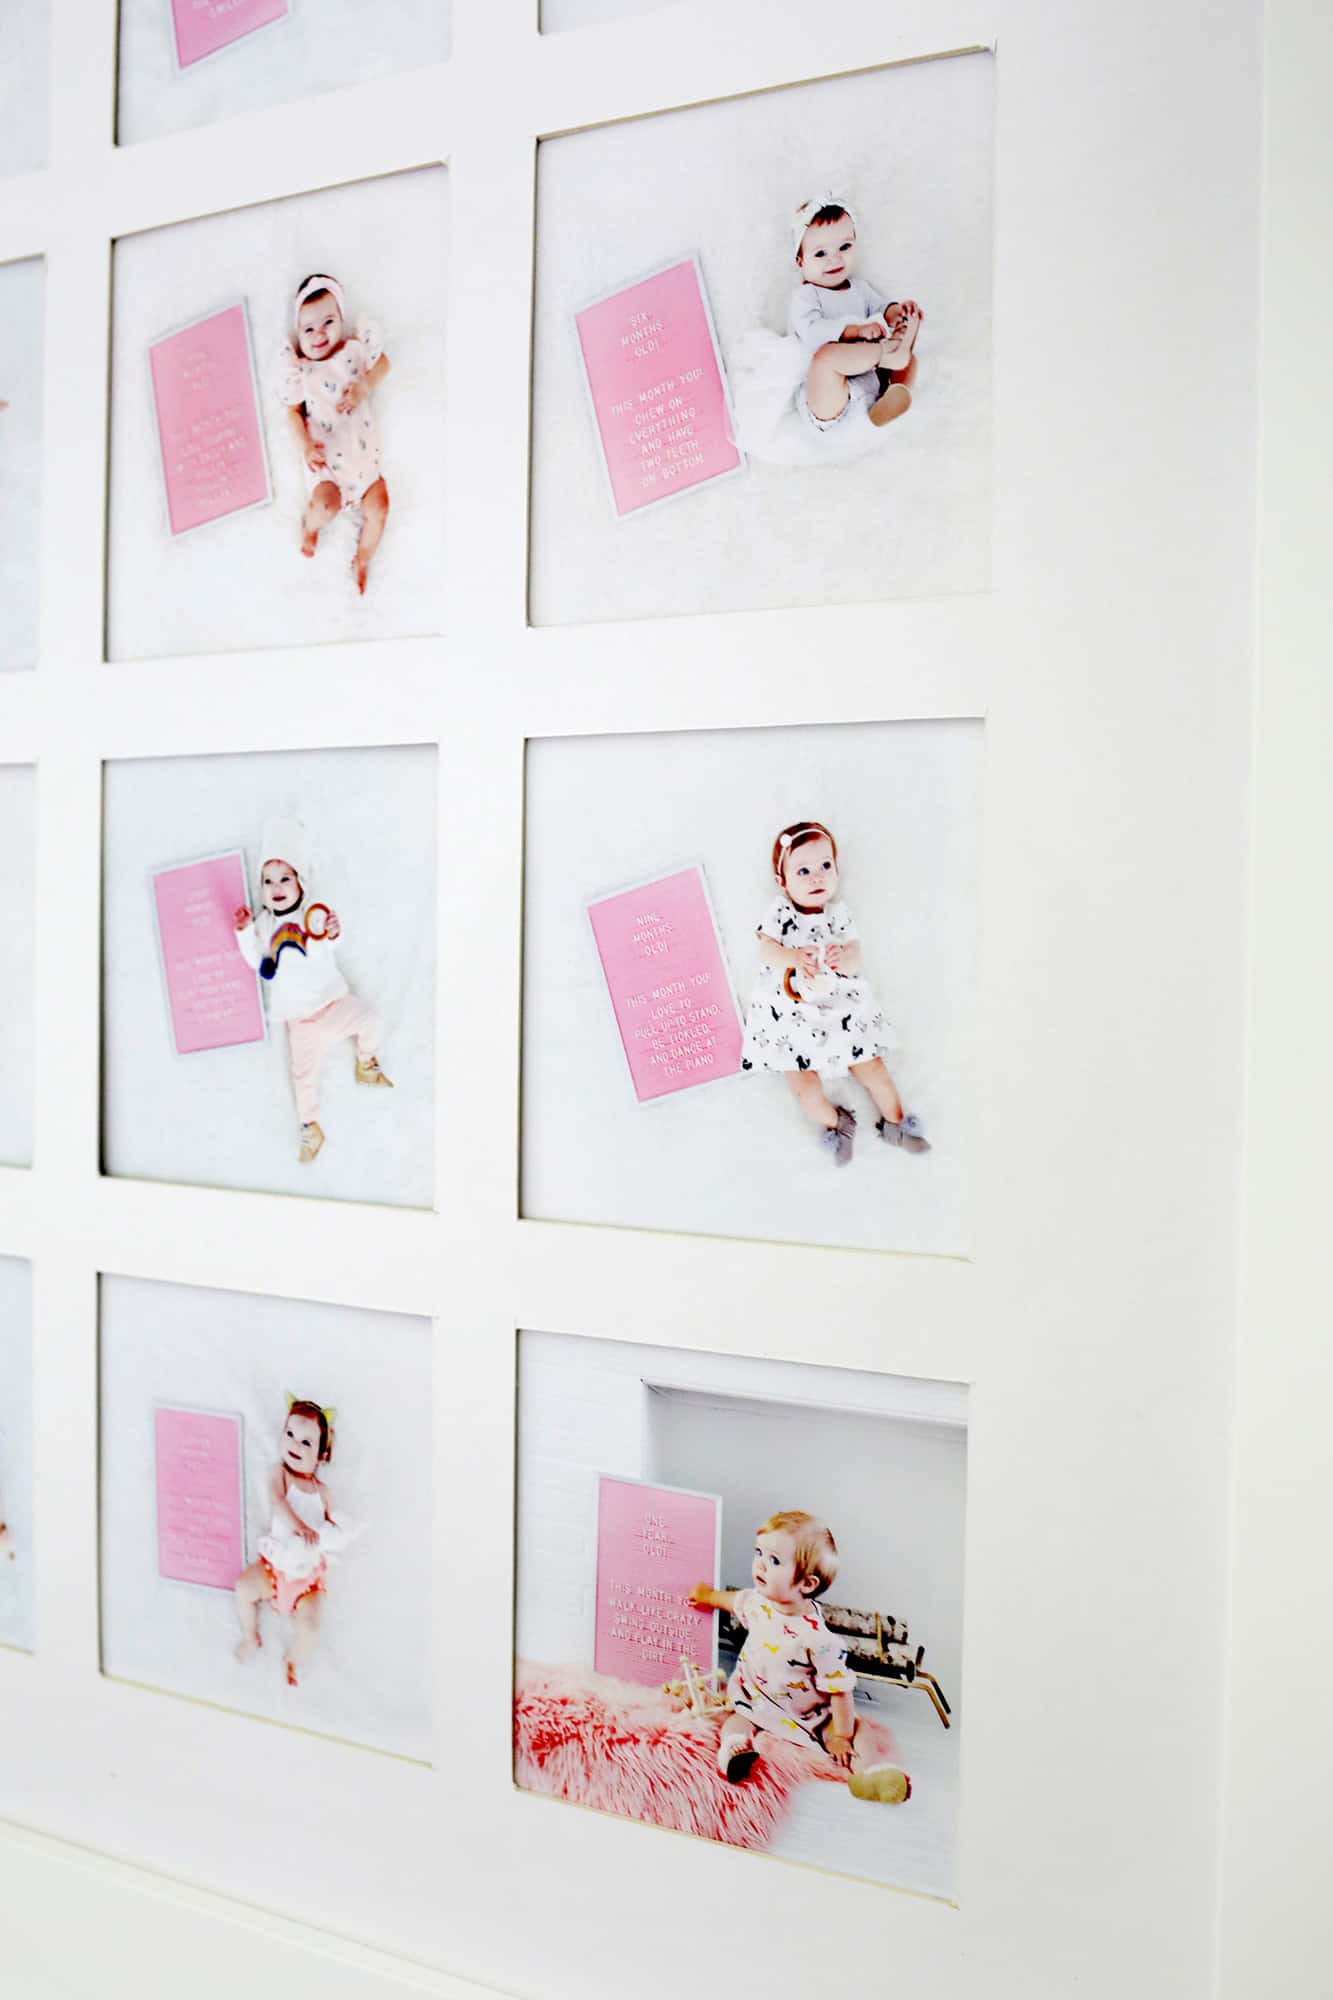
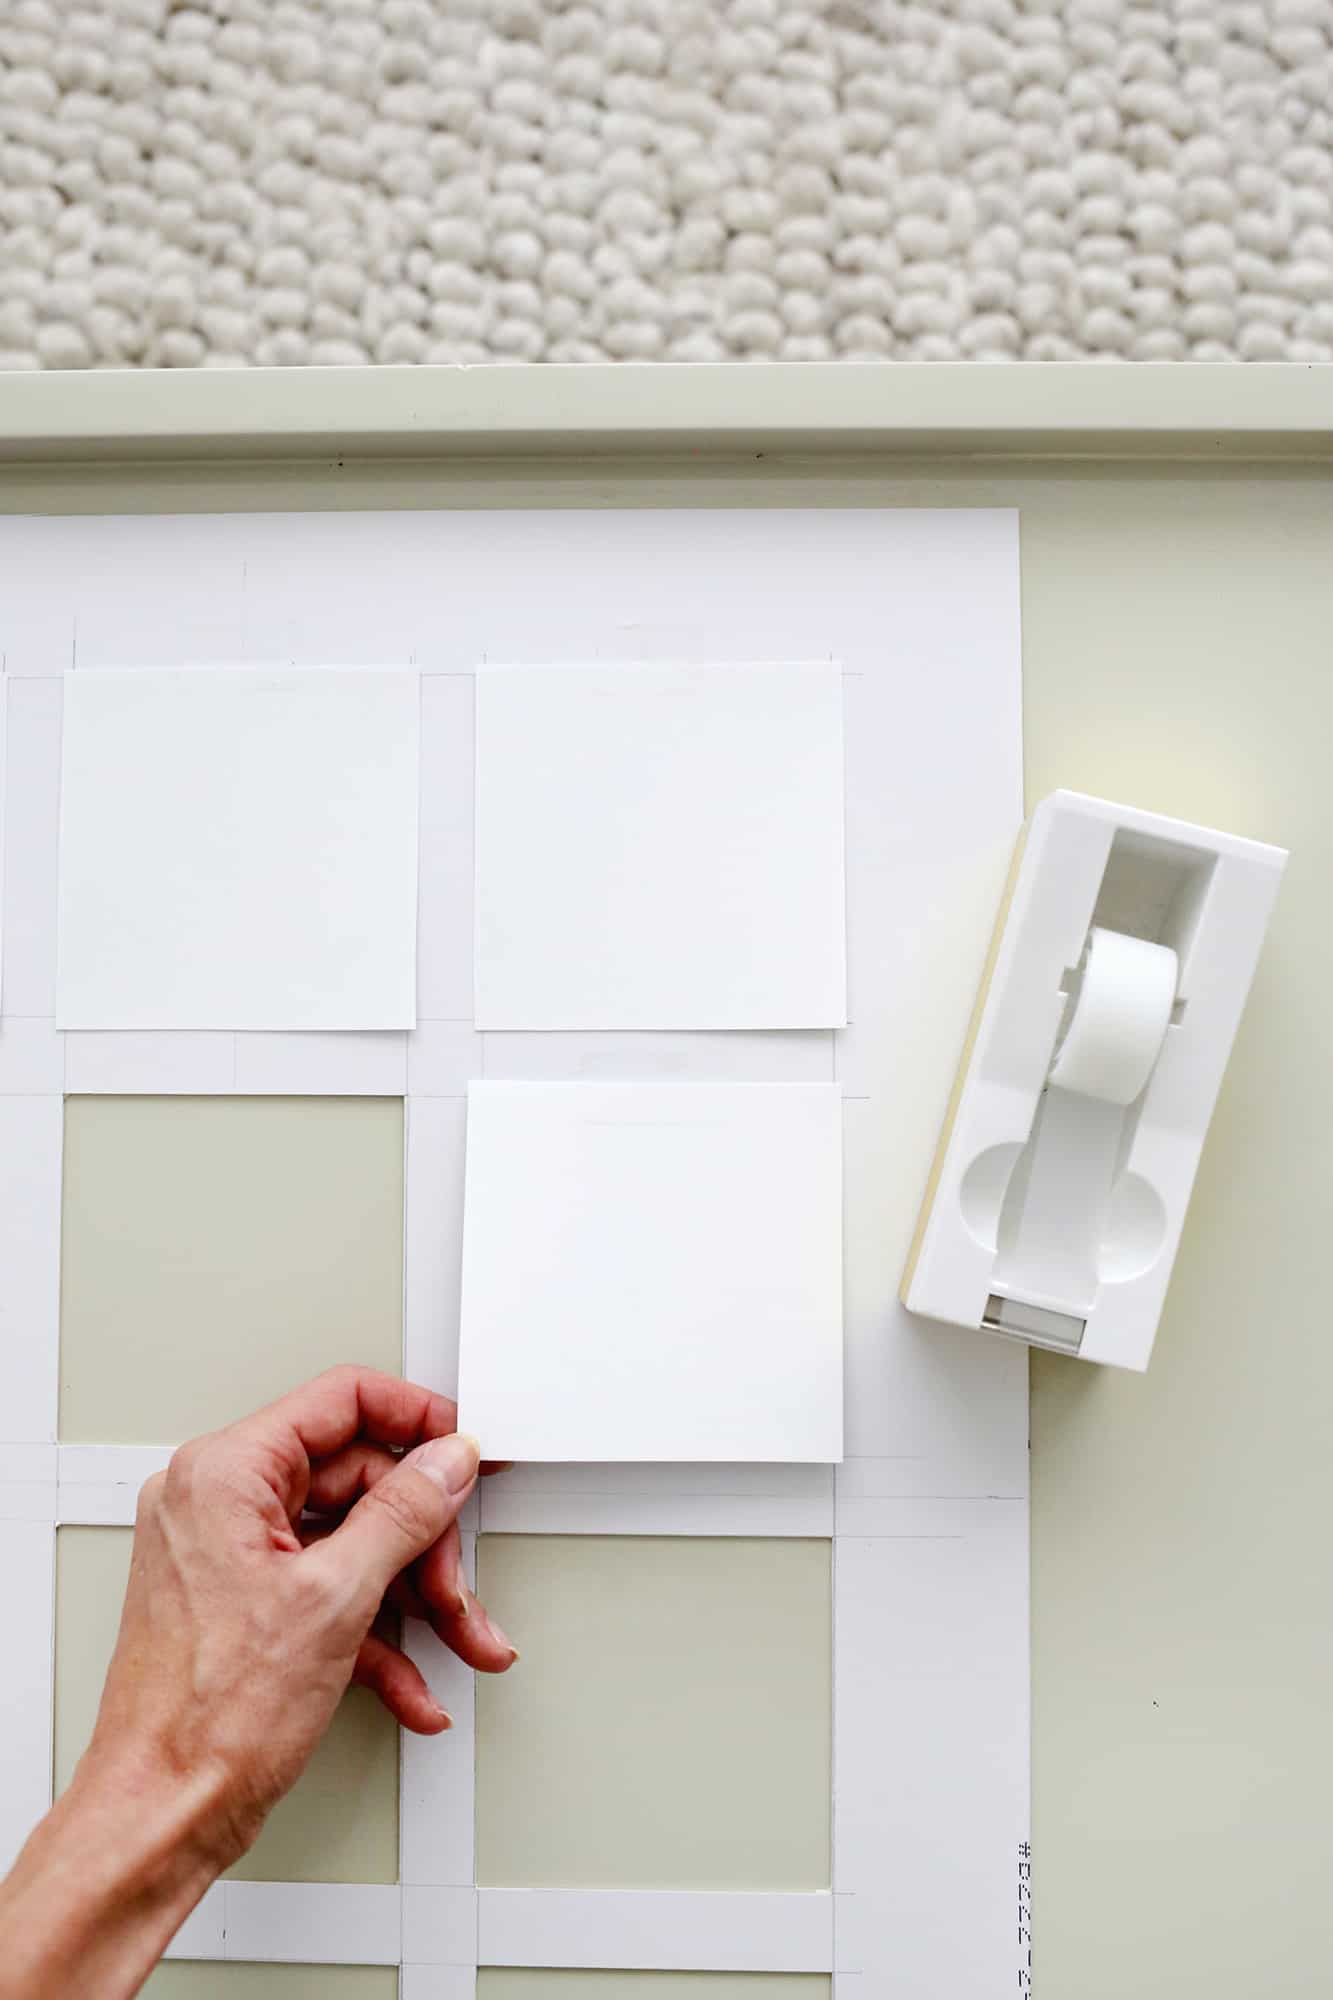 Place your monthly photos face down in order and use a small piece of tape to secure them to the matboard.
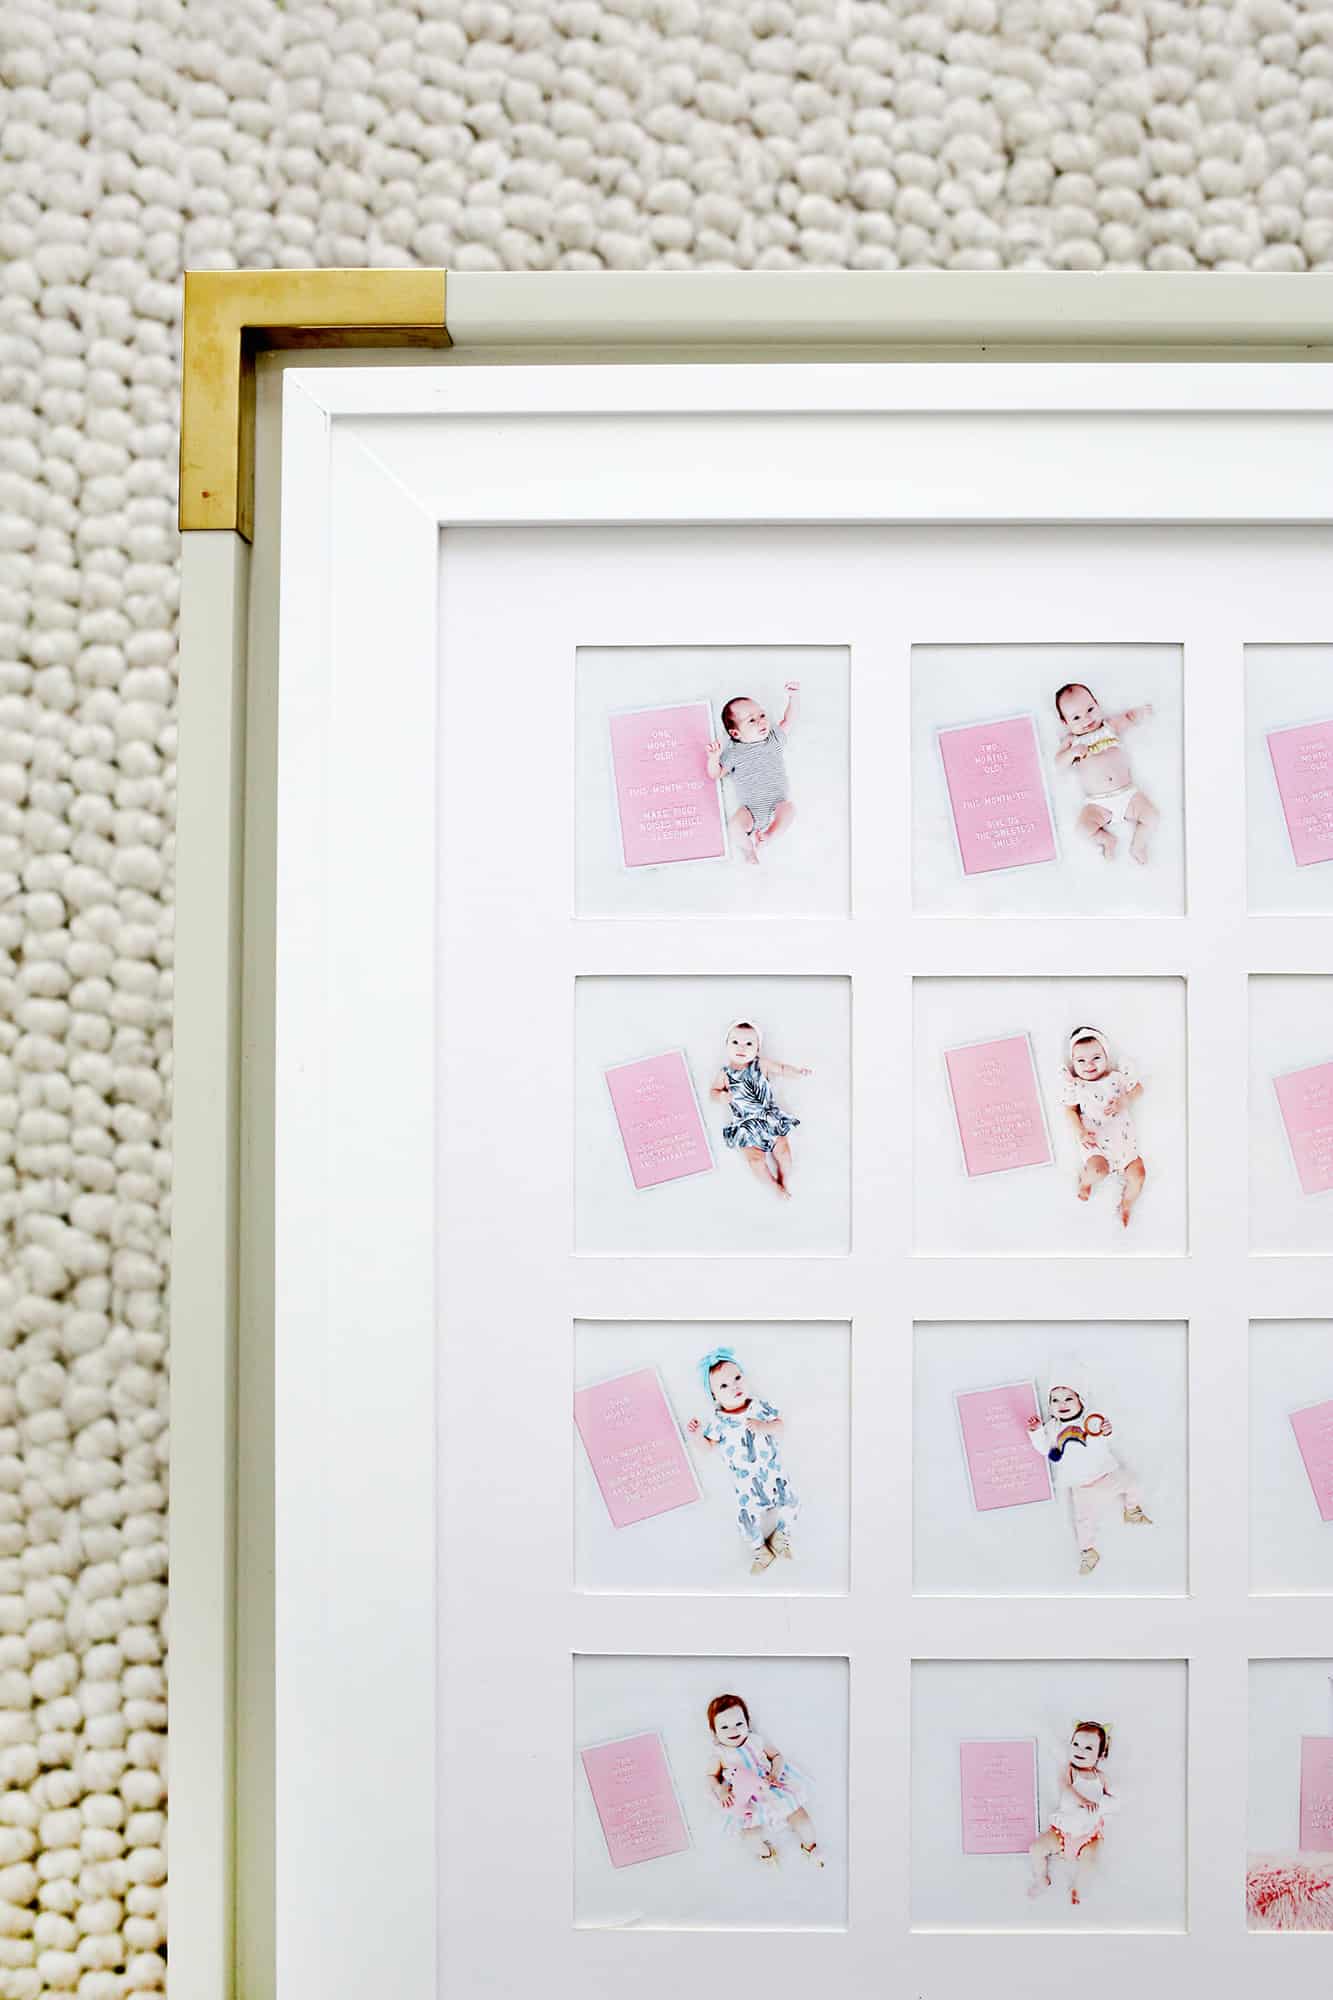
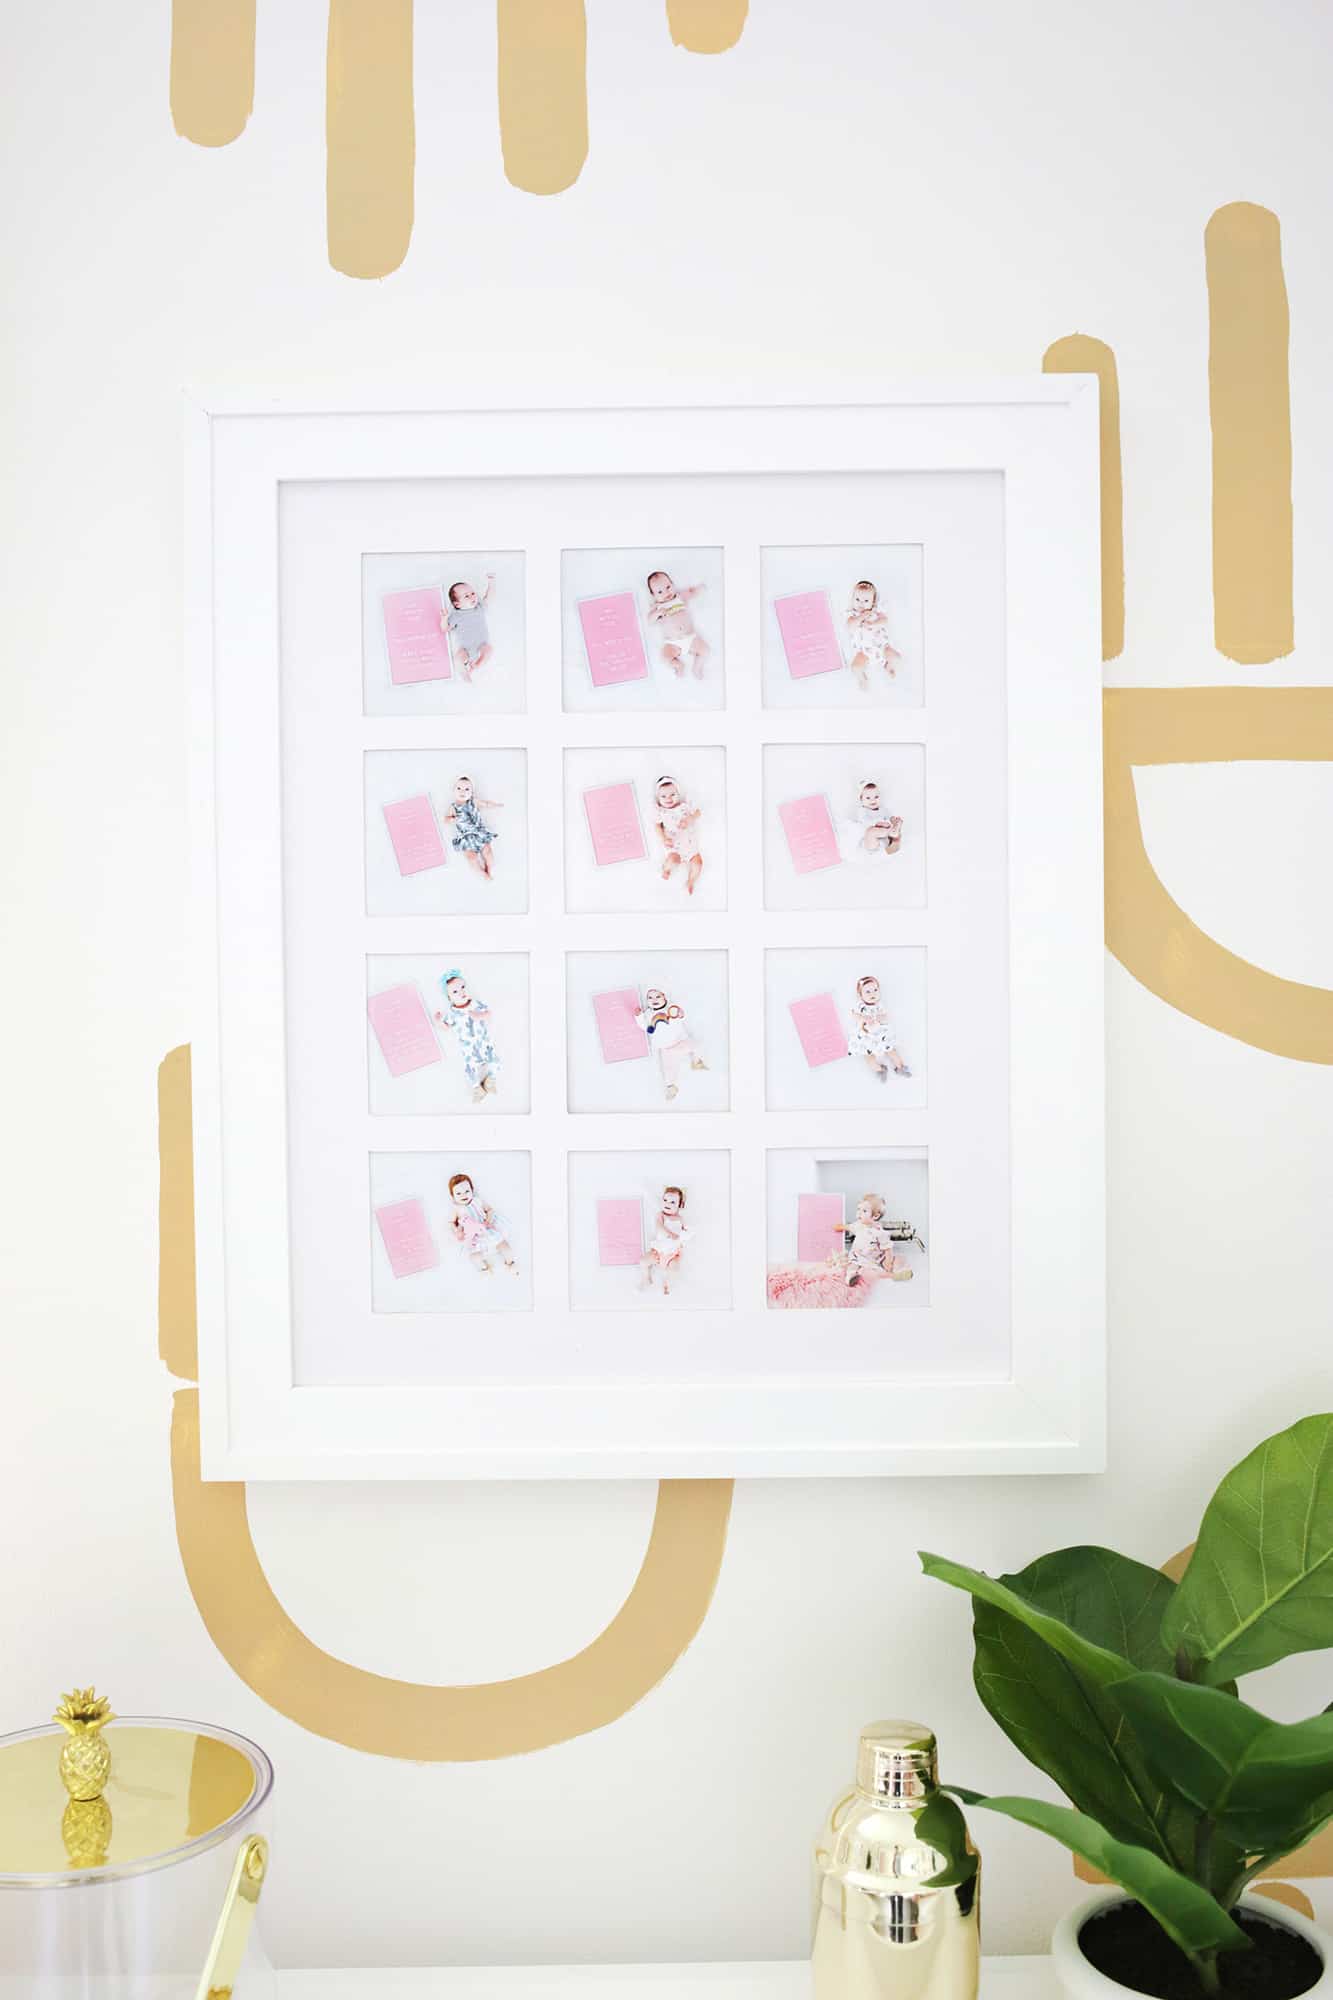
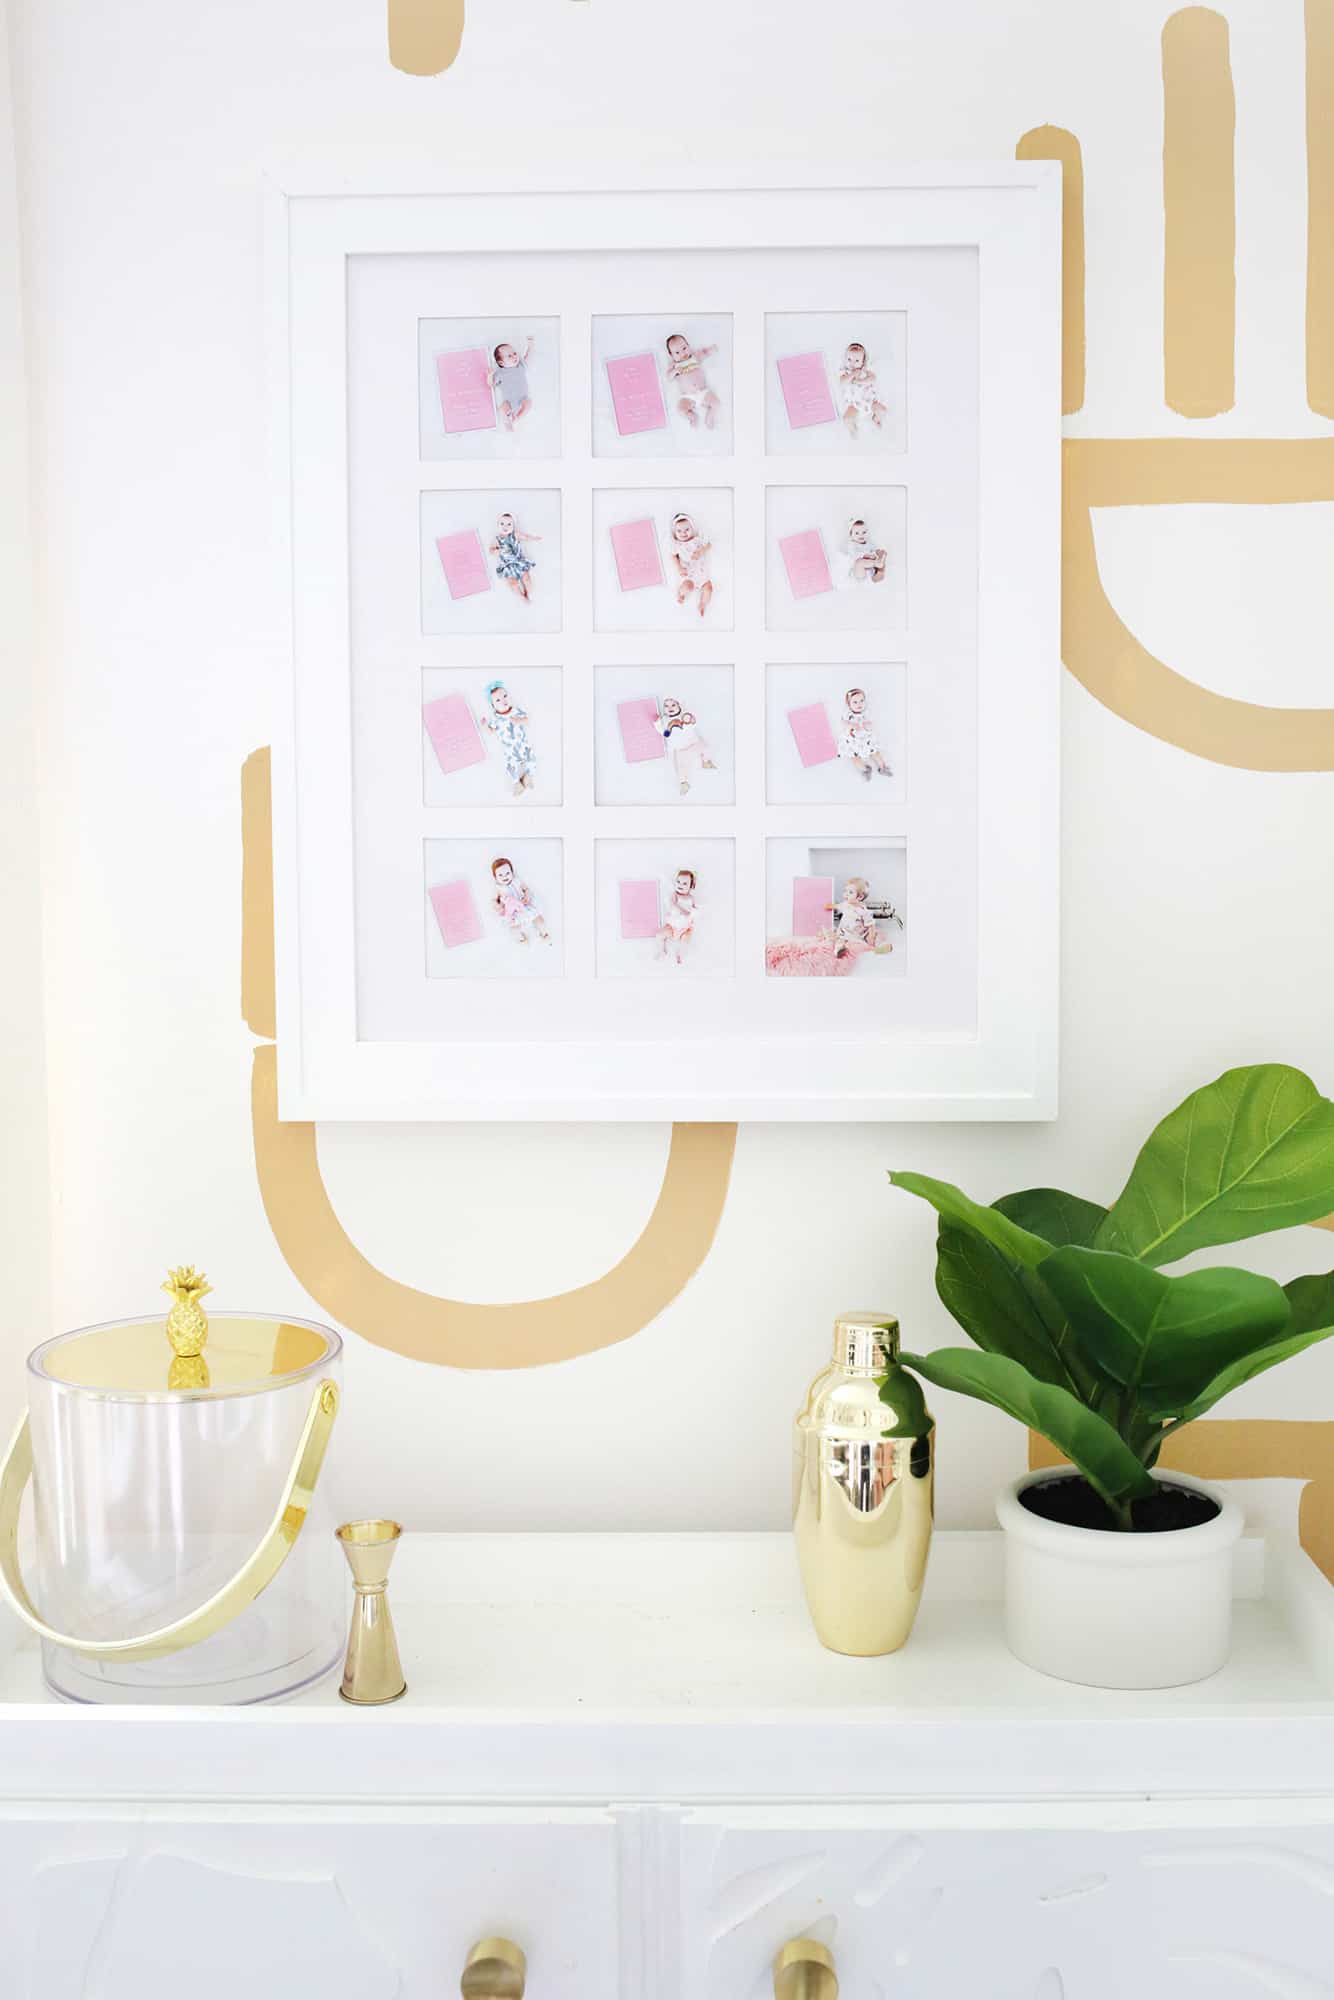
Put your mat and photos into your frame and you’re ready to hang!
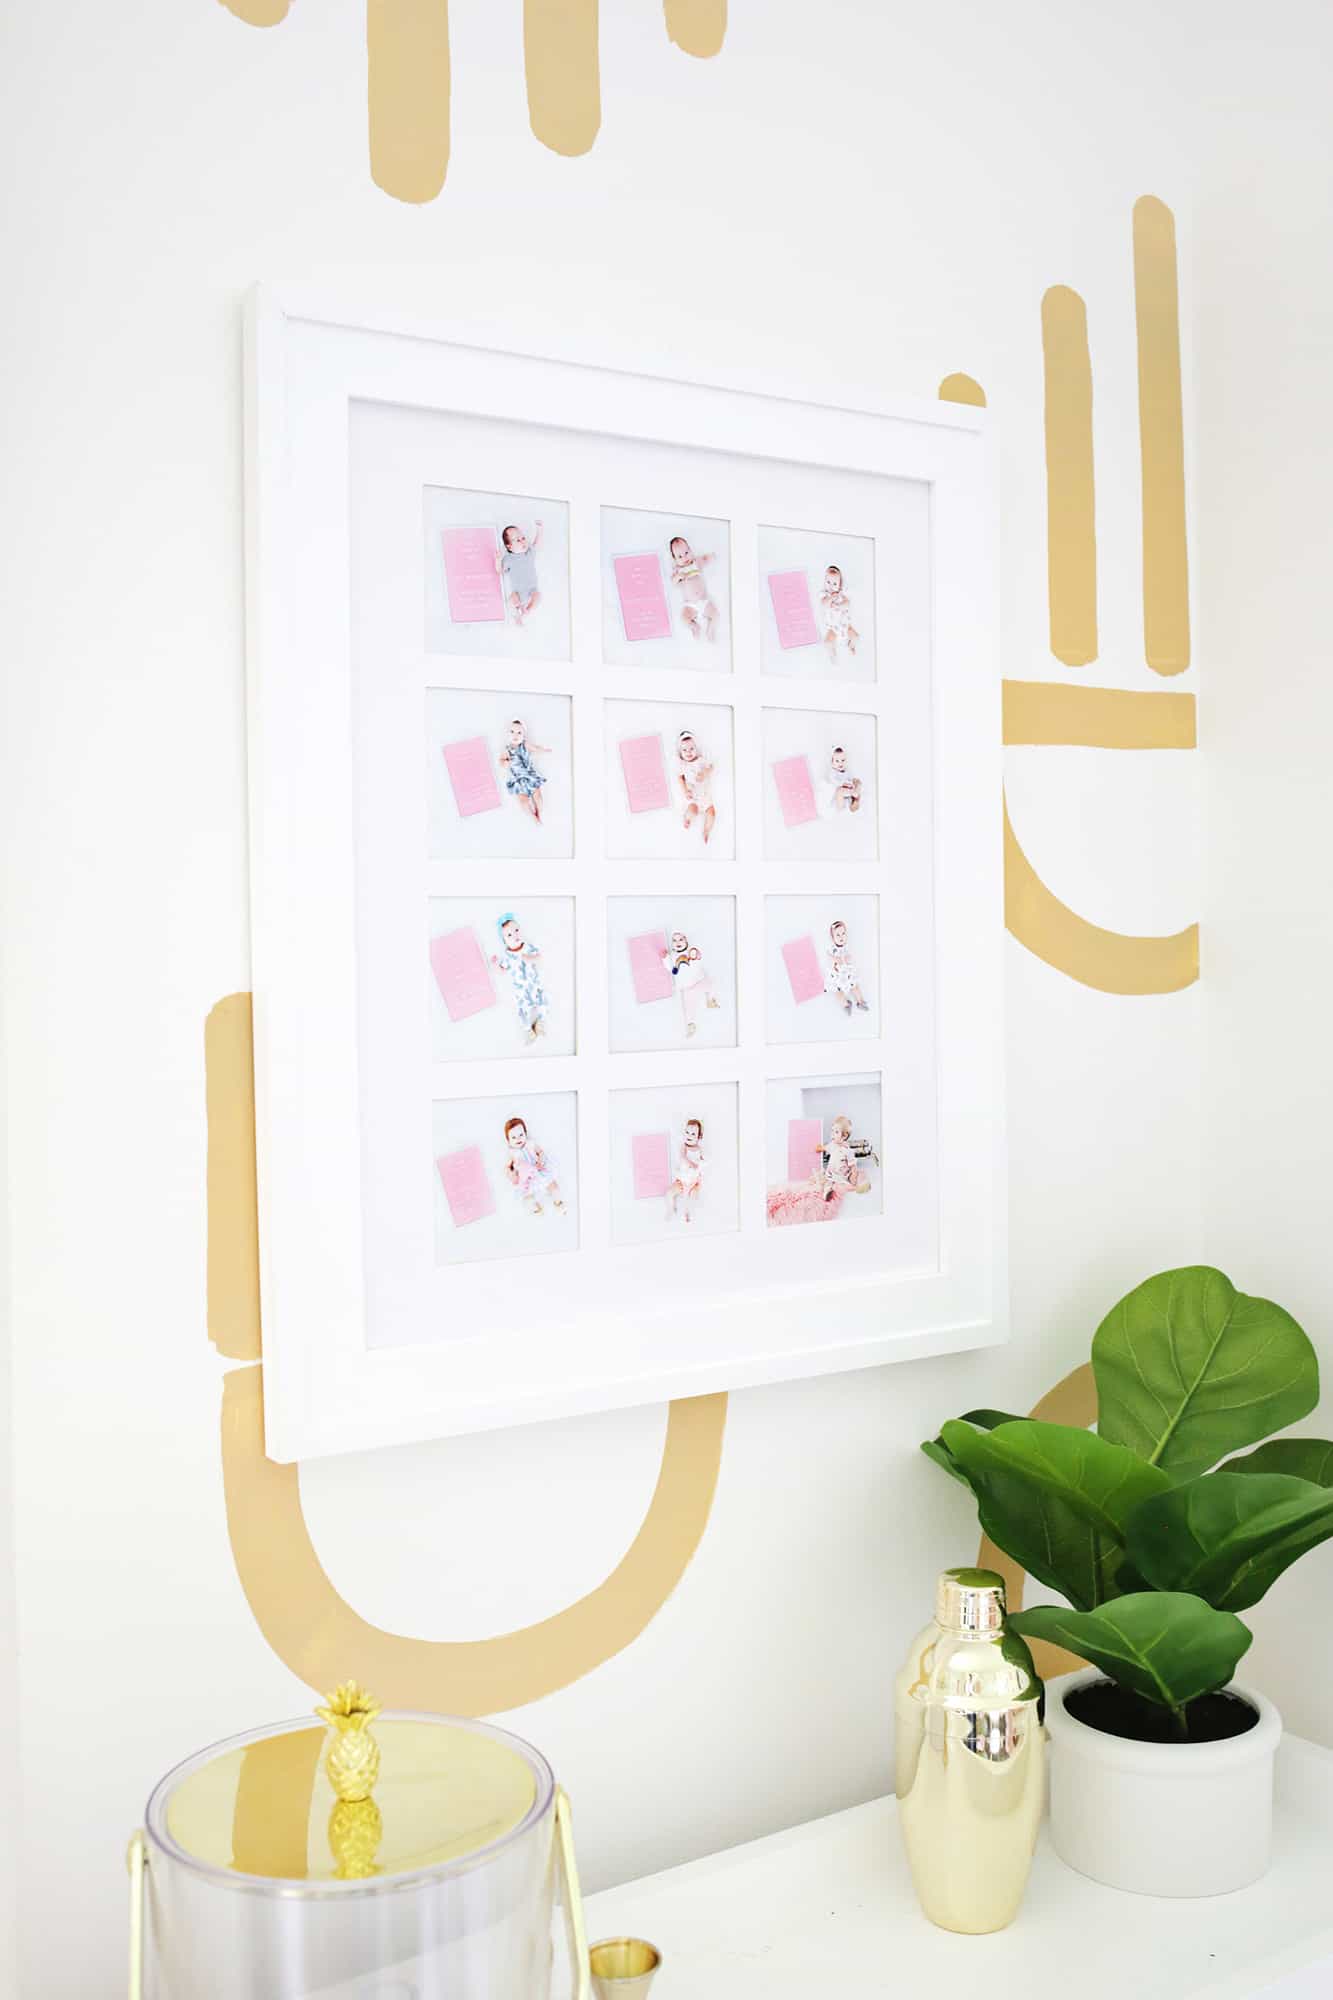


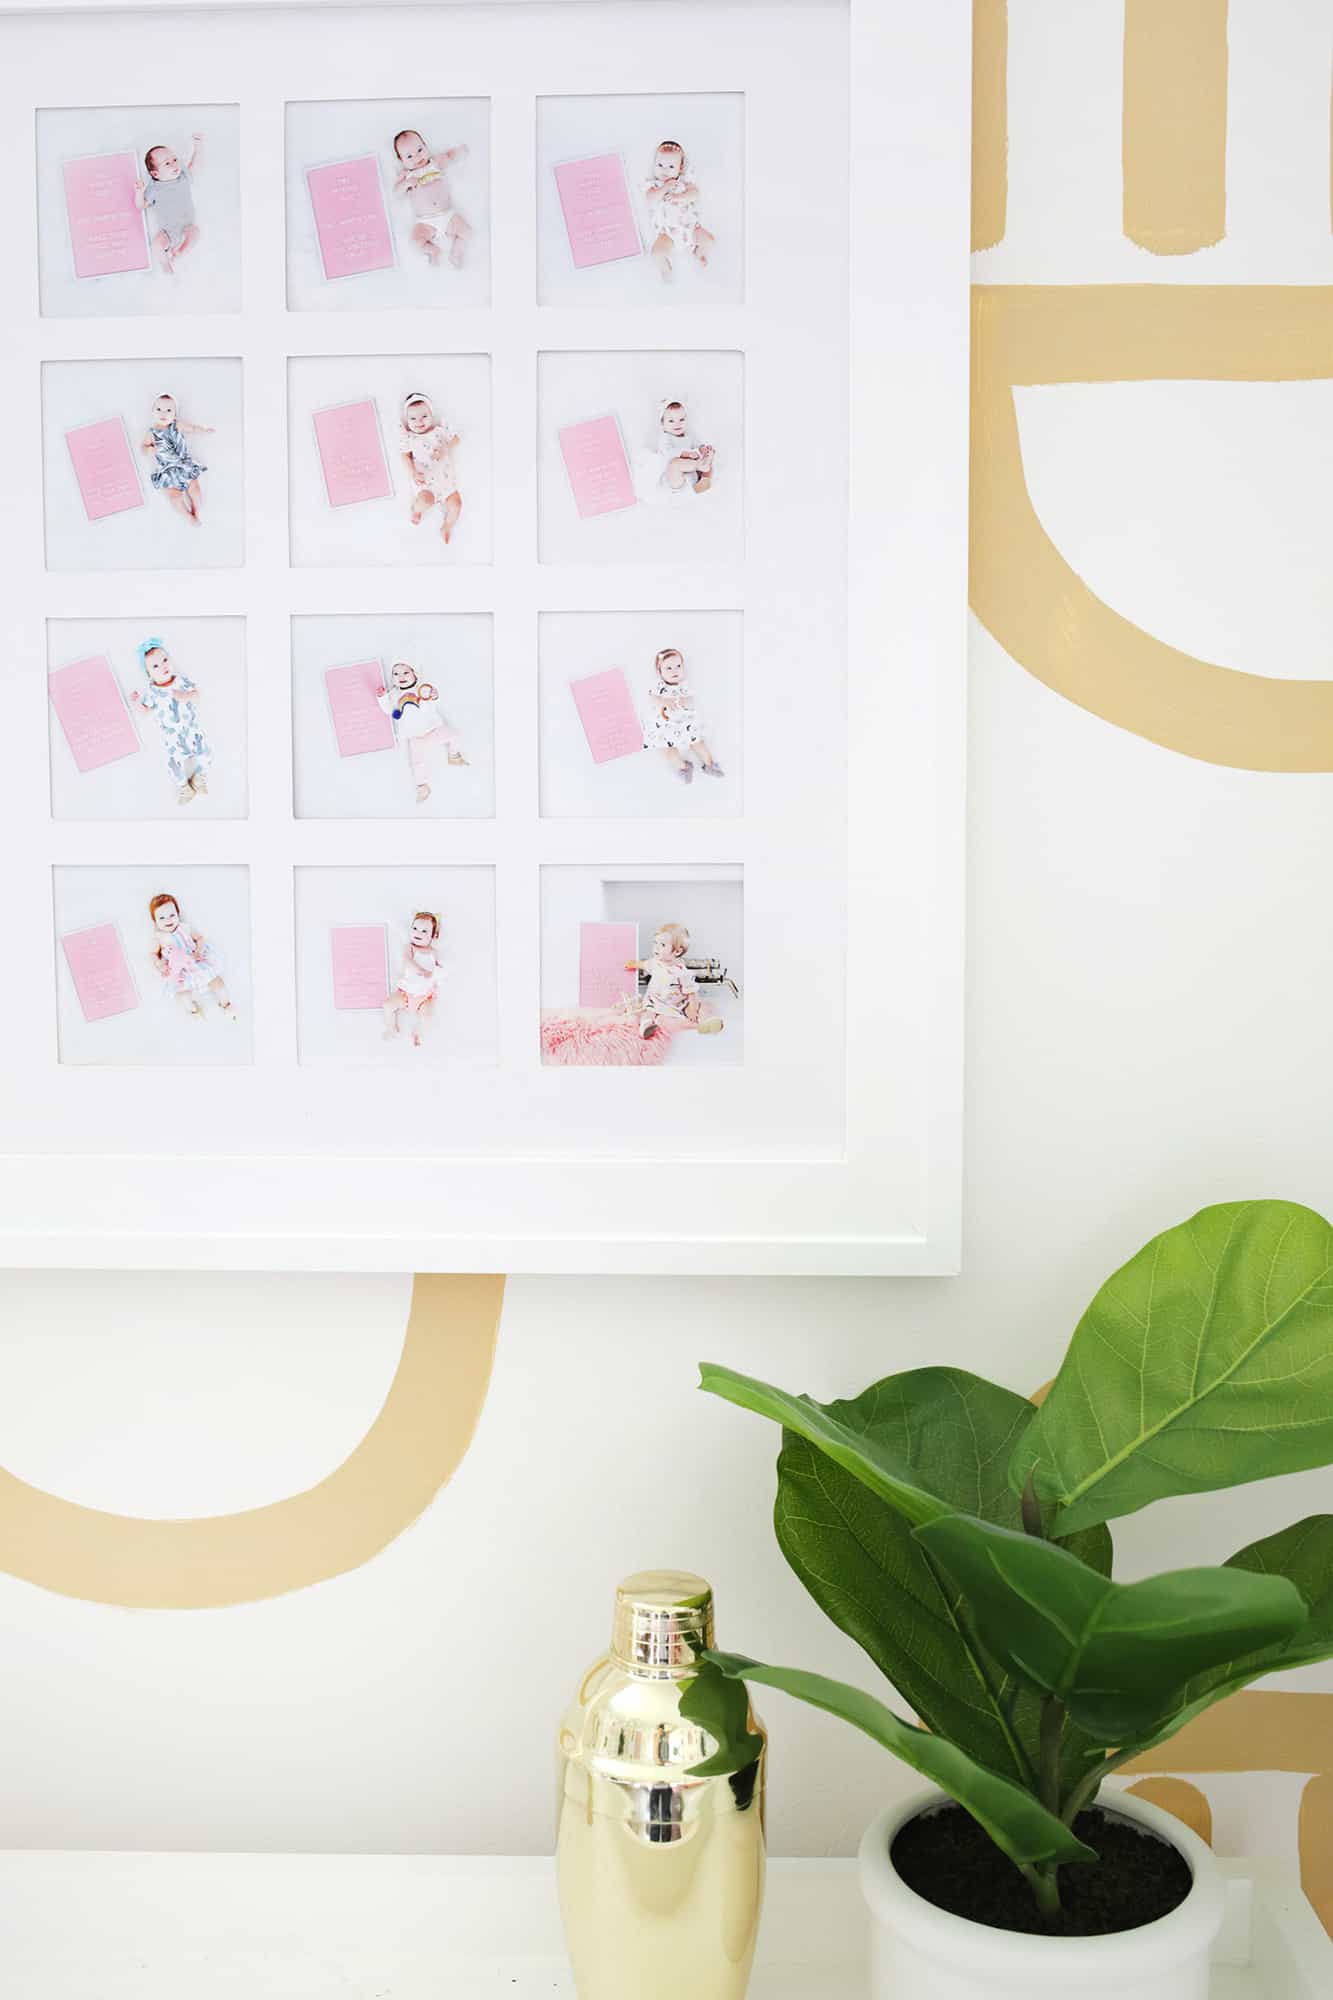
 It’s juuuuuust too cute! I can’t even handle it. Lola got a kick out of seeing herself so little, so she’s pretty thrilled with it too. You can totally use this method for other photos you take yearly like the first day of school or birthday photos, so don’t feel like it has to be limited to first year territory. You could also try this with a Collage Shadow Box approach too! Hope this DIY helps you take a walk down memory lane in all the best ways! xo. Laura
Want to make a kid’s photo book of family members? Check out my DIY Family Board Book For Kids!
Love this post? Sign up for our newsletter for more ideas!

Get creative ideas for recipes, crafts, decor, and more in your inbox!
 Get the How-To

Supplies
- Canon PIXMA G6020 MegaTank
- Luster Photo Paper
- 16″ x 20″ frame (or whatever size frame you like, but that’s what I used)
- 12 photos of your kiddo, one for each month of their first year
- scissors and X-Acto knife, ruler, and cutting mat
- matboard cut to 16″ x 20″
- tape
Instructions
- First, you’ll want to use whatever photo editing program you like to crop into squares and resize all your 12 photos to be 3.75″ x 3.75″(the windows we cut into the matboard will be 3.5″ x 3.5″, so you want the photos a tiny bit bigger). I printed four photos per page as well so I could get more than one photo per paper.
- Cut your photos out with scissors or an X-Acto knife and get your 16″ x 20″ matboard ready to cut.
- Now we want to space out 12 squares evenly on the back of a 16″ x 20″ matboard. Cut out a 3.5″ x 3.5″ square of paper to be your window template and leave 2″ of blank space on the left and right sides and .75″ between each photo window on your horizontal rows. For your vertical rows, you’ll leave 1.875″ of space at the top and bottom (just get as close as you can to that) and .75″ between each photo window. I found where the exact middle of my matboard was and then measured out from there, but you can also cut 12 windows out of paper instead of one and arrange them that way until they are even and then trace the windows for cutting.
- Once your windows are traced, use an X-Acto knife to cut each window out (with a ruler and cutting mat underneath).
- Place your monthly photos face down in order and use a small piece of tape to secure them to the matboard.
- Put your mat and photos into your frame and you’re ready to hang!
Credits // Author and Photography: Laura Gummerman. Photos edited with A Color Story Desktop.


Beautiful!
Omg these are so so cute!!
-Kate
https://daysofkate.com/
Ahhh! What a lovely DIY and a lovely set of pictures!
I’ve recently been asking my kids, (one of whom is almost exactly Lola’s age!) “where did my babies go!?!?” They usually answer “now they’re big!”
I love it.
Oh my gosh Laura it’s SO CUTE!
Aw thanks Elsie!
Laura 🙂