Skip to primary navigation
Skip to main content
A Beautiful Mess
Crafts, Home Décor, Recipes
Cocktails
Drinks
Recipes
Sauces
Our Cookbook
Display Search Bar
Search...
Home
All Posts
All Posts
Fresh Mint Tea
Air Fryer Hamburgers
Dirty Martini
Grasshopper Cocktail
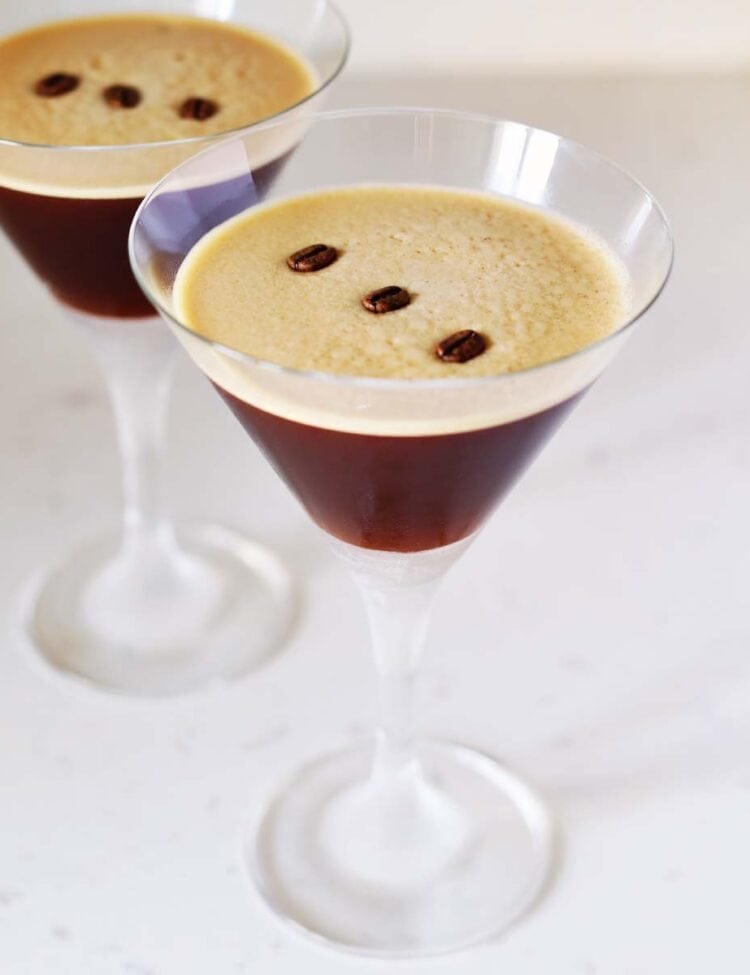
Espresso Martini
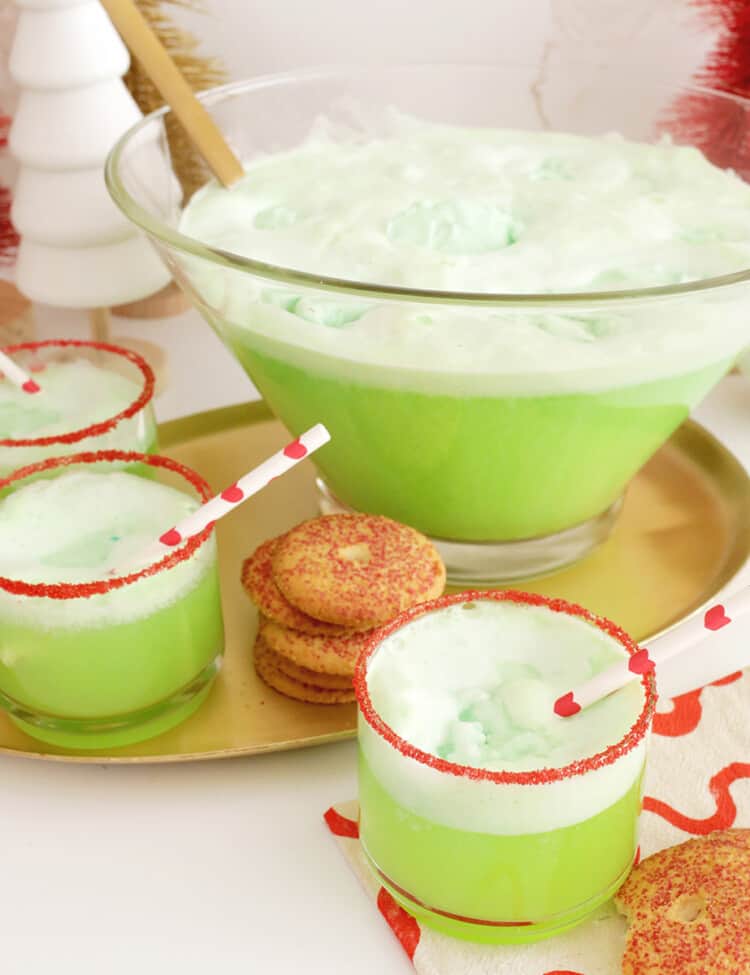
Grinch Punch
Soft Gingerbread Cookies
Salted Caramel Syrup
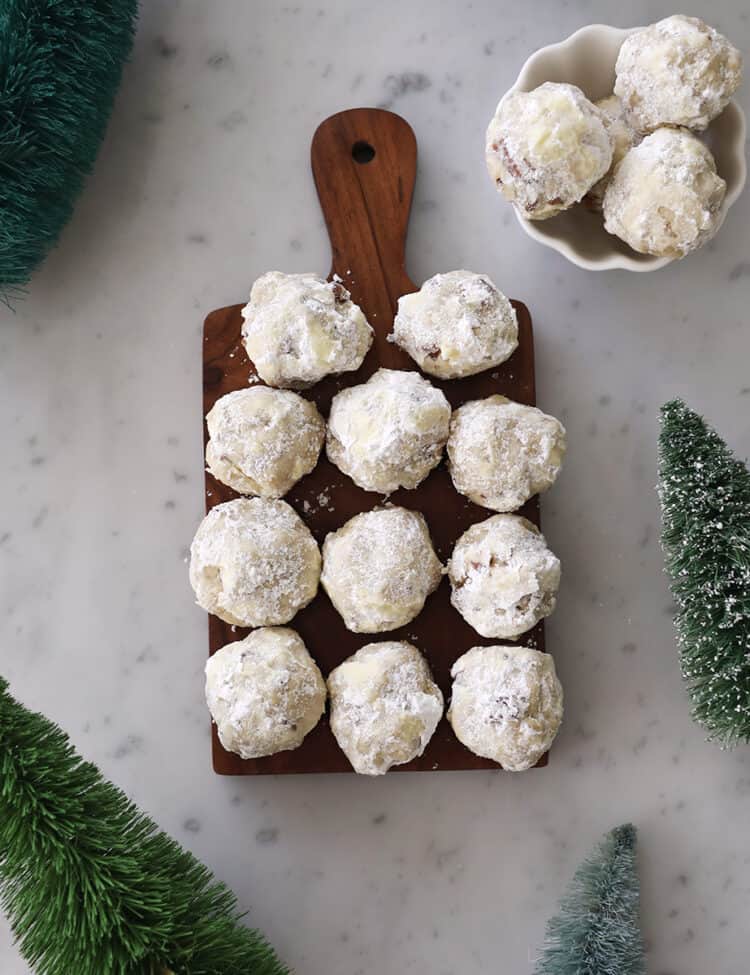
Snowball Cookies
Toffee Nut Syrup
Peppermint Syrup
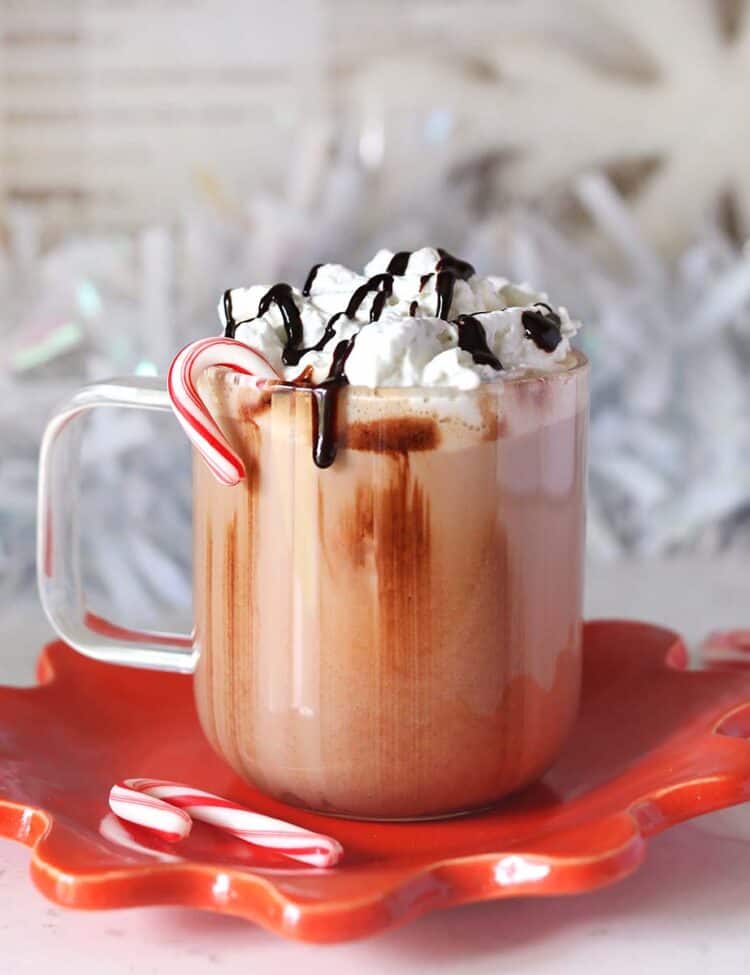
Peppermint Mocha
Previous
Page
1
Page
2
Page
3
Page
4
Page
5
Page
6
Interim pages omitted
…
Page
291
Next