Skip to primary navigation
Skip to main content
A Beautiful Mess
Crafts, Home Décor, Recipes
Cocktails
Drinks
Recipes
Sauces
Our Cookbook
Display Search Bar
Search...
Home
All Posts
All Posts
Vanilla Syrup
White Hot Chocolate
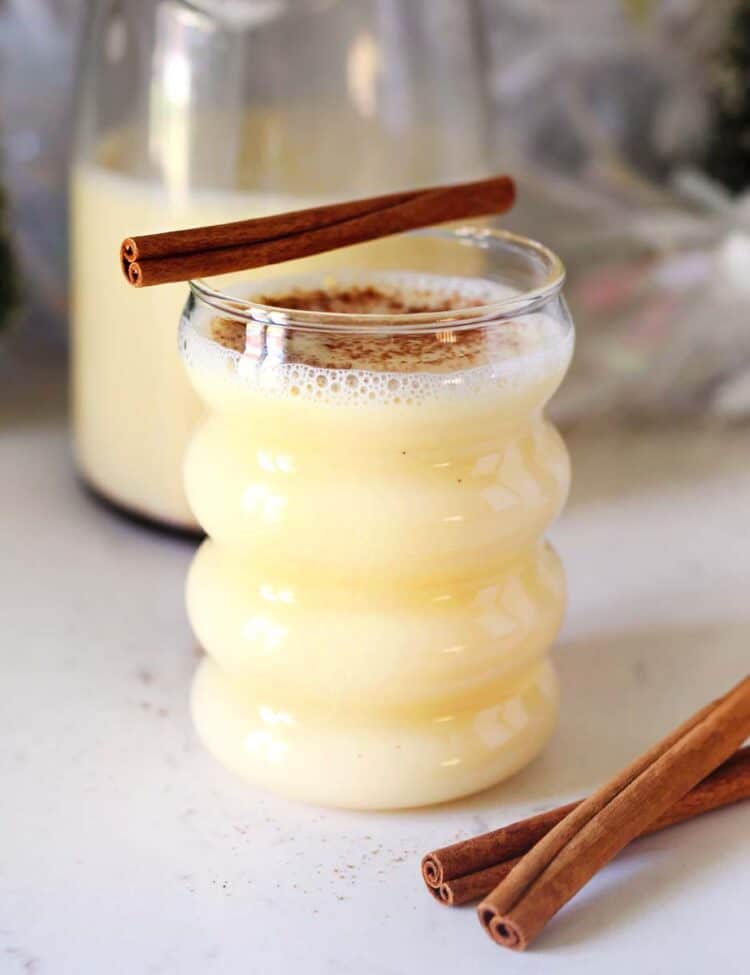
Homemade Eggnog
Air Fryer Hot Dogs
Hot Buttered Rum
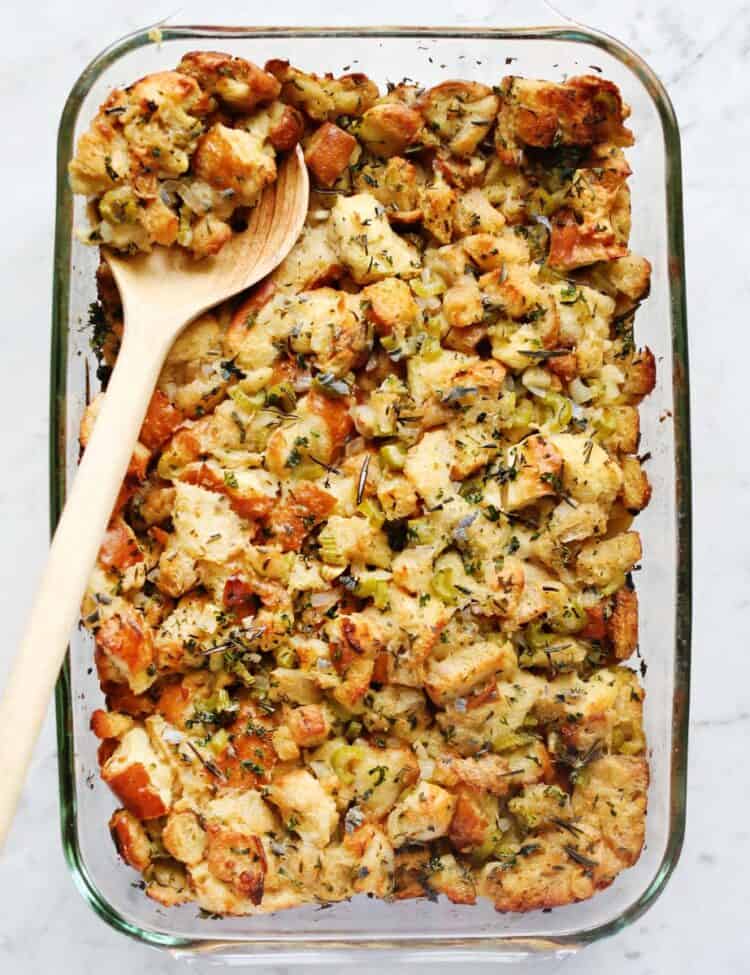
Best Stuffing Recipe
Gingerbread Shot
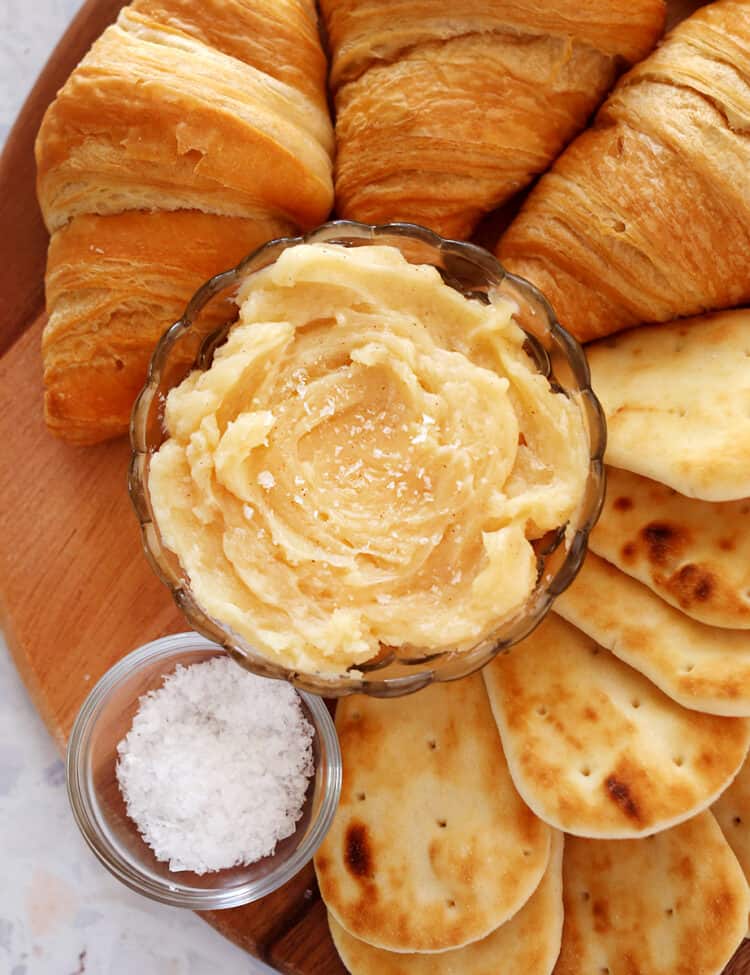
Honey Butter
Cranberry Syrup
Wassail Recipe
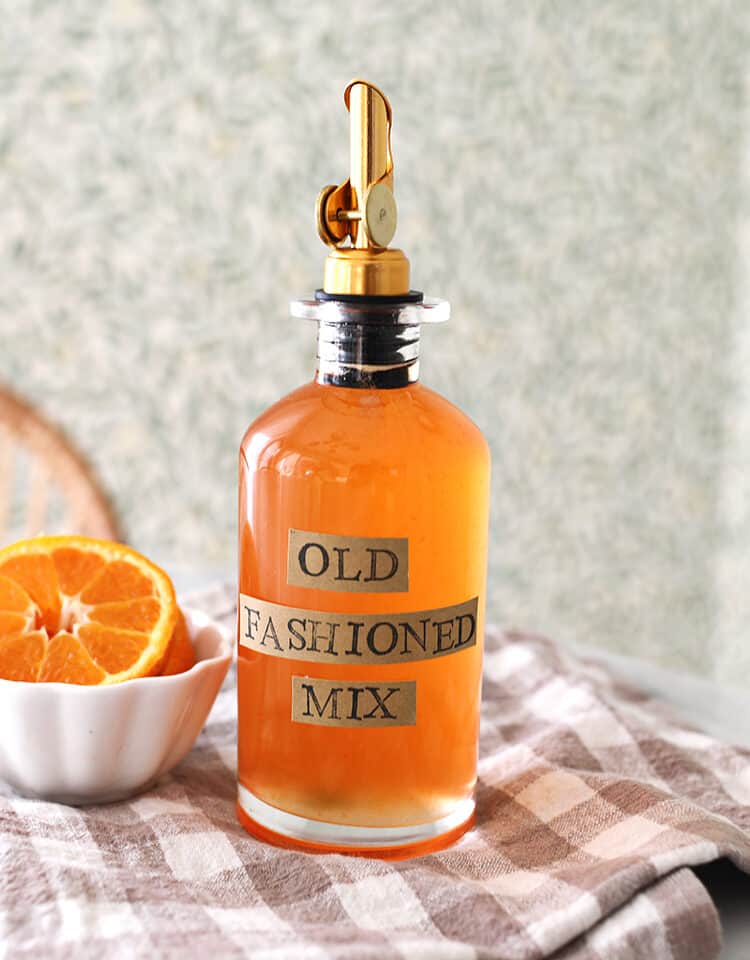
Homemade Old Fashioned Mix
Chai Spice Mix
Previous
Page
1
Interim pages omitted
…
Page
3
Page
4
Page
5
Page
6
Page
7
Interim pages omitted
…
Page
291
Next