If you are in need of an easy holiday baking project, try this candy cane cookie recipe! These are festive, simple, and lightly peppermint-flavored (and perfect for dunking in milk).
If you leave these out for Santa I bet he will be pleased. Lol.

These candy cane cookies might look complicated, but they are actually super easy. The dough is made from all basic ingredients you probably already have if you ever bake. The one wild card ingredient is peppermint extract, which I do recommend!
However, if you don’t have any and can’t be bothered to go to the store to get some, another option is to skip it and crush up some candy canes (and sprinkle them over the top) before baking.
Not exactly the same thing, but you’ll get a little peppermint flavor—plus, it’s cute.

These are great for baking parties with friends or making with kiddos. Once the dough is prepared, anyone can roll these out and shape them into candy canes. Here are a few other cookie recipes you might want to make with loved ones:
- Sugar Cookies with Royal Icing and a Vegan Sugar Cookie plus Vegan Royal Icing recipe.
- Oversized Soft-Center Chocolate Chip Cookies
- How to Make Slice and Bake Cookie Designs
- Tips for Mailing Royal Icing Cookies, in case you want to gift your creations
- Easy Chocolate Oreo Truffles
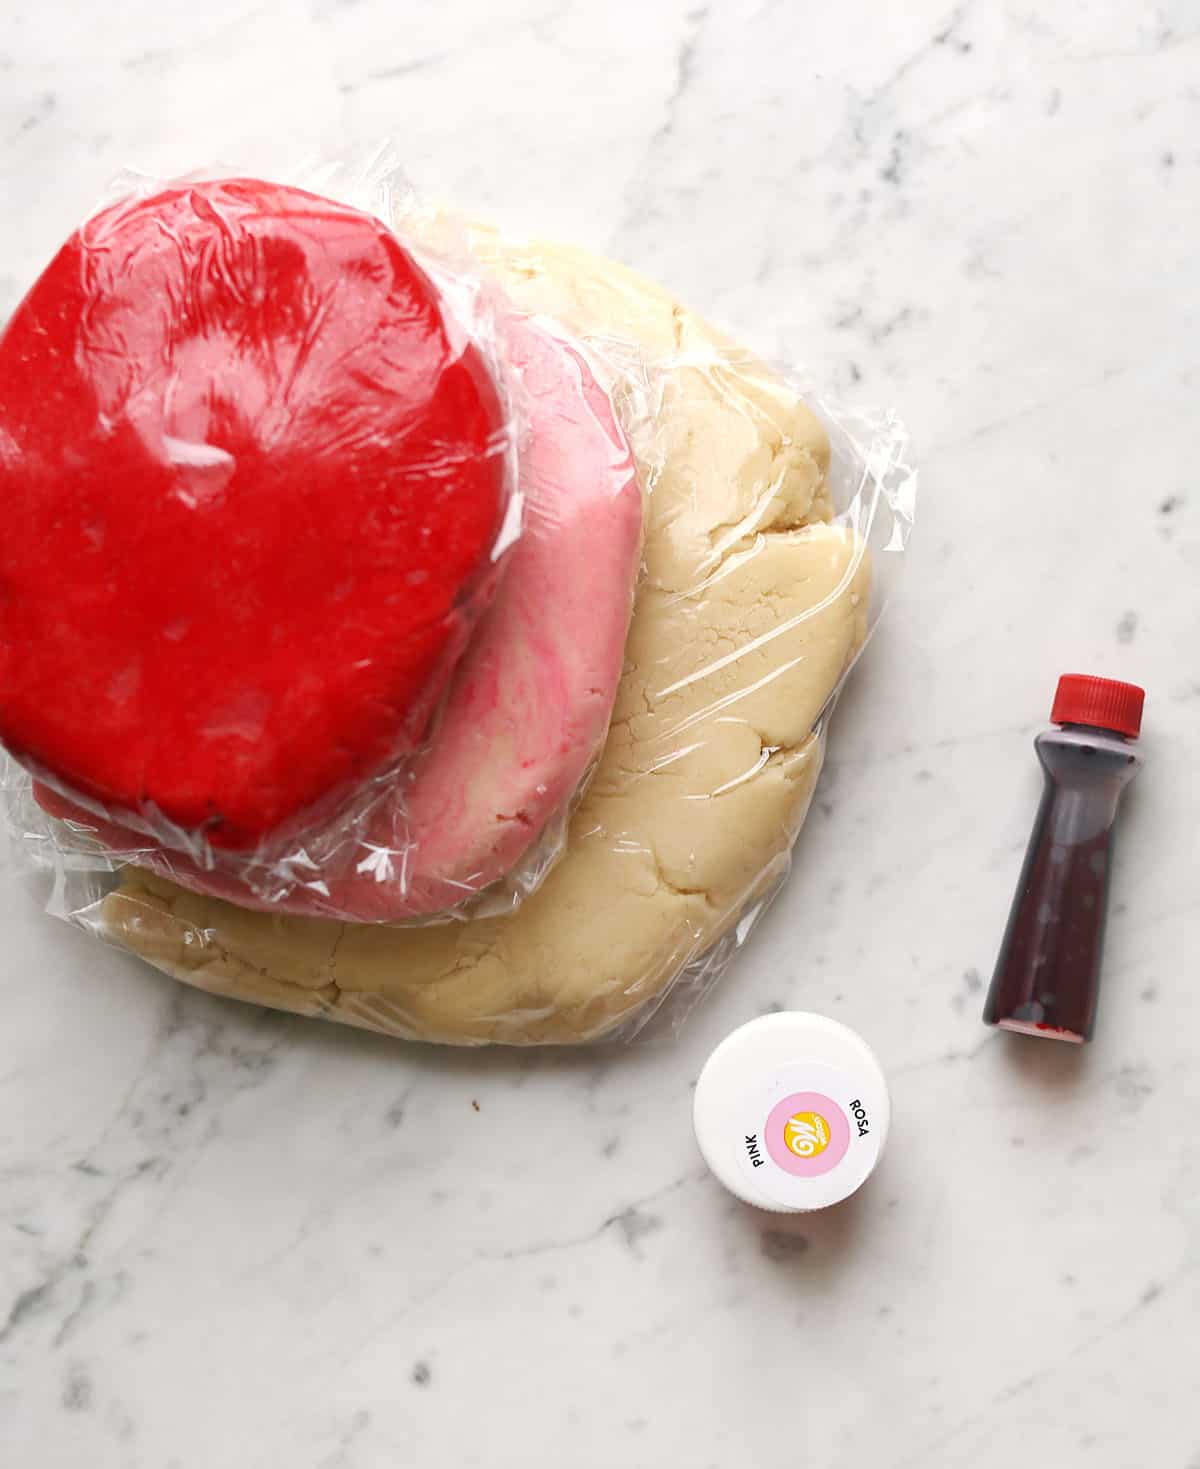
I used liquid food coloring as well as the solid gel food coloring for the red and pink colors. For this particular recipe, I felt the liquid food dye worked better. I was surprised, as I usually prefer the gel kind (especially for royal icing).

Some cookie recipes will encourage you to chill the dough and you might think, “do I really need to?” as sometimes it doesn’t seem to make that big of a difference. But for this candy cane cookie recipe, I really do recommend you chill the dough for at least a couple hours, and overnight is best.
If you are in hurry, you can put the dough in the freezer for 30-45 minutes to try and speed up the process, but it’s not the best option.
Once the dough is chilled, you can do the fun part: rolling out the candy cane shapes!

You can make these candy cane cookies in varying sizes. Mine are more on the larger side, so this recipe made around 10-12 cookies. If you choose to make these significantly smaller, you may want to shorten the bake time a few minutes and you will end up with more cookies—up to you.
Happy baking! xo. Emma
Get our FREE recipe guide with our most popular recipes of all time!

Free Popular Recipe Guide
Our top 25 recipes of all time!
 Get the Recipe

Ingredients
- 1 cup butter (softened)
- 1 cup white sugar (granulated)
- 1 teaspoon peppermint extract
- ½ teaspoon vanilla extract
- 1 egg
- 2 ⅔ cups all-purpose flour
- 1 teaspoon baking powder
- ½ teaspoon salt
- red and pink food coloring
Instructions
- In a medium to large mixing bowl, cream together the softened butter and sugar.
- Stir in the peppermint extract, vanilla extract, and egg until just combined.
- In a smaller bowl, whisk together the flour, baking powder and salt.
- Stir the dry ingredients into the wet ingredients until a soft dough forms.
- Divide the dough in half or thirds. Mix in the food coloring. The best way to do this is with a stand mixer and paddle attachment. But you can do it by hand/with a spoon—just be careful not to stain your hands as you work.
- Chill the dough in the refrigerator for a couple hours or overnight.
- Roll the dough into long strands, like clay snakes. Twist together and shape into candy canes.
- Place a baking sheet with parchment paper or a baking mat.
- Bake at 350°F for 10-12 minutes.
- Allow to cool on the baking sheet before moving to a cooling rack or serving tray.

These were so fun to make and taste so good too! The perfect hint of mint sugar cookie!
Another A+ recipe
Made these last year and they came out really good. Going to make again right now to send out to family this year.
Can’t wait to make these again this year!
Oh my! I don’t know what I did, but this recipe did not work for me. My dough was super crumbly after being refrigerated, so I added some more melted butter and put it back in the fridge overnight. Now it was like a rock and would not roll out. I decided to just cut slice them and see how they taste after baking. Yours are adorable, and I was so excited, but unfortunately this recipe is not going on my repeat list.