 In our first nursery, we built some simple ledge-style bookshelves and they served us so well. We used them daily as we swapped out favorite books and celebrated each season with a fresh array of books.
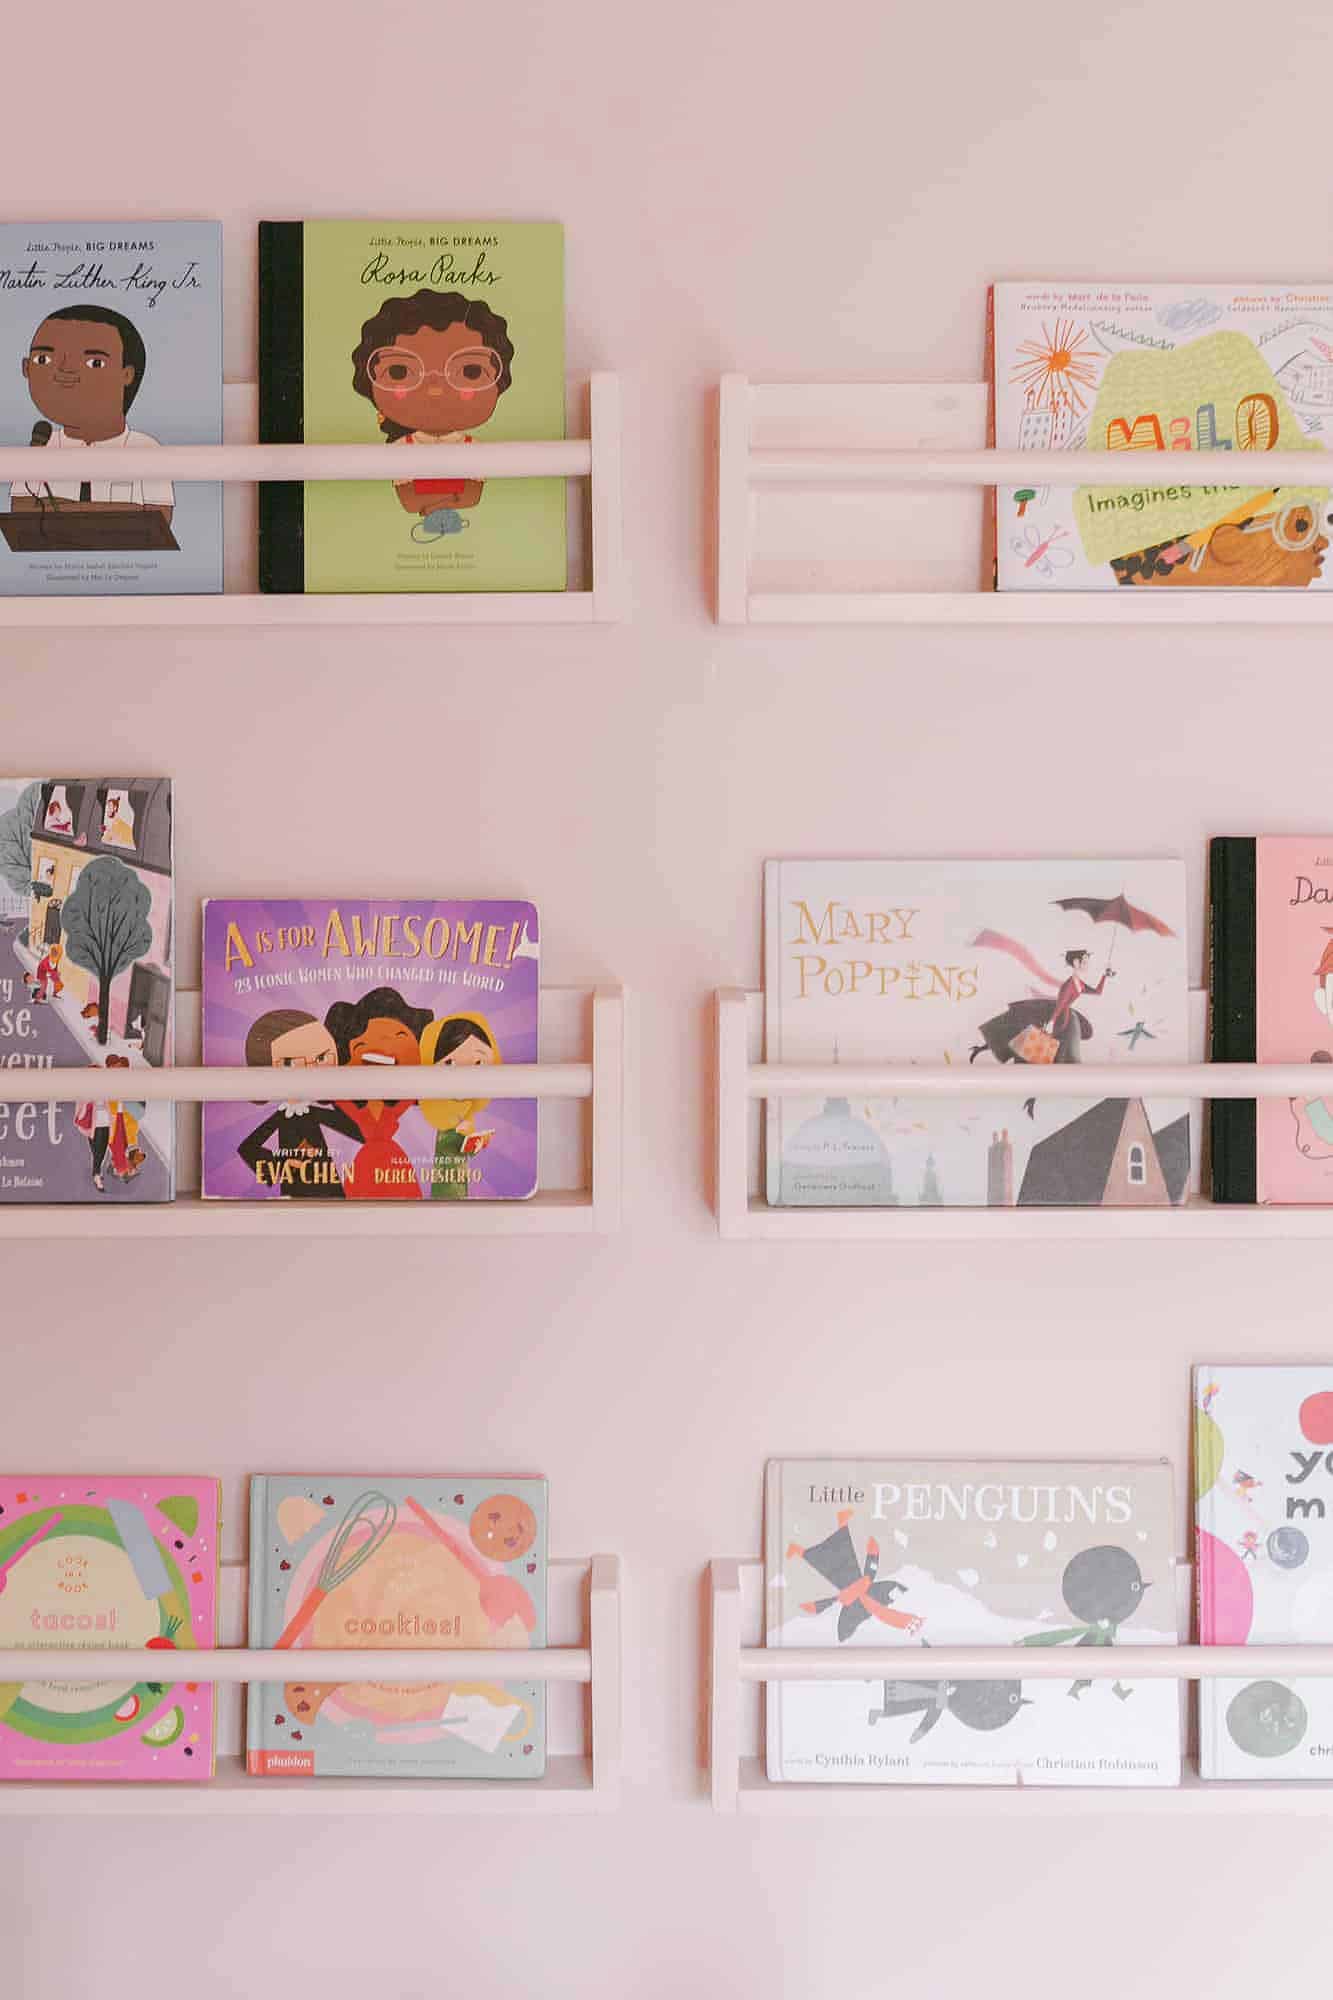
I now have (pretty impressive!) collections of holiday, fall and Halloween and Lunar New Year books that we put out every year to feel festive. The rest of the year we swap through a variety of favorite books. I’ve found that swapping out the display gives every book a chance to be read and loved.
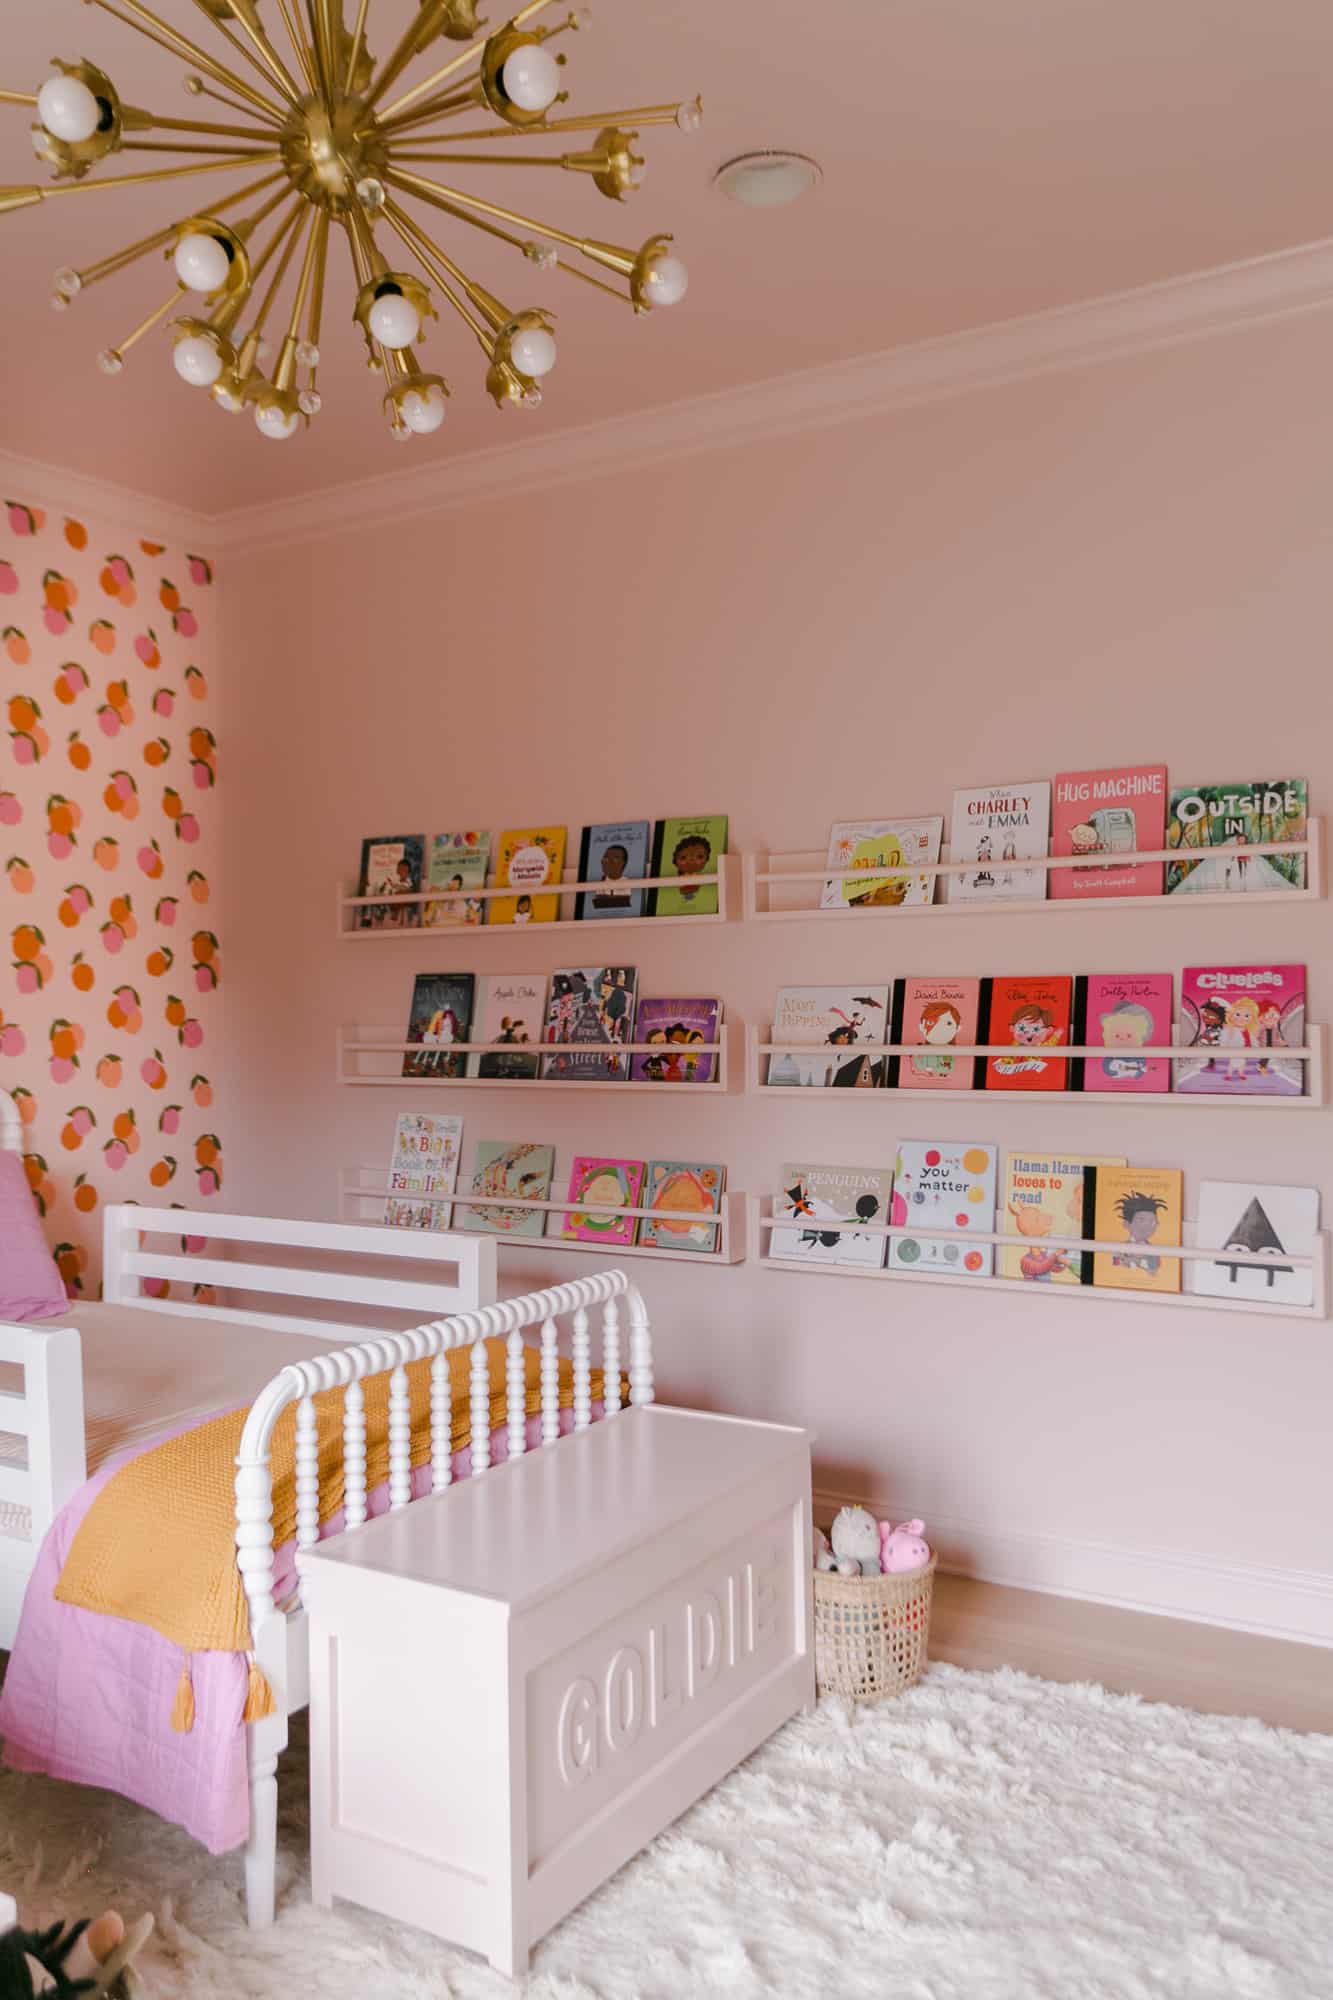
When we moved into our current home, I knew I wanted to create a full wall of books in our girls’ shared room. The lower shelves are short enough that they can grab their own books whenever they feel in the mood. I decided to paint the shelves the same color as the wall for a built-in feel. We used trim paint to make them more durable.
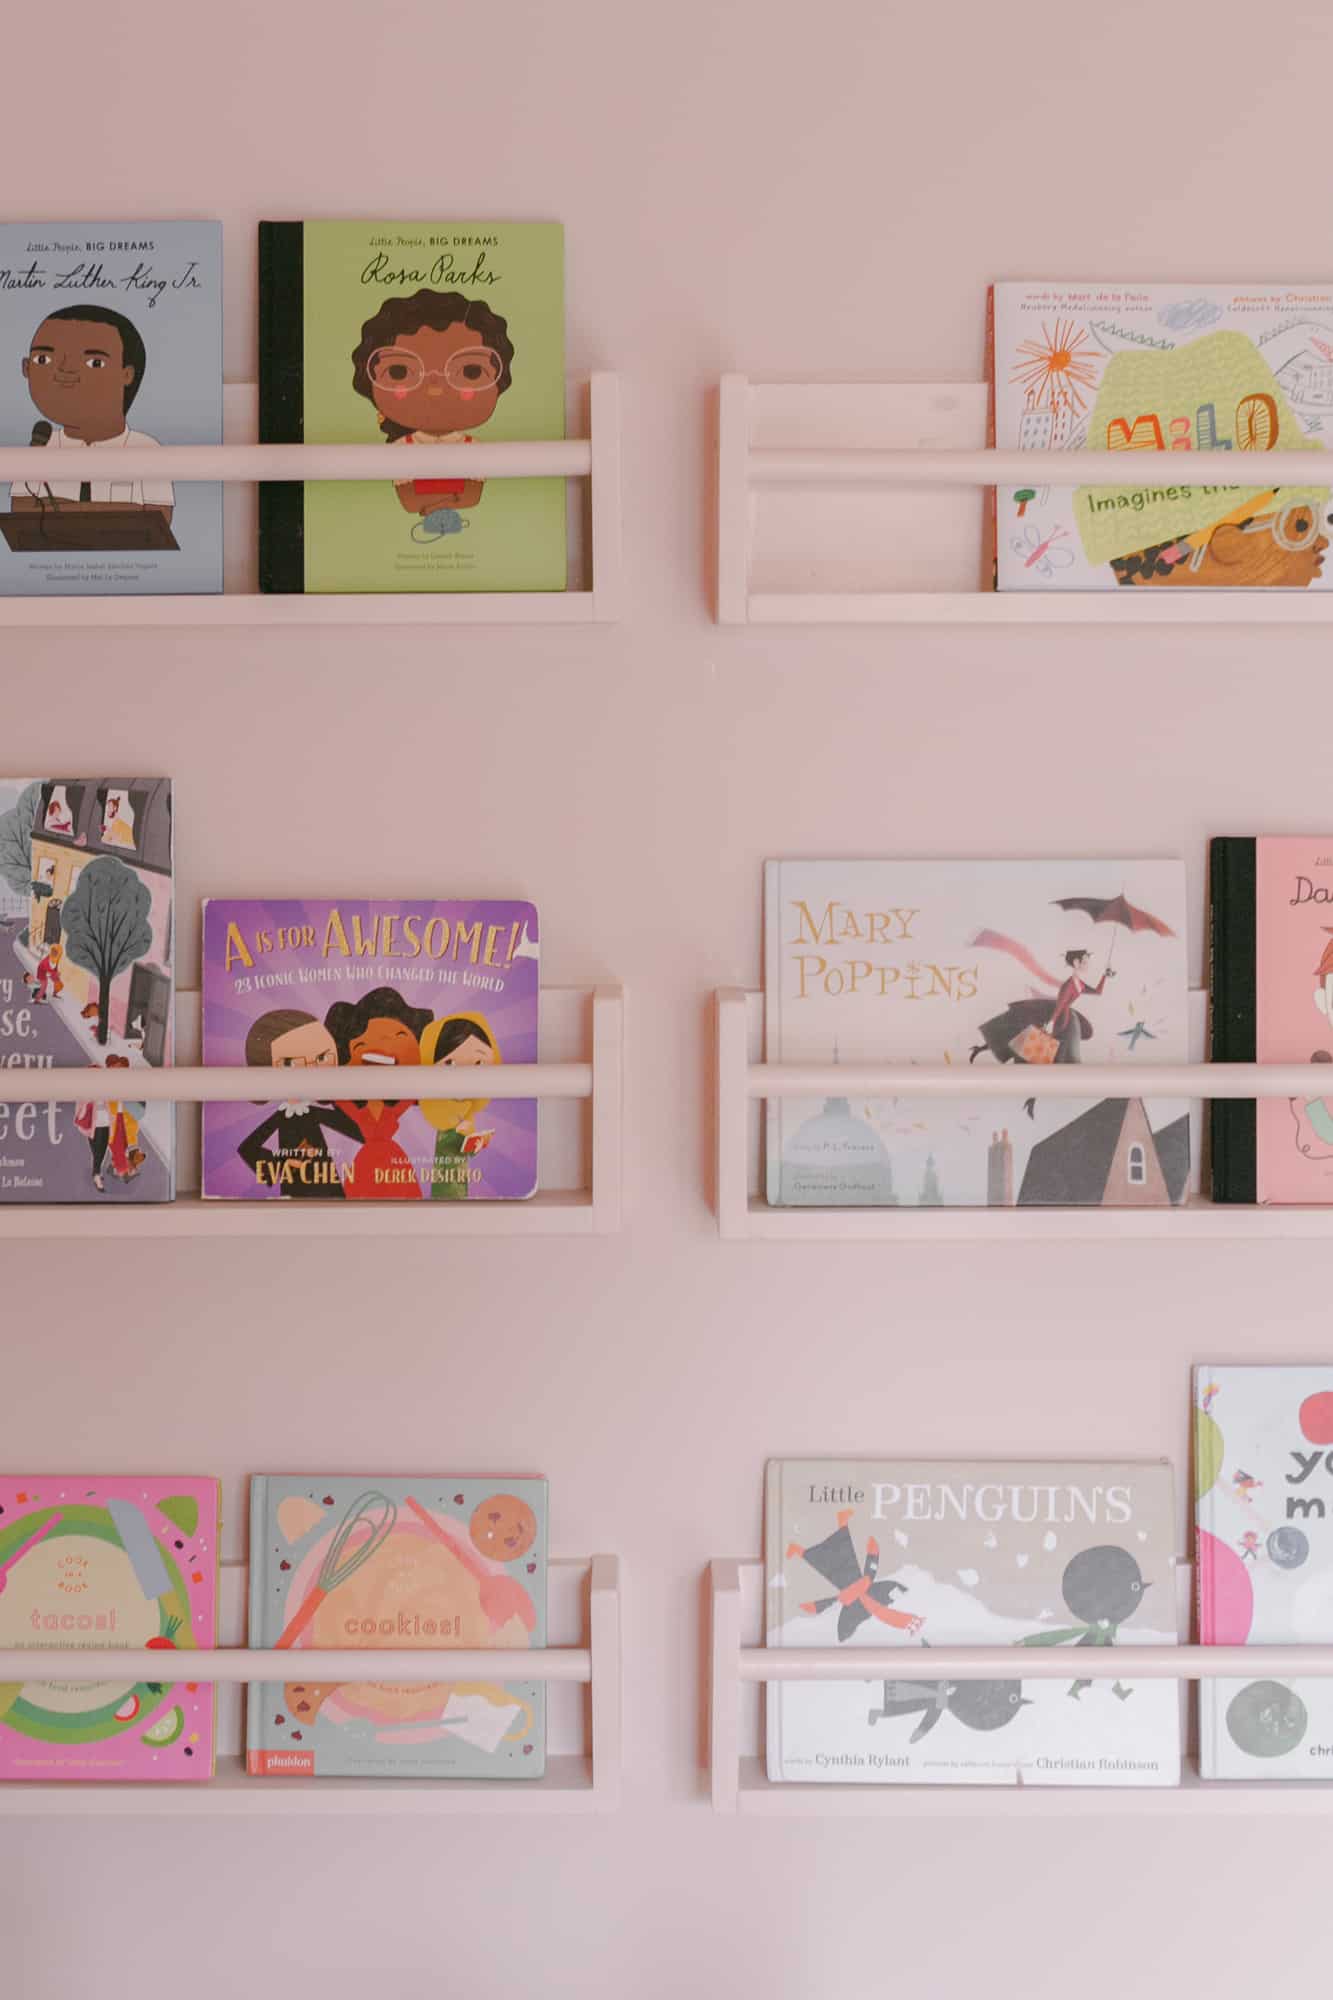
We love the dowel rods across each shelf. It helps the books be more secure and never fall and you can double in two layers of books when you need to!
Let’s jump in to the DIY!
Supplies:
-one 3/4″ x 5″ x 8′ primed board
-one 3/4″ x 3″ x 8′ primed board
-one 7/8″ x 4′ wooden dowel rod
–wood glue
-paint
-caulk
Tools:
–miter saw or circular saw
-nail gun or drill and wood screws
–7/8″ hole saw
-flathead screwdriver
-drill
 Start by cutting both your 3/4″ x 5″ x 8 and 3/4″ x 3″ x 8 boards to 47.5″. The 5″ wide board will be the back and the 3″ wide will be the bottom. Next, take your 3″ wide board and cut two 5″ long pieces for the sides of the bookshelf.
 Now take your 5″ wide board and attach it to the top of the 3″ board with glue and a nail gun or glue and screws as shown above!
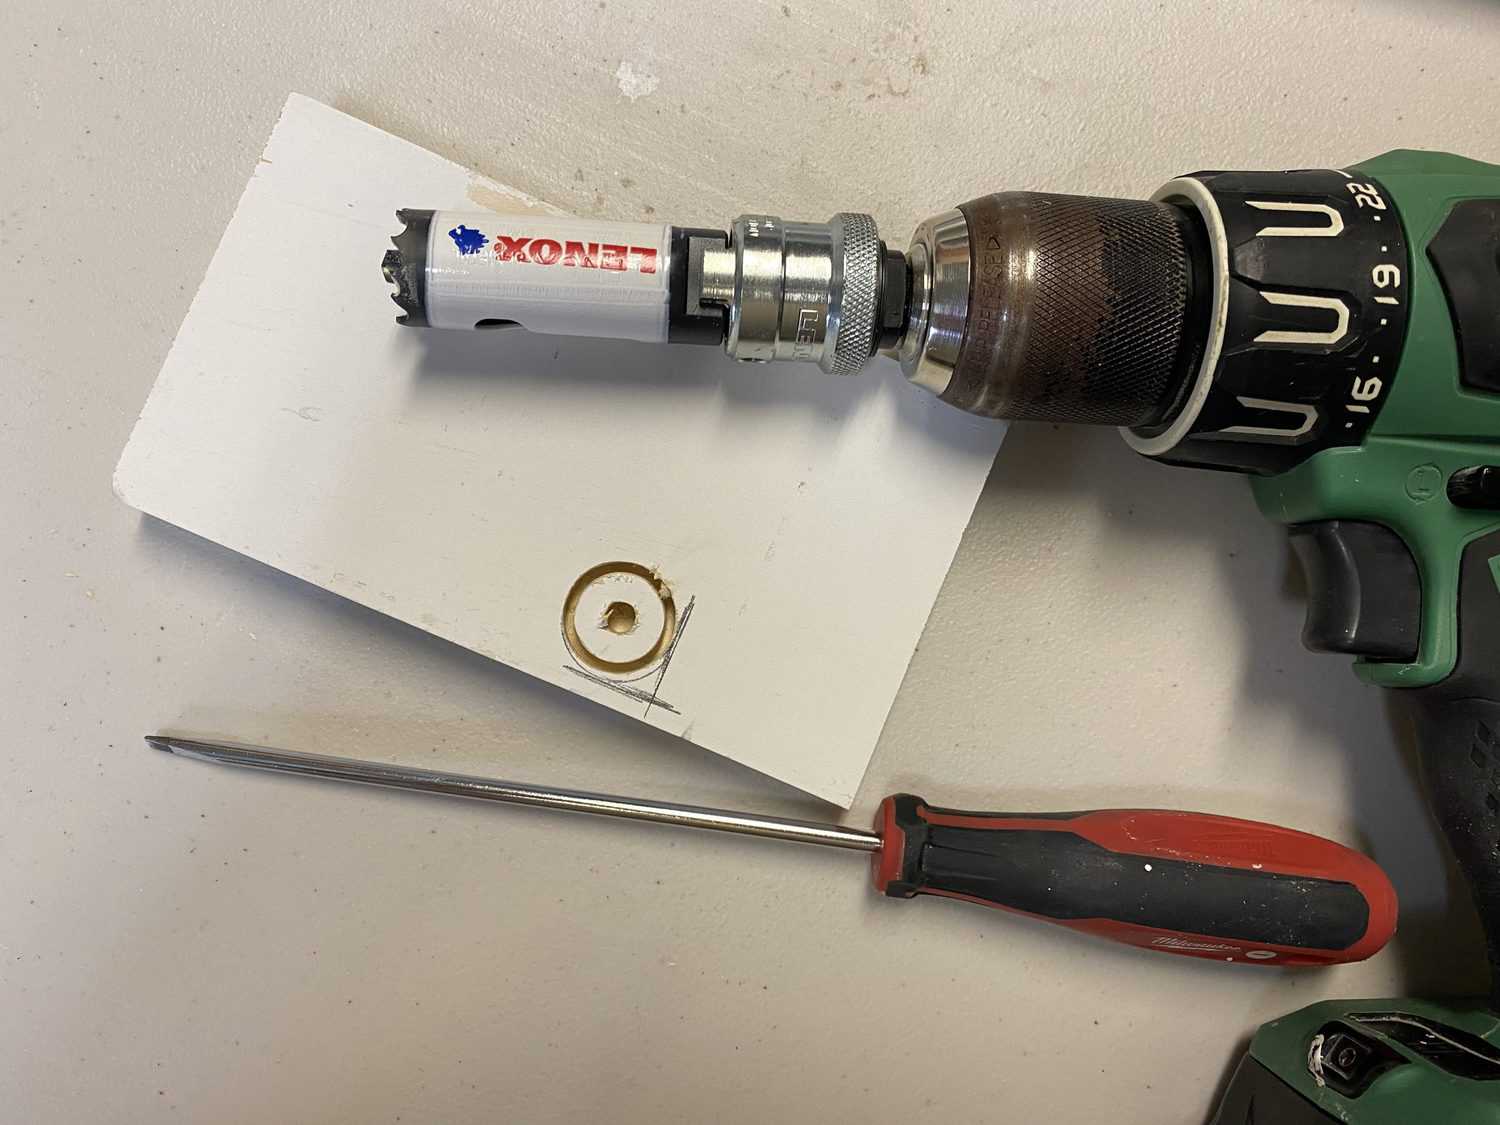 Next, grab those 5″ x 3″ side boards and measure 4.5″ up from the bottom and 1/4″ from one side and then take your hole saw and drill about 1/4″ into the wood as shown above.
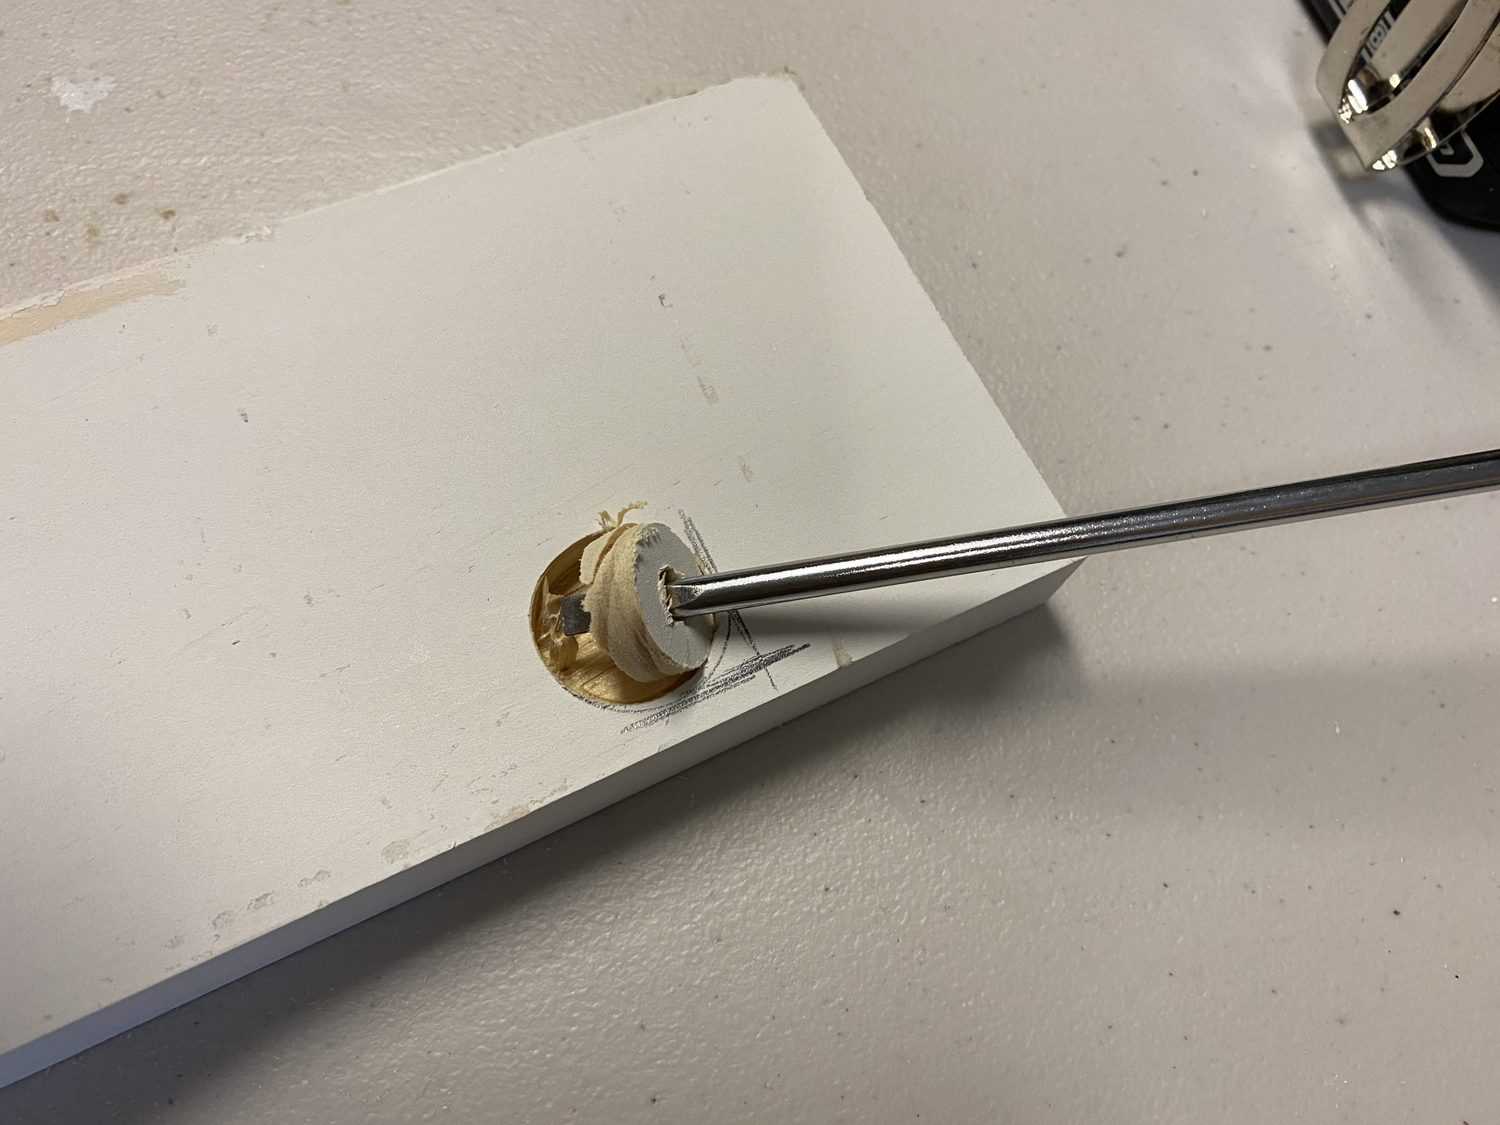 Take a flathead screwdriver and pop out the center of the hole (it’s very satisfying). Repeat this process with the other side piece!
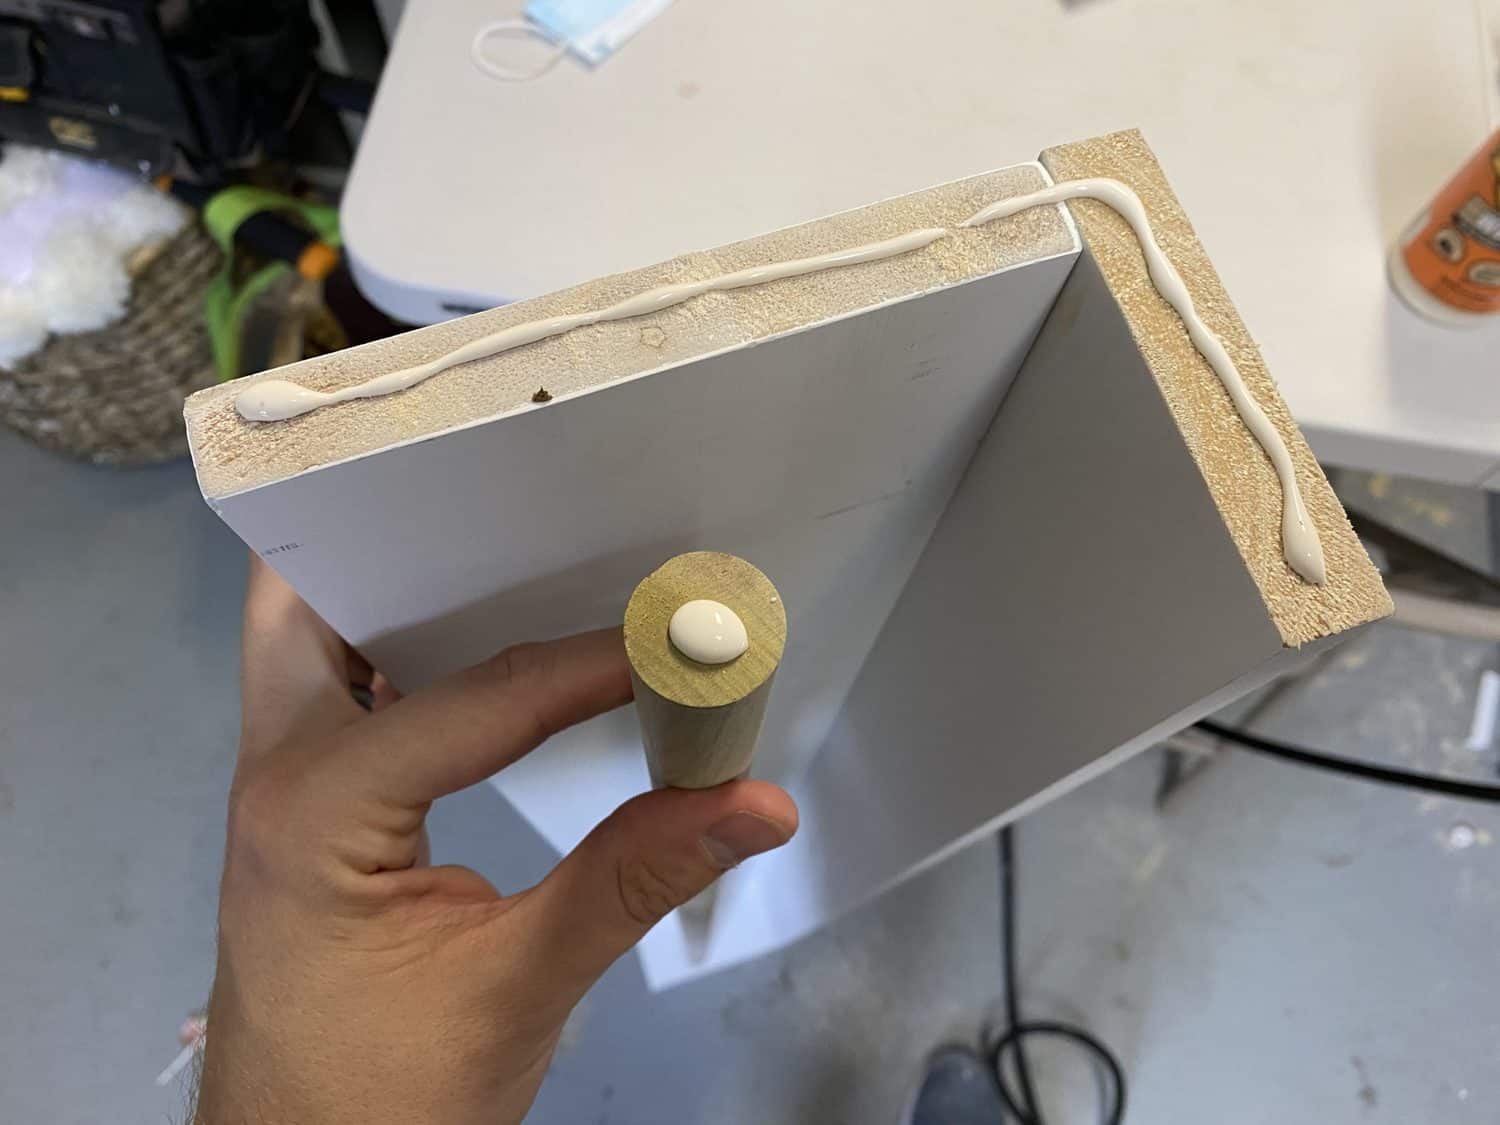
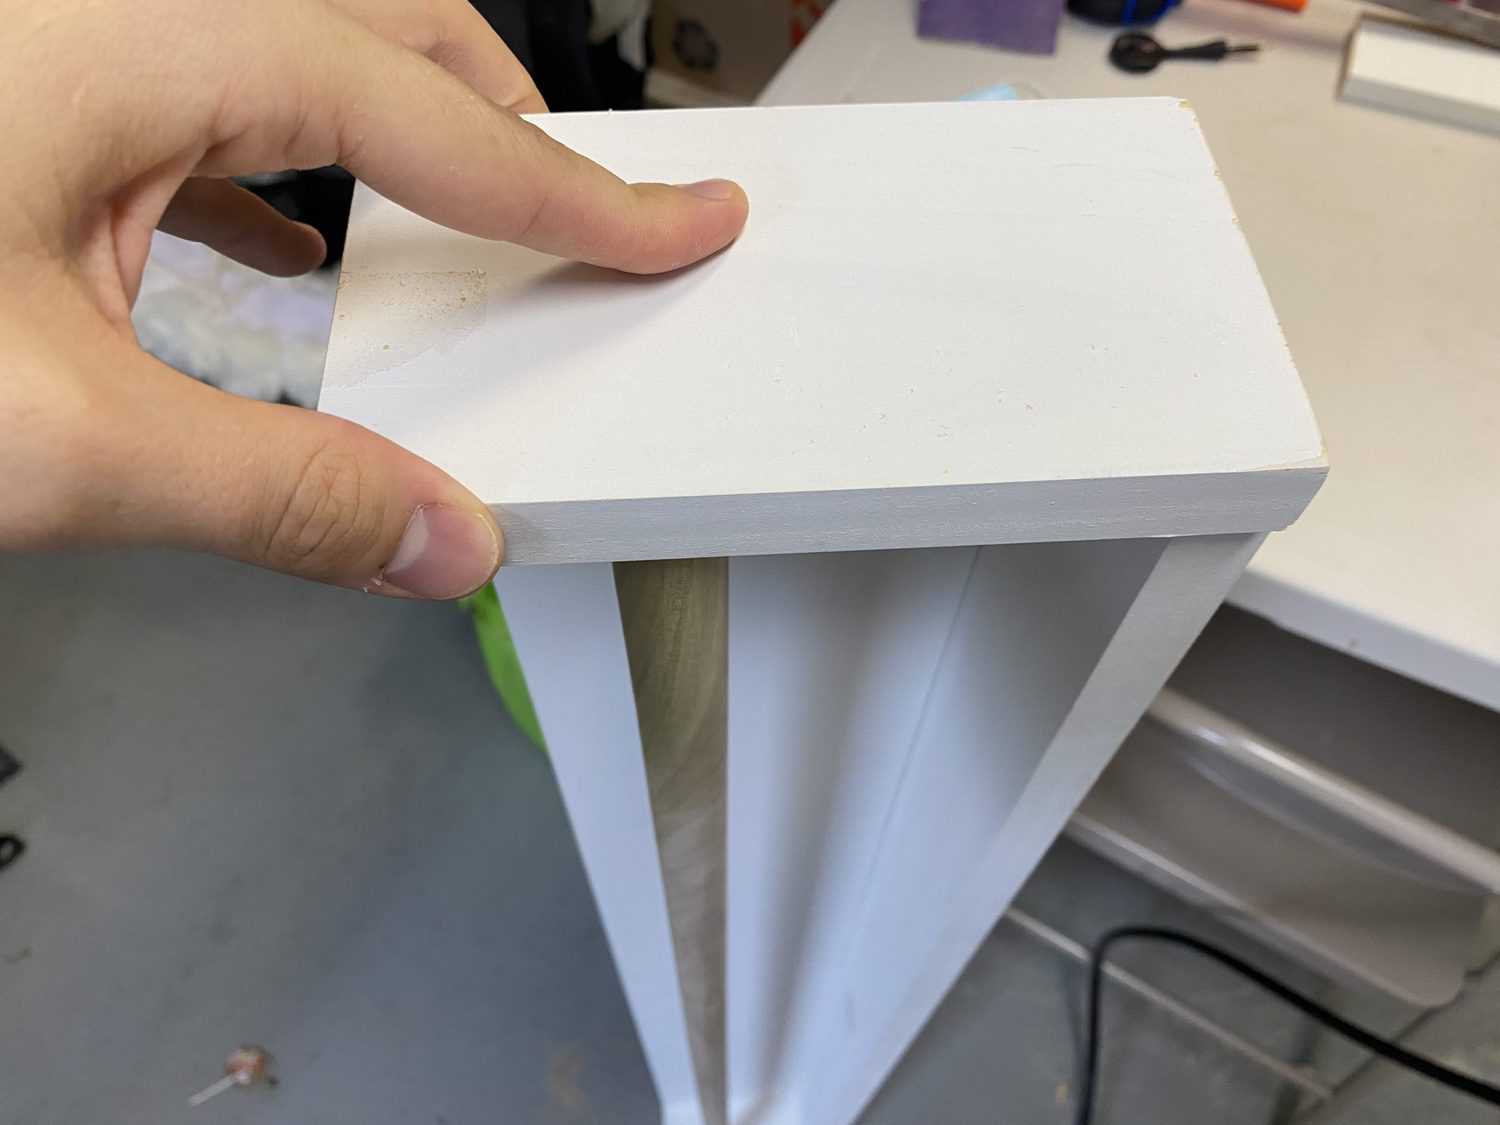 Attach the left side piece to the bookshelf with wood glue and nail gun (or drill and screws). Now, place some wood glue into the hole on the left side and set the dowel rod in the hole. Next, put some glue on the right end of the bookshelf and dowel rod and place the right side piece on top, making sure the dowel sits into the hole. Attach with a nail gun and wood glue (or drill and screws). Fill any cracks or gaps with caulk and paint it! To mount to the wall, mark your studs and attach to the wall with 2″ wood screws. Fill screw holes with caulk or wood filler and paint over to give it a really professional, permanent look.
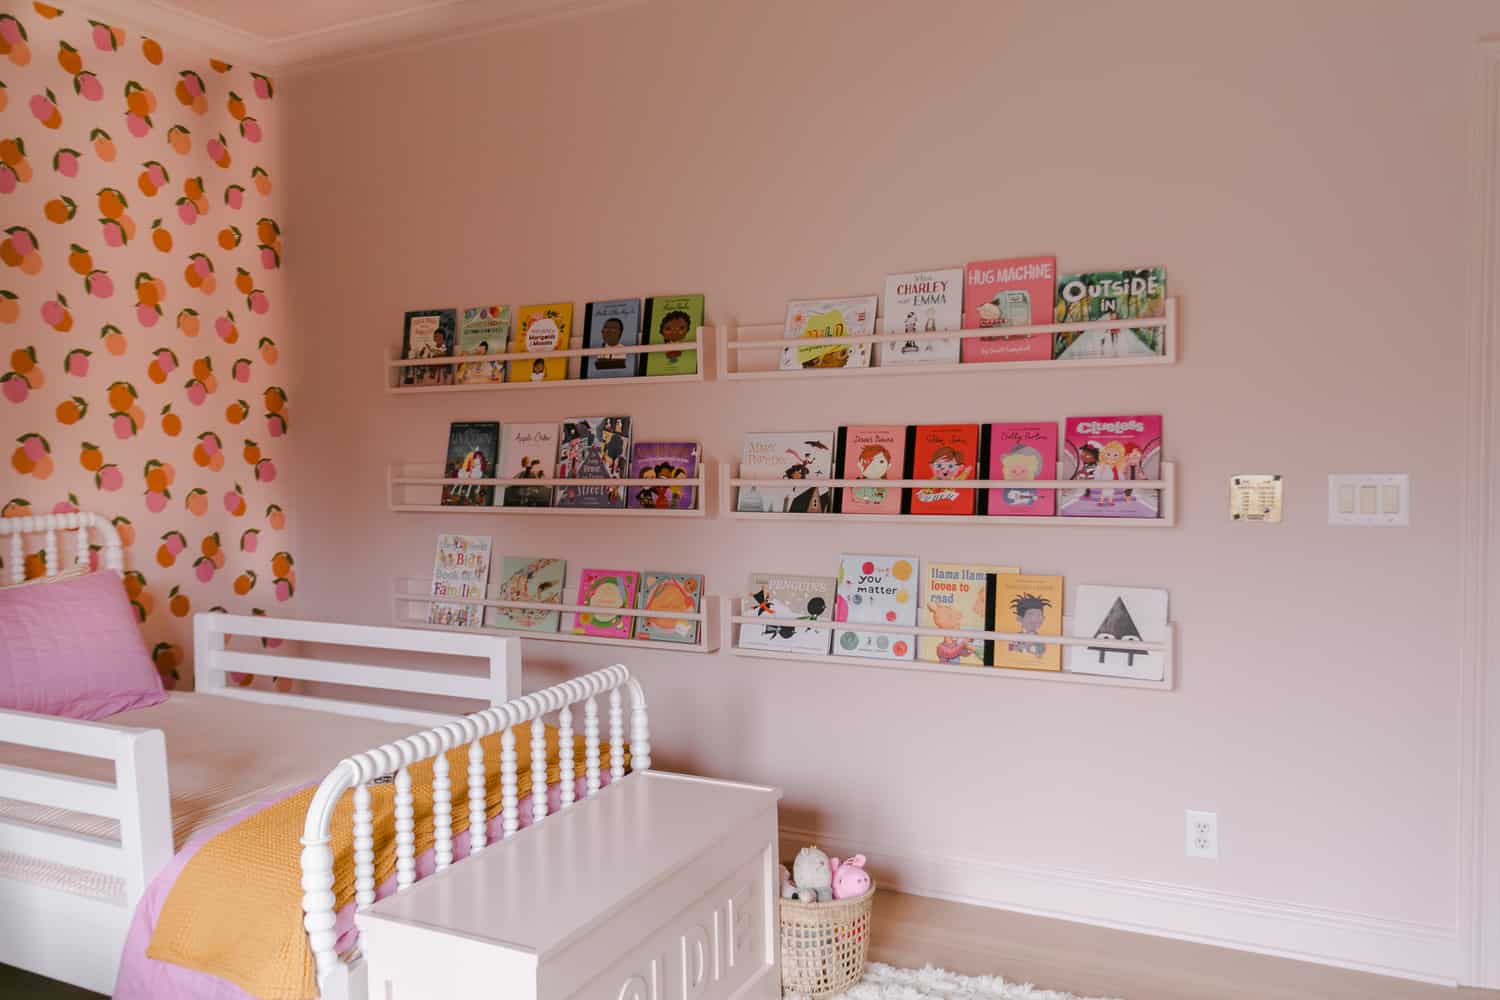
 We’re so happy with the final result! Let us know if you have any questions and please tag us if you decide to make your own! Oh, and if you haven’t done a holiday-themed bookshelf for your kiddos before, it’s one of our favorite things to do!
xx- Elsie + Collin
P.S. If you love this post, be sure to check out …
Such a doable project! I just wanted to chime in and say that I’m a children’s librarian and I love so many of these book choices 🙂
Such a great way to display books and fill up a wall! I’ve been wanting to do something similar for cups in my kitchen and am going to modify this a bit for that purpose 🙂 You guys have the best DIYs!
Do you have a tutorial for the toy chests as well?
Thanks!
Coming soon! 🙂
This puts IKEA’s to shame! Nice work on this!!
Such a great DIY! I’d love to see a post with all your favorite classic and modern children’s books. I have 5 nieces and nephews (all under the age of 5) and am constantly looking for educational and inspiring books to buy them. I’d love to hear what your little ones enjoy!
So I love swapping out books, but the big question is where do you keep the books that are in storage??? And how do you keep them organized? I have found that to be the most challenging part!
Just FYI your materials list says you need two 8″ long boards but it should be 8′.
Obviously one could figure this out if they were trying to build these but it is slightly confusing. I noticed a similar error on the A frame doll house.
Thank you for catching that!
Thank you so much for posting this. My girls are going to start sharing a room this summer and there is no room for their bookshelf anymore. But there’s lots of room under one really big window for two layers of these!