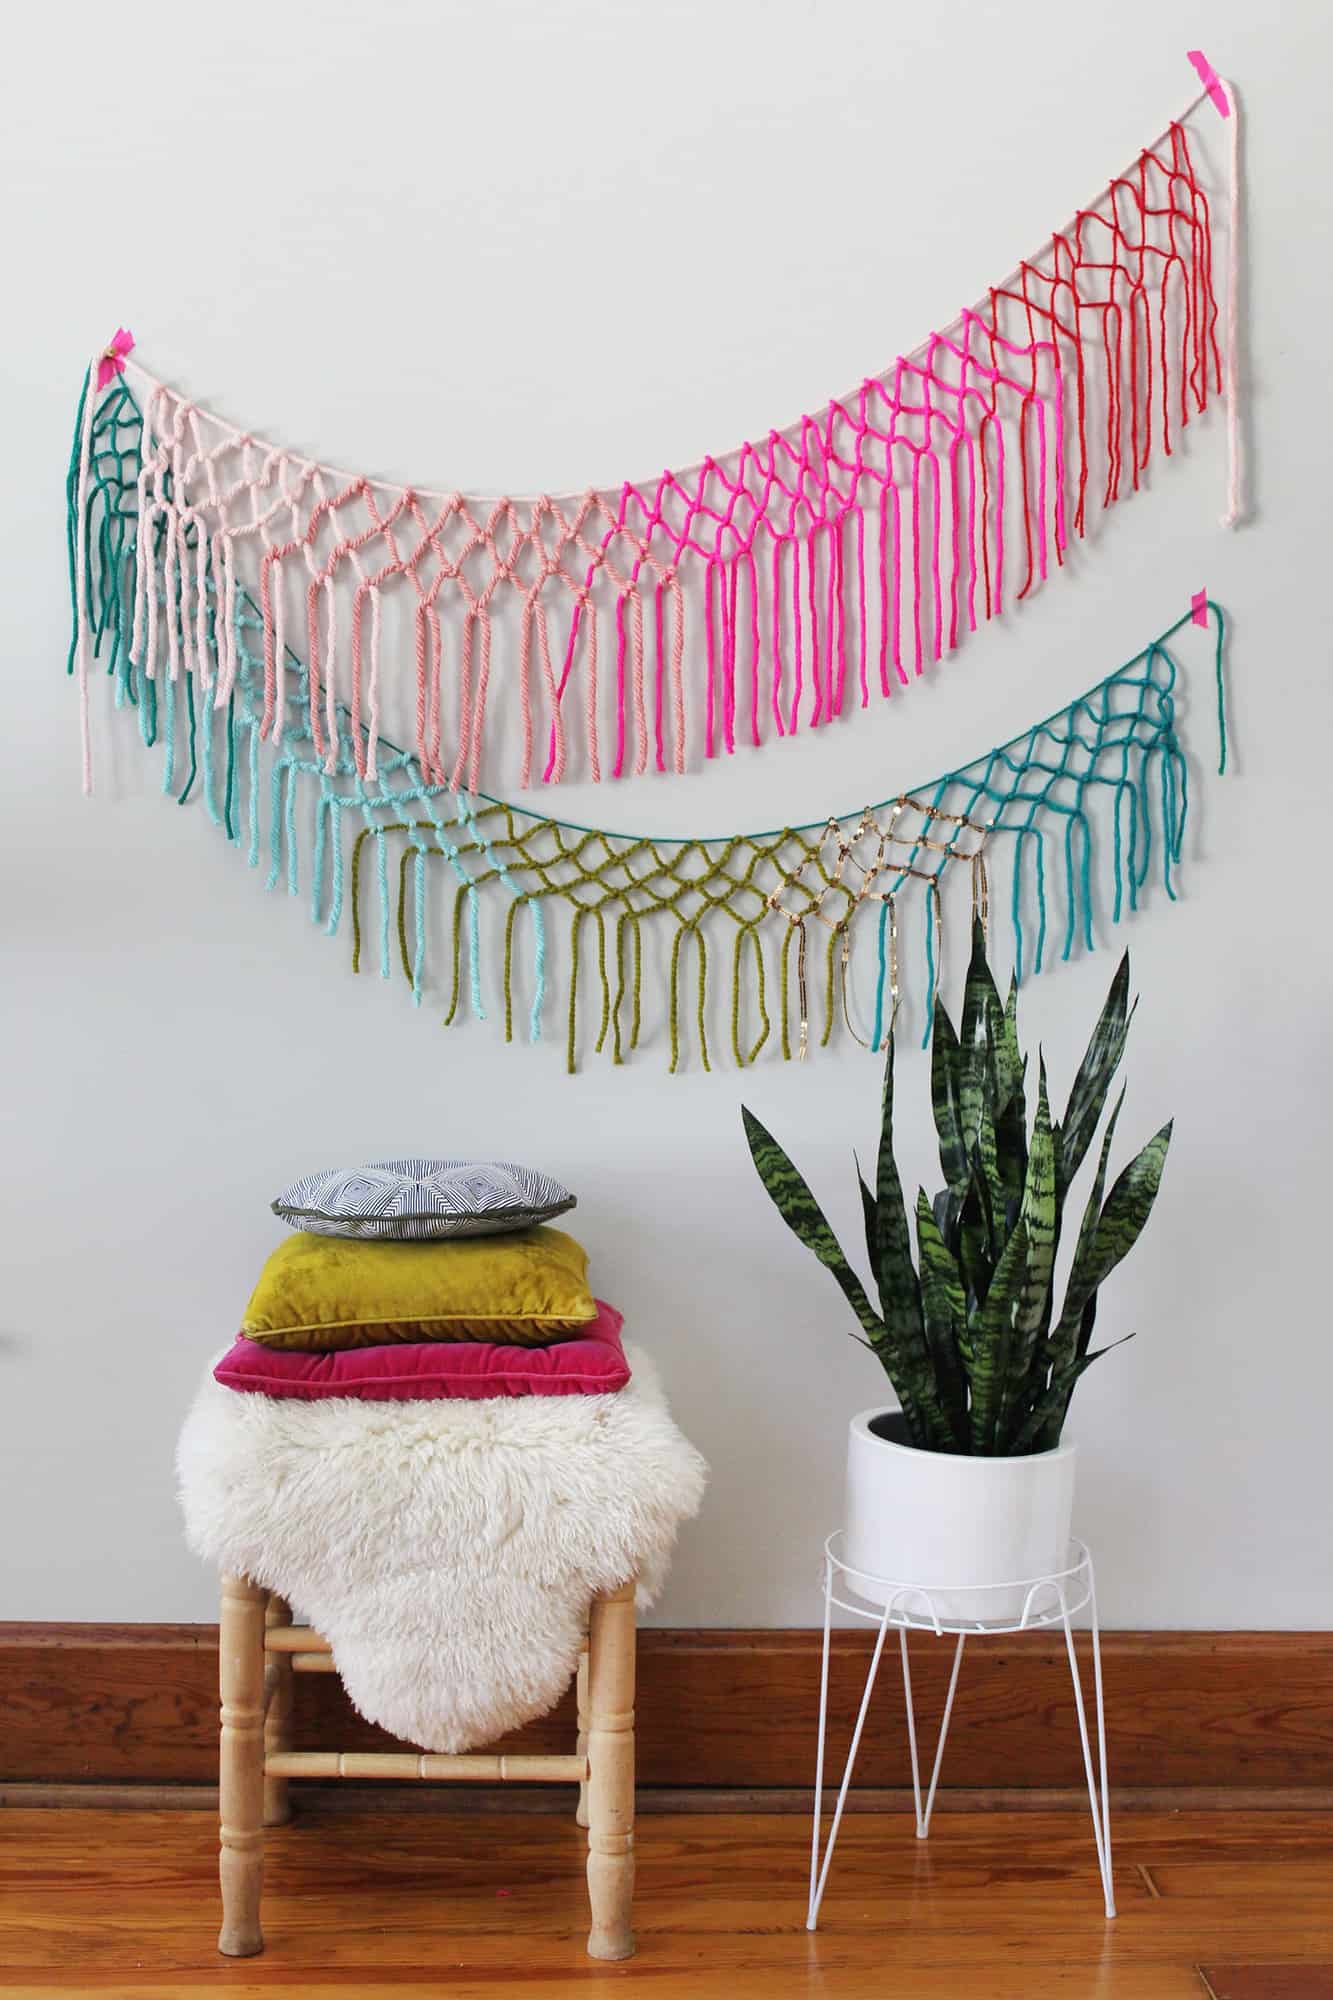
 I love a good garland as much as the next blogger, so when I found myself needing to add some color to my studio, I immediately thought of something involving macrame. I didn’t have tons of white rope sitting around, so I grabbed some yarn from my weaving stash, and one hour later had a much more cheerful studio!
If you want to learn to weave, start here: Weaving for Beginners
Related: How To Macrame: A Step By Step Guide For Beginners, Simple Macrame Handbag Tutorial, Macrame Camera Strap Tutorial, Simple Macrame Table Runner, Macrame Christmas Stocking, Macrame Room Divider, Make Your Own Macrame Bracelet, Macrame Curtain, Macrame Plant Hanger
 The best thing about this project is how it adds a lot of color and interest without needing tons of time or materials, which makes it a perfect project for table backdrops at parties or a wedding.
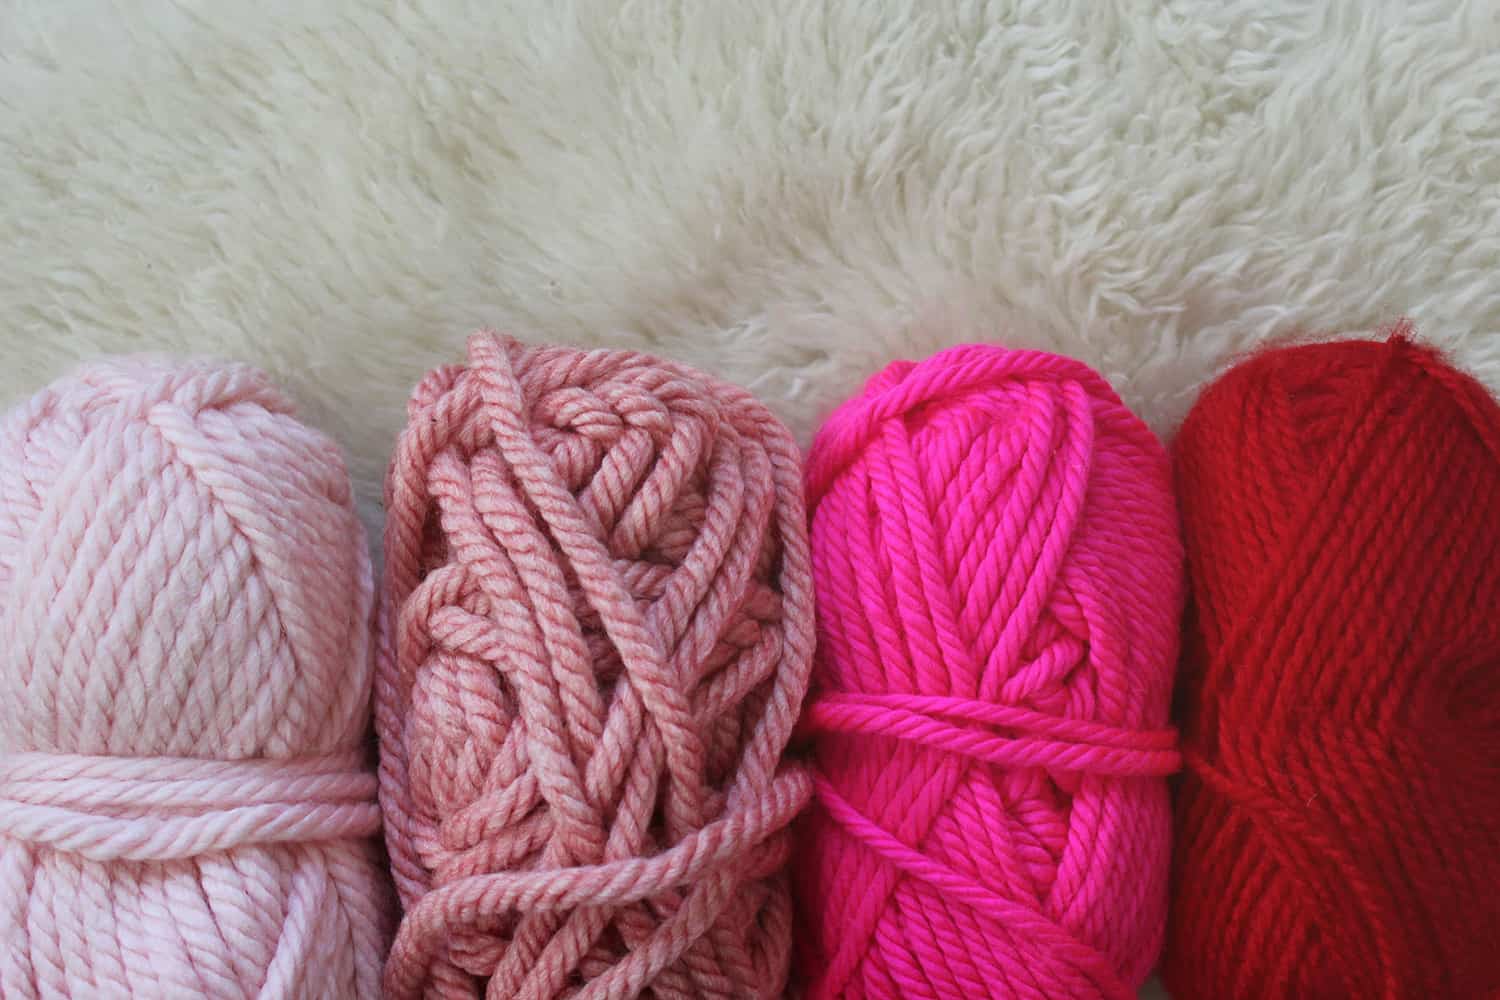 Supplies
–chunky yarn in similar thicknesses in a variety of colors
-scissors
-washi tape or push pins
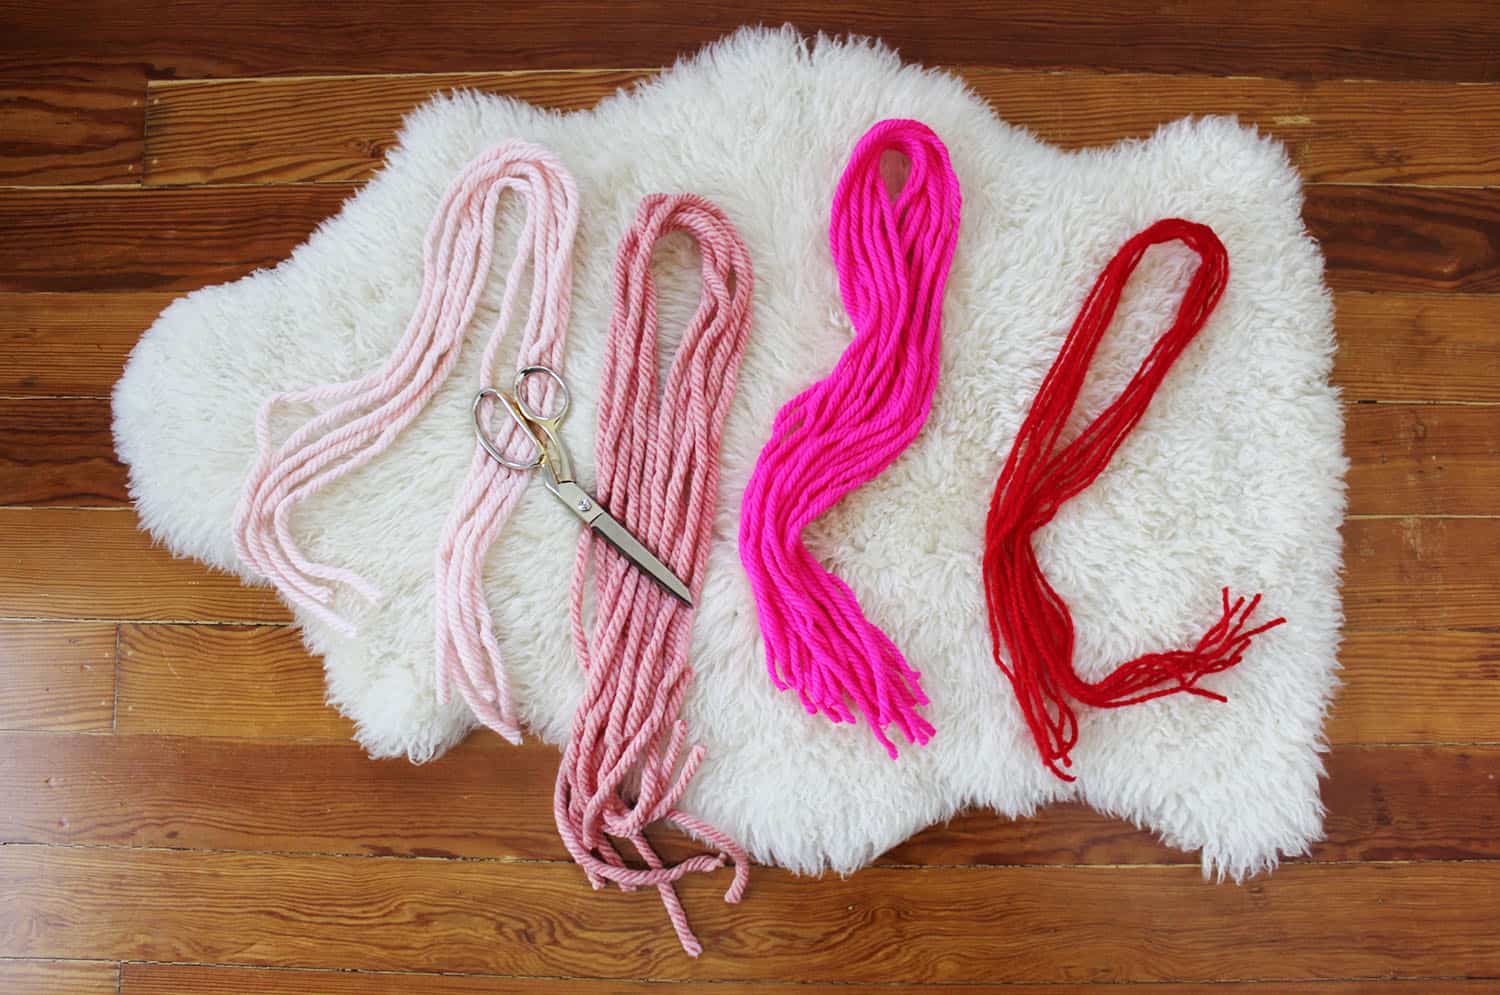 Step One: Cut one length of yarn for your base as long as you’d like. I cut mine to be about 8′ long. Then cut up lengths of yarn that are between 2′- 3′ long depending on how much fringe you want to hang down. You can always trim these up to be even later, but as you knot them together, they’ll get shorter. I spaced my yarn out every 2″ and then spread them out even more after I tied my knots. You may only need about 30-35 individual cuts of yarn to fit this size garland.
 Step Two: I hung my base strand to the wall with push pins and then added my individual pieces by tying a single knot over the base.
 Step Three: Then I started my second row of knots by skipping the first strand of yarn and tying a double knot with the second and third strands. I centered it about 2″ down from the base.
Step Four: Then I continued along tying the next two strands of yarn together about 2″ down, making sure they were mostly centered between the knots on the base piece of yarn.
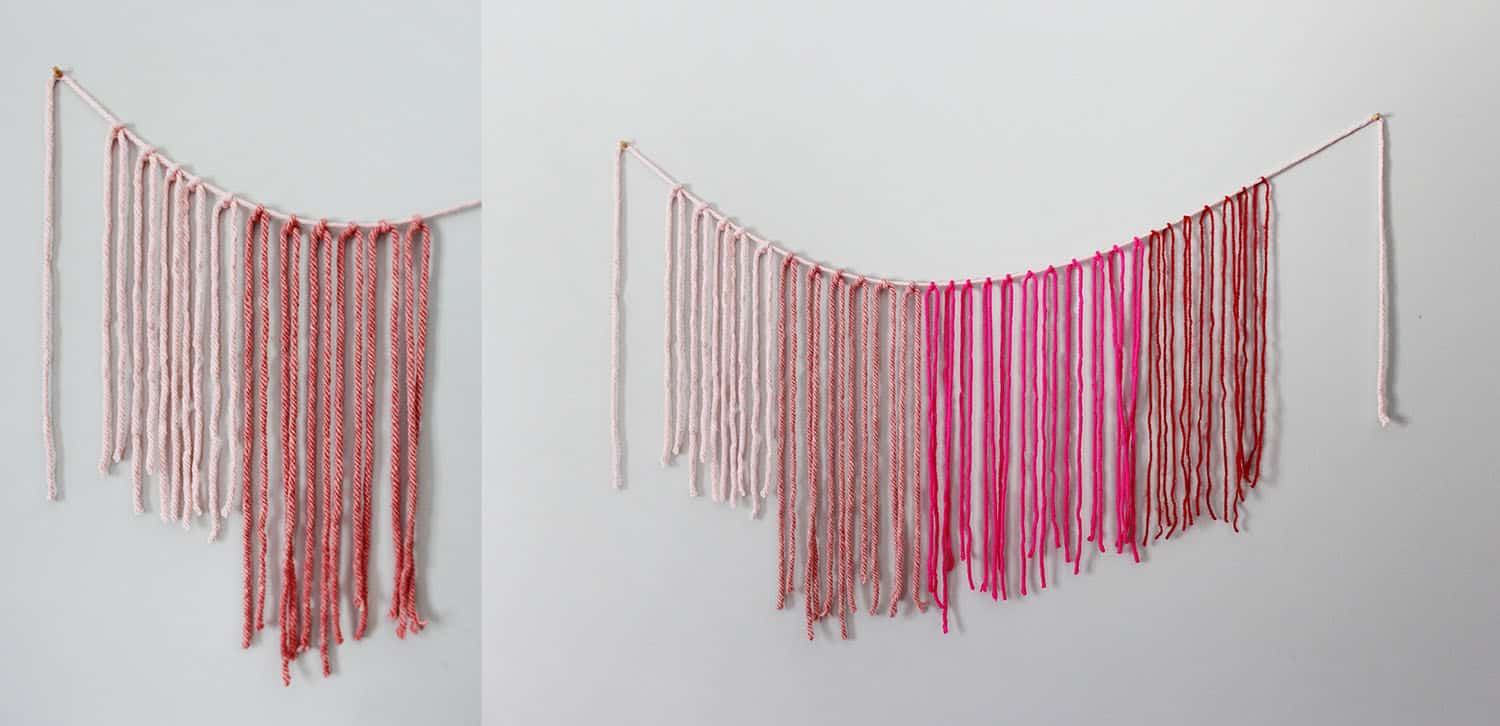
This is how it looked after the first row was tied together in knots.
Step Five: Then I started my second row of knots back where I started, but tied a knot with the first strand and the second strand. Then I continued to tie knots all the way across about 2″ below the last knot. Once I was done with my second row, I went back to the left side again. I left my first strand alone and knotted the second and third strands again and repeated the process all the way across.
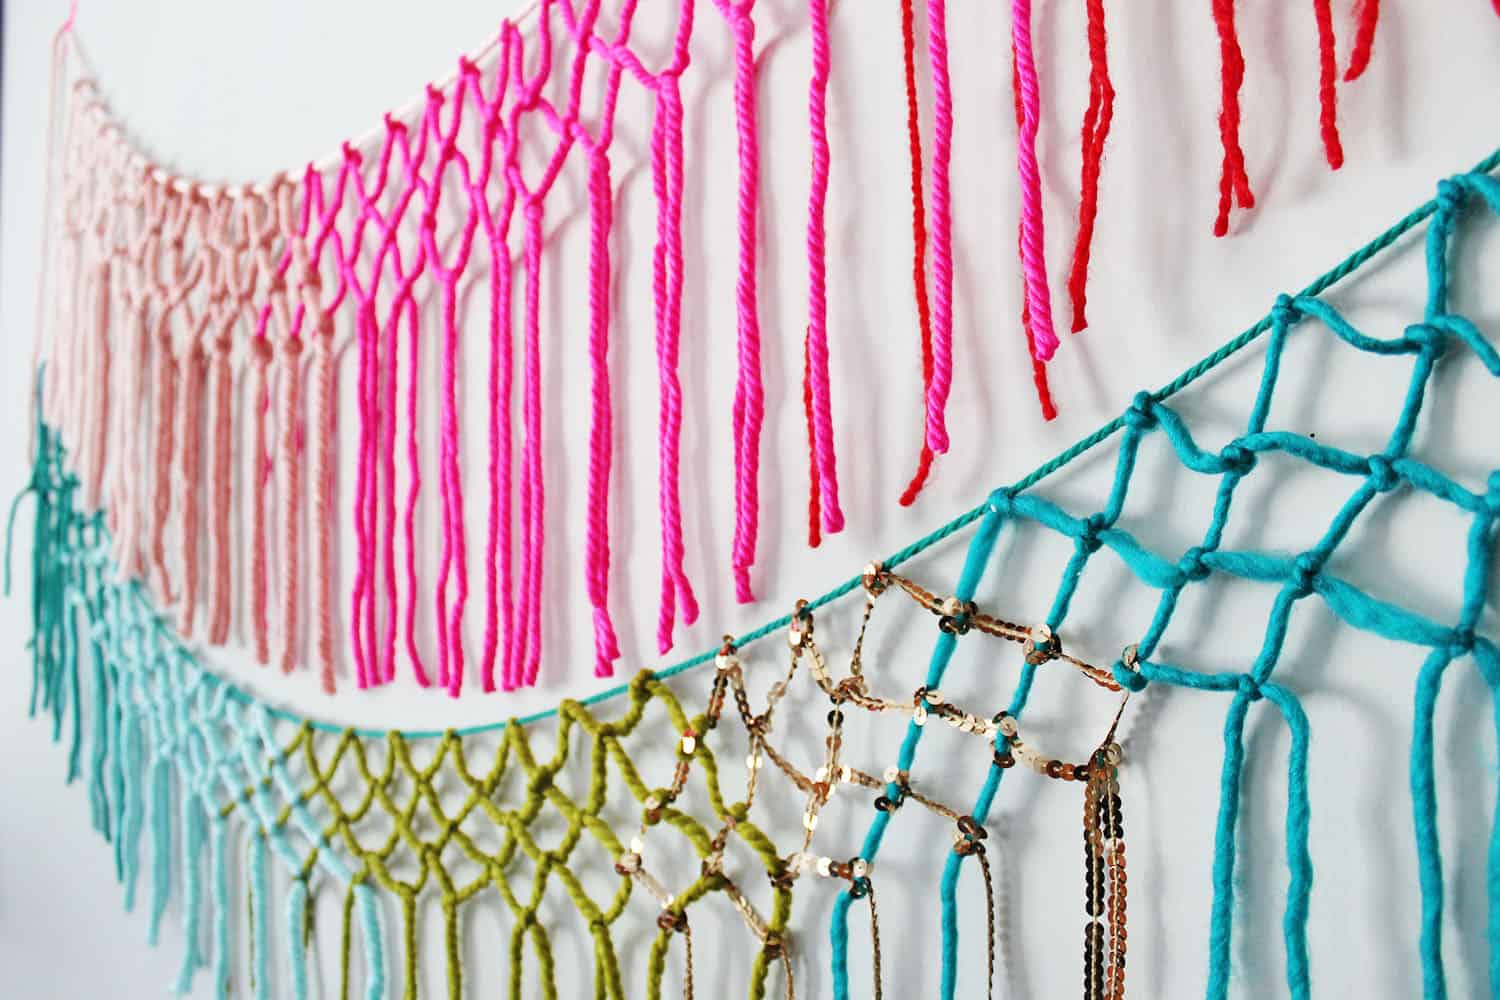
You can stop here or keep going with more rows of knots, but I wanted a little fringe left. Your last step is just trimming your ends to make them even and you’re done!
I made a second garland with some sequin trim for a little extra glam. It was relatively easy to work with. Imagine a whole garland of gold sequin trim! –Rachel
Credits//Author and Photography: Rachel Denbow. Photos edited with A Beautiful Mess Actions.
I just found this website/ blog and I already love it
Thanks for such great ideas !!!!
This is amazing and I would like to make it for a shower I’m having. I cannot find directs anywhere for a single knot or a double knot online. Could the knots be called something else as well?
Very beautiful! I love it! The colors are very nice!
I’m in love with this!!! Amazing craft! So colorful, festive, and beautiful <3
http://ainwanderland.blogspot.com/
this is so cute!!! i love that it’s a garland, not just a wall hanging, and the sequins are a great touch!!
www.waterlilyshop.com
@waterlilyshop
very nice!!so cute!!!!
Love this vibrant addition to your place! Can’t wait to try it out 🙂
Love this! Such a great idea!
AAAAH! Stop being so awesome already! Love this SO much!
Oh wow this is absolutely amazing! I’ve got a huge blank white wall in my bedroom that’s bugging me – I’m not very good with minimalism – therefore this would be the perfect way to solve that problem!
Wow!!!! This is gorgeous! We LOVE macramé so this is right up our alley! Obsessed with the color choices too!
Thanks for sharing Rachel! This is amazing!
This is gorgeous – I love the technique and it’s so effective! I think I see a way to use up some of my yarn stash! 🙂
Http://crafternooncabaretclub.com
Awesome! The only problem is my cats would love that ?
This is a perfect project for the kids who come up to the library over lunch to do. I have a variety of activities for them, and this’ll be one that we can do with materials on hand. Plus, it’ll brighten up our school library! Thanks for sharing!!!
This looks so good, I might just have to make one for myself soon!
This is such an amazing, inspiring idea!!! I love it!
love the Bohemian look!
I completely adore this and need to make one! I love the blues and greens you chose.
Warm Regards,
Alexandra
www.littlewildheart.com
I will be making this ASAP! Love it!
Also, can I ask where you got your velvet pillows?
Very pretty!
http://www.mintnotion.com